

GIFs have become a fun way to express reactions and emotions, filling social media comment sections with humor, excitement, and even sarcasm. The problem is, finding a GIF maker that truly matches your style can be tricky. Some online tools are too basic, while others feel like they require a design degree just to use.
The great thing is, you don’t have to deal with any of that anymore. That’s because we round up the best animated GIF makers you can try — from all-in-one editors like Filmora to online tools like Ezgif, and even handy mobile apps that let you create on the move.
Scroll down, cause it’s time to make your GIFs look as smooth and creative as you imagined.
How We Test Top GIF Makers
- Ease of Use – The tool should be simple enough that anyone can make a GIF in minutes, no tutorials needed.
- Export Quality – Each tool was tested for resolution, smoothness, and file size optimization.
- Performance – We looked at how fast the editor loads, processes, and exports GIFs (especially for online tools).
- AI and Creative Features – Tools with built-in AI GIF generator options or animation-enhancing features were highlighted.
- Cross-Platform Support – Bonus points for tools that work across desktop, mobile, and web browsers.
Our Top 3 Picks
This guide will walk you through 10 tools that shine when it comes to making GIFs. But if you want the quick highlights before diving into all ten, here are our top three GIF creators, each chosen for a different reason.
Quick Comparison of the Top GIF Makers
Before we get into the details, here’s a quick look at all the animated GIF generators we’ll be talking about. Seeing them side-by-side like this helps you figure out which GIF creator fits your workflow and creative style.
| GIF Maker | Platform | Customization | Free / Paid | Best For | |
| Filmora | Windows, macOS, Android, iOS | Advanced (AI tools, animation, 3D GIFs, effects) | Free trial / Paid plan | All-in-one GIF creator and video editor | |
| Ezgif | Online | Basic (crop, trim, text, speed control) | Free | Quick online GIF editing and conversion | |
| Imgflip | Online | Moderate (text, stickers, speed, FPS) | Free / Paid | Meme-style GIFs and community sharing | |
| GIPHY | Online, Android, iOS | Basic (effects, stickers, captions) | Free | Creating and sharing social GIFs | |
| ScreenToGif | Windows | Moderate (record, edit, trim) | Free | Screen recording and tutorial GIFs | |
| GIMP | Windows, macOS, Linux | Advanced (frame-by-frame, layers, filters) | Free | Designers who need detailed animation control | |
| Photoshop | Windows, macOS | Professional (timeline, color, effects) | Paid | High-quality professional GIF production | |
| GIF Maker, GIF Editor | Android | Moderate (crop, resize, filters, stickers) | Free / Paid | Customizing GIFs on mobile with filters and effects | |
| GIF Maker: Meme & GIF Creator | iOS, iPadOS | Advanced (AI generation, 3D styles, loop clips) | Free / Paid | Meme creation and AI-powered GIF editing | |
| PicsArt | Android, iOS, Online | Advanced (photo, video, GIF mixing, text, effects) | Free / Paid | Creative users who want mobile GIF editing | |
|
Show more
Show less
|
|||||
Part 1. The All-In-One Animated GIF Creator You’ll Actually Love
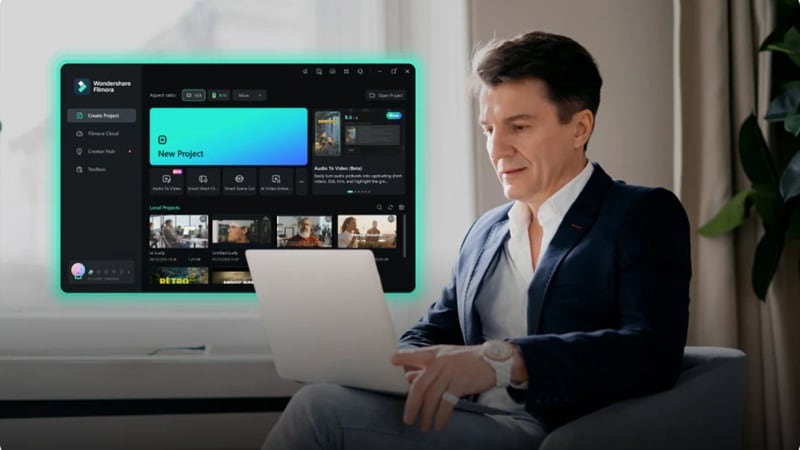
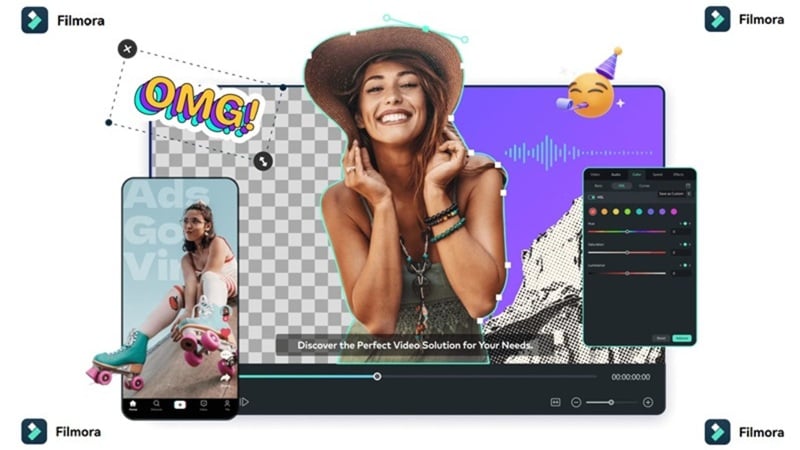
Now that we’ve seen what each tool brings to the table at a glance, let’s break down with the one that does it all. Wondershare Filmora isn’t just a regular video editor, it’s also one of the best AI GIF makers you can use today.
You can turn short clips into looping GIFs, add captions that pop, and layer creative effects without feeling overwhelmed. Everything feels smooth, intuitive, and surprisingly fun to use.
Why Filmora Stands Out as a GIF Maker
Since Filmora is packed with a wide range of creative tools, there are plenty of reasons why it deserves to be called one of the best GIF maker editors. From smart AI features to flexible animation options, here are the highlights that truly make Filmora shine.
1. One-Click GIF Export
Filmora makes GIF creation fast and easy. Just trim your clip, add a few effects, and export it right away as a GIF format. No complicated steps, just smooth results.
2. Describe Your GIF
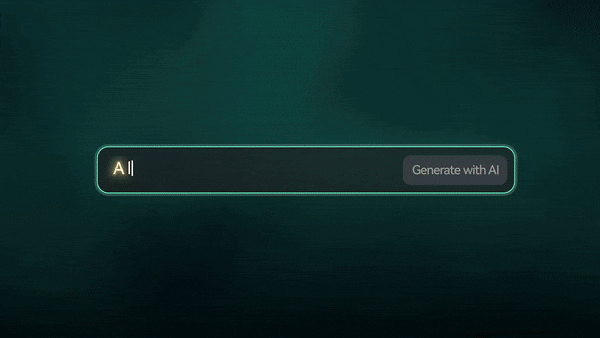
Thanks to its AI video generation tool powered by Veo 3, you can simply type what kind of GIF you want, and Filmora brings it to life. Once the video is ready, you can easily save it as a GIF.
3. Create GIF From Image

You can turn still photos into motion with Filmora’s AI Image-to-Video feature. It automatically animates your picture to create a dynamic clip you can export as a GIF. It’s an easy way to turn your image into a moving GIF.
4. Choose All Kinds Of Style

Filmora’s AI generator gives you full control over how your GIF looks. You can pick from 2D, 3D, painting, or cartoon styles, making it an ideal 3D animated GIF maker for any creative idea.
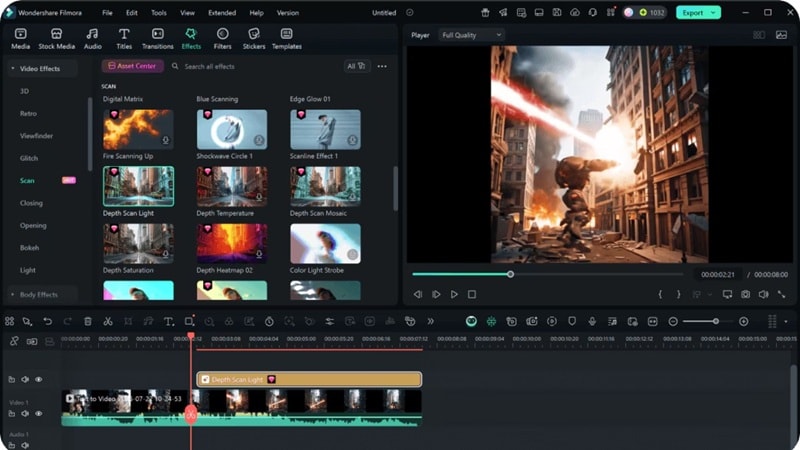
5. AI-Powered Tools
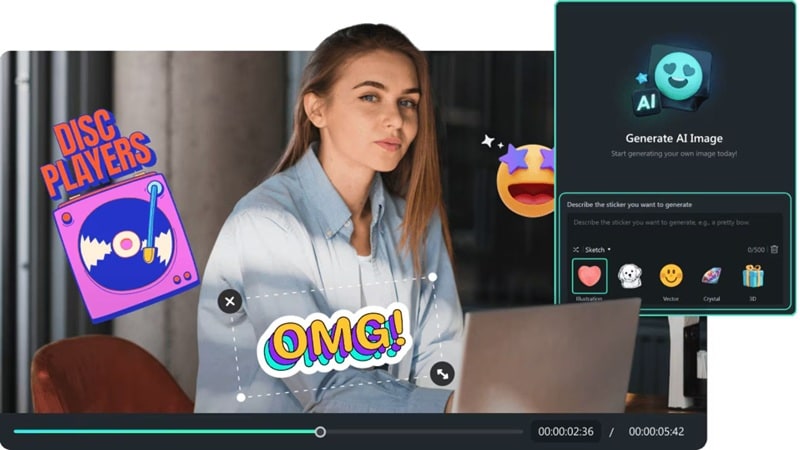
Filmora offers smart AI tools like the AI Image Generator and AI Sticker Generator that help you craft unique animated GIFs. These built-in features make it more than just a regular GIF creator and editor.
6. Cross-Platform Workflow
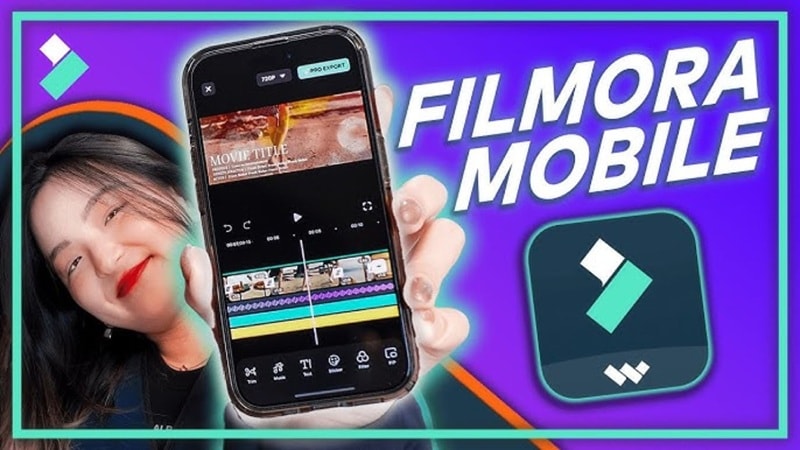
Filmora is the best GIF maker software and an outstanding GIF creator app all at once. It works perfectly across Windows, macOS, and mobile devices (Android and iOS). You can start on your computer and finish the same GIF on your phone without missing a beat.
7. High-Quality Export Options
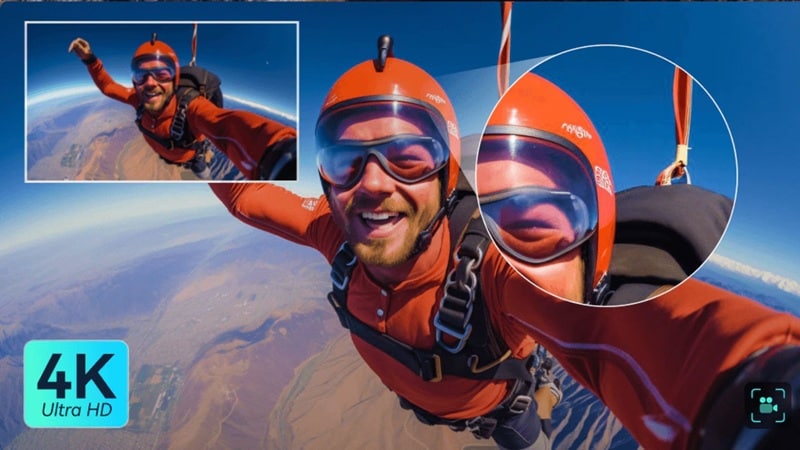
When it’s time to export, Filmora keeps your GIFs looking crisp and clean. You can save them in HD or even 4K without compression loss, which makes it one of the best high-quality GIF generators for both casual and professional creators.
Why it’s the best:
Looking at all those capabilities, it’s no wonder that Filmora should be your first consideration if you’re looking for an easy GIF generator. It combines the creative flexibility of a full video editor with the simplicity of an animated GIF generator. This makes it perfect for creators who want to make more than just basic loops.
Part 2. The Best Online GIF Makers for Fast and Fun Creation
Filmora is amazing for creating high-quality GIFs with all the creative tools you could want. Still, there are times when you just need something quick and simple.
In this case, you can also try online animated GIF makers. They work straight from your browser, load in seconds, and let you turn short clips or photos into fun animated GIFs without downloading a thing.
If that piques your interest, here are some of the best online GIF makers you can try right now.
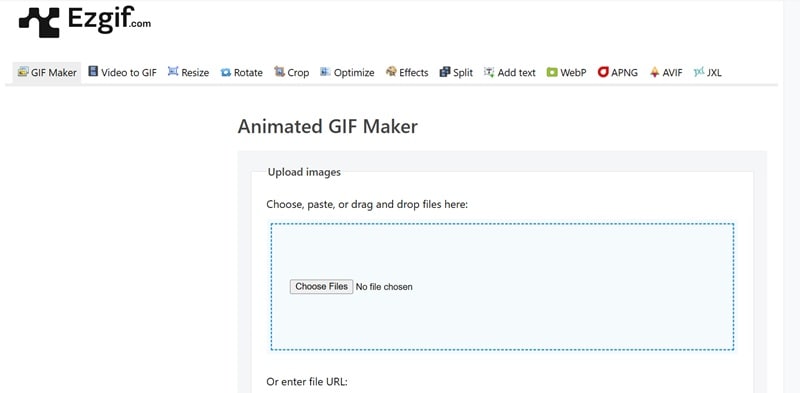
1. Ezgif
Ezgif is the first GIF editor online worth mentioning, and for good reason. It's a completely free GIF maker website that lets you create, convert, and edit GIFs straight from your browser. You can upload your own images or videos, or even paste a direct link to start editing instantly.
- Offers decent customization for GIF editing.
- Lets you edit frame by frame for detailed results.
- Turning images into GIFs takes more effort and may feel tricky for beginners.
- Doesn't include a built-in library of ready-made GIFs.
- Add text and captions to personalize your animated GIFs.
- Apply filters or effects by adjusting colors and adding simple animations.
- Control the playback speed to make your GIFs loop just right.
Great for social media creators, bloggers, or anyone who wants to turn short clips into looping GIFs fast.
Free
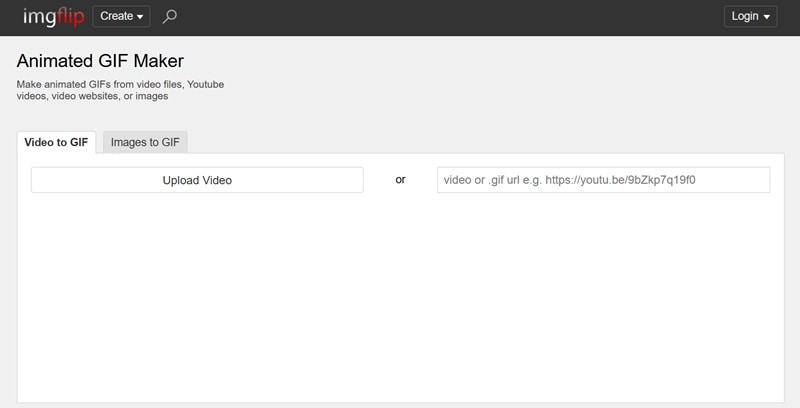
2. Imgflip
Another animated GIF editor online that you can try for quick results is Imgflip. It's one of the most popular online GIF tools because it lets you edit, convert, and create GIFs directly on their site. Much like the Ezgif GIF maker, Imgflip keeps things simple, but what makes it stand out is its built-in community where users can share their creations, browse ideas, and even leave comments.
- Fast GIF processing
- Options for file size optimization and lossy GIF compression
- No sign-in required
- The free version includes a small watermark.
- The preview doesn’t play in real time, so timing adjustments can take a few extra tries.
- Upload files or paste links for quick GIF creation.
- Adjust width, FPS, and speed to fine-tune your GIF loop.
- Add text or images to give your GIFs more personality.
Ideal for content creators and social media users who enjoy adding text and stickers for more expressive GIFs.
Free version available, paid plans start at $12.95 per month
3. GIPHY GIF Maker
GIPHY GIF Maker is the last animated GIF maker free online that deserves a spot on this list. You've probably seen GIPHY before since it's one of the most popular GIF libraries on the internet. What many don't realize is that you can also create your own GIFs right inside the platform.

- Available on Android and iOS, making it easy to create GIFs anywhere.
- Seamlessly integrates with platforms like Instagram, X, and Discord for instant sharing.
- Requires logging in before you can start creating GIFs.
- Limited editing tools compared to full-featured GIF editors.
- Add fun animation effects like bounce, spin, or zoom to make your GIFs come alive.
- Use the built-in lasso tool to remove image backgrounds with ease.
- Access GIPHY's massive free GIF library for inspiration or quick sharing.
Perfect for meme creators and casual users who want to build funny or trending GIFs.
Free
Part 3. The Best Desktop GIF Maker Software to Try
Online GIF tools are great when you need something quick, but if you want the best quality and full control, desktop GIF makers are the best solution. They're built for precision, stability, and creative flexibility, making them ideal for longer edits or professional projects.
And here are some of the best GIF makers for PC:
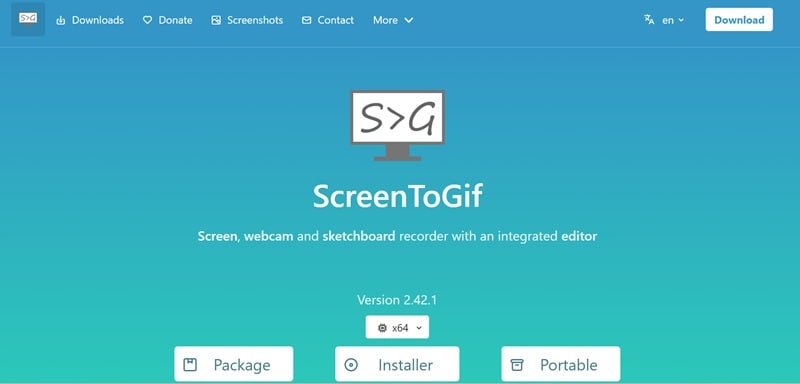
1. ScreenToGif
For our first pick, we have a GIF creator for Windows called ScreenToGif. It's an open-source program, which means it's a completely free GIF creator that you can download and start using right away. The app is simple, neat, and runs smoothly even on older computers.
- Lets you save custom tasks to apply effects automatically.
- Lightweight software that barely takes up storage space.
- Only supports recording-based GIFs.
- Doesn't allow uploading your own images or videos to convert into GIFs.
- Record your screen, webcam, or digital sketch board easily.
- Use the built-in editor to trim, add text, and export your work as a GIF.
- Available in 24 languages, including English, Italian, and Chinese.
Ideal for creating step-by-step tutorials, quick demos, and software walkthroughs in GIF format.
Free
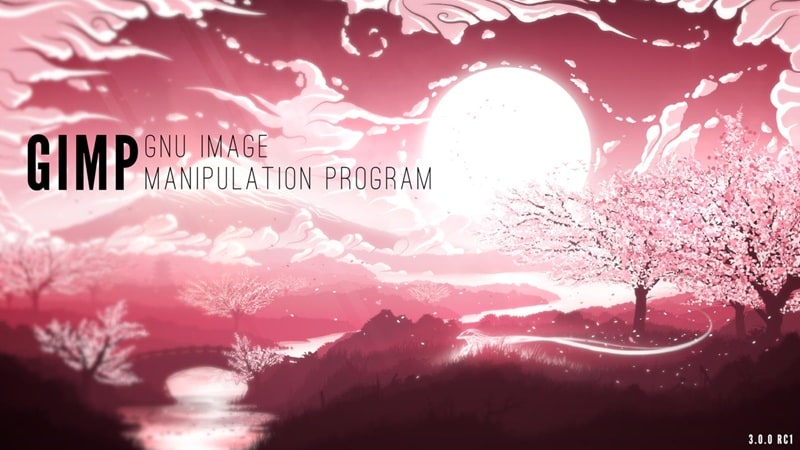
2. GIMP
For our next pick, we have another free GIF creator editor called GIMP. This open-source image editor is well-known for its professional-level tools, but it can also be used to make high-quality GIFs. It offers deep customization options, allowing you to edit photos and design detailed frames that come together as smooth, animated loops.
- You can modify its source code to make it even more GIF-friendly.
- Offers plug-ins and add-ons for more creative control.
- Not ideal for beginners due to its complex interface.
- You can't upload videos to convert directly into GIFs.
- Create frame-by-frame animations for custom GIFs.
- Use layers and filters to refine your visuals before exporting.
- Adjust timing and looping options for full control over your animated GIFs.
Perfect for graphic designers and illustrators who want to create detailed, high-quality animated GIFs.
Free
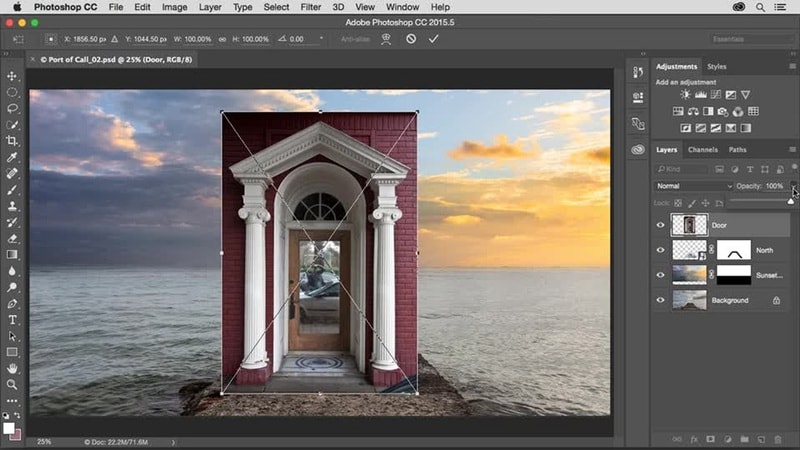
3. Adobe Photoshop
Photoshop by Adobe closes our list as one of the best GIF creator software for professionals. While it's best known as a photo editor like GIMP, it also works as a powerful animated GIF editor. It gives you full control over colors, layers, and timing.
- Delivers smooth animation playback with detailed timeline editing.
- Integrates seamlessly with other Adobe Creative Cloud apps.
- Requires a subscription, which can be expensive for casual users.
- Not ideal for quick, simple GIF edits.
- Use the Timeline panel to create frame-based or video-based GIF animations.
- Adjust colors, exposure, and filters for smooth, professional-looking results.
- Export high-quality GIFs through the "Save for Web" option for precise optimization.
Perfect for designers, animators, and content creators who need precise control and the highest quality in their animated GIF projects.
$22.99 per month (billed annually)
Part 4. The Best Mobile GIF Maker Apps for Quick Creations
After exploring desktop tools, it's time to move to something a little more portable. Creating GIFs on your phone is quick, fun, and surprisingly flexible. And below, we'll break down some of the best animated GIF maker apps that make it easy to create and share your ideas anytime, anywhere.
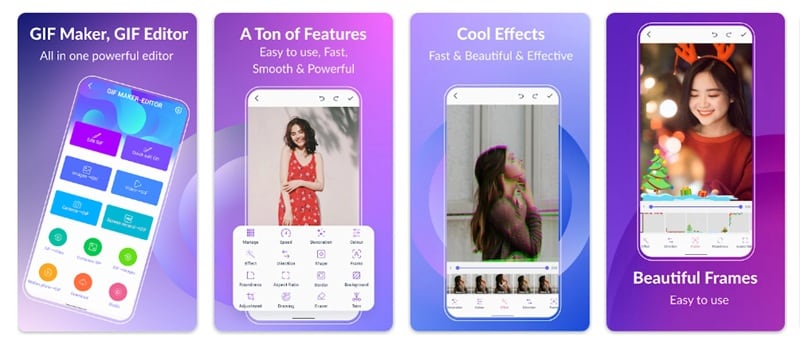
1. GIF Maker, GIF Editor
GIF Maker, GIF Editor opens up our list as a fun and easy GIF generator app. Just like its name suggests, it doesn't only let you make GIFs but also edit them with a bunch of creative tools. You can crop, resize, trim, adjust speed, and even add emojis, stickers, filters, and text.
- Convert GIFs to videos in just a few taps.
- No watermark on your finished GIFs.
- Pop-up ads can interrupt the editing flow.
- Frame trimming and selection could be a bit more precise.
- Bring your GIFs to life with background options like transparent, gradient, blur, or solid colors.
- Add stylish text or labels to personalize your animated GIFs.
- Use popular effects such as 1977, Amaro, Brannan, Early Bird, Hefe, Glitch, and VHS styles.
Ideal for content creators, Android users, and casual creators who love customizing GIFs with filters, text, and effects.
Free version available, with in-app purchases starting at $2 per item
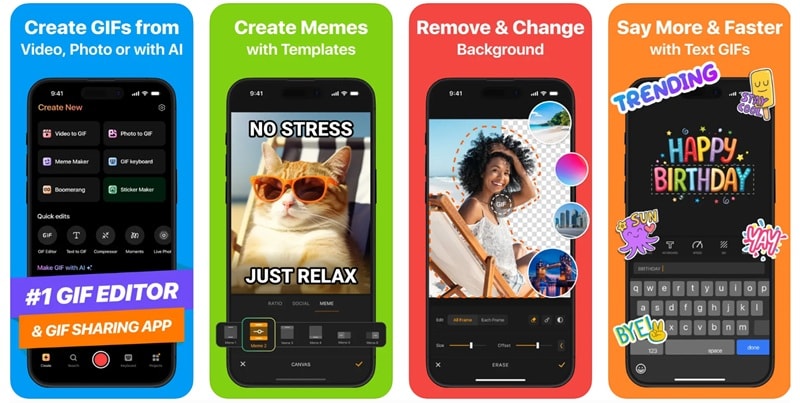
2. GIF Maker: Meme & GIF Creator
Continuing down our list is GIF Maker: Meme & GIF Creator, an AI GIF creator that makes generating and editing GIFs feel effortless. Its clean and modern interface makes it fun to use, while its smart AI tools can even create 3D-style animations. It's a great 3D GIF maker for iPhone users who want creative results without spending hours editing.
- Multiple GIF creation options, including AI-powered tools for quick results.
- Easy social sharing straight from the app.
- The free trial lasts only three days, and the subscription can get pricey.
- Takes a lot of storage from your phone (206MB).
- Generate GIFs from text prompts using built-in AI.
- Remove or replace GIF backgrounds using built-in templates and assets.
- Create short looped video clips with smooth playback.
Perfect for meme creators and social media users who want an AI-powered GIF generator for instant results.
Free trial available, with paid plans starting at $4.99 per week
3. PicsArt GIF Generator
Finally, we’d like to recommend PicsArt, a well-known and complete animated GIF generator app. While most people know PicsArt as a photo editor, it also offers a powerful GIF maker that gives you everything in one place. You can mix images, short videos, and even other GIFs to create your own unique animated GIFs with ease.

- Access a library of animated masks and stickers for extra creativity.
- Search and import from GIPHY to enhance your GIFs with trending visuals.
- Once you move to the next step, it doesn't let you go back to fix small mistakes.
- Can occasionally crash during editing sessions.
- Use the in-app camera to record videos or capture burst images for instant GIFs.
- Add stylish text and captions with a wide selection of fonts.
- Share your GIFs directly to PicsArt, Facebook, Instagram, Twitter, Messenger, and WhatsApp.
Perfect for mobile creators, influencers, and designers who want a GIF maker and editor with plenty of creative effects.
Free version available, paid plans start at $13 per month
Conclusion
Using GIFs is one of the most fun ways to express emotions, ideas, or reactions online. Finding a good GIF maker, however, can take some effort with so many options out there. That’s why this guide rounded up the best animated GIF makers across every platform, from online tools to desktop and mobile apps.
We explored everything from popular names like GIPHY to hidden gems like GIF Maker: Meme & GIF Creator. Each one has its strengths, but the AI GIF creator that truly stands out is Wondershare Filmora.
With its powerful AI tools, you can describe a GIF with text, turn photos into motion, or even create stunning 3D-style animations. It’s the perfect choice if you want a GIF maker that’s fun, flexible, and built for creativity.
FAQs About GIF Makers
-
Can I make high-quality GIFs without losing detail?
Yes, you can create HD or even 4K GIFs if the software supports it. GIF maker software like Filmora lets you export high-quality animated GIFs that stay sharp and clear, even after editing or resizing. -
Can I make 3D or AI GIFs?
You can now make 3D GIFs and AI-powered animations using modern tools. Filmora’s AI GIF generator helps you turn photos or short clips into dynamic animated GIFs with creative effects and styles that look smooth and polished. -
What’s the best GIF maker for Windows?
For Windows users, Filmora stands out as one of the best GIF creator software options. It combines an easy interface with advanced editing tools, letting you crop, trim, animate, and export GIFs at high quality without any hassle. -
Can I create GIFs from videos on mobile?
Yes, many mobile GIF maker apps let you turn short clips into looping animations. Filmora’s mobile app makes this even easier by giving you quick tools to trim, resize, and add filters, making it one of the best GIF makers for Android and iOS.
