

 TL;DR:
iMovie is Apple's free, pre-installed video editor exclusive to Mac and iOS that provides basic drag-and-drop tools to trim clips, apply transitions, and export projects up to 4K resolution in MP4 or MOV formats.
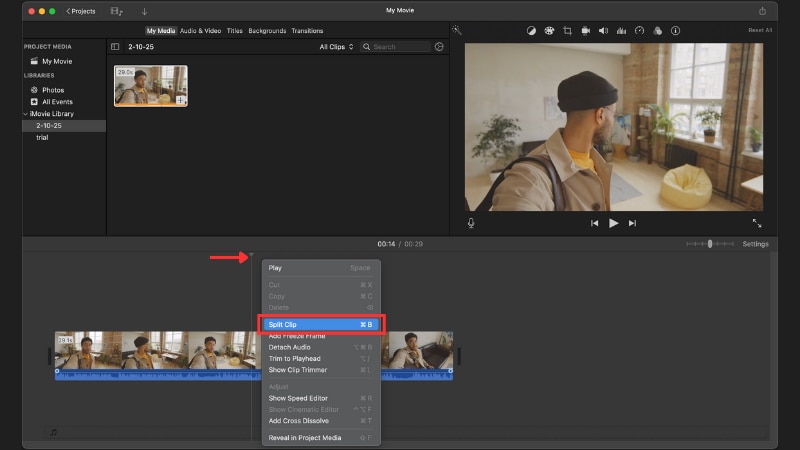
● Edit footage by dragging clip edges or pressing Command + B to split clips, and manually use the Titles tool to create subtitles since a dedicated subtitle feature is unavailable.
● The application requires 2-3 GB of initial local storage, consumes substantial additional space for 4K media files, and completely lacks advanced professional features like motion tracking or detailed color grading.
● Windows users or creators requiring cross-platform compatibility and AI-driven workflows must use alternative editors like Wondershare Filmora, as iMovie offers no official Windows release.
Ask AI for a summary
 ChatGPT
 Perplexity
 Gemini
 Claude
 Grok
Grok
Do you want to know how to edit video using iMovie on your Mac without adding extra tools? Many new Mac users need an editor that handles simple projects without the complexity of advanced software. iMovie fills that role and makes editing more approachable.
If you're curious about how to use iMovie on Mac, this guide will walk you through the basics. You'll learn what iMovie is, how to get started, and its pros and cons. We'll also share a reliable iMovie alternative for Windows users. Let's get started!

Part 1. What is iMovie?
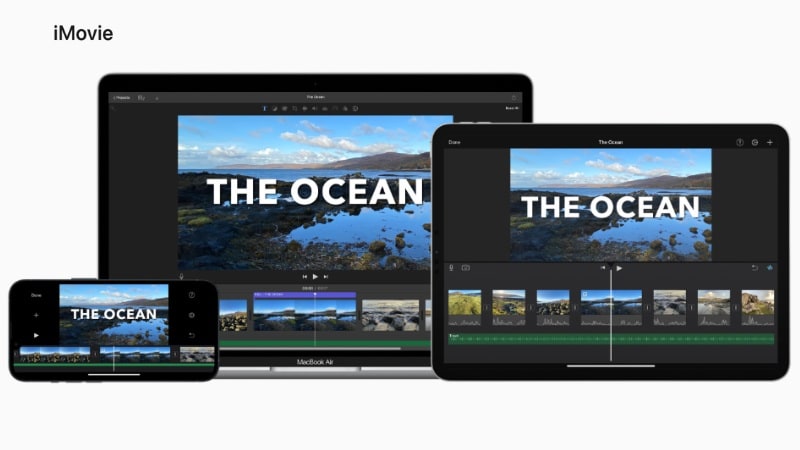
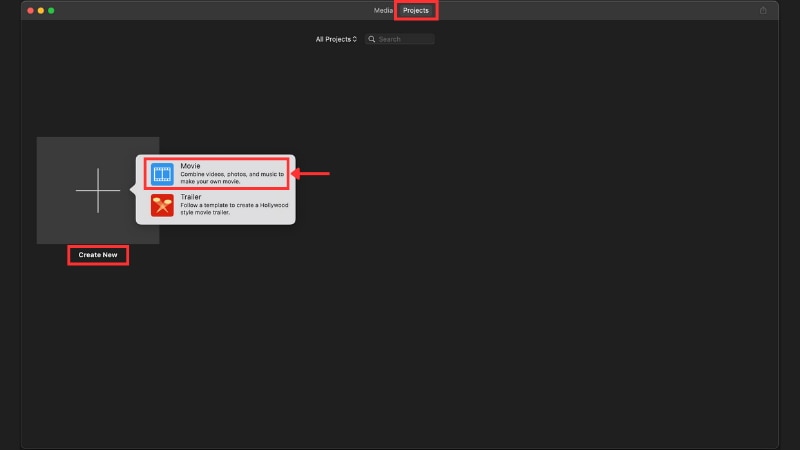
Before learning how to edit video using iMovie, it helps to first understand what the app offers. iMovie is Apple's free video editing software available on Mac and iOS devices. You don't need to install or download iMovie on a new Mac since it comes pre-installed.
- Simple Editing Tools: Cut, trim, split, and merge video clips in just a few steps. The drag-and-drop workflow makes editing faster.
- Transitions and Effects: Choose from built-in transitions and visual effects to polish your video. Apply them easily with a single click.
- Audio Editing: Adjust audio levels or reduce background noise with built-in tools. Add background music or voiceovers directly to your project.
- Integration with Apple Ecosystem: Import photos, music, and videos from iCloud or Photos. Share projects easily to Apple devices and apps.
- Trailer Maker: Create cinematic trailers using pre-designed storyboards. Add titles, music, and footage to match the template.
- iMovie works on Mac computers, iPhones, and iPads. Projects can move between devices through iCloud without extra steps.
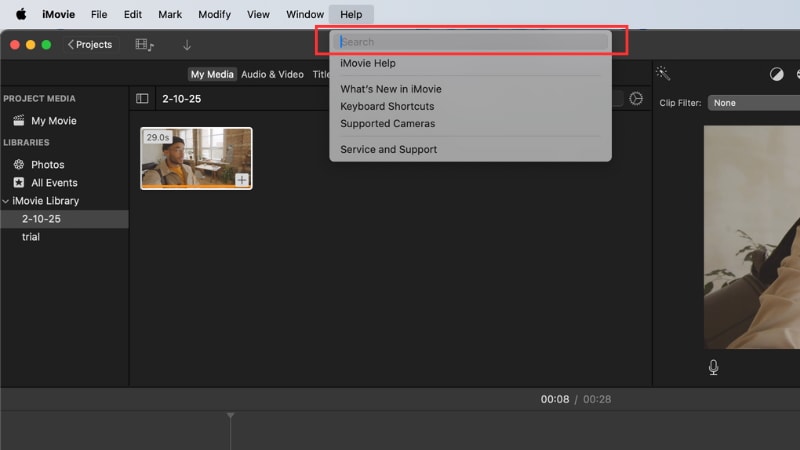
- If you don't see iMovie on your device, you can download it for free from the App Store.
Part 2. How to Edit Video in iMovie: Trimming Clips and Pro Techniques on Mac/iOS
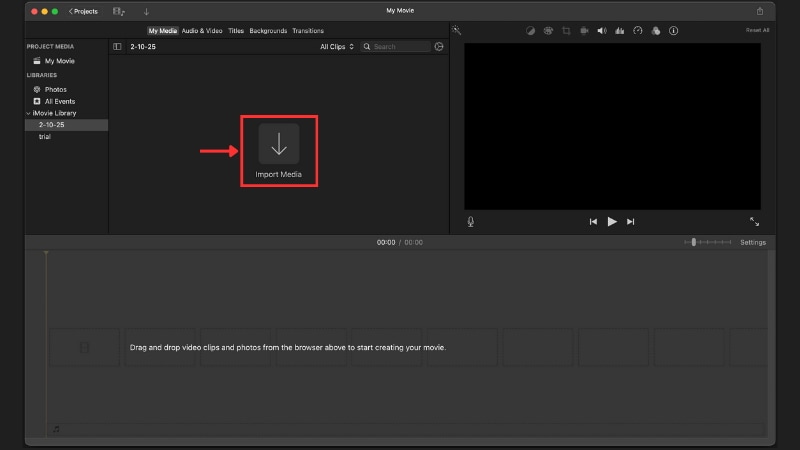
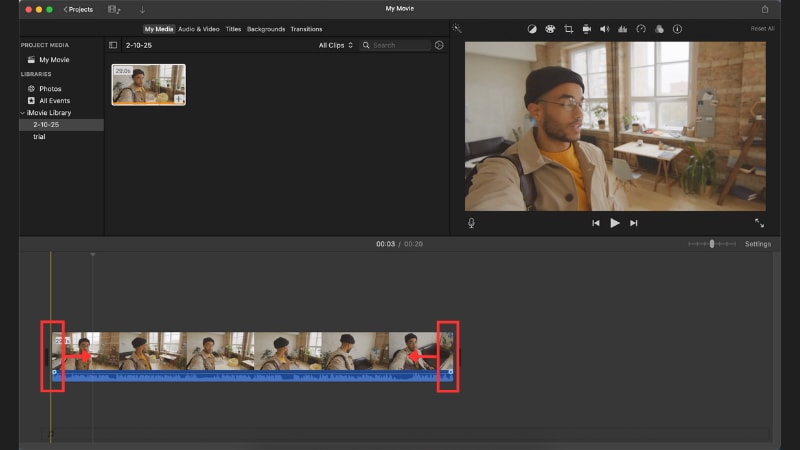
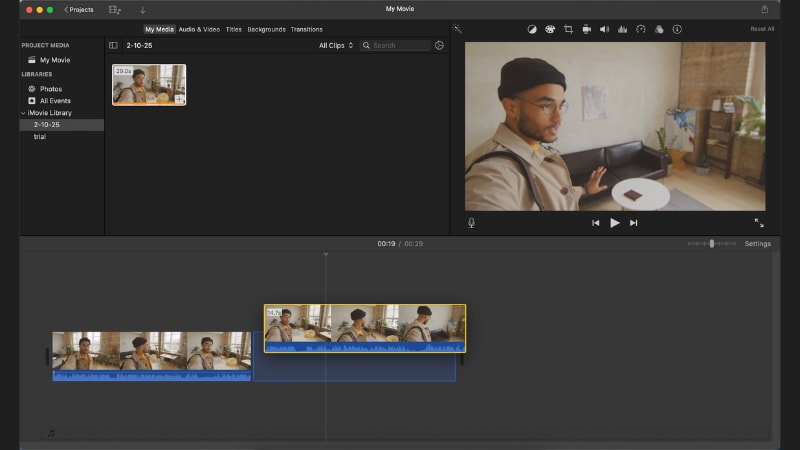
If you are new to video editing, learning how to edit video in iMovie on Mac or how to edit clips in iMovie on your iPhone is straightforward. We'll guide you through the essentials, starting with the most basic function: how to trim video in iMovie. The process is simple, whether you need to edit movie in iMovie on your computer or edit video in iMovie on iPad.
Now that you understand how to edit video in iMovie for basic cuts, trimming, and even handling vertical video, you can efficiently start your project. To truly edit movie in iMovie effectively, practice these steps.
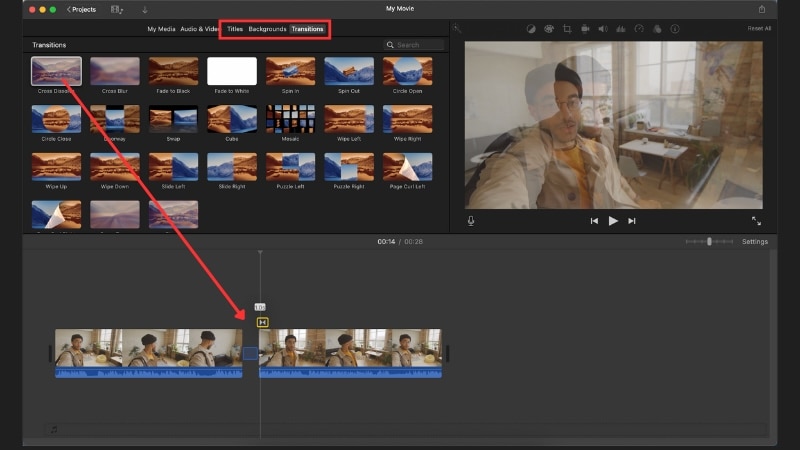
- Go to the Transitions panel and drag your desired effect (e.g., Cross Dissolve, Slide) between clips.
- Open the Titles tab to add text overlays like opening titles or credits, and customize font, size, and color.
- Select a clip and choose a style from the Filters panel to adjust your video's look.
Part 3. Pros and Cons of iMovie
After learning how to use iMovie on a MacBook, we know that this editor is beginner-friendly and comes with practical tools. But it does not cover every editing need. iMovie also has its own benefits and its limits.

- iMovie is free and already included on new Macs, so you can start editing without extra downloads.
- Its interface is simple, with drag-and-drop controls that make trimming and arranging clips easy to learn.
- The app works smoothly with Apple's ecosystem, letting you import from Photos or iCloud.
- It also supports 4K editing and exporting, which ensures videos look sharp on modern displays.
- iMovie only works on Apple devices, so Windows or Android users cannot use it.
- Its feature set is limited and does not include advanced tools like motion tracking or detailed color grading.
- Video projects can take up a lot of storage space, especially when working with 4K footage.
- For professional work, iMovie often feels restrictive compared to more advanced editors.
iMovie Limitations & The Best Alternative for Windows/Mac (Filmora)
Many new editors wonder how to use iMovie on Windows, but iMovie is only available for Apple devices. There is no official version for Windows, so users need to find an alternative. The best option is Wondershare Filmora, an easy-to-use yet powerful editor that works perfectly on Windows and Mac.
- AI Editing Tools: Includes AI Subtitles, AI Audio Enhancer, Smart Cutout, and Text to Speech that speed up the editing process.
- Creative Assets Library: Access Filmora's built-in creative assets. It includes transitions, effects, stickers, titles, and overlays, which expand editing possibilities beyond iMovie.
- Built-in Templates: Ready-to-use project templates save time and help you create polished videos quickly.
Filmora is available on both Windows and Mac. It also has mobile apps on Android and iOS devices, so you can edit across platforms without restrictions. Its interface is straightforward, making it suitable for anyone new to editing while still offering advanced functions for more complex projects.
Conclusion
Now you know how to edit video using iMovie with its built-in tools on a Mac. iMovie covers the basics of trimming, arranging clips, and exporting in high quality.
This guide has explained how to use iMovie on Mac and introduced an alternative if you're using Windows. Start your first project today and practice editing with the tools you've learned.
Frequently Asked Questions
-
How much storage space does iMovie need on a Mac?
iMovie usually takes around 2-3 GB of storage on a Mac, depending on the version. Keep in mind that projects and media files can require much more space, especially when editing in 4K. -
Is iMovie good enough for YouTube videos?
Yes, iMovie works well for YouTube. It lets you trim, add transitions, insert titles, and export in 1080p or 4K, which covers most needs for content creators. -
Can you add subtitles directly in iMovie?
iMovie doesn't have a dedicated subtitle feature, but you can add text using the Titles tool. Place titles on the timeline, adjust the timing, and use them as subtitles. -
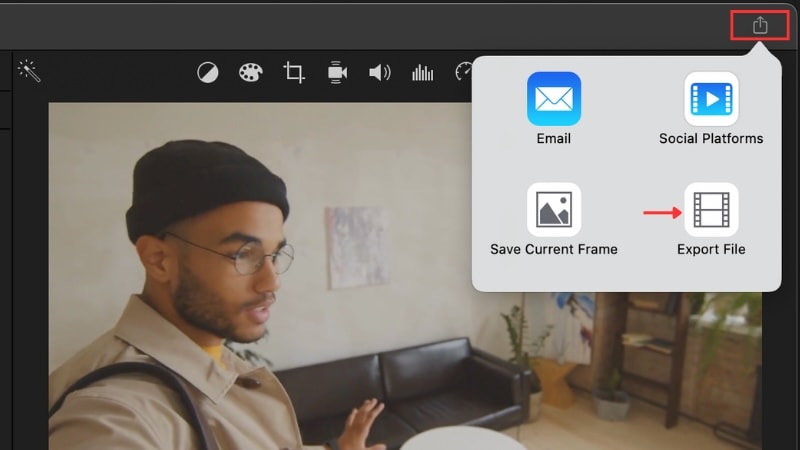
What formats can iMovie export to?
iMovie exports videos in MP4 (H.264) and MOV formats. You can also adjust resolution settings, including 720p, 1080p, and 4K, before saving or uploading your video.
