Transcript
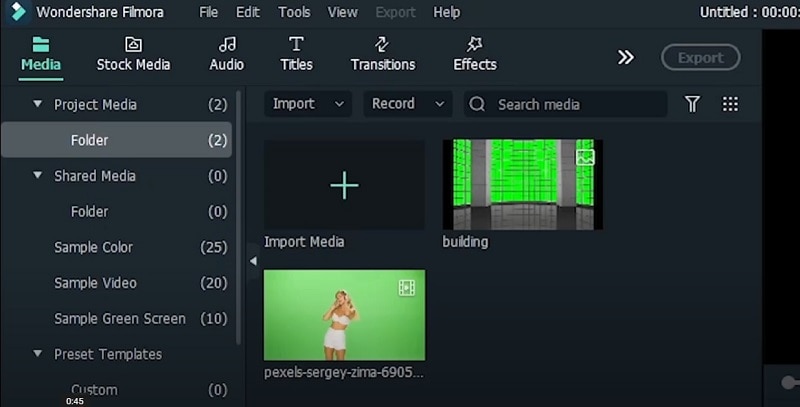
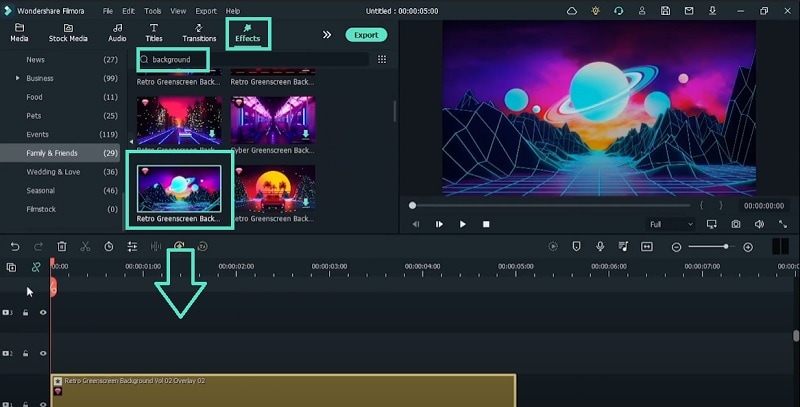
You will need a greenscreen video of someone dancing and a photograph of a building with a greenscreen behind the windows. First, we need a background, go to Effects and search for “Background”.
Drag “Retro Greenscreen Background Vol 02 Overlay 02” onto your timeline. Place the building photograph on top of the background in your timeline. Go to Image> Transform and scale it to cover the background image.
Import your video clip onto Project and drag it onto the timeline. Zoom out the timeline and move the playhead forward where there is nothing. Copy and paste the original video and select the duplicate video.
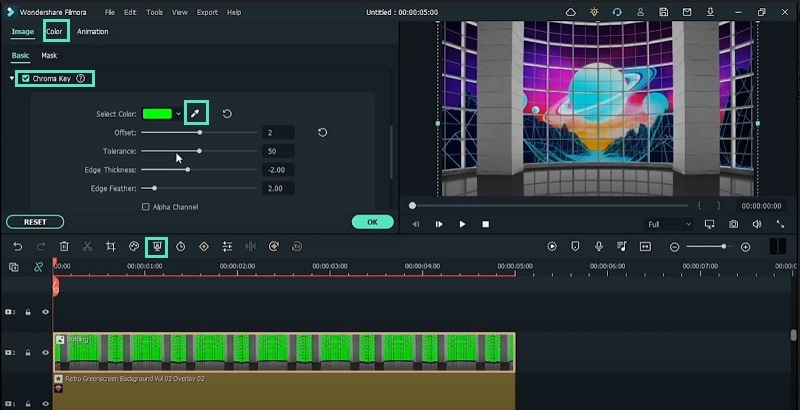
Get rid of the greenscreen by clicking on the image and click on Chroma key icon. Use the eyedropper icon to select the proper green color of the image. You can work with the settings for perfection.
Go to Color section and under Tone, lower the brightness and increase contrast to represent night time. Now, drag the dance video right on top and keep on track empty below it. Turn on Chroma key as usual.
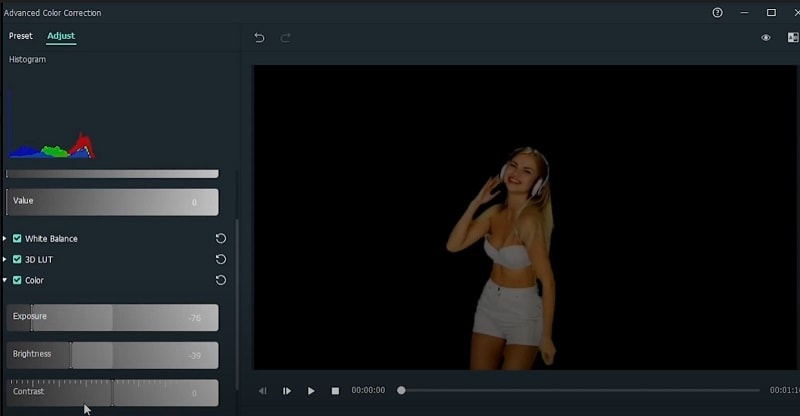
You will see a faded color and you have to adjust the offset setting to get rid of the faded effect. Select the video and go to Color section. Click on Advanced> Adjust> Color. Decrease Exposure and Brightness to make the subject dark.
Increase some contrast and reduce saturation to hide the detail of the subject. Go to Effects and search for “Chalk” and add onto the video. The subject will become a silhouette, and there will be glowing neon around her.
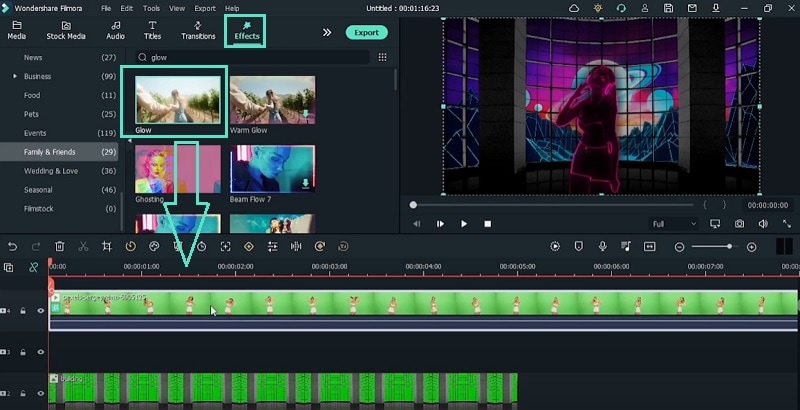
Double-click the video and go to Effect> Chalk Edge and change the color if you want to. Search for “glow” under Effects menu, and add Glow effect directly onto the video. Double-click and go to Effect>Glow to adjust the effect.
Split the video where the background image ends and get rid of the unnecessary parts. Copy and paste with video with all the effects and drag the duplicate video right on top. Go to Video>Effect> Chalk Edge and change the color to black.
Split the top video clip where you want the neon lines to show up and get rid of the beginning part. Split the video clip again after some time, and we will add another effect for the rest of the part.
Go to Effects> AI Portrait and bring up the later part of the split video to the top of the timeline. Drag and drop Background Afterimage 03 effect to the top clip onto the timeline. Go to Video> Effect and adjust the parameters for the new effect.
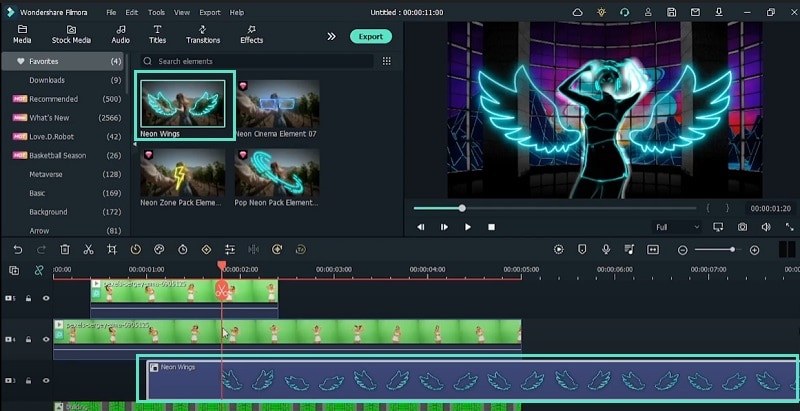
Go to the track that we left blank above the greenscreen background image. Go to Elements and search for Neon Wings. Add the element to the empty track and keep its duration as per your preference.
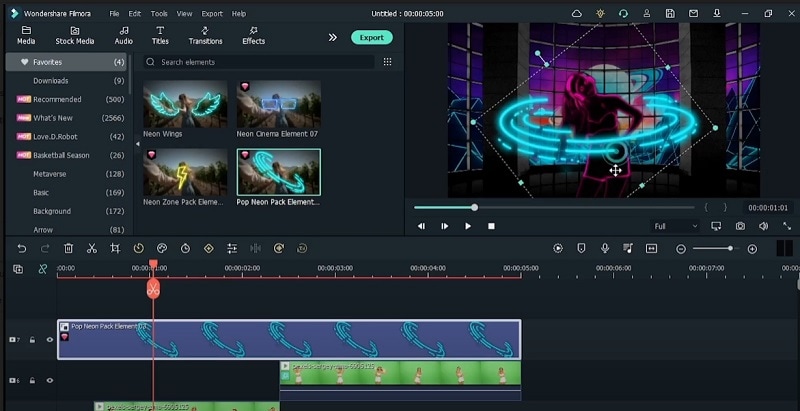
You can also add Elements> Pop Neon Pack Element and adjust its duration based on where you want it to appear and disappear. You can also scale in or scale out the elements for perfect fitting with the subject.
Go to Effects> Filters> Color Correction and add Kickin effect at the top of the timeline, and it will give a retro dance effect. We are finished now, and you can play and watch the video. It is as simple as that.
How to Add Background Afterimage in A Dance Video
What you need to prepare:
- Your computer or laptop
- Greenscreen video of the subject dancing
- Wondershare Filmora video editor
Download and install Filmora on your computer. Launch the application and click on New Project button on the welcome screen. Drag and drop your greenscreen video and building photograph under Project media folder from your hard drive.
Go to Effects menu, search for “background” and drag and drop “Retro Greenscreen Background Vol 02 Overlay 02” onto the timeline. Drag the building photograph onto the timeline above the background.
Click on Chroma Key icon to remove the greenscreen background. Use eyedropper tool to select the exact green color of the image. Adjust the parameters for a better outcome. Go to Color and from Tone, lower brightness and increase contrast for a better retro effect.
Drag the dancing video onto the timeline and place it on top of the others. Keep one track empty for the future. Turn on the Chroma key and adjust the offset to remove any faded effect. Go to Color>Advanced>Adjust> Color and change exposure brightness, contrast, saturation and other parameters to make the subject darker.
Go to Effects and search for “Chalk” and drag and drop Chalk Edge effect onto the video. Double-click on the video and go to Video>Effect and change color as per your preference. Search for “glow” under Effects menu and drag and drop Glow effect onto the video. Double-click on the video, go to Video>Effect> Glow and adjust parameters.
Copy and paste the video clip with its effects on top of the existing clip. Select the duplicate clip and go to Video>Effect> Chalk Edge and change the color to black. Split the video where you want the neon lines to show up and disappear and get rid of the unnecessary parts. Keep the later part as we will add an effect to it.

Go to Effects> AI Portrait and drop the Background Afterimage 03 to the later part located at the top of the timeline. Double-click on the clip and adjust the parameters as per your preference. Add Elements> Neon Wings to the empty track and add Pop Neon Pack Element to the top of the timeline.
Resize and reposition the elements as well as adjust their durations as per their appearance and disappearance on the video. Go to Effects> Filters> Color Correction and drop Kickin effect to the top of the timeline. We are done now and you can play and watch the modified dancing video.
What you’ve learned:
- How to replace greenscreen with a background.
- How to make a neon silhouette of the subject.
- How to create a retro video game effect.


