To make a video with a cloning effect, make sure you’ve got a tripod with a good-quality recorder and a place where the frame's dimensions remain unchanged. With that, now you can begin creating your cloning effect video.
Transcript
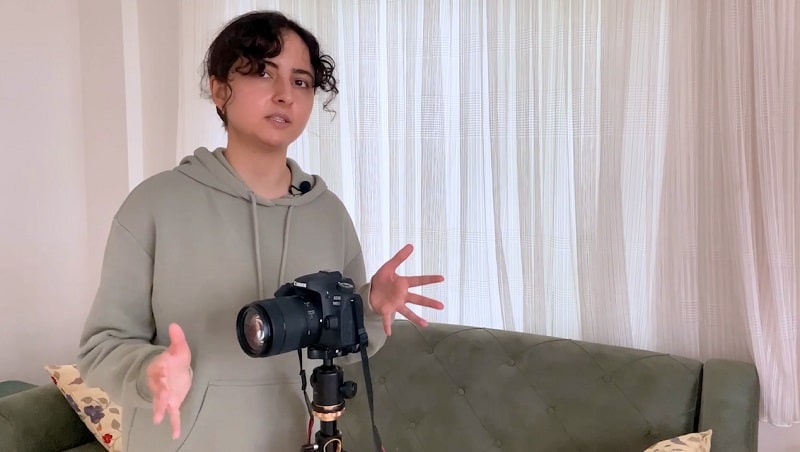
To begin with, make sure you have the equipment required for recording the video scenes. The recording gear includes the Tripod, the camera and a stable place where the tripod does not vibrate or move.
The video demonstration for recording the video is explained here. This includes the same spot as well as the same positioning of the camera so it won’t affect the clone effect. You can use the different outfits as well as the character for different clones.
The equipments requirement for using this superhero effects are camera and a set of videos. It includes two videos, one of which is the scene video and the other one is jumping video of the character.
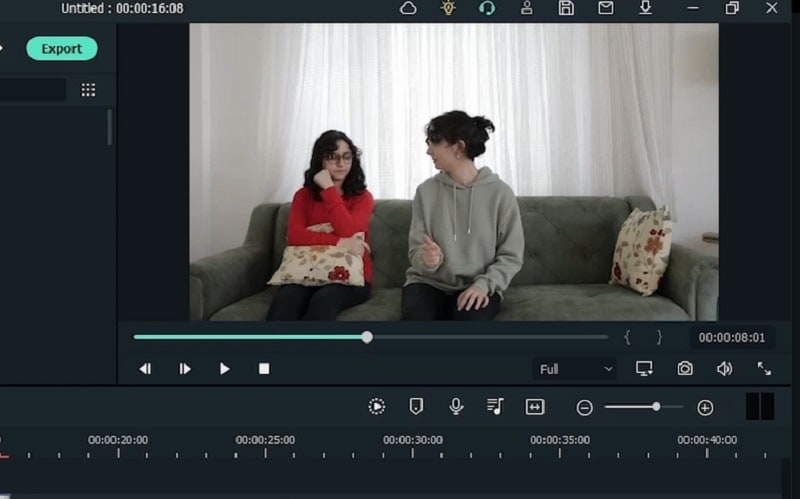
After you have recorded the clone videos, launch the Filmora to use the software editing features to polish the recorded content. You can also preview the recorded content inside the editor to make sure it is well recorded.
After confirming the video, import the recorded videos to the Filmora and drag it to the timeline. You can import all the scenes videos into the software at once and then split the videos into different clones and scenes.
Preview the video for splitting the scenes. Use the preview window to overview the recorded video and then note down the points where the scenes are changing for the clone effect. This can be done within the preview window of the Filmora.
Split the videos of the different scenes. Make the cuts within the timeline using the splitter tool. You can make the different scenes videos and rename them as video 1, video 2, and video 3 for different scenes.
After splitting and renaming the videos, drag the video of the first clone and bring it over the top of the timeline. This will appear in front of other videos as you can see within the Preview.
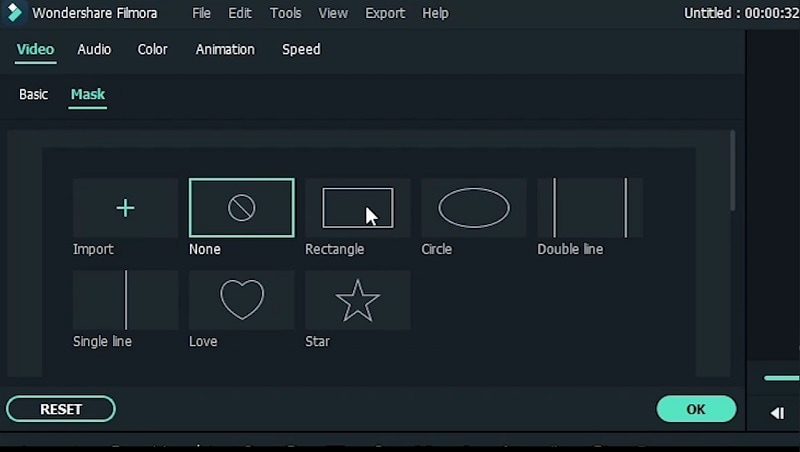
Now, mask out the video in a shape that fits the scene. Double click on the first video and add the mask i-e., rectangular mask to it. You can then adjust the mask using dragging and also the scale slider.
Spot the point where the second video needs to show up. Repeat the masking process in the second video as well. This will open the window for the second video over the third video as you can see in the preview window.
Preview the three videos within the timeline. After you’ve added the mask effects, spot the unrealistic spots of the overall video. This way you can correct them easily.
Now, soften the video edges to make them more realistic. Double-click on video one and adjust the blur strength for this particular video accordingly. Make sure the slider is used to adjust the blurring subtly.
Repeat the process for video 2 and video 3 as well. It will soften the edges of these videos and the videos will look more realistic with the main effect. Use the Blur Strength, Width, Height as well as Radius of the Mask effect to adjust the videos.
Afterwards, you can head over to the transitions menu to add creativity to the videos. This will enhance the video clones and also make them appalling to the audience.
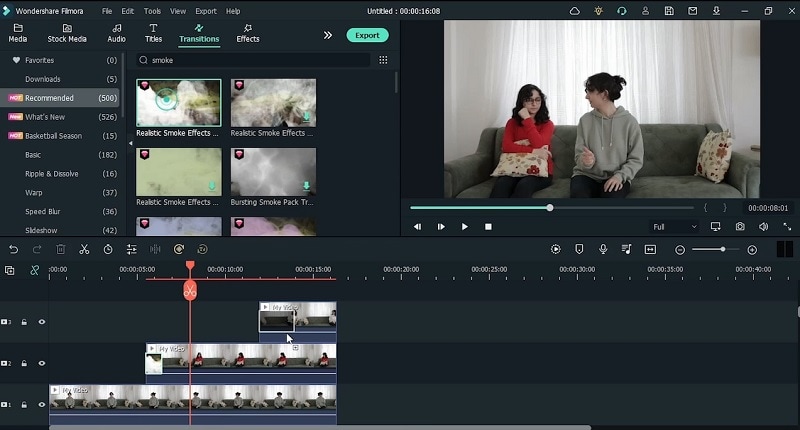
Search for the smoke transitions or any other type of transitions to be introduced into the clone videos. Download your desired transition effect within the Transition window and preview the transition effect before using it on the videos.
Drag and drop the transitions at the beginning and the ending of the videos one by one. In this way, the transitions on the videos will be introduced to all the videos.
Repeat the process for all the other videos as well in order to make them more interesting. Finally, preview the videos and make sure you have added other effects as well in order to make the clone effect realistically.
How to Make a Video with Cloning Effect
What you need to prepare:
- A computer (Windows or macOS)
- Your video materials.
- Filmora video editor
Record the Footage
The first step in this regard is the video content that you need to record before the editing. For that, you will need a place where you can record three videos without any changes in the dimensions and resolutions. Head over to the next step if you’ve done that recording process.
Download and Install Filmora
Introduce Wondershare Filmora to your PC by visiting the links we have mentioned here. Make sure you download the latest version with your compatible OS i-e., Windows or Mac. After that, open the downloaded file and install the software to your system using the suggested settings.
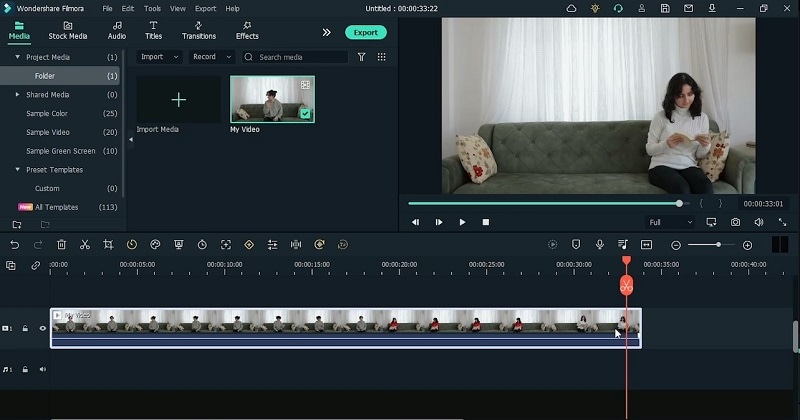
Import and Drag the Footage to Timeline
Now open up the video editor and go straight to the Import section to Import your recorded footage to the Filmora. Regardless of the formats, you can Import your footage with the desired resolution for the video. After the successful import of your videos, drag the files to the timeline and you will be allowed to preview the video content right away.
Split the Videos
If you’ve your videos in a single file then you can split the scenes at the precise duration using the Split tool. For that, hover over the video file where you want to end the first scene and click the Split Scissor to separate the video from the main file. Repeat the process for the other scenes and at the end, delete the unwanted wants for a smooth experience.

Use the Masking to Clone Videos
Now you need to mask your videos to enable them for the Cloning effect. Place your videos on top of the other within the timeline and double-click on the video to open the editing window. Refer to the Mask menu and from there, you can select the shape of your mask effect for a quick edit. Drag and drop it on the video and adjust the edges as per the main video as shown here:
Set the Blur Strength to the Videos
Now the video would be looking a bit unrealistic and to remove the ambiguity, refer to the Blur Strength slider within the editing window and adjust it as per the video. Make sure you also preview the video and save the adjustment after making the smooth edges of your masking video. When finished with the first video, do the same to the other videos as well.

Add Transitions
After you’ve adjusted your cloning videos to the best extent, Filmora allows you to add Transition effects to make them more interesting to the viewers’ eyes. Refer to the Transition menu and pick up your favourite transition from the list. Drag and drop the transition to the start and end of your video within the timeline and that’s it! Your cloning effect video is all set to release.
Preview and Export the Footage
Finally, hit the Export button at the top of the software UI and from there, you can adjust the Exporting properties of your clone effect video in one go. You can set up the final resolution, the desired format, the file location as well as the frames per second. To share your video online, you can refer to the desired platform menu from the Export window and proceed to share your video across the platforms.
Making a clone effect video was never easy as it is with the Filmora. All you require is a decent recorder to record your video without any ambiguity and then open the Filmora to do the clone magic to your recorded content. Download this toolkit right away and start making your clone effect videos on the go.


