Transcript
Sometimes you need epic music videos for epic songs. You will see how to create the rotating effect by using Filmora11.
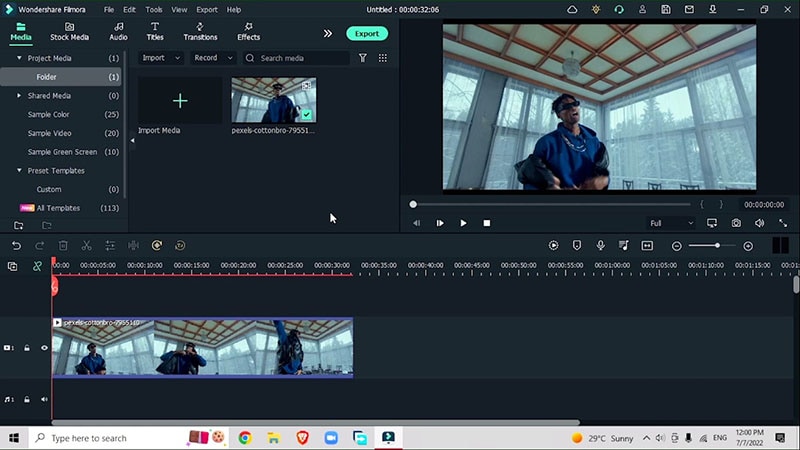
Drag your video onto the timeline. Prefer a video that has one dancer in the song. If you have more people in the video, you will have to do more masking. So to make things easier, just start with one dancer.
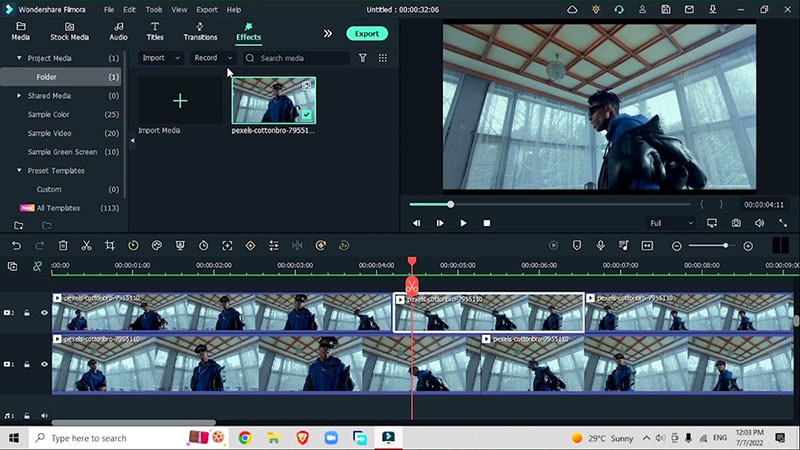
Bring the video on top one more time so you will have the same video on two different tracks. Find out where you want the rotation transition to happen. Before the dancer makes his arm up, on the top video you will cut.
Then just find out where you want this effect to end that will be when the dancer brings the arm down. Then cut there.
Zoom in into the timeline and at the center of the cut the first track. So you will have that cut at the second track. Go to the effects menu, and separate the subject from the background.
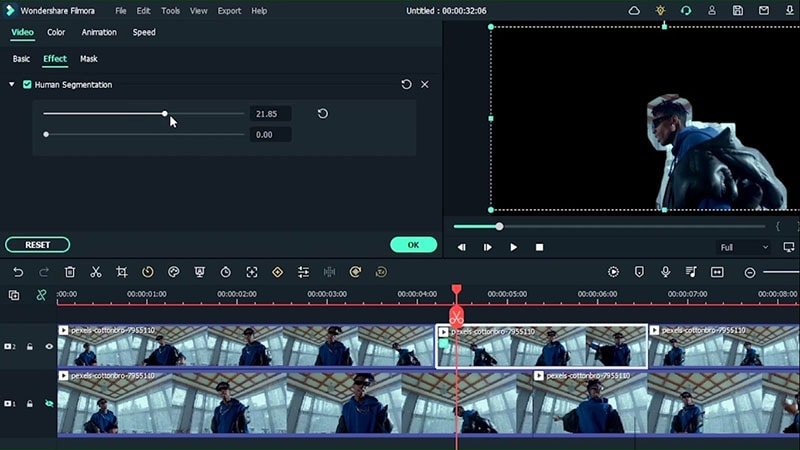
Double-click on the section and work with the settings, go to effect, and use the slider to either bring in or remove out. Feather out the edges to highlight your subject.
Go to the transitions menu, look for a video that will make your video look better in the form, and then rotate the video back into the original location. Go to the wrap section in the effects and add a warm whole effect.
Cut the video and detect the movement of the dancer. Rotate the screen once towards the left and then towards the right. But first, find where the keyframes need to be.
Use your left and right arrow key to look frame by frame. When the dancer is moving his hands upwards, mark the point by hitting ‘M’ on your keyboard. Move forward until you have your second frame. It will be normal left, normal right, and then back to normal.
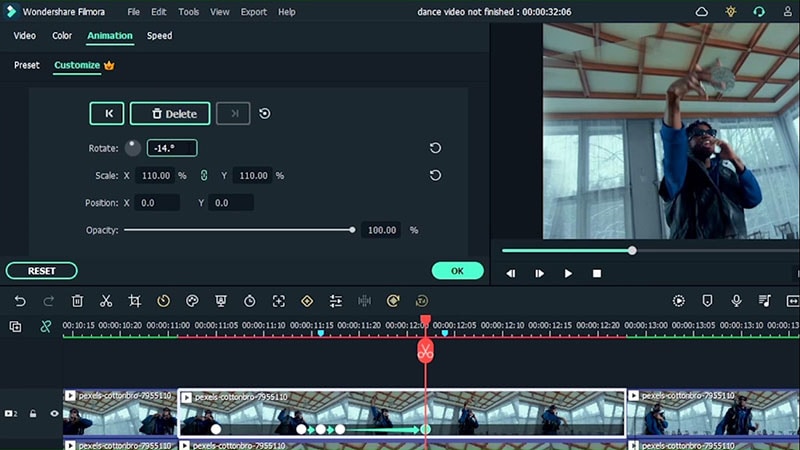
Double-click and go back to the Animation section. Make the first keyframe where everything is normal. Add a keyframe right where the marker was. Use the bar to rotate and adjust the position of the keyframe. Move the keyframes and go towards the left. Make the scale similar to the all videos. Keep the rotation zero.
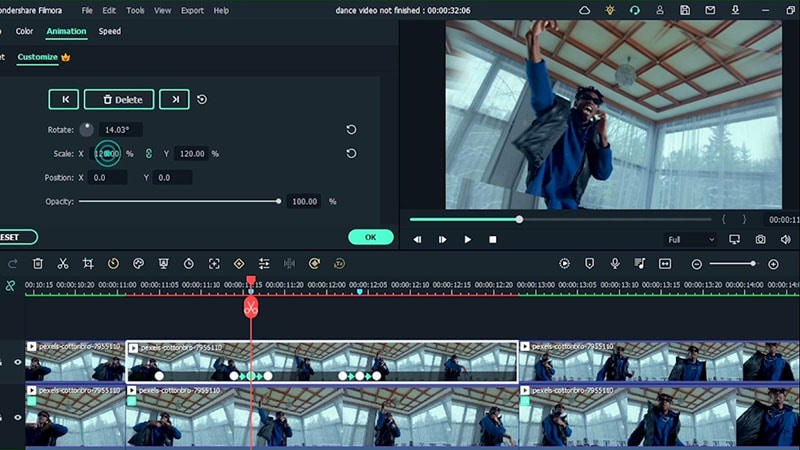
On the second keyframe where you need the rotation, go back, double-click, edit the keyframe, and zoom onto your subject. With rotation, also adjust the scale for the dancer. Do the same thing for the other keyframe.
Move the keyframe to either lengthen or shorten the effect. The shorter the space, the faster it will be. Finish the video when the character is closer to the camera. Cut both clips. Now fade out the ends by grabbing on the pre-sets. Move the keyframe so that it starts fading out. Now export the video.
Create a new project and bring in your base video. Drag it onto the timeline and look for the areas where that effect will be happening. Then cut. Do the same thing when you rotate. So you will have two cuts, add them to the first video.
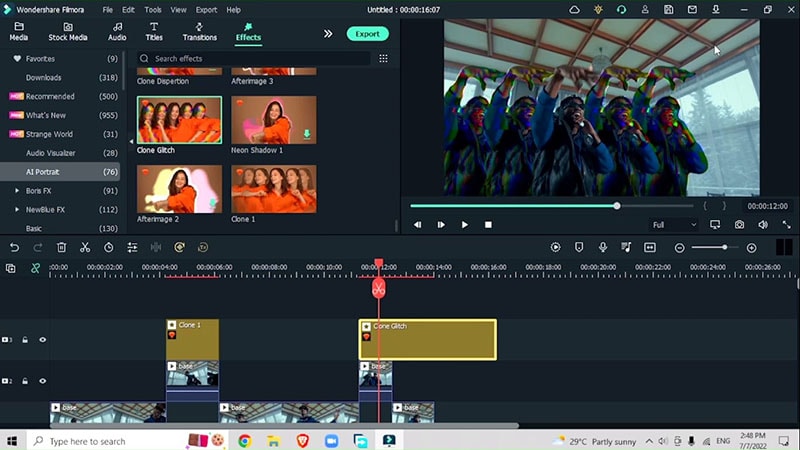
Head on to the effects menu, go to AI portrait, and apply any effect of your choice. Add it to the cut. Then for the second effect, use another effect like clone glitch. Add cinematic bars to your video.
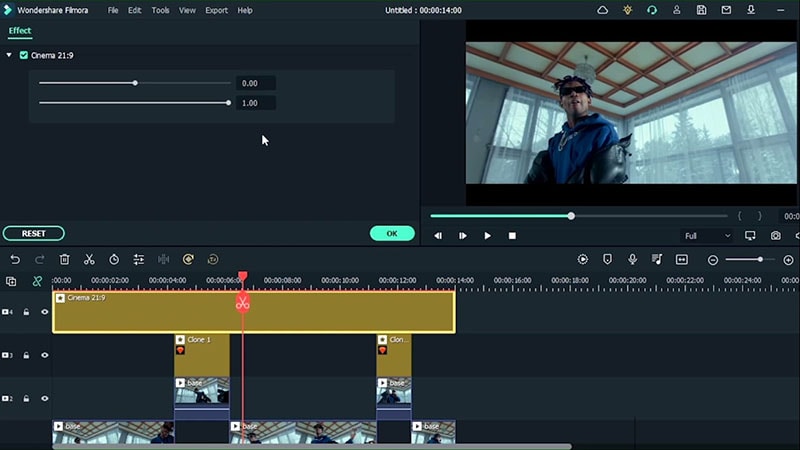
Go to the effects menu, type cinema, and then add it up on your all other tracks. Match to the duration. Double click and see how many of the bars you will be looking for, make them less by moving towards the left. Bring the video back, type in the zoom-in transitions menu, and add it in between the two videos. Go ahead and add the same one at the end of the transition. Make sure that the duration is the same.
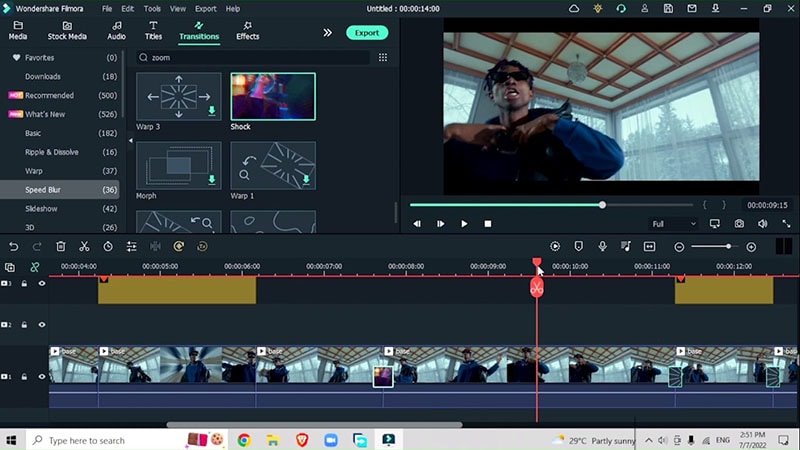
For the parts where you don't have the effect, you can easily create some motions using the transitions. Cut and add the effect like shock and this way you will get the cooler effect.
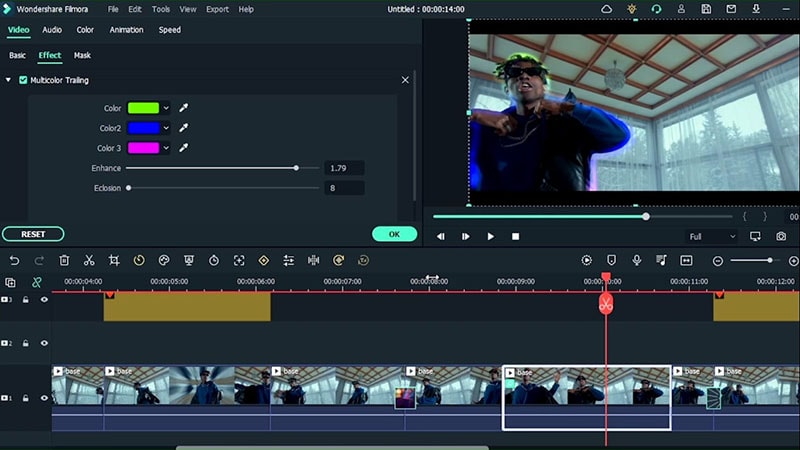
Go to effects menu, add multicolor training effect. Double-click and adjust the colors. Then add transitions before the effect so it will look cleaner. And now you will be finished.
How to Create Magic Mask Music Videos
What you need to prepare:
- A computer (Windows or macOS)
- Your video materials.
- Filmora video editor
Download and Install Filmora
To begin with, you need to install the latest version of the software on your system. Be it Windows or Mac, Filmora supports both the leading OS.

Import the Footage
After launching Filmora, import the footage of the music video with a dancer into the Filmora timeline and drag it down, to begin with, the editing. Drag the footage down two times onto different tracks.
Mark Points for Rotation Effect
See your video thoroughly and find the points where you want to add your rotation effect. Mark the points by hitting ‘M’ on your keyboard. For example, we need to add rotation when the dancer brings his arms up.
Separate Subject from the Background
To separate your subject from the background, Go to Effects > AI portrait > human segmentation effect and drag it down on the segment. If you hide the first track then you will have the human subject only. Double-click on the effect and adjust the intensity of the effect. Don’t forget to feather out the edges of the video to give a more natural look.
Add Transitions
Go to the transitions menu > Warp > Wormhole effect (you can add any transition depending on your video type and preferred rotation effect setting)
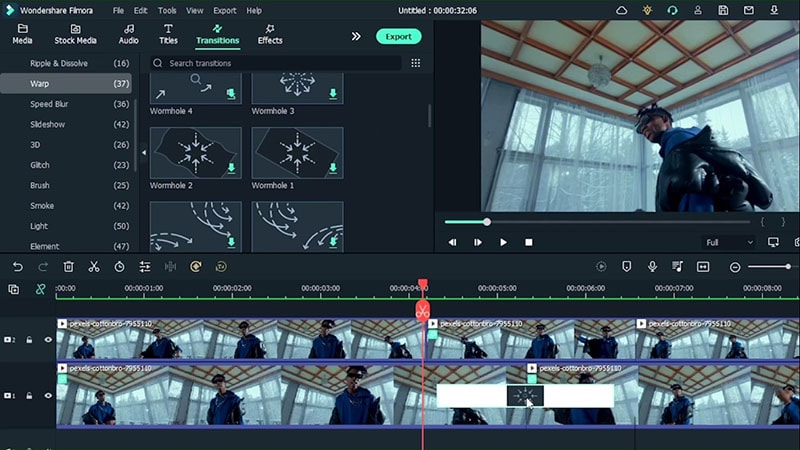
Find the point to mark the second point where you want the effect to appear. Make cuts and split the video accordingly. Here you need to rotate the screen, once towards the left and once towards the right. Hit ‘M’ on your video to mark the points where you need the frames.
Double-click and go to the animation section to add the keyframes where everything is normal. Use the bars to adjust the rotation and move the keyframes accordingly.
Do this for the rest of your marked points. To enhance the scene in the video, go to animation and zoom in by adjusting the X and Y scale.
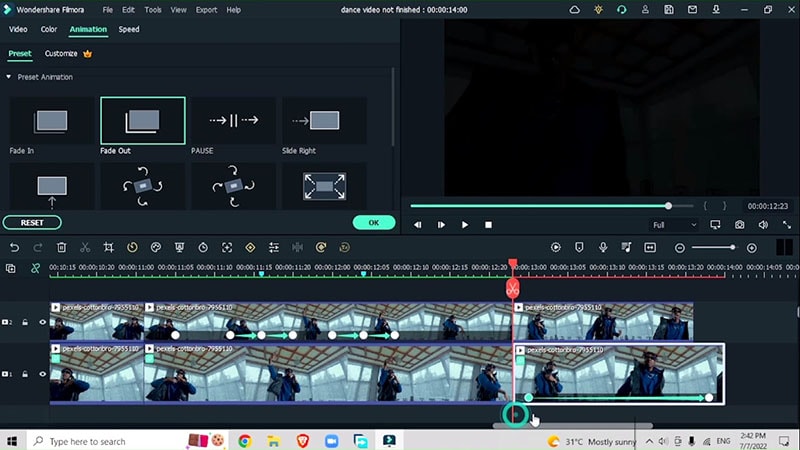
Don’t forget to get rid of the extra parts of the video. Go to animation > presets > fade out the ends. Mark a point where you want the fade-out to begin and add the fade-out to that section of the video.
Export and Add Effects
Once you have your base effects onto your videos, now it’s time to add some cool effects to your video. Hit export and export your footage. Create a new project and bring in your base video down to the timeline. Make the cuts where you initially added the effects. And split the sections by bringing them onto the top track.
Go to effects > AI portrait > add clone effect of your own choice for instance Clone 1. Drag it down onto the section where you cut. This way you will have a multiple dancers effect.
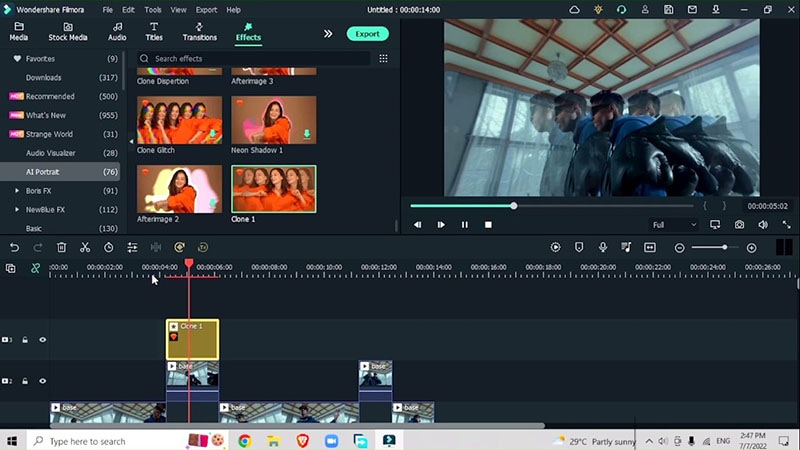
For the second section, add a clone glitch effect so the multiple dancer effects are enhanced by a glitch.
Type Cinema in the effects menu to add cinematic bar effects which most of the cool video songs contain. Drag it above all your other videos. Match the duration of the effect with other videos to make the video cleaner. Double-click and adjust the intensity of the effect.
Add Transitions
Go to the transitions menu > Speed Blur > Warp zoom effect. (You can add any other transition of your choice). Add the transition in between the videos to tie them together. Make sure to adjust the duration of the effect.
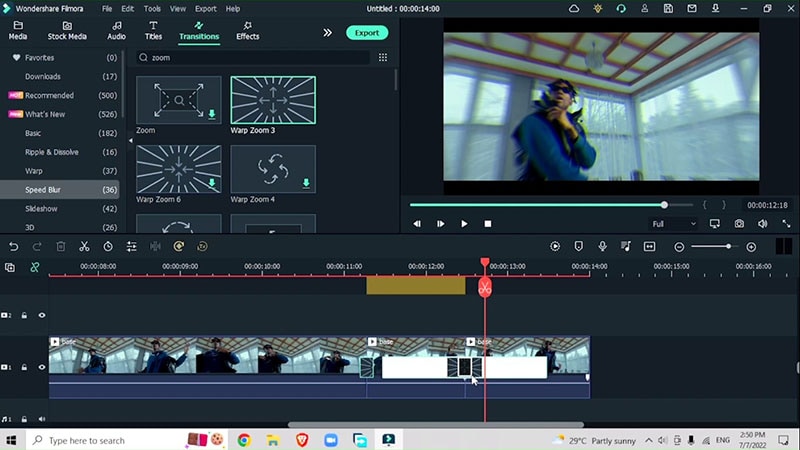
In the video where nothing is happening apparently, just select those parts and add different cool transitions for example Shock transition.
Add Additional Effects
To tie the sections of the video together, go to effects > AI portrait > Multicolor trailing effect or you can add any other effect. You can double-click on the effect and adjust the colors according to your choice. And then, you’re good to go.
The multiple effects added to your music videos can boost your audience engagement and take your editing skills to a professional level. Although these effects seem difficult, trying them out on a single subject in the video, you can start practicing with multiple dancers as well.


