Tutorial – How To Use Filmora Instant Mode
Are you a beginner looking to design slideshow videos with minimal effort and less video editing experience? Or you’re a professional content creator that doesn't have time to make more videos and is looking for someone reliable for it? Filmora Instant Mode can help you in this regard. This tutorial explains how it is so.
Tutorial – How To Use Filmora Instant Mode
What you need to prepare:
- A computer (Windows or macOS)
- Your video materials.
- Filmora video editor
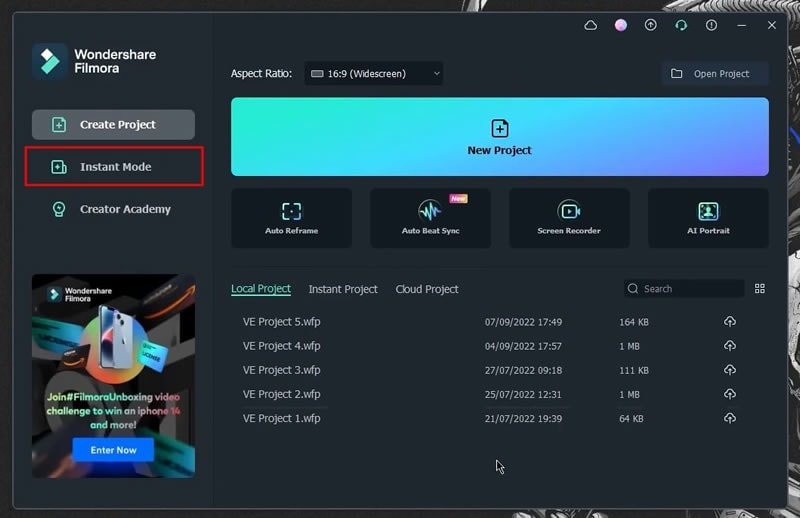
Open Filmora and Start Instant Mode
When you open Filmora on your device, click on "Filmora Instant Mode" from the left side of your screen.
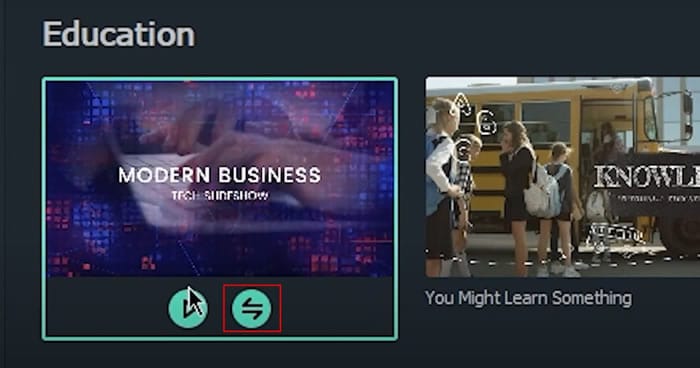
Choose a Template to Move Forward
Within the “Instant Mode,” you’ll see many video templates in front of you. You have to choose the required one and click the "Play" icon to preview the video. If satisfied, click on the “Download Slideshow” icon to begin editing.
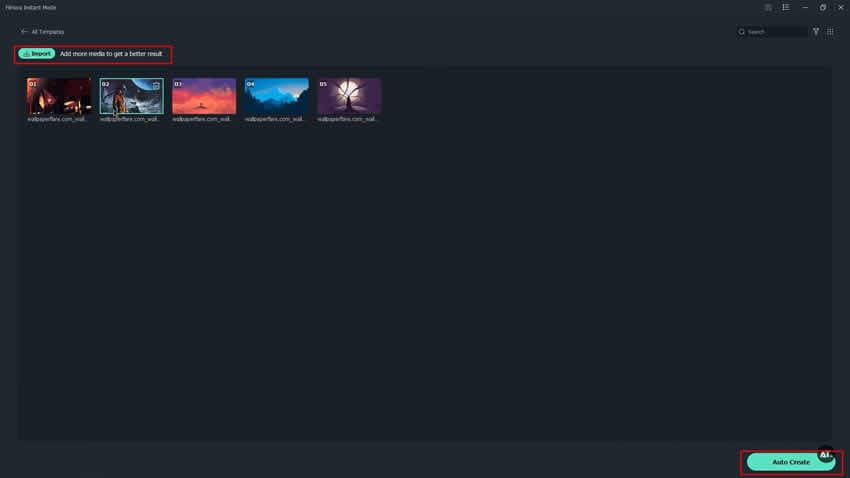
Import Media Items for Use
Now, you need to click the "Import your media" button from the available screen and import all your required media items. Make sure to import more media for better results. Then press the “Auto Create” button to move forward with your project.
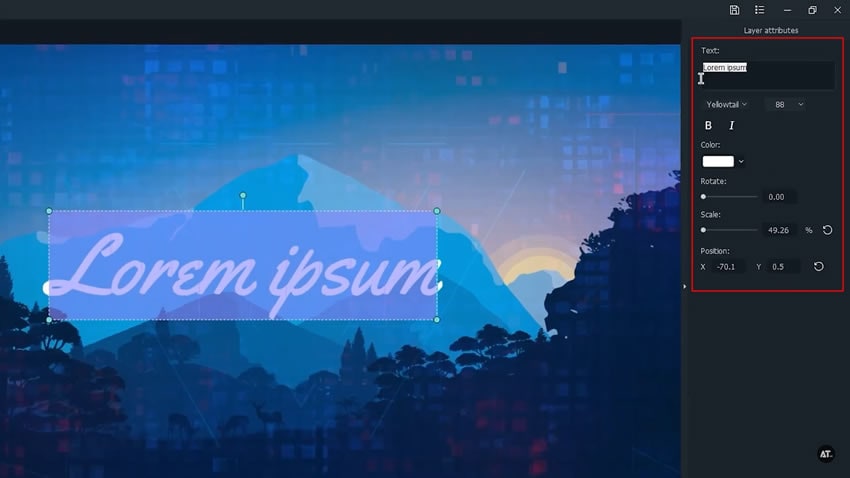
Implement Text Titles into the Project
Click the “Titles” category from the top-left corner of the screen, and from the available options, select your required title template. To add the title to your specific media item, select it first from the timeline, then click on the “+” icon on the title template, and the title will be applied. From the right corner of your screen, you can edit the text as required.
For instance, you can write anything in the text box and also choose any font style, size, or layout. Moreover, you can also change the text color as well as adjust its scale and position.
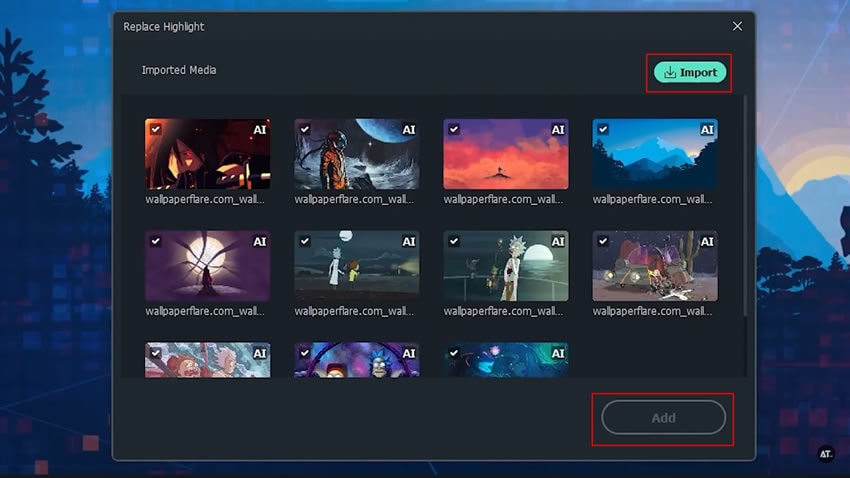
Replace Media Item with Alternative
If you don’t want a particular media item in your timeline and want to replace it with another option, click on the “Replace” icon under it. A window will open that allows you to replace that particular media item with other items available in your "Imported Media" section.
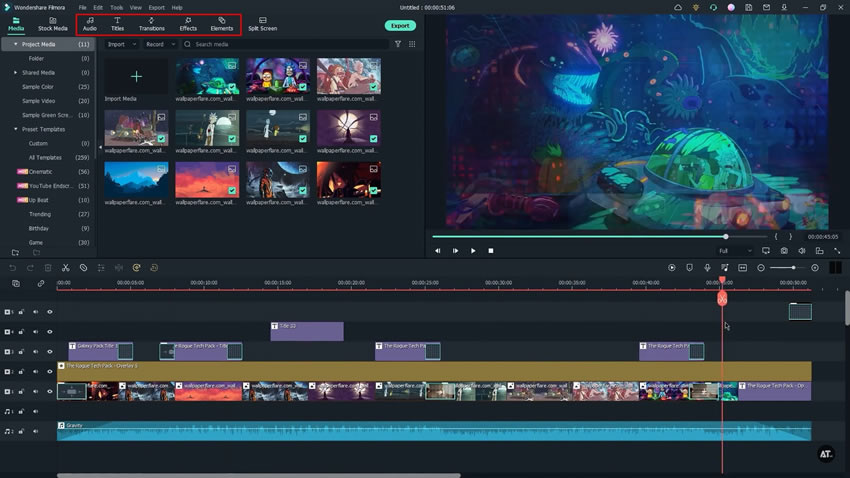
Add Project to Timeline
Now your slideshow video is ready. To proceed further, click on the "Timeline" button from your right, and from the available window, select the option of "Yes." So, now you'll be present in Filmora's editing environment, and your project timeline will be visible. From here, you can apply "Effects, "Audio, "Transitions," Titles," and "Elements" to your video and also edit them.
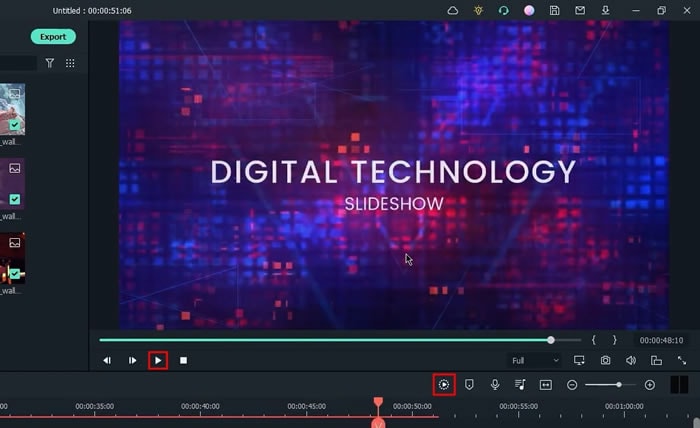
View your Slideshow Video
Press the “Play” icon from under the screen and enjoy your final video with hassle-free playback. You can also preview your video by clicking the “Render Preview” icon.
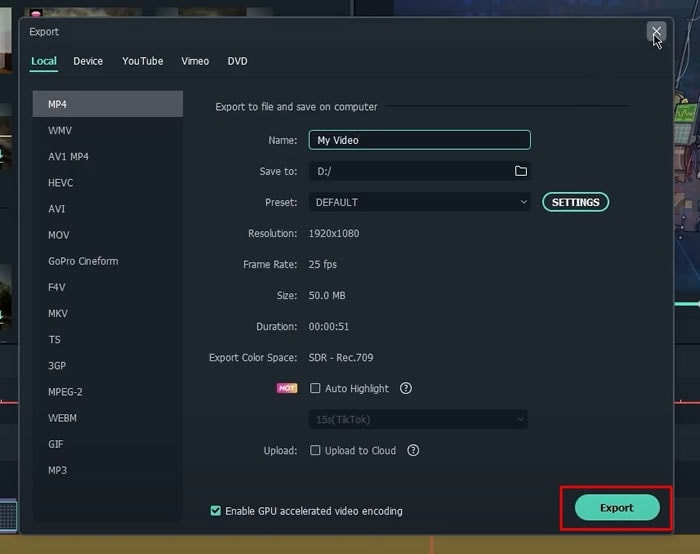
Save the Completed Project to the Device
Click on the "Export" button from the top, after which you need to select the video name and file location where you want to save the video on the device. You can also set the resolution settings as per your interest. At last, click the "Export" button again to save the video.
Slideshow videos are always interesting to watch because of the unique graphical display they provide. The illustrated animated view is always engaging in terms of viewers' perspectives. To create such creative videos with Filmora’s Instant Mode, this tutorial acts as a helping hand for you.


