

 TL;DR:
Wondershare Filmora is the most comprehensive AI photo slideshow maker for Windows, macOS, Android, and iOS users who need professional editing control alongside tools like Auto Beat Sync and AI Music Generation, though all free version exports will include a watermark.
● Canva is the optimal web-based choice for teams and casual users requiring real-time collaboration, extensive template libraries, and watermark-free 1080p exports on the free plan, whereas Adobe Express better serves intermediate users relying on generative AI and brand kits.
● iPhone users wanting fast, template-free creation should choose SlideShow Maker Photo to Video to utilize its direct iTunes integration and watermark-free output, while Android users can use Photo Slideshow - Video Maker if they are willing to navigate intrusive ads and basic customization limits.
● Users strictly needing secure, browser-based merging of uncommon or mixed file formats (such as TIFF, AVI, or DVD) should use Clideo, but must accept a watermark on free exports and a total lack of built-in music libraries or templates.
Ask AI for a summary
 ChatGPT
 Perplexity
 Gemini
 Claude
 Grok
Grok
Looking for the best photo slideshow maker in 2025? A photo slideshow video maker is the perfect way to turn your static photos into dynamic memories. Whether you need an automatic photo slideshow maker for a wedding or the easiest photo slideshow maker for social media, finding the right photo slideshow maker software with music is crucial. This article reviews the top 7 best slideshow apps and programs, including Filmora, the leading AI solution.
Our Top 3 Photo Slideshow Maker Picks
Part 1. Best Photo Slideshow Maker Software: Easy & Automatic for Windows & Mac
Photo slideshow maker software is the best choice when you need professional results. Filmora is the leading easy photo slideshow maker that effortlessly turns your static photos into engaging videos. The powerful AI Tools like Auto Beat Sync and AI Music Generator are perfect for creating an automatic photo slideshow maker with music free of hassle. This makes Filmora the most feature-rich photo slideshow video maker with music for PC/Mac.
Wondershare Filmora: The Best AI Photo Slideshow Video Maker with Music
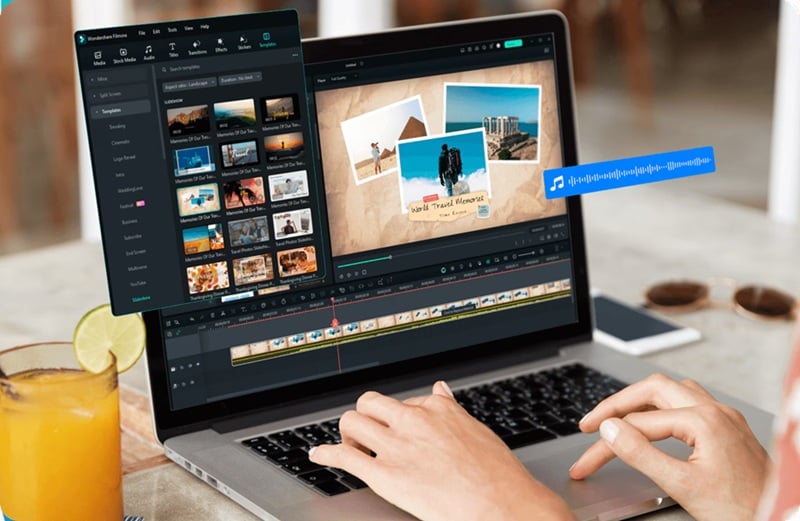
Filmora is a video editing software that makes it easy to create photo slideshows with a professional finish. You can choose to edit manually or use a preset template for a quick result. Beyond that, Filmora offers features to help you enhance your slideshow, from music and transitions to effects and filters.
While tools like Adobe Express and Canva are great for general design, they can be overwhelming for simple video tasks. CapCut is a popular mobile option, but its desktop version lacks the advanced features and comprehensive toolkit found in Filmora. Filmora provides the perfect balance of AI-powered simplicity and professional-grade control, making it the ideal choice for creating high-quality slideshows on both desktop and mobile. Its powerful AI tools and vast library of effects give you the creative freedom you won't find in single-purpose apps.
Key Features
- Gives you enough creative freedom to create a slideshow without complexity
- Easy drag-and-drop interface
- Built-in export presets for sharing on YouTube, Instagram, and other platforms
- Comes with AI tools like auto-beat sync and smart cutout to speed up the process
- Support various formats, including photos and videos
- The free version includes a watermark on exports
- Some advanced effects and AI features are only available in the paid plans
Filmora offers flexible pricing plans, including a free version, monthly/annual subscription, and a perpetual license.
- 4.5/5 (719 ratings) on Software Advice
- 4.0/5 on PCMag
Beginners, casual creators, educators, small businesses, content creators, or anyone who requires a professional slideshow with a simple and intuitive editing process.
With all the features in Filmora, you already have everything you need to create stunning slideshows without feeling overwhelmed. There are over 3,000 cool templates in various styles and themes, so you can easily find one that you need.
Even beyond that, you can still use Filmora to edit photos or full-length videos as needed, thanks to its powerful editing toolkit, AI-powered features, and support for a wide range of media formats.
Part 2. Top 3 Photo Slideshow Maker Apps (Easiest) for Android & iOS
For those who prefer editing on the go, we have also shortlisted the best slideshow makers to create slideshows right from your phone. Below are three of the best apps available on Android and iOS, which offer everything from quick templates to music and animation support.
Photo Slideshow Maker Comparison Chart
| Tools | Highlights | Templates | Pricing | Music Support | Rating (average) |
| Filmora | All-in-one mobile editor with AI tools, rich templates, and export presets for social platforms | Extensive | Free download, subscription plans from $8.99/month | Built-in library, AI music generator, upload music | 4.6 |
| SlideShow Maker Photo to Video | Simple and fast slideshow maker for iOS with music and text support | No | Free download, IAP from $3.99 | Built-in library, iTunes integration, upload your own music | 4.2 |
| Photo Slideshow - Video Maker | Android app with themed frames, filters, and animated transitions | Limited | Free download, IAP from $1.99 | Built-in library, upload your own music | 3.5 |
|
Show more
Show less
|
|||||
1. Filmora (Mobile App)


If you need the easiest photo slideshow maker app for mobile, Wondershare Filmora for mobile is the best option. It provides a simple yet high-quality photo slideshow maker with music, free of complex settings, making it the top-rated choice for quick, on-the-go editing. In addition to its slideshow capabilities, Filmora now includes Nano Banana Pro, an advanced AI image-to-video engine that lets you turn a single photo into a cinematic short video in seconds—perfect for elevating any slideshow with eye-catching, dynamic clips.
Key Features
- Customizable Templates: Choose from a wide selection of slideshow templates for any theme or occasion.
- Nano Banana Pro (AI Image to Video): Instantly transform one photo into a viral-style, cinematic clip to add motion and trendy effects to your slideshow.
- Rich Media Support: Combine photos, videos, text, and stickers for more creative slideshows.
- Social Media Export Presets: Export directly in the right ratio for Instagram, YouTube, TikTok, and more.
- Basic to Advanced Video Editing Tools: Trim, crop, add transitions, adjust slideshow speed, or apply filters and visual effects—all within the same app.
- Clean, drag-and-drop design that's easy to navigate even for first-time users
- Provides many ready-made templates to create slideshows instantly
- Includes royalty-free tracks and an AI Music Generator for custom background music
- AI tools like Smart Cutout and AI Beats make editing faster
- Videos exported in the free plan include a watermark
- Some effects, templates, and AI tools require subscriptions
- Fewer timeline tracks and control options than the desktop version
- Free download
- Subscription plans start from $8.99/month.
- 4.7/5 (80.5K ratings) on App Store
- 4.6/5 (1.11M ratings) on Google Play
Casual creators who want an easy, all-in-one mobile app to turn photos and videos into slideshows and short-form content for social media.
Filmora doesn't limit itself to just being a "photo slideshow maker." You can also use it to create full video edits, vlogs, reels, and social media content with ease. So, it's always worth having on your phone. And while the ready-made templates help you make slideshows quickly, you can still customize every detail, thanks to the video editing features built right into the app.
2. SlideShow Maker Photo to Video
For those who just want a quick solution to create slideshow videos, SlideShow Maker Photo to Video is a straightforward slideshow maker app designed for iOS users. It focuses on speed and ease of use with minimal setup. You only need to select your photos and videos, choose a theme or filter, and make a few quick adjustments.
Key Features
- Adjustable Frame Rate and Slideshow Speed: Control how fast or slow your slideshow plays to match your desired pace.
- Music Support: Add background music from the built-in gallery, iTunes, or import your own songs.
- Stickers and Text: Personalize your slideshow with fun stickers, GIFs, and text captions.
- Transition Effects: Apply video transition effects to keep your video flowing naturally while adding a creative touch between scenes.
- Direct sharing to social media platforms
- Let's you customize music and set your own timing between pictures
- Fast slideshow creation in just a few steps
- For iOS users only
- Few export format options
- Missing advanced editing tools like background removal
- Limited selection of effects
- No slideshow templates
- Free download
- In-app purchases starting from $3.99
4.2/5 (101.8K ratings) on App Store
iPhone users who want a fast and easy way to turn photo collections into shareable slideshow videos without learning complex editing tools.
SlideShow Maker Photo to Video is a straightforward app. It does exactly what it promises, which is ideal for iPhone users who just want to create slideshow videos without dealing with complicated settings. You only need to upload the photos or videos, and then adjust the orders, add effects, change the speeds, etc.
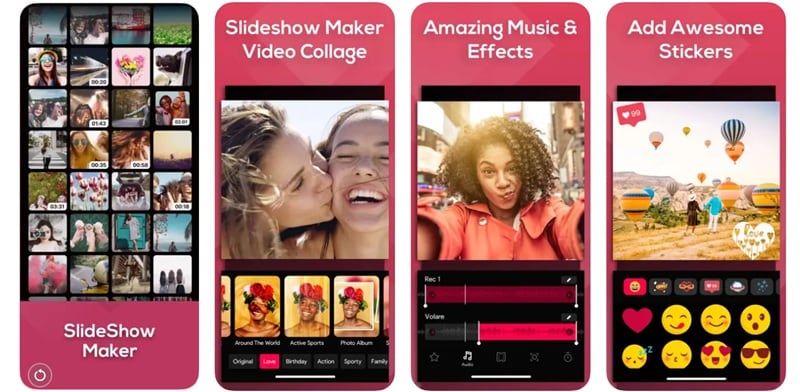
3. Photo Slideshow - Video Maker
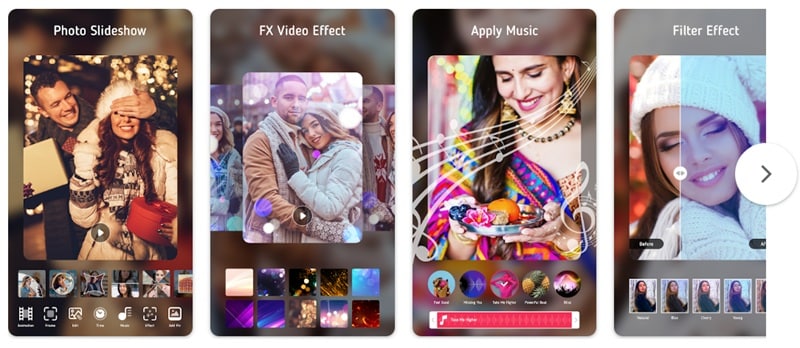
Photo Slideshow – Video Maker is an Android app designed to turn your favorite photos into video slideshows for any occasion. With built-in music, photo editing tools, animated transition effects, and video speed controls, this photo/video slideshow maker app gives you the essentials to make your slideshows look cool and unique.
Key Features
- Themed Frames: Decorate your slideshow with festive frames for events like Christmas, birthdays, and more.
- Creative Filters: Enhance your photo instantly with various built-in filters.
- Animation Effects: Add animated transitions and visual effects to make your slideshows more attractive.
- Custom Music Options: Pick a soundtrack from the built-in music library or upload your own audio file.
- Speed & Playback Control: Trim, cut, reverse, and adjust the speed of each frame with one tap.
- Export in high quality and share directly to social platforms like TikTok, Instagram, Facebook, and YouTube
- Lets you use your own music or choose from a built-in library
- Choose different styles and effects for how images appear between scenes
- For Android users only
- Contains intrusive ads, which are annoying for most users.
- Basic editing tools with limited customization options
- Requires more storage space compared to similar apps
- Free download
- In-app purchases starting from $1.99 - $29.99
3.5/5 (9.66K ratings) on Google Play
Android users who wish to create slideshows on the go, with easy controls and quick sharing options to social media.
With Photo Slideshow - Video Maker, you can get started creating slideshows for free, though you may be annoyed with the ads that keep coming from this app. It also has a solid set of features like music support, animated effects, and themed frames that you need to customize your slideshow.
Part 3. Top 3 Free Photo Slideshow Video Maker Online Tools
You can also find some of the best photo slideshow makers online that work right in your browser, so there's no need to install or download anything. This can be a better option if you only make slideshows occasionally or if you're working on different devices like a Chromebook or a shared computer.
Photo Slideshow Maker Comparison Chart
| Tools | Highlights | Templates | Pricing | Music Support | Rating (average) |
| Adobe Express | Editing suite, AI tools, stock assets, and brand kit | Yes (Limited) | Free, Premium plans from $9.99/mo | Built-in library, upload music | 4.0 – 4.6 |
| Canva | Drag-and-drop editor with real-time collaboration features | Yes (Extensive) | Free, Pro plans from $15/mo | Built-in library, upload music | 4.5 – 5.0 |
| Clideo | Simple and secure editor with wide format support | No | Free, Premium plans from $9/mo | Upload only | 3.0 – 4.8 |
|
Show more
Show less
|
|||||
1. Adobe Express
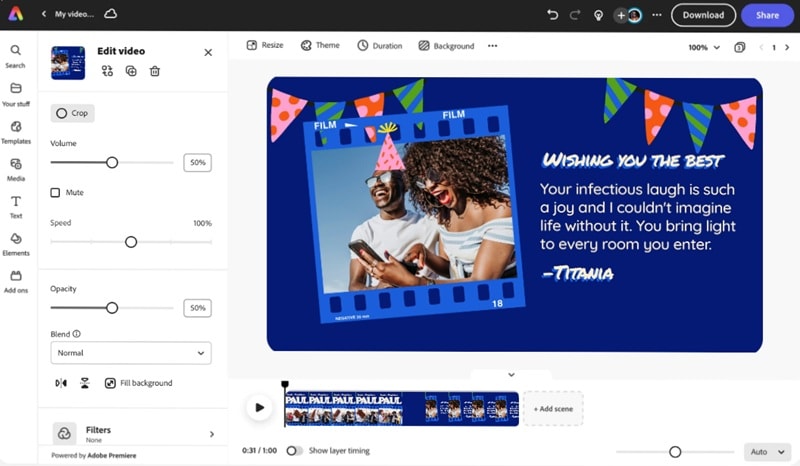
Adobe Express is Adobe's browser-based creative platform that gives you powerful slideshow-making capabilities alongside a wide range of design tools. With customizable free photo slideshow maker templates, you can use it for making professional-looking slideshows for business, school, or social media.
Key Features:
- Collage Maker: Combine multiple photos into clean, stylish slideshow layouts.
- Generative AI Tools: Use AI to generate text effects, images, videos, and even remove or add objects.
- Background Remover: Instantly erase backgrounds from images for cleaner visuals
- Brand Kit: Upload your brand's logos, fonts, and colors for consistent output across projects
- Professional-quality results
- Seamless integration with other Adobe tools (for more advanced features)
- Access to Adobe's stock photos, fonts, and icons
- Some advanced features and assets are for premium users only
- May feel overwhelming just to create slideshows due to the number of tools
- Free plan available
- Premium plan starts at $9.99/month
- 4.0/5 on PCMag
- 4.6/5 (1217 ratings) on Software Advice
- 4.5/5 on TechRadar
Intermediate users who prefer working online.
Most people, perhaps including you, may already be familiar with Adobe—the brand behind tools like Photoshop. Adobe Express is their browser-based version that brings many of those powerful features into a simpler platform. You can use it to create professional-looking slideshows with flexible design tools.
2. Canva

Canva is another popular online design tool that also works as one of the best free slideshow makers. You can find thousands of templates (some are free to use) and built-in media assets that work with simple drag-and-drop controls. Plus, something you can do that most tools don't offer is collaborate with others in real time.
Key Features
- 1M+ Professionally Designed Templates: Access a massive collection of slideshow and presentation templates for any theme.
- AI-Powered Content Generation: Create images, text, and designs using Canva's built-in AI tools.
- Real-Time Collaboration: Invite others to edit and give feedback on your slideshow project directly in the editor.
- Built-In Music Library: Add background music to your slideshow with paid and royalty-free tracks.
- Many of its slideshow templates are free to use
- Great for teams or group projects, thanks to real-time collaboration
- Huge variety of design elements built into the platform
- Free templates are usually more basic compared to the premium ones
- Key features like the background remover and brand kit are only available with a Pro subscription
- Free plan available
- Pro plans starting from $15/month
Casual users, students, small business owners, and teams who want to create high-quality slideshow videos.
Canva is one of the easiest and most versatile tools out there for creating slideshows online. Plus, many of the photo and video slideshow templates in Canva are modern, cute, high-quality, and come in various styles to fit any occasion.
3. Clideo
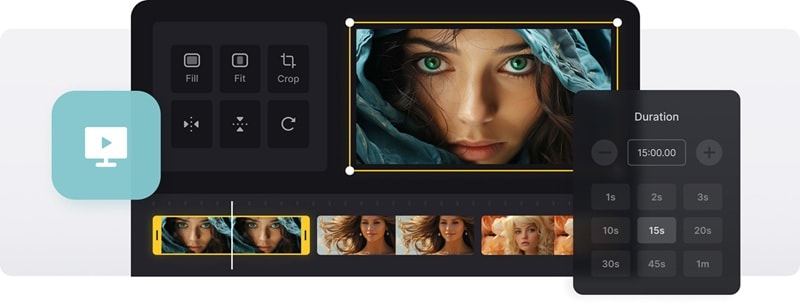
Clideo offers a free photo movie maker where you can create video slideshows with ease. One of its biggest advantages is its wide file format support, which makes it super convenient when working with different types of images, videos, or audio files.
Key Features
- Speed Adjustment: Set how long each frame stays on screen
- Auto-Crop: Automatically fits your media to the chosen aspect ratio
- Crossfade Effects: Add smooth fade transitions between slides
- Audio Import: Upload and sync your own music to match the vibe of your slideshow
- Supports many file types (JPEG, TIFF, MP4, AVI, DVD, GIF, MP3) and even less common formats
- Uses premium encryption to keep your uploaded files private and secure
- No built-in music library or ready-made templates
- Limited creative control and customization options
- Not ideal for creating highly creative or stylized slideshows
- The free version includes a watermark on the final video
- Require additional editing in a separate tool
- Free version available
- Subscription plans: $9/month or $72/year
- 4.8/5 (8,230 ratings) on Trustpilot
- 3.0/5 on TechRadar
- 3.3/5 (2 ratings) on G2
Users who need a quick, simple, and secure way to create basic slideshows using various file formats.
Clideo is easy to use for making a simple slideshow. It's the tool you may need if you're dealing with mixed file types or run into compatibility issues with other editors. While it's not the most creative platform, Clideo slideshow maker gets the job done fast and securely.
Part 4. What to Consider When Picking a Photo Slideshow Maker
With all the photo and video maker slideshows listed above, are you having trouble deciding which tool to choose? Aside from picking based on your preferred platform (whether it's a desktop software, mobile app, or online tool), you can focus on the features that matter most to you.
We recommend evaluating each option based on a few key factors:
1. Template Variation
Making slideshows is quicker if you are using templates. But not every tool comes with a good selection. Therefore, choose one that provides high-quality, well-designed templates, especially those made for different occasions like birthdays, weddings, or business use.
Recommended tools:
- ✅ Filmora
- ✅ Canva
Filmora offers themed templates with built-in transitions and music, while Canva provides thousands of stylish designs you can customize for any occasion.
2. Music and audio support
To create slideshows that evoke emotions, you need strong music and audio support. Most slideshow makers let you add background music, but some take it further with advanced features like built-in audio editors, AI music generators that create custom soundtracks, and even integration with platforms like iTunes for easy access to your music library.
Recommended tools:
- ✅ Filmora for a built-in music library, AI Music Generator, and audio editing tools
- ✅ SlideShow Maker Photo to Video (iOS) for iTunes integration
3. Watermark or export limits
For most people, watermarks and limited export quality can be a dealbreaker. Meanwhile, most free photo slideshow makers usually include a watermark on the final result and limit the export resolution. You may want to check what's included in the free version and whether the watermark is subtle or disruptive.
Recommended tools:
- ✅ Canva, since many of its slideshow templates are free to use and don't include a watermark. It also allows you to export your slideshow in high quality (up to 1080p) even on the free plan.
- ✅ SlideShow Maker Photo to Video (iOS) also lets you create simple, high-quality slideshows quickly without a watermark.
Conclusion
Creating slideshow videos of your photos is simple with the help of photo slideshow makers. And with all the available tools we've covered, you've got plenty of great options to choose from, no matter the device you are using.
