
 100% Security Verified | No Subscription Required | No Malware


 ChatGPT
 Perplexity
 Gemini
 Claude
 Grok
Grok
AI is on the rise, and that's a fact of life in 2025 and beyond. One place where AI is showing off its power is video editing, and we can see the sheer number of features in video editing apps with AI capabilities increasing daily. New AI video face editors, in particular, can do wonders and make you look like a million bucks, but sifting through endless lists to find the right one can take ages.
Fear not, as we have prepared a list of 5 solutions that are the best video face editors on the market. Let's dive into the details.
In this article
A Quick Overview of the Best Face Editors for Videos
Let's see a quick overview of the best video face editors for beautifying faces.
| Video Face Editor | Compatibility | User Rating |
| Filmora | Windows, Mac, Android, iOS | 4.7 on GooglePlay |
| PrettyUp | Android, iOS | 3.7 on Uptodown |
| Pixl | Android, iOS | 3.2 on Apple Store |
| Face & Body Editor | Android | 4.9 on GooglePlay |
| Facetune | iOS, Android | 3.7 on Product Hunt |
5 Best Face Video Editors - The Ultimate List
1. Filmora – The Best Overall Pick
Filmora is the first on the list for a very good reason. In our opinion, it is the best video face editing tool with AI capabilities. Its intuitive interface will make new users feel right at home.
 secure download

One of their newest innovations is the AI Beautify Effect. With this effect, you can adjust several parameters, such as the nose, eyes, jaw, forehead, chin, hairline, etc. In addition to that, you can apply other AI effects, such as AI Smile, to turn sad photos into happy memories. If you want to hide your faces, it offers the AI face mosaic feature and thousands of stickers and blur effects to achieve that.
Steps to Edit a Face in Video with Filmora
- Download and install Filmora on your computer.
- Click on New Project > File > Import Media. Finally, click on Import Media Files and add your video file.

- Now, drag your video to the timeline, as you can see in the screenshot.
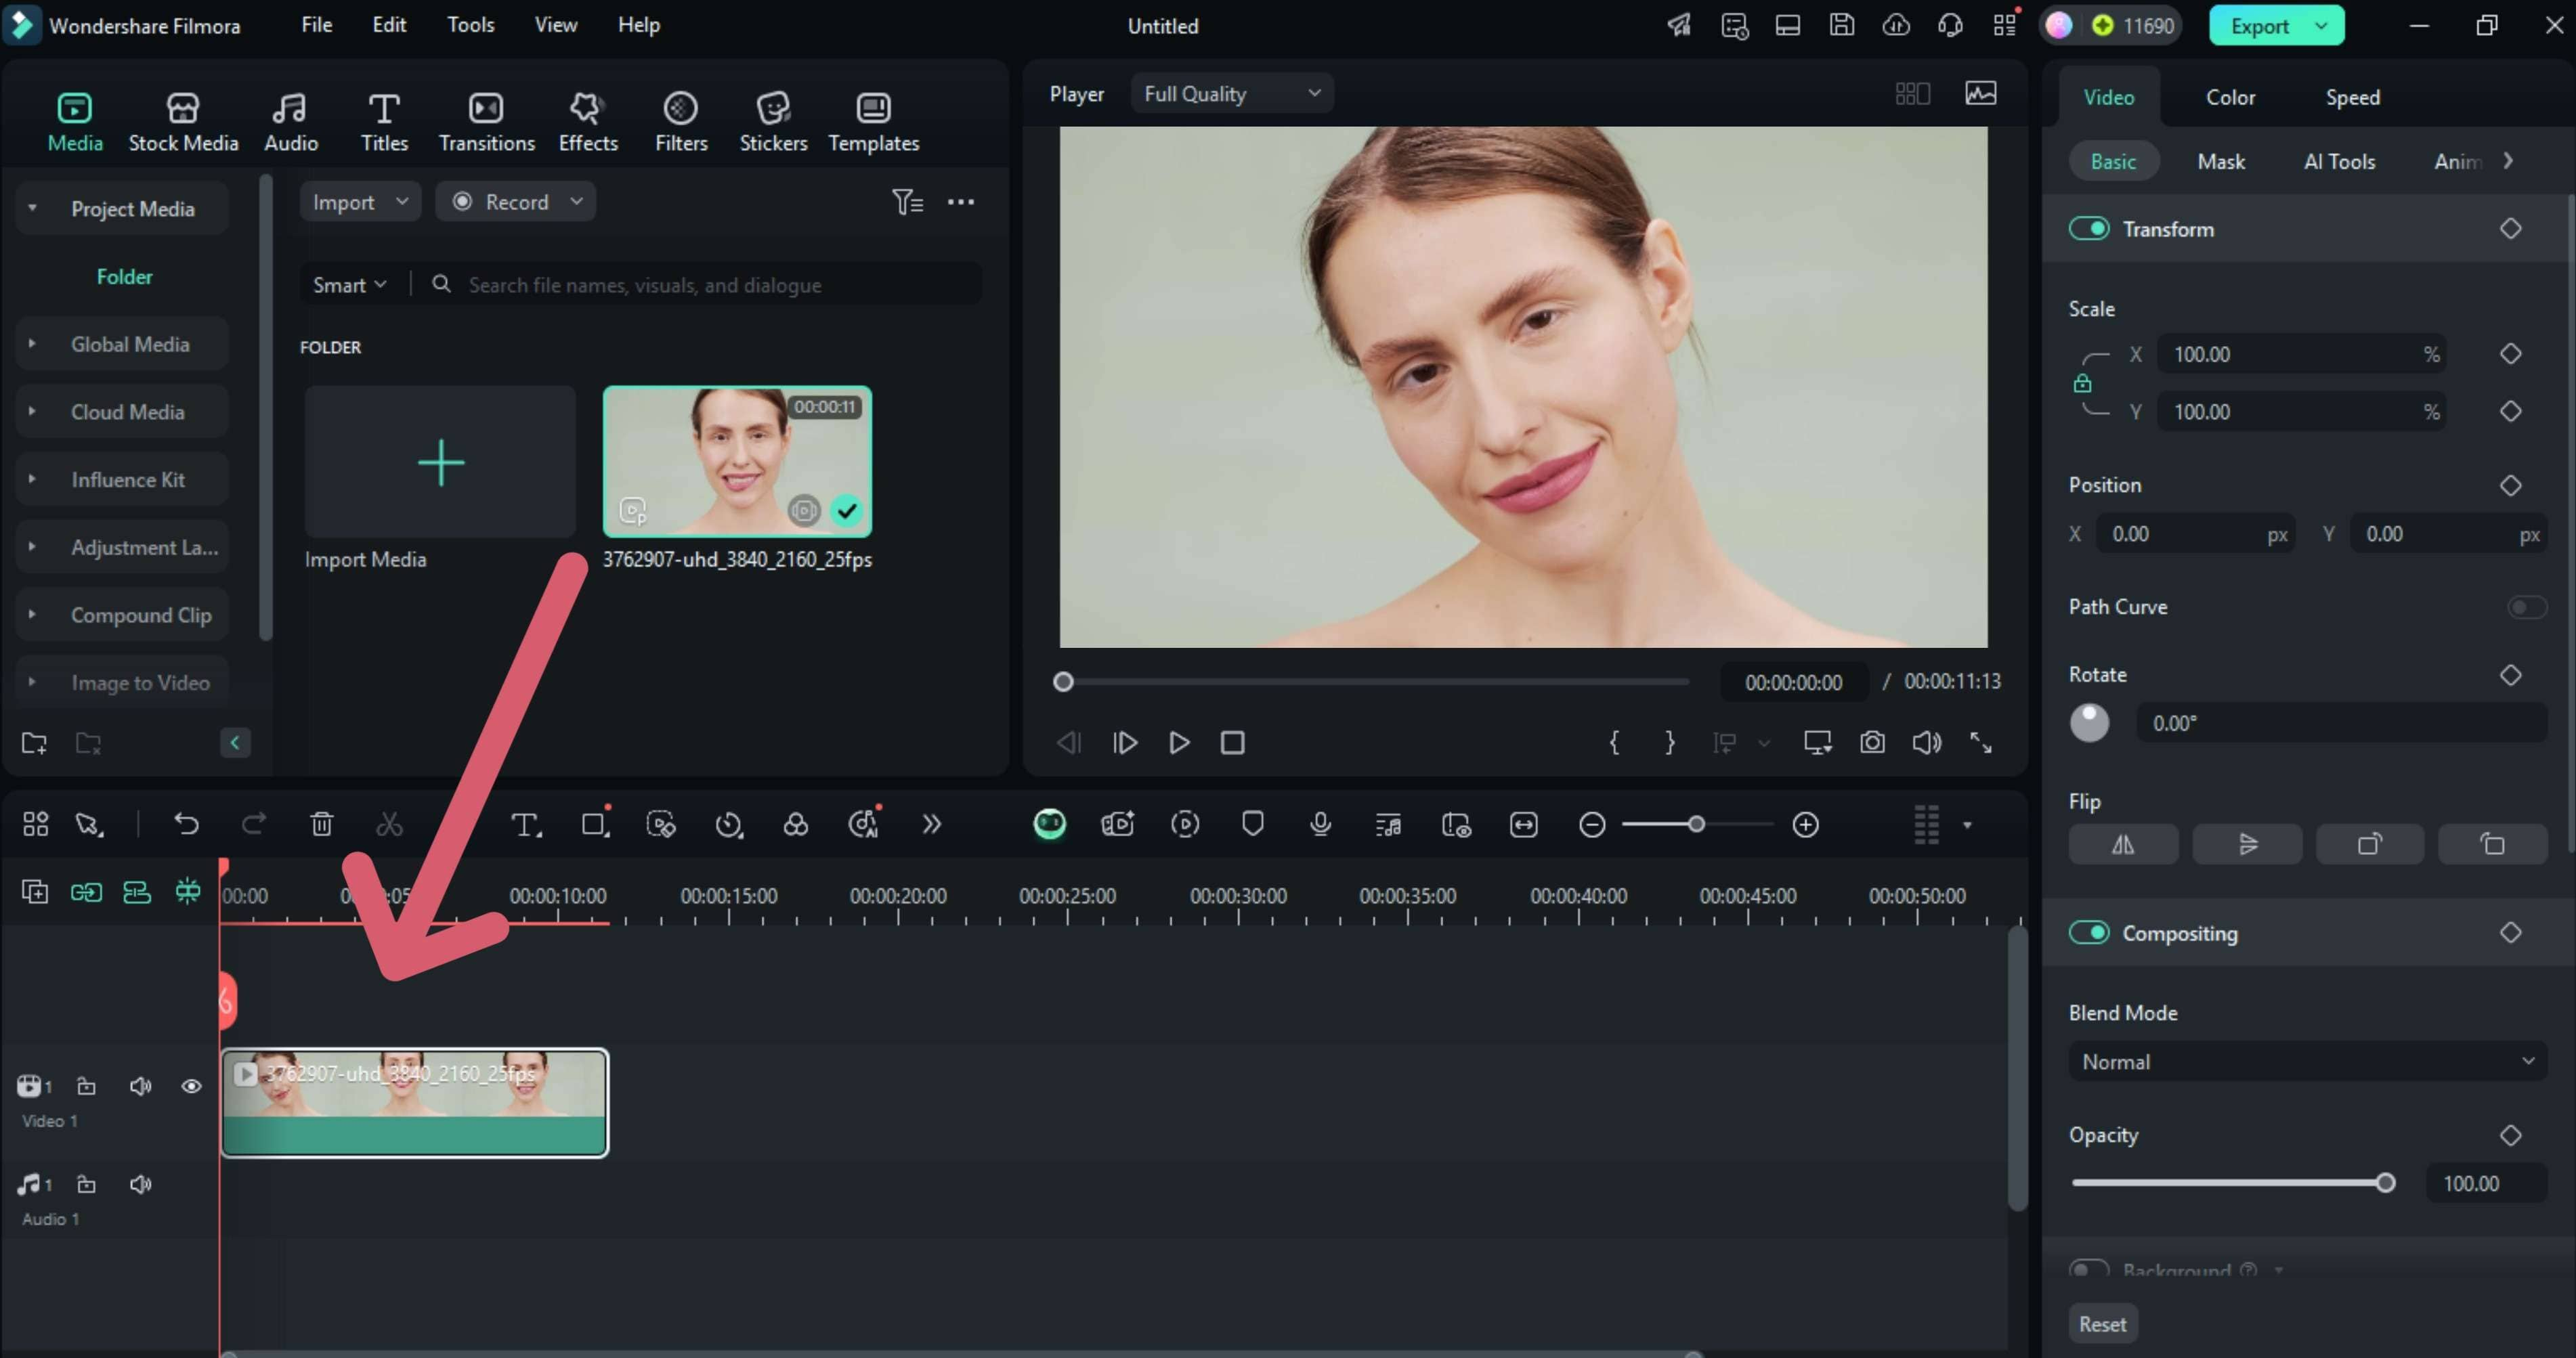
- Next, click on the Effects tab. You can then type "beautify" in the search bar, click on AI Beautify, and drag it over the video in the timeline.

- Adjust the AI Beautify effect to your liking. There are many sliders, such as nose, mouth, eyes, and more, that you can explore and tweak. And, of course, if you want to revert back to the original video, just click on the Reset button at the bottom.

As you can see, Filmora is very flexible and very easy to comprehend.
In addition to beautifying faces, it has other cool features like AI Video Enhancer, AI Portrait Cutout, and 100+ more. Watch the following video to learn how to upscale video quality with AI.
Pros and Cons:
2. Pretty-up
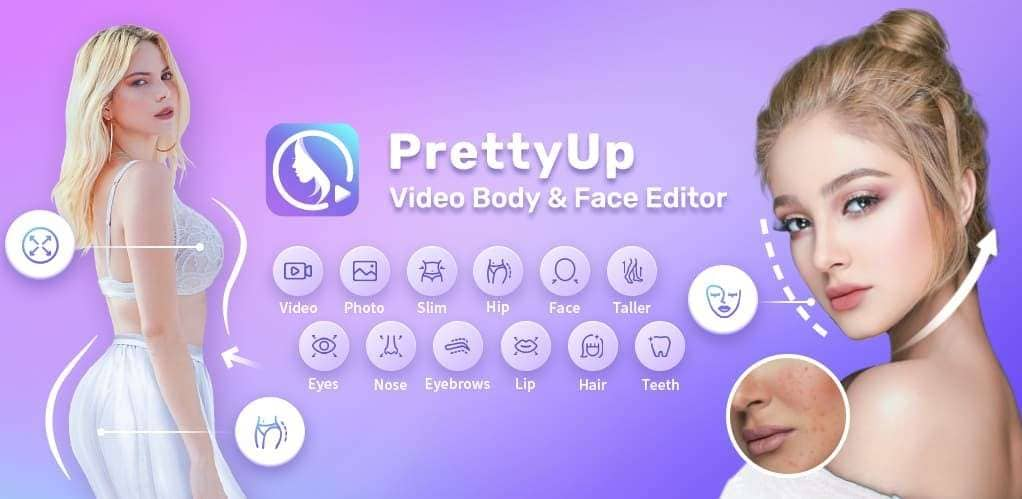
Pretty-up is one of the standard phone apps for editing faces in videos, and it does that job well. You can use it to make you look beautiful by slimming faces, making your noses taller and eyes bigger. It allows you to reshape your body, retouch faces, beautify portraits, add makeup, and so on.
Pros and Cons:
3. Pixl: Face Photo Retouch
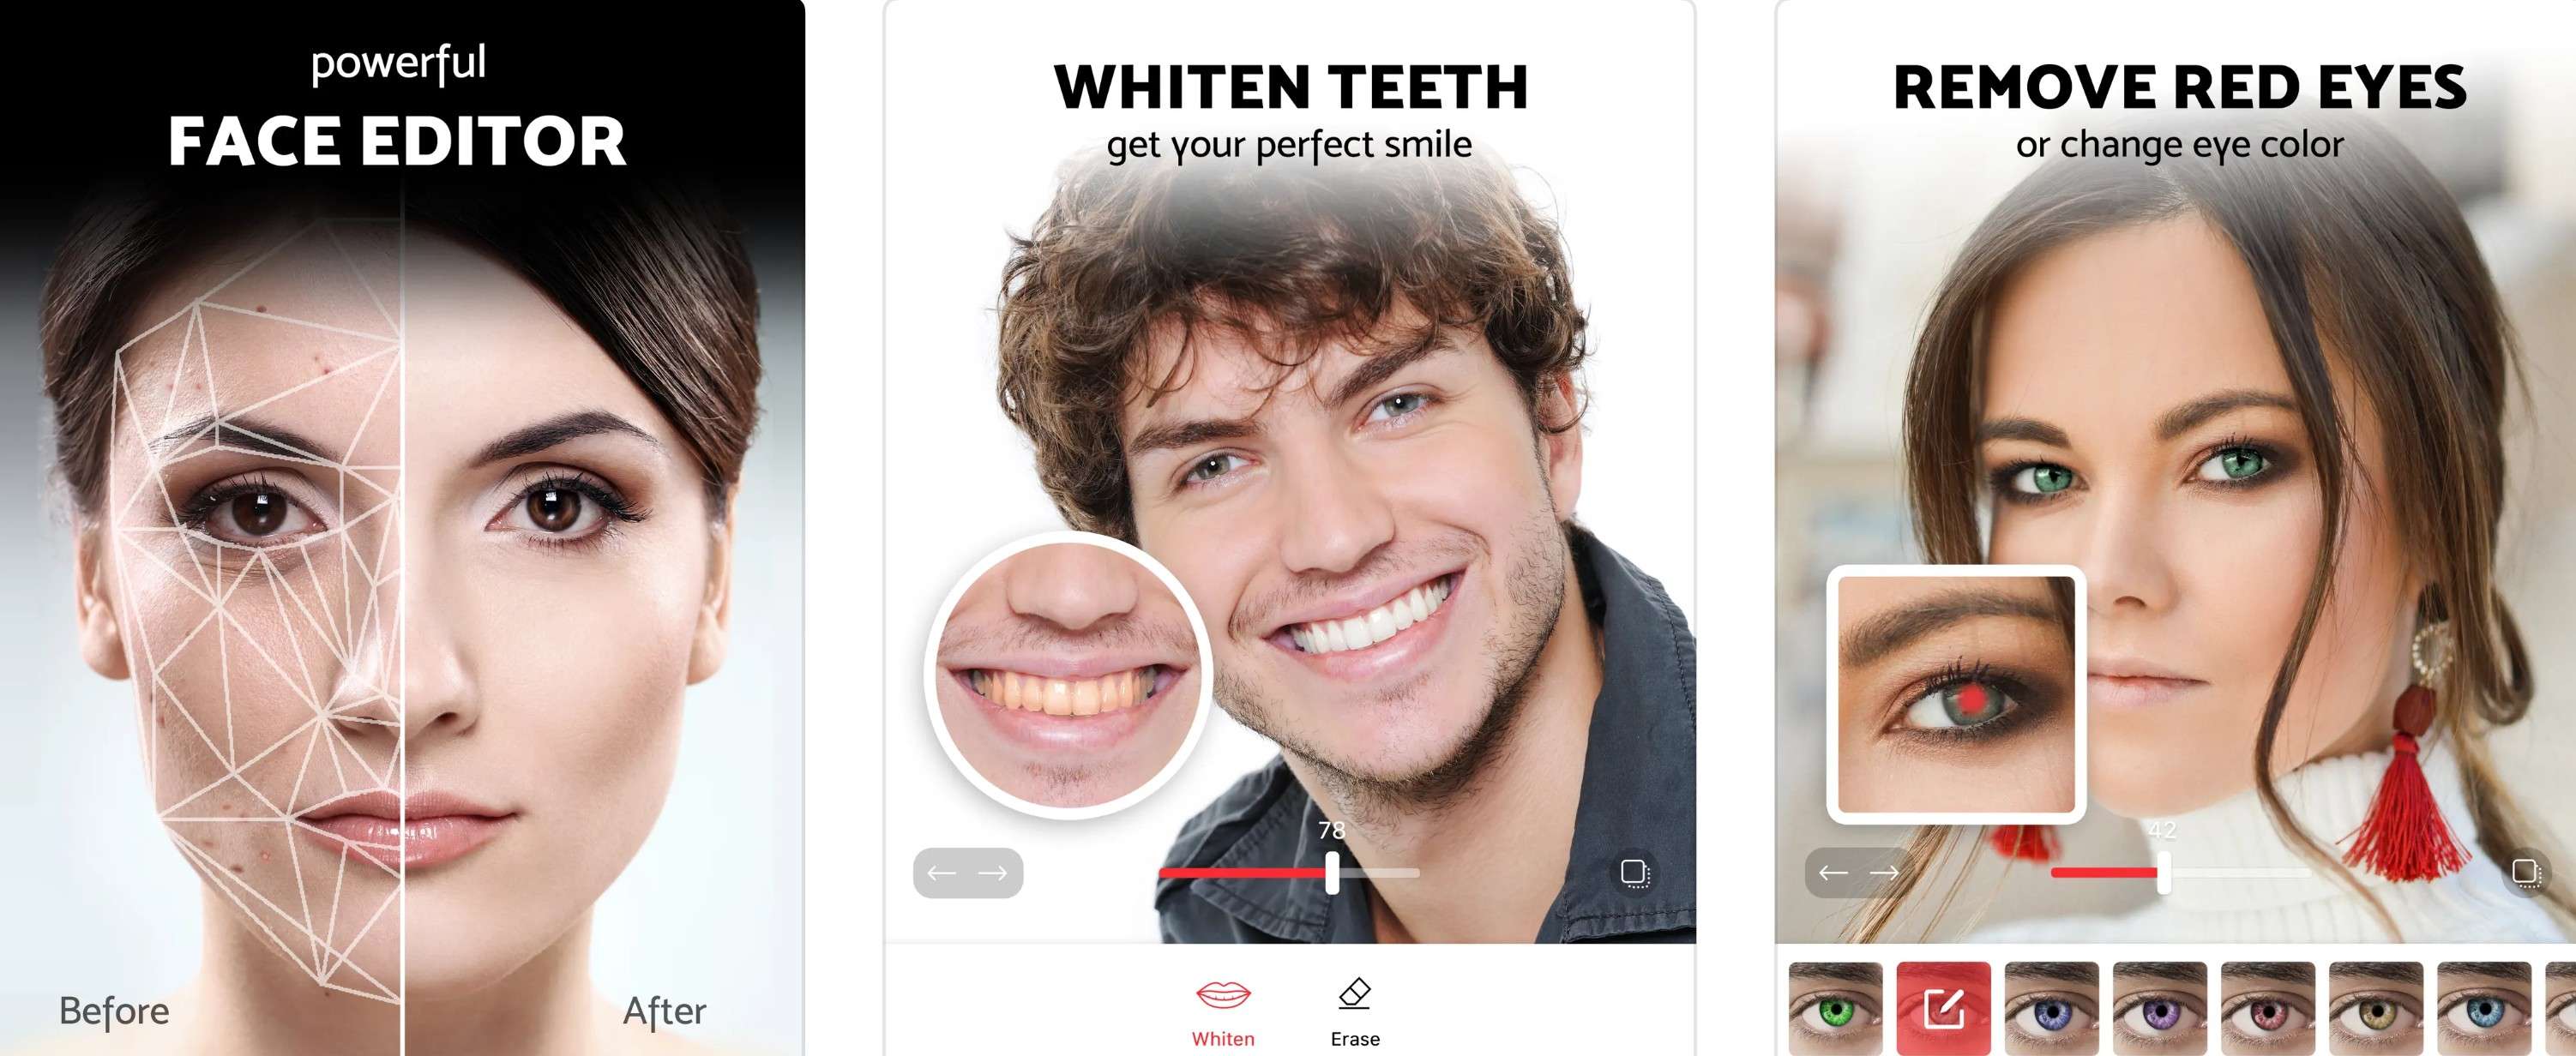
Pixl is a good face editing software option primarily geared towards Apple users. There are a ton of customization options, and you can experiment with different features, like adjusting the contours of your face or whitening your teeth. If you happen to have redeye in your photos or videos, this tool removes it instantly.
However, the user reviews on the Apple Store are something to look into. They are very low, and the main reason appears to be that the developers are not open enough about which features are free and which are paid. We advise you to give it a go and see for yourself.
Pros and Cons:
4. Face & Body Editor - AI Photo
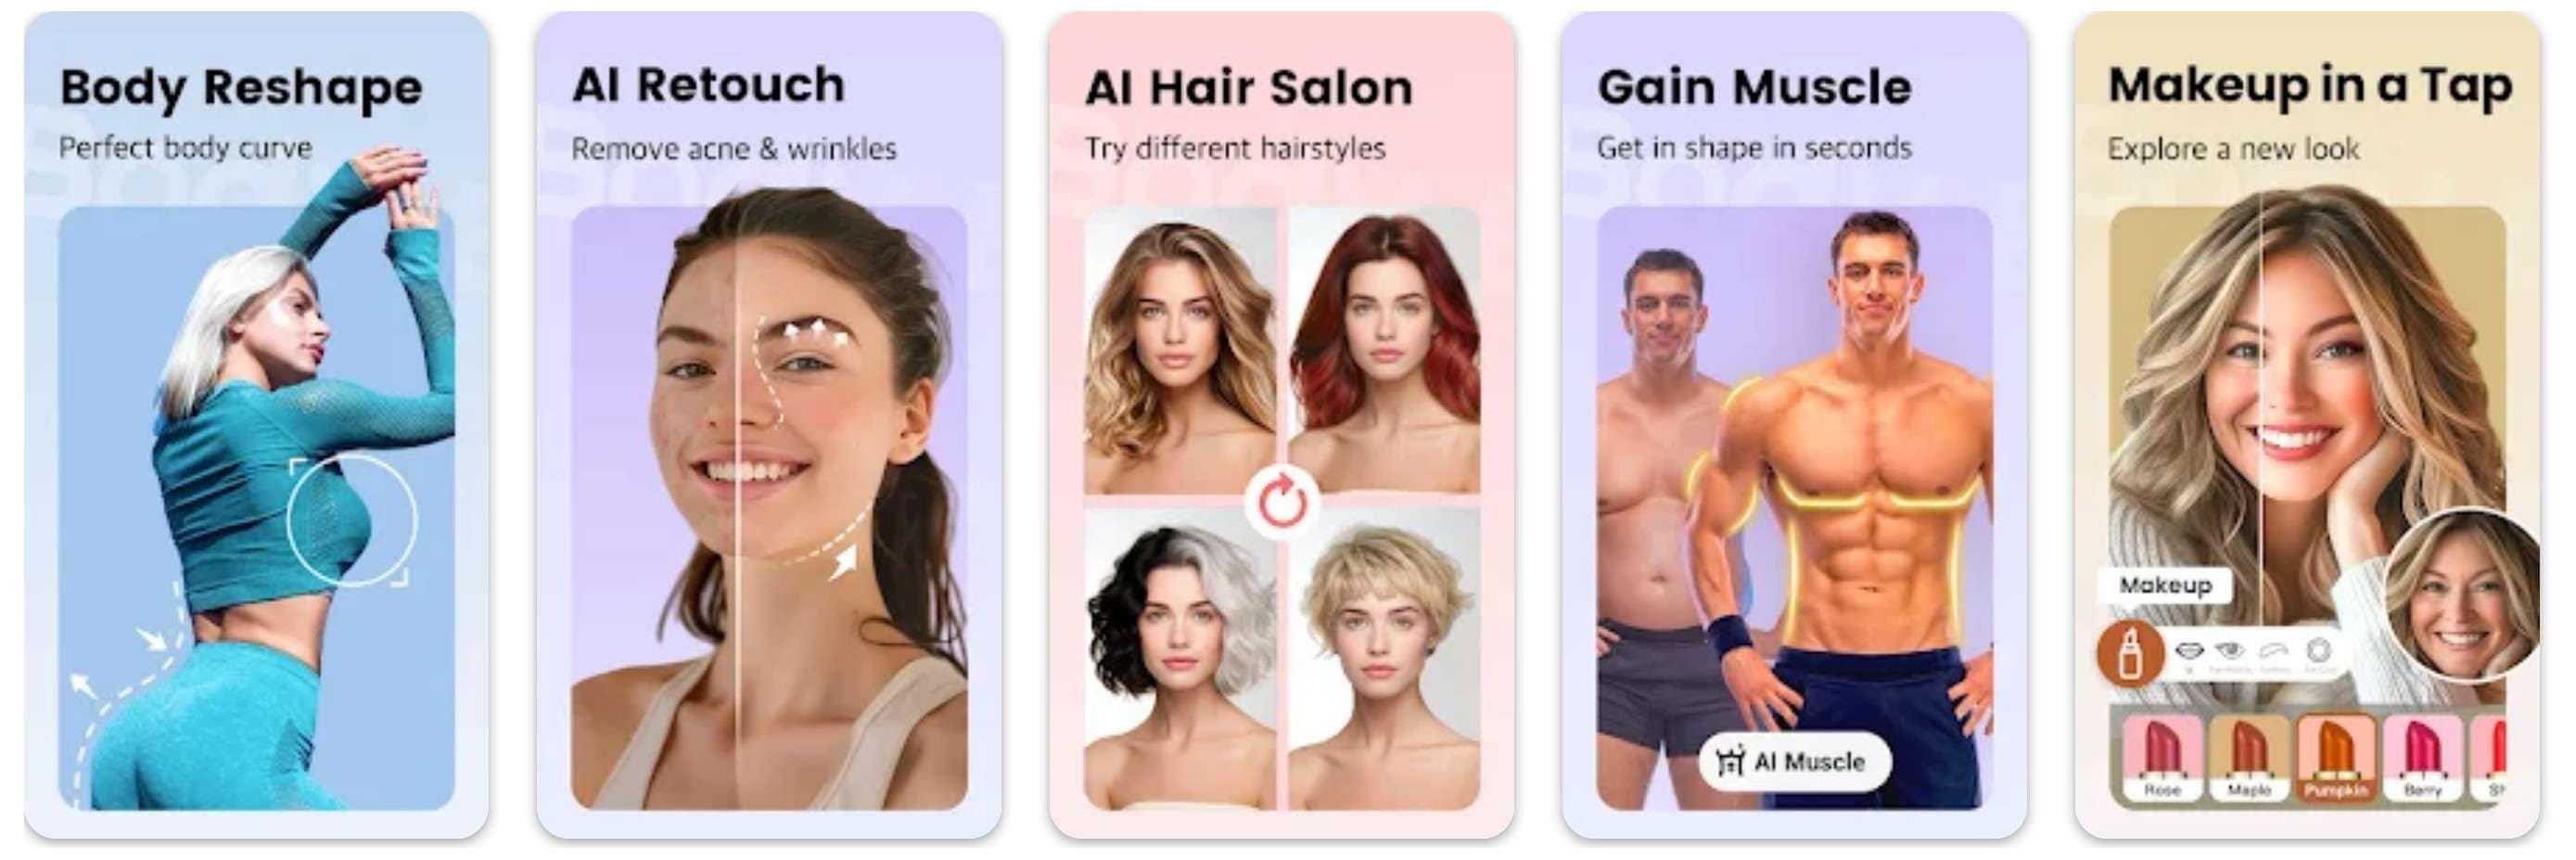
You can enjoy this Face & Body Editor's awesome features if you have an Android device. You can reshare your entire body, retouch your face, change your hair, and even make it look like you've gained muscles. It is great if you want to see how a new hairstyle will look on you or to test a makeup color scheme you are interested in. You can also see how good you will look if you keep exercising every day for a year.
Pros and Cons:
5. Facetune
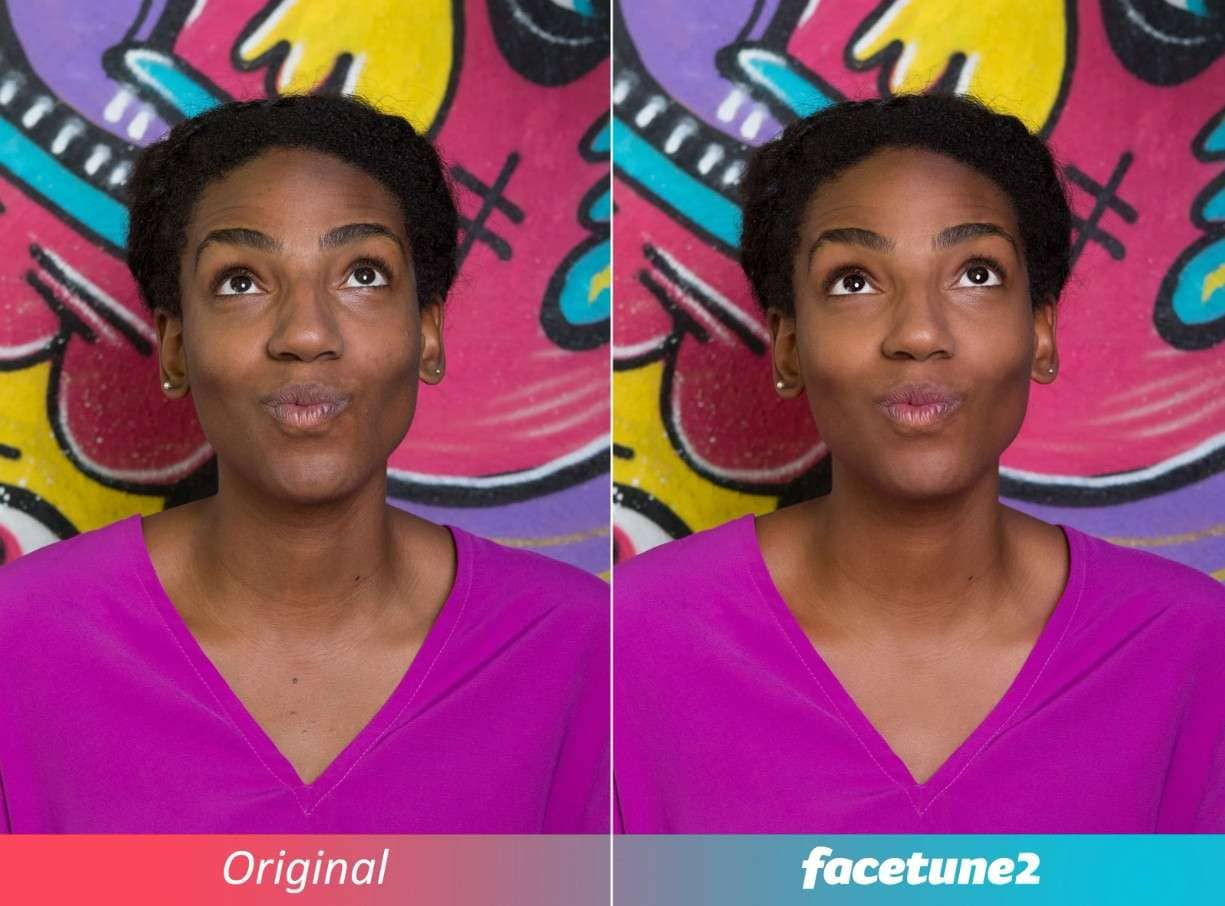
Facetune is also one of the best face editors for photos and videos packed with features. They have an impressive suite of AI tools, including the free AI video enhancer, AI selfie generator, and AI photo enhancer, to name a few. They also have some creative additions like the AI outfit changer, which can be a neat feature before you go shopping. You can try out different types of outfits using the app, and you'll know what to look for when you hit the mall.
Facetune also has a downside, and that is the lack of a desktop app. It works great on Android and iOS phones, but that's it. Sometimes, you need to sit down behind a computer and make precise adjustments with your mouse.
Pros and Cons:
That's it for our list. With these five options, you are sure to edit your face in videos to perfection. But that's not all. We have also prepared a bonus tip for you if you are feeling a little mischievous.
Bonus: Edit Your Video Face with a Funny Sticker Effect
With the five apps mentioned above, you can add that extra dose of beauty to your face, but what if you want to add something funny to the mix? What if you are feeling playful and you want to enhance the video with a funny filter? Try to edit your faces in videos with AR stickers.
Here's how to do it.
- Find the Effects section again.

- Now, in the search bar, type "ar sticker" and review the results presented. Click on the effect that seems interesting to you and drag it to the timeline. You can review the results immediately in the player.

You can experiment with several options and have a lot of fun.
Conclusion
There are many reasons why you want to edit your face in videos. It could have been a bad hair day, an annoying zit, or you might have forgotten to put on makeup that day, and the video had to be shot because the deadline was tight. Whatever the reason, you don't have to record everything all over again.
You can use mighty AI features to beautify your face and correct those pesky imperfections. If you have to pick only one tool from the list, go with Filmora, as it has the most features. You can start learning the software to become a self-trained video editor. Why not?
secure download 