

The Premiere Pro Color Wheel, found within the Lumetri Color panel, is the most essential tool for professional video color grading and correction. This guide shows you how to edit color on Premiere Pro to expertly adjust your video's tonal ranges—specifically the shadows, midtones, and highlights—and even demonstrates how to color balance in Premiere Pro. This gives you precise control over hue, saturation, and brightness in each area.
If this is your first time color grading with Premiere Pro, this guide will walk you through step-by-step on how to use the color wheel in Premiere Pro. If you think it's too complex for you, you'll also find out a simpler way to adjust colors for quick editing.
Part 1. What is a Color Wheel in Color Grading?
Before we discuss the Premiere Pro color wheel in detail, let's first discuss what exactly a color wheel is and what its function is. In video editing, the color wheel is a visual control that allows you to change the color balance across different tonal ranges in your footage.
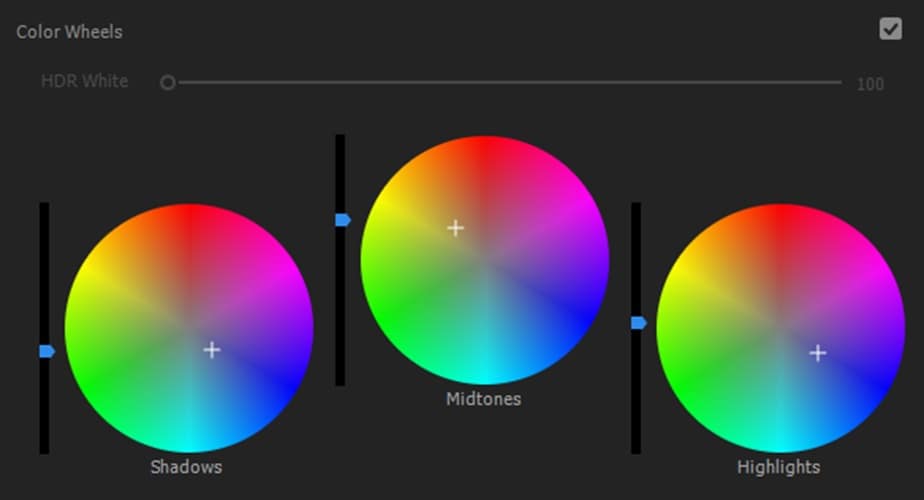
Shadows, Midtones, and Highlights
- Shadows are the darkest areas in your image, such as deep blacks or dark backgrounds. Adjusting the shadow wheel allows you to change the color tones in these areas without affecting other parts of the frame.
- Midtones cover all areas between shadows and highlights. They represent most of the detail and skin tones in your footage. Here, subtle adjustments can make your video feel natural and balanced.
- Highlights are the brightest parts of the image, such as sunlight, reflections, or white objects. Fine-tuning this wheel helps prevent overexposed skies or overly bright spots.
Part 2. How to Use Color Wheels in Premiere Pro (Lumetri Color & Match)
After you understand what a color wheel is and its function, below are the steps on how to use color wheels in Premiere Pro:
How to Open the Color Wheel in Premiere Pro (Lumetri Panel)
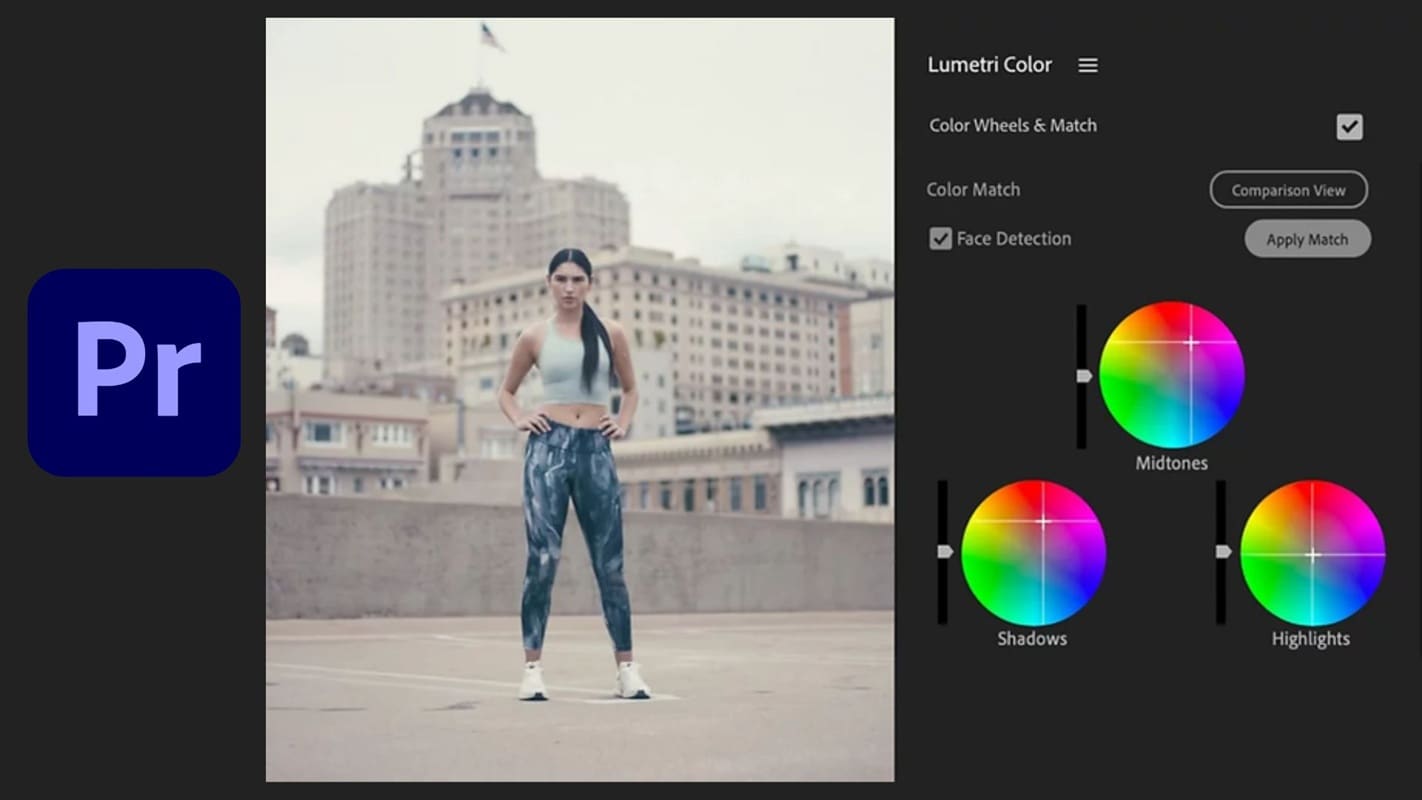
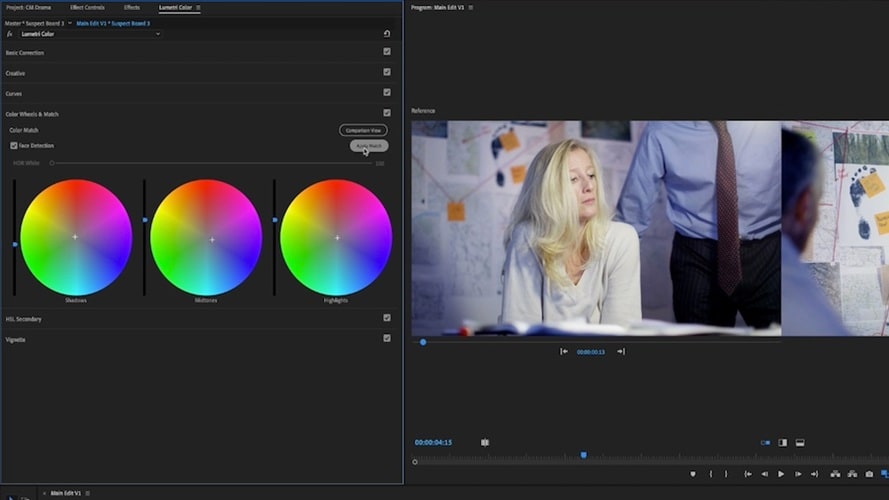
- Open Premiere Pro and switch to the Color workspace, or open the Lumetri Color panel from the Window menu.
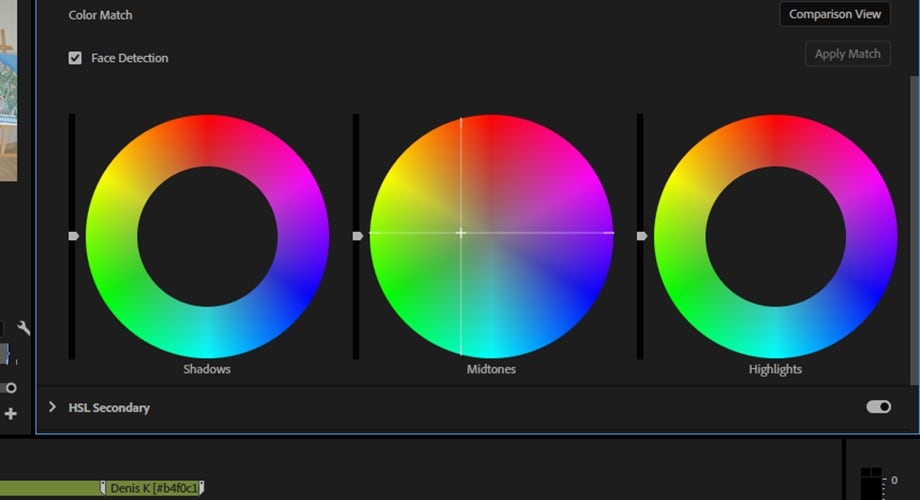
- In the Lumetri Color panel, expand Color Wheels & Match to display the three wheels for shadows, midtones, and highlights.
Use the Adobe Premiere Pro Color Wheel to Adjust Shadows, Midtones, and Highlights
Part 3. How to Use Color Wheels in Filmora
Previously, we discussed how to use the color wheel in Premiere Pro. Now it's time to discuss other tools with easier color wheels, such as Wondershare Filmora, which is known for its simpler and faster color grading.
Premiere Pro is indeed known for its advanced color grading tools, but Filmora's color grading tools focus on the simplicity of three clear color wheels for shadows, midtones, and highlights, which are very easy to learn, even for beginners.
If you need color grading for quick projects, social media videos, or simply to improve footage without spending hours on detailed refinements, then Filmora is the answer.
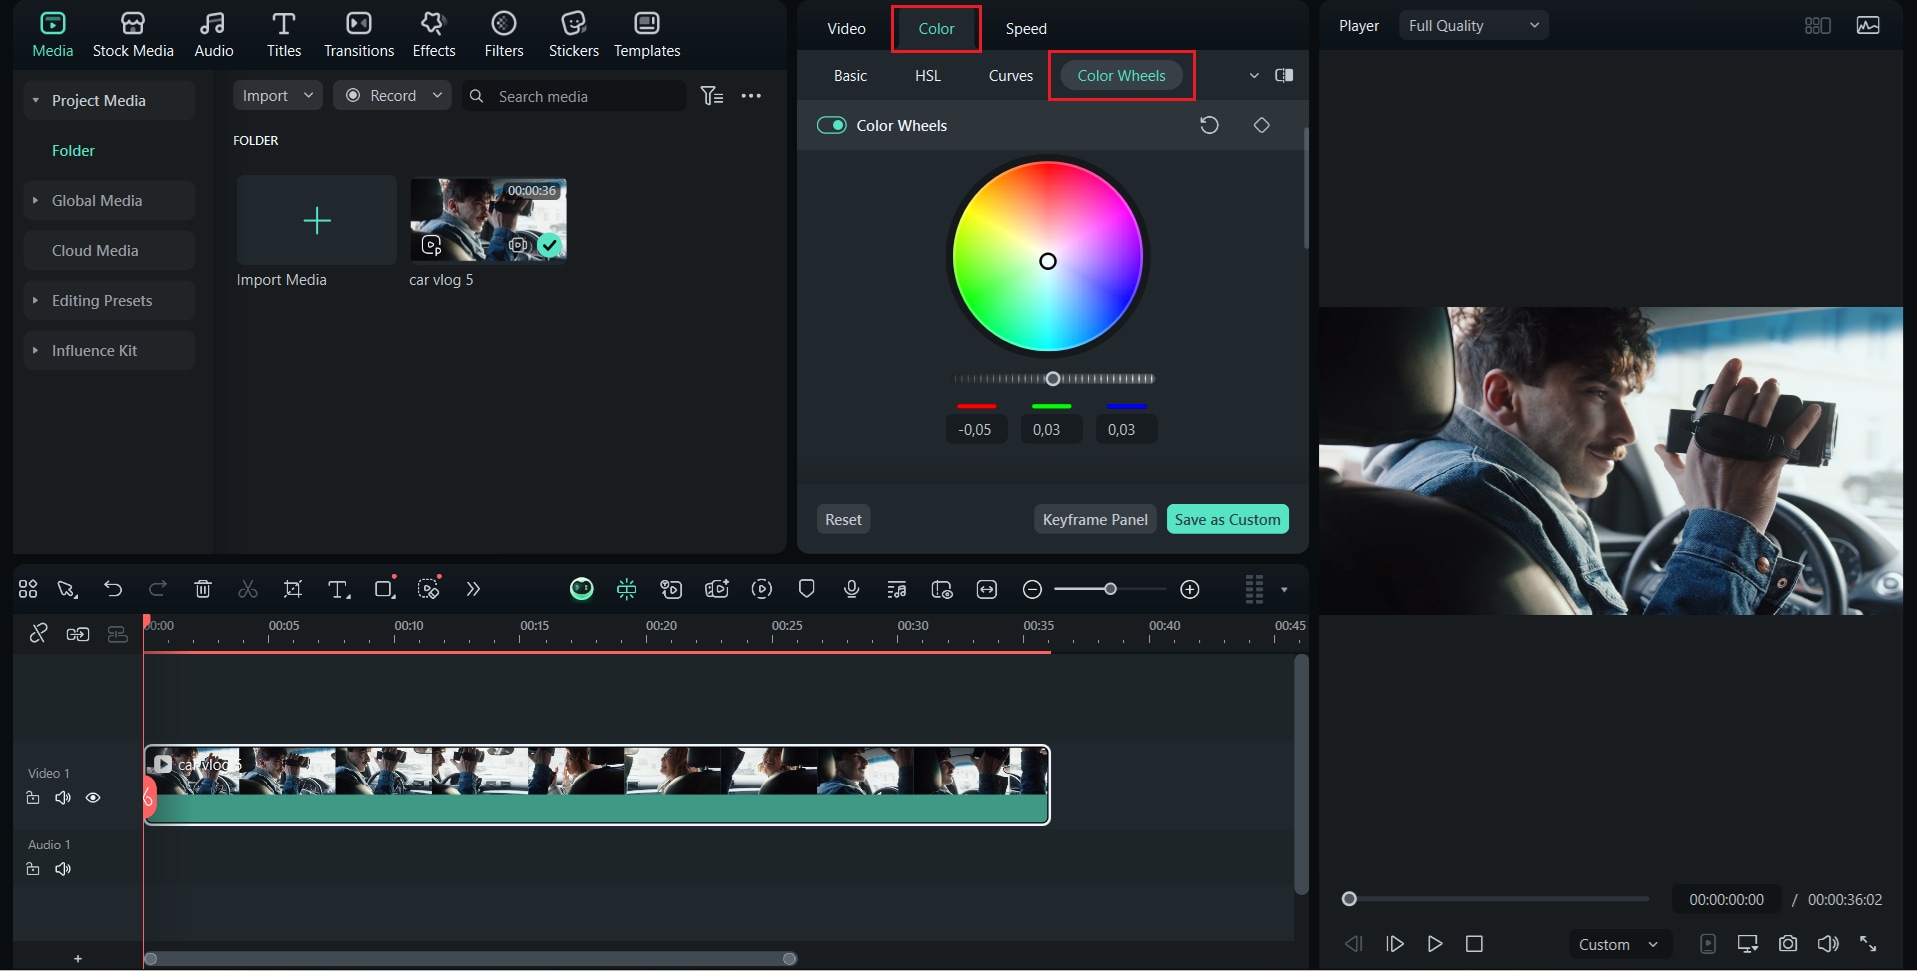
Access the Color Wheels
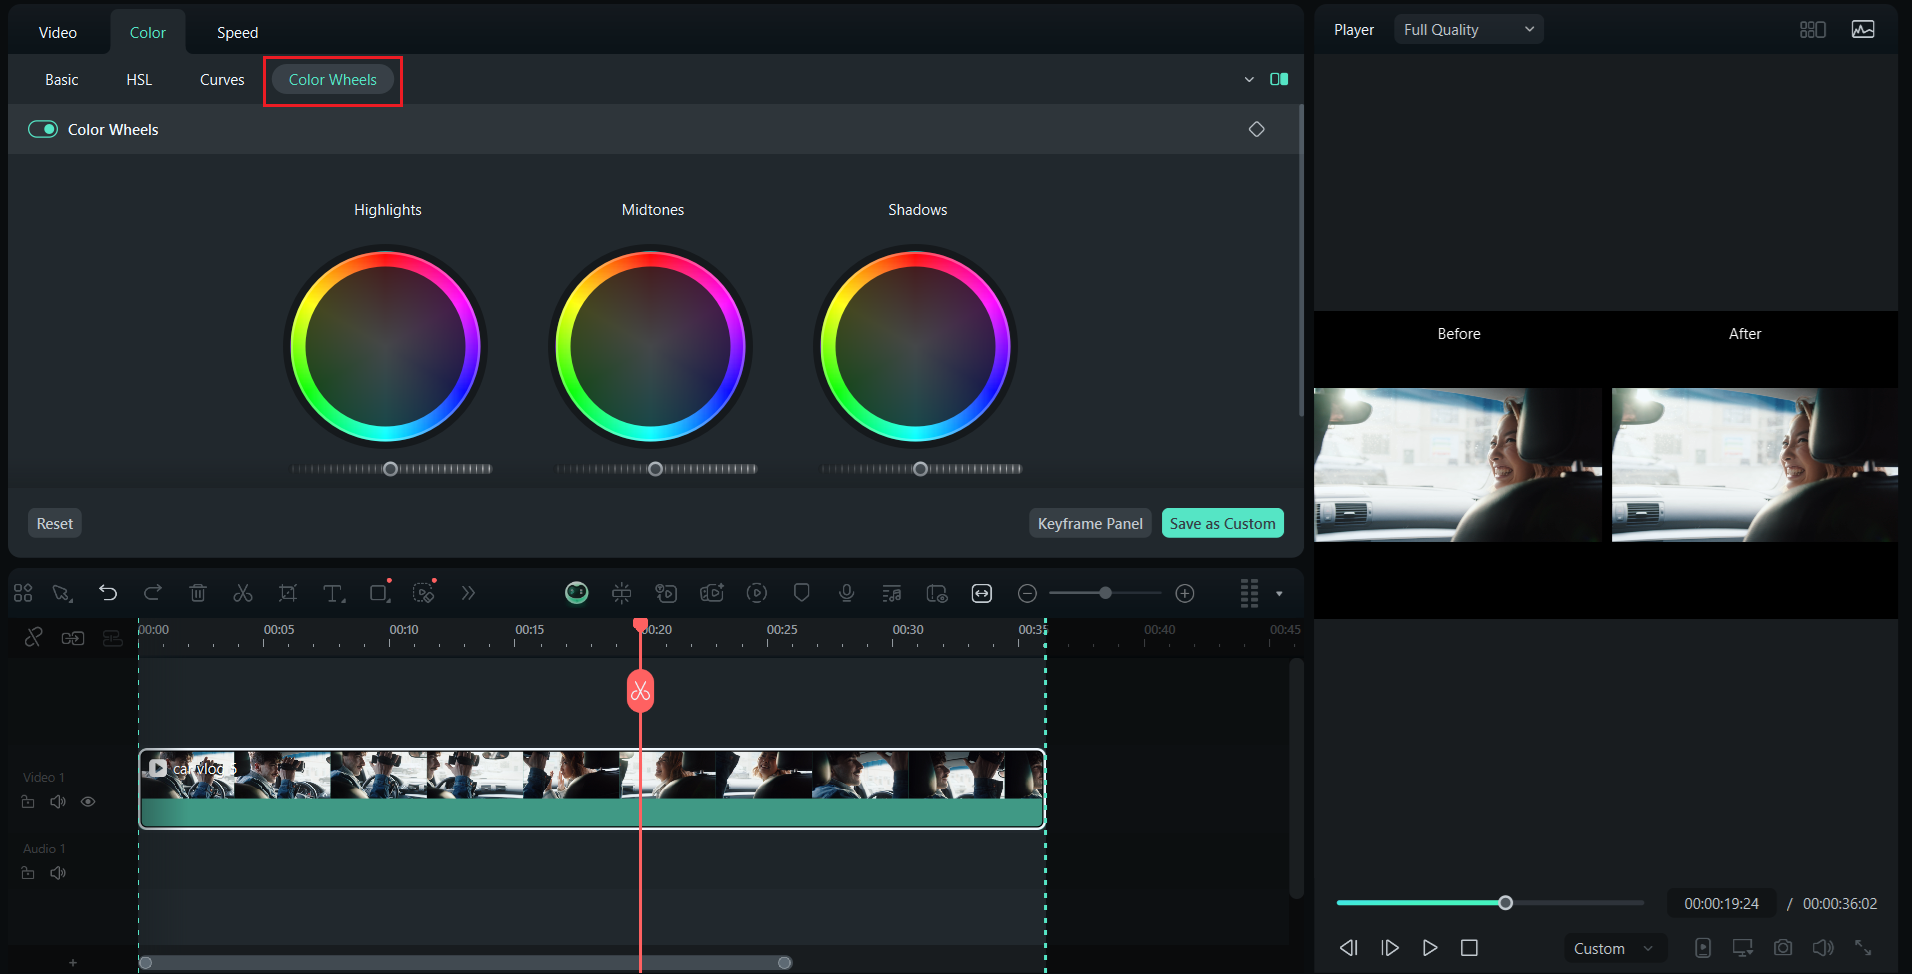
- Select a clip on the timeline.
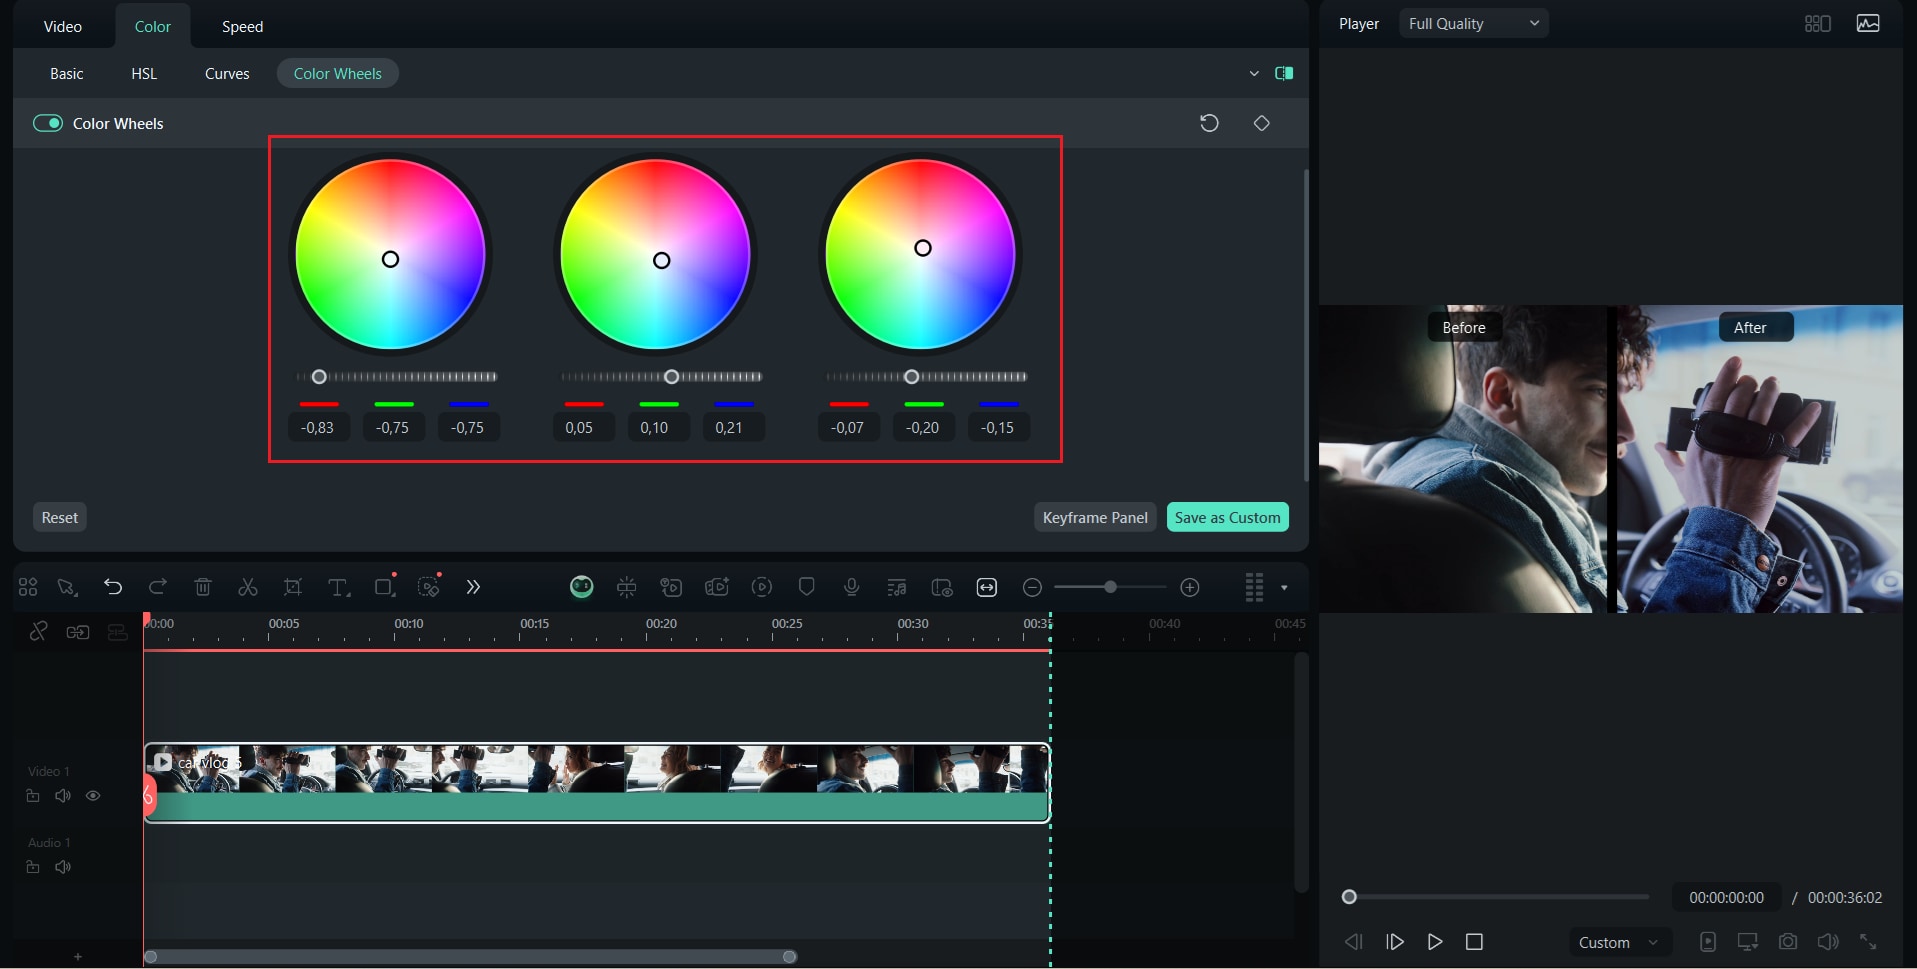
- Open the Color tab in the right panel and activate the Color Wheel. This will display three settings for Highlight, Midtone, and Shadow.
Quick step-by-step process

Part 4. Premiere Pro Color Wheels vs Filmora Color Editing
By learning the steps on how to use the color wheel in Premiere Pro and Filmora, it's a better idea to compare both tools side by side. Both tools have their own strengths, so it's necessary to understand which tool is right for your purposes. Below is a clear comparison of the color wheels in Premiere Pro and Filmora:
| Feature | Premiere Pro | Filmora |
| Precision | Offers highly detailed control over shadows, midtones, and highlights. Ideally suited for precisely matching clips. | Provides simple wheels and sliders that are intuitive but less precise for professional color grading. |
| Learning Curve | Color grading tools are more complex and require time to learn the color adjustment tools. | Super beginner-friendly with a clean interface, quick results, and minimal setup. |
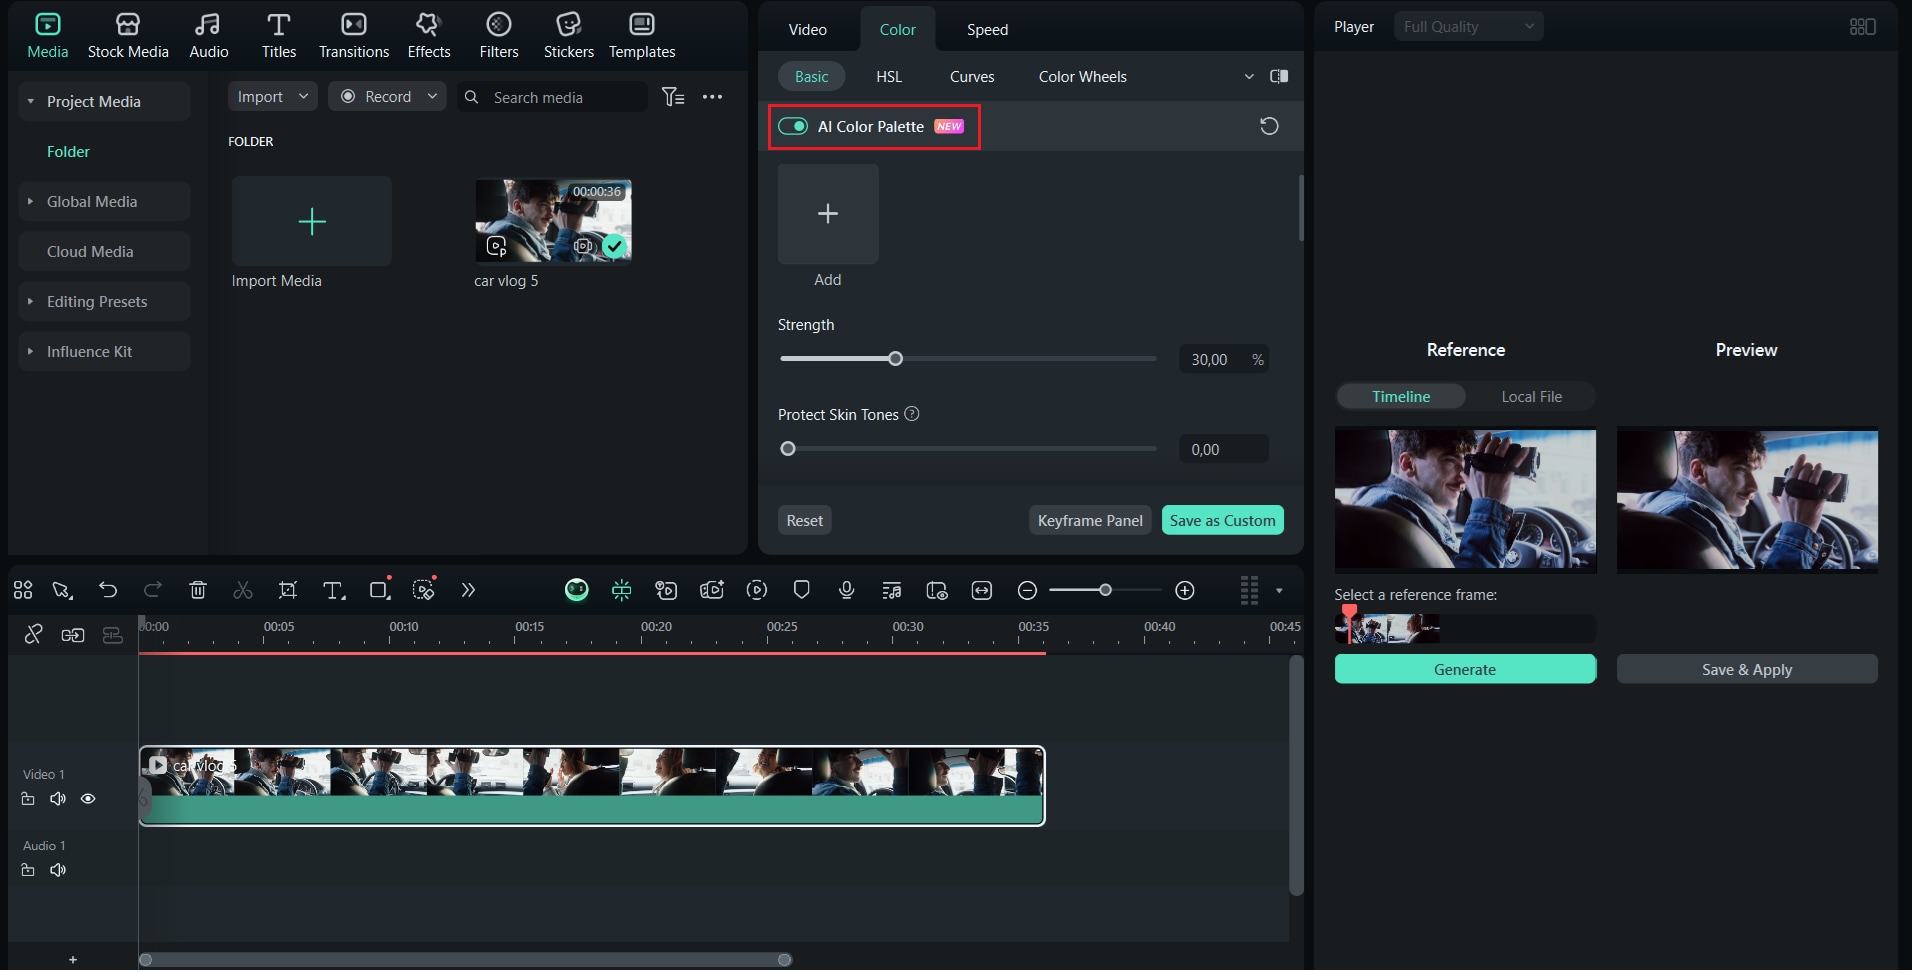
| Features | Full set of pro tools like Lumetri Scopes, Curves, and secondary color correction. | Filmora provides basic wheels, an AI color palette feature, presets, and HSL/Curves adjustments |
| Best For | Filmmakers, editors, and anyone who needs professional results. | Vloggers, social media creators, and casual editors who want quick edits and simple color grading. |
When to Choose Which Tool
- Choose Premiere Pro if you need precise control over every tonal range, want to match clips perfectly across a timeline, or are working on professional projects where color accuracy is critical.
- Choose Filmora if you want a quick and easy way to enhance your footage, prefer a simple interface, or are creating videos for social media where speed is more critical than precision.
Part 5. Tips for Getting Better Results with Color Wheels
Getting good results with the color wheel requires careful work and checking your progress throughout the process. Here are some quick tips for getting better results:
- Use scopes: to avoid clipping in highlights or compression in shadows, check the Waveform and Vectorscope while making adjustments. This allows you to keep skin tones on the correct vector line.
- Make small changes: small shifts are easier to read and undo. Large changes often result in unwanted colors and banding.
- Protect skin tones: use the midtone wheel sparingly and verify changes on the face frame, or use Secondary HSL to isolate skin, if there are people in your clip.
- Use Adjustment Layers for consistency: to save editing time on long projects, apply presets across scenes with adjustment layers, then adjust individual clips underneath for final tweaks.
- If Apply Match isn't perfect: try a different reference frame or manually undo adjustments and refine with wheels and curves.
Part 6. Common Issues and Troubleshooting
It's worth noting a few issues you might encounter, because even with simple tools like a color wheel in Premiere Pro, it's still easy to make small mistakes that can affect the final look. Listed below are some common problems and how to solve them:
- Overly Saturated Colors: Shifting the color settings too far can make footage look unrealistic. Move the color settings to the center or reduce the saturation to restore a natural look.
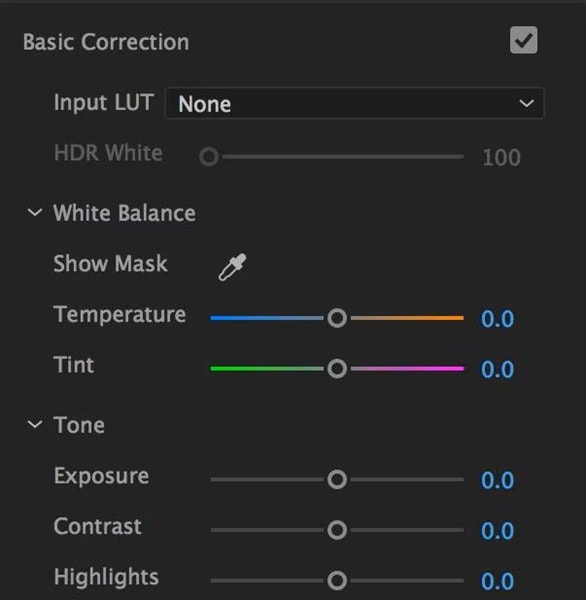
- Shadows Too Dark: If dark areas are losing detail, increase the brightness slider on the shadow wheel or adjust the exposure slightly. Check on a calibrated monitor to make sure you can see texture in the dark areas.
- Highlights Too Bright: When bright spots lose detail, lower the highlight slider or use basic correction to restore dynamic range. You can also try reducing overall contrast.
- Unnatural Skin Tones: Skin often falls in the midtones range, so check the midtone wheel carefully. Adjust toward warmer or cooler tones until faces look natural. Use a vectorscope if available to keep skin tones in the correct range.
- Inconsistent Clips: Different lighting setups can make clips look mismatched. Use the comparison view or Filmora's AI Color Palette to copy the color style from one clip to another, then adjust it manually.
- Making Too Many Changes at Once: Adjust one wheel at a time, then review your changes. Working in small steps keeps the footage balanced and avoids new problems.
Conclusion
To give your videos a polished and professional look, mastering how to color in Premiere Pro using the Color Wheel is essential. By carefully adjusting shadows, midtones, and highlights, you can correct unbalanced colors and create a standout cinematic atmosphere.
For those who prefer a simpler method, Filmora offers an alternative that's easy to use yet still produces great results for quick projects and social media content. Experiment, compare before-and-after results, and keep adjustments subtle.
