

Many of you might wonder how to fade out music in Premiere Rush and have a hard time finding the proper tools and steps. After all, audio is the lifeblood of any video.
A story with impact will lose interest if music simply stops, leaving the audience behind and not in the moment of the story. Softer transitions like fade-in or fade-out help your voice and music tracks flow naturally, moving you emotionally and preventing your audience from tuning in and out.
This article explores both Premiere Pro and Rush methods while comparing their strengths. The aim is to help you not only master fade audio Adobe Premiere techniques but also discover simpler options for achieving professional, cinematic sound in your projects.
Part 1: Why Use Audio Fade In and Fade Out?
Sound transitions matter. The listener is jolted when audio cuts abruptly. Smooth fade-ins and fade-outs between clip make your video more interesting and wonderful!
1.1 The Role of Background Music in Videos
Background music is like a hidden narrator. It sets the tone, builds mood, and carries rhythm between scenes. Simple tools in Adobe's editing programs let you learn how to fade audio in Adobe Premiere so that a track comes in on a low note and gradually rises.
A soft fade-out can wrap a scene up in completeness, also preventing abrupt silence where the stop is hard. Deployed effectively, fades make background music feel integral to a narrative rather than an extra coat of paint.

1.2 How Audio Fade Improves Storytelling
Fades help connect sound and visuals in a way that feels natural. They keep viewers focused and make each transition part of the story:
- Smooth scene transitions: A technique for cross-fading audio in Adobe Premiere Pro prevents there from being any such jarring cuts that might distract from immersion when it is broken.
- Emotional pacing: Fade-ins can make something suspenseful, while a fade-out eases you to calm.
- Cleaner editing options: The short fades it applies strip away clicks and pops that happen when clips meet.
- Narrative flow: Gradual volume shifts guide attention without distracting from dialogue or visuals.
1.3 Common Use Cases (YouTube, Vlogs, Social Media)
Audio fades are everywhere in modern editing. Creators use them to smooth background music, guide emotion, and keep projects polished. Here are some everyday examples:
- YouTube tutorials: Many ask how to fade out music in Premiere to avoid background tracks ending too sharply.
- Vlogs: A premiere rush fade audio helps mix background music under voiceovers, keeping speech clear without losing energy.
- Social media clips: Editors rely on how to fade out audio in Premiere Rush to prevent abrupt stops in short videos.
- Music production and DJ mixes: Smooth fades blend tracks seamlessly without breaking flow.
Part 2: How to Fade Out Audio in Adobe Premiere Rush
Audio fading is one of the most common sound edits in video production. It works by changing volume gradually rather than cutting it sharply.
- Fade-ins raise audio from silence to the chosen level, often introducing music at the start of a scene.
- Fade-outs lower volume step by step, usually before the end of a clip, giving closure without jarring silence
The following are the steps showing how to fade out audio in Premiere Rush without fuss.
- Select the audio clip in the Timeline.
- Open Edit and select Audio. Turn on Fade Out (or Fade In if needed). Set a duration (for example, 0.5–2.0 seconds).
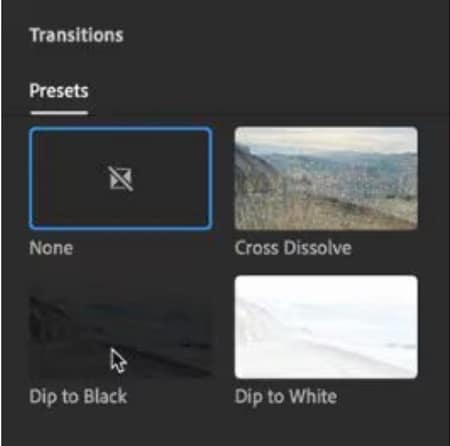
- Need a longer or curved ramp? Add an Audio Cross Dissolve to the clip edge, then drag its length to taste.
- If dialogue and music overlap, enable Auto Duck. Tag the dialogue track as Voice and the music track as Music for proper balancing.
Part 3: How to Fade Music in Adobe Premiere Pro vs Premiere Rush
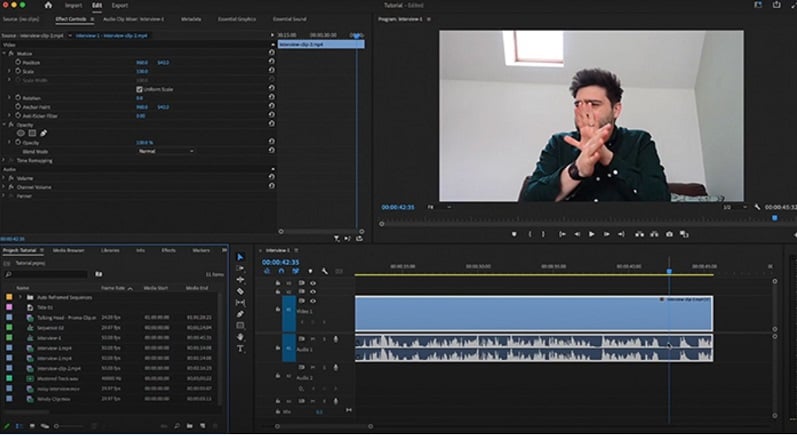
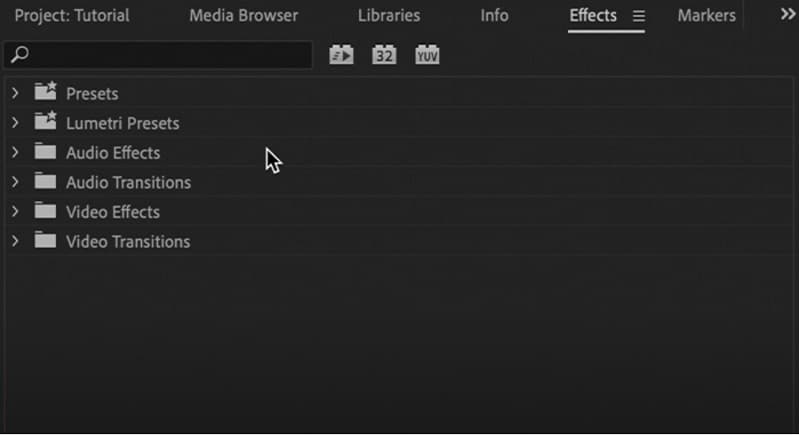
Audio Editing in Premiere Pro (Advanced Tools)
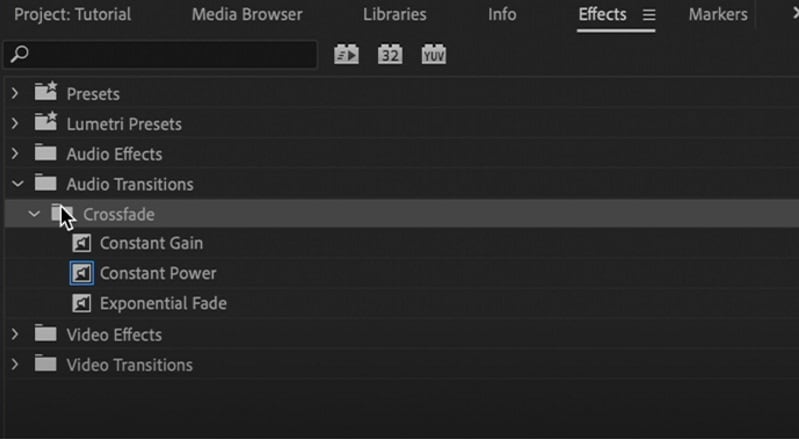
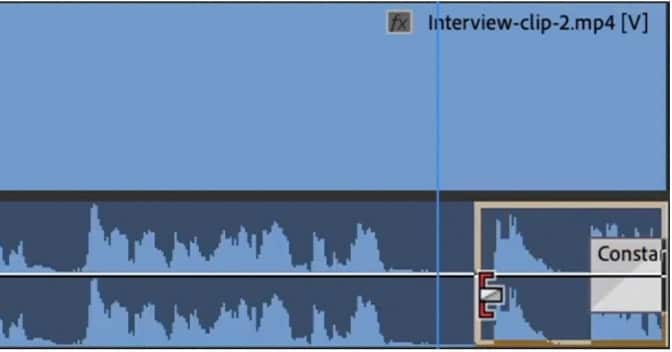
Premiere Pro offers two main methods: audio transitions and direct fade handles. Both are easy once you know the workflow.
- Constant Gain: Linear change, can sound abrupt.
- Constant Power: Smooth curve, best for most edits.
- Exponential Fade: Gentle curve for natural fades.
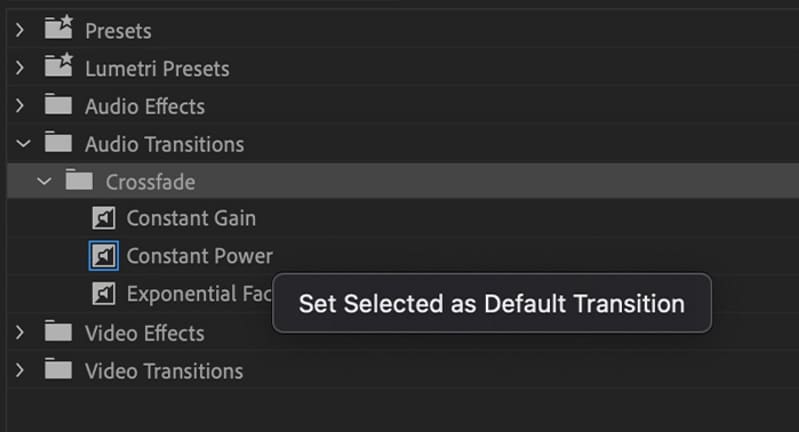
Tip: Use shortcuts for speed
Use a keyboard shortcut to apply the default transition effect in Premiere Rush: Shift+Ctrl+D (Windows). A single fade will be applied to all selected clips.
3.2 Fade In/Out Options in Premiere Rush (Basic Tools)
Premiere Rush offers basic audio fade tools suitable for quick edits. It is not as powerful as Pro, but it gives you basic control.
3.3 When to Use Premiere Pro Instead of Rush
Premiere Pro and Rush both serve editors well, but their strengths are not the same.
- Premiere Pro is Adobe's flagship program, designed with professional features for advanced work. It shines on projects where detailed color correction, custom graphics, and keyframes are required.
- Rush, by contrast, is built for speed and simplicity. Editing short clips for social media can be done inside Premiere Pro, but it usually takes longer than in Rush. For quick cuts and basic audio fades, Rush is the more practical choice.
3.4 Comparison chart: Premiere Rush vs Premiere Pro
You've seen how each handles fades, but features stretch far beyond audio. A direct comparison now reveals when Rush keeps things light and when Pro becomes the heavyweight editor of choice.
| Factor | Premiere Rush | Premiere Pro |
| Learning Curve | Designed for beginners: intuitive interface, fewer tools, minimal setup. | Professional tool with many features. Takes more time to master. |
| Mobility & Workflow | Cross-device editing (desktop + mobile). But note: cloud sync was discontinued, limiting seamless transfer. | Built for desktop/studio workflows. Optimized for heavy editing and large media. |
| Project Scalability | Best for short to medium videos; not ideal for very large, multi-track projects. | Can handle complex multi-track projects, large video assets, and heavy edits without breaking. |
| Customization | Limited control: basic transitions, presets, fade sliders; no advanced curves or in-depth tooling. | Deep customization via effects, keyframes, transitions, plugins. |
| Collaboration | Minimal collaboration features. Mostly single-user focus. | Supports collaborative workflows via Team Projects, Productions, remote editing, version control. |
| Integration | Good integration inside Adobe ecosystem for basic tasks, but limited in linking to advanced apps. | Deep integration with After Effects, Audition, Photoshop, Frame.io, and plugins. |
| Output & Formats | Optimized for social media exports. Supports up to 4K. | Wide format support, pro codecs, export control, high bitrates. |
Part 4: How to Fade Audio in Filmora (The Easier & Faster Premiere Rush Alternative)
Premiere Pro offers advanced controls, but its learning curve and cost are hurdles. Rush is simple but lacks sophisticated tools. Wondershare Filmora bridges this gap, offering both one-click fades and advanced keyframe control. It is a powerful, cost-effective alternative to Premiere Pro, simplifying audio fade mastery without the grind.
Wondershare Filmora answers that gap differently. It combines the ease of quick fades with the sophistication of advanced audio tools, all inside one editor. You're able to establish fades in one click; fine-tune them with keyframed curves; and balance tracks using AI ducking and denoise.
Filmora also includes a built-in royalty-free music library that offers instant access to your soundtrack (you can also import commercially licensed music with the click of a button). And for editors who want to know how to fade audio in Adobe Premiere, Filmora offers the same shine without the grinding.
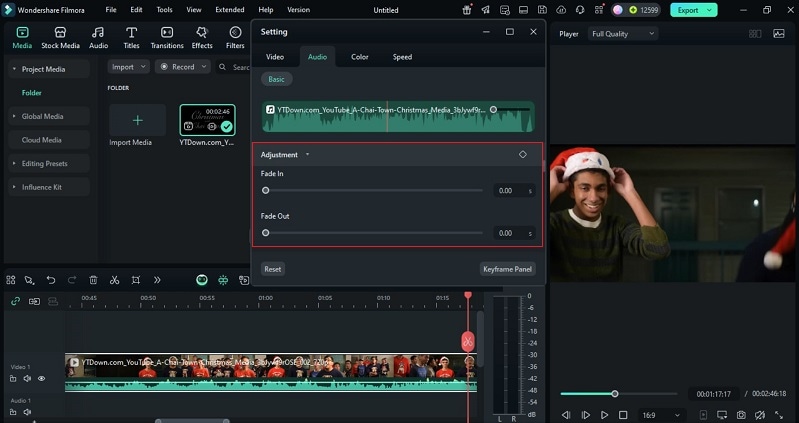
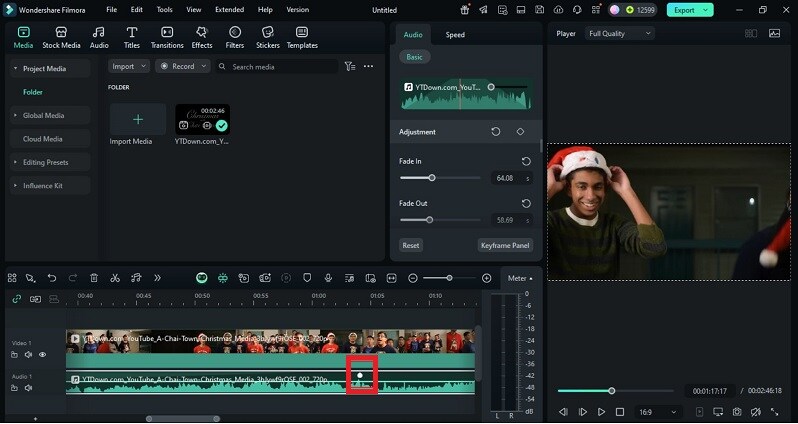
Step-by-Step: Fading Audio in Filmora
Part 5: Premiere Rush vs Filmora: Audio Fade Feature Comparison
| Factor | Premiere Rush | Filmora |
| Ease of Use | Built for beginners. Fades are applied with simple toggle sliders in the Audio panel. Very limited customization. | Also beginner-friendly. Supports fade sliders, timeline handles, and markers for quick adjustments. Offers more flexibility while staying easy to use. |
| Audio Editing Features | Basic set: volume control, fade in/out sliders, auto ducking for voice, and simple noise/echo reduction. | Advanced tools: one-click fades, AI noise reduction, auto ducking, EQ presets, keyframed curves, and a library of royalty-free music and sound effects. |
| Export Flexibility | Optimized for social platforms. Supports HD and 4K exports but limited customization for professional delivery. | Supports multiple resolutions, wide format range, and audio-only export (MP3). Gives more control over quality and output formats. |
| Cost & Accessibility | Free starter version. Included in Adobe Creative Cloud plans. | Flexible pricing: monthly, annual, or lifetime licenses. Stays available as a standalone editor at lower cost for individuals and small creators. |
Conclusion
Good sound keeps stories alive. When audio cuts suddenly, the audience feels lost. Learning how to fade audio in Adobe Premiere teaches precision, while Premiere Rush fade audio makes simple edits fast. Both have value, but each leaves something missing.
Filmora reshapes that gap with one-click fades, curve control, and built-in audio tools. You can clean voices, balance music, and add effects without leaving the editor. The process is quick, but the result feels polished. Strong fades do more than hide silence; they guide emotion and give every video a finish that feels intentional.
