If you're into 3D creation, you've probably heard of Blender. Animators and creators worldwide use this 3D animation software for modeling, sculpting, animating, and rendering, just to name a few.
What many don't realize is that it also comes with a built-in video editor. This combination makes Blender a versatile choice for both 3D artists and video editors who want a free all-in-one creative tool.
But how well does it actually perform? Is it the tool you are looking for, or should you look for an alternative instead? Find the answer in our Blender review below.
Part 1. What is Blender?
Blender has earned a strong reputation as one of the most powerful free, open-source 3D animation tools. This accessibility sets it apart from competitors that often require expensive licenses, making it an attractive option for beginners looking to explore 3D animation.
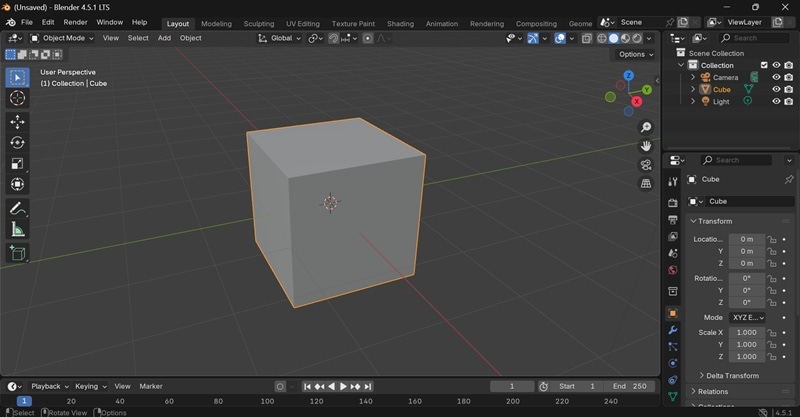
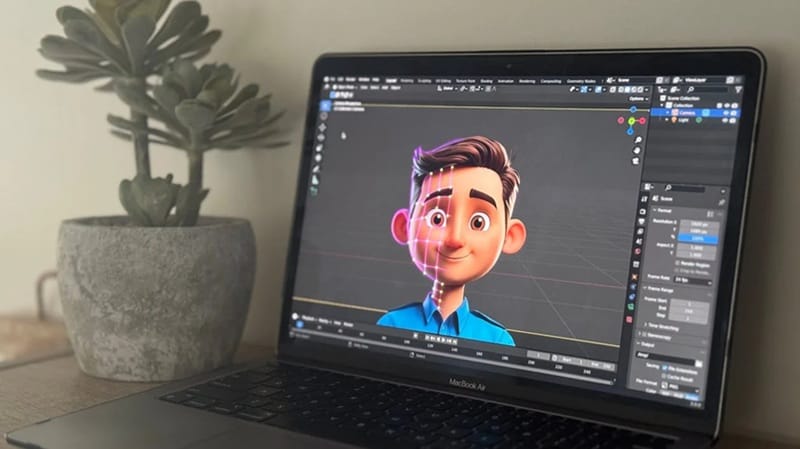
At the same time, Blender has the power to support professionals working on full-scale productions across every stage of the process. It's capable of handling modeling, rigging, animation, simulation, rendering, compositing, and motion tracking. Blender also offers tools for video editing and building assets for games.
Key Highlights
- Frequent updates and massive plugin support – Backed by a dedicated community and the Blender Foundation, it receives regular feature updates and supports a huge library of add-ons to extend its capabilities.
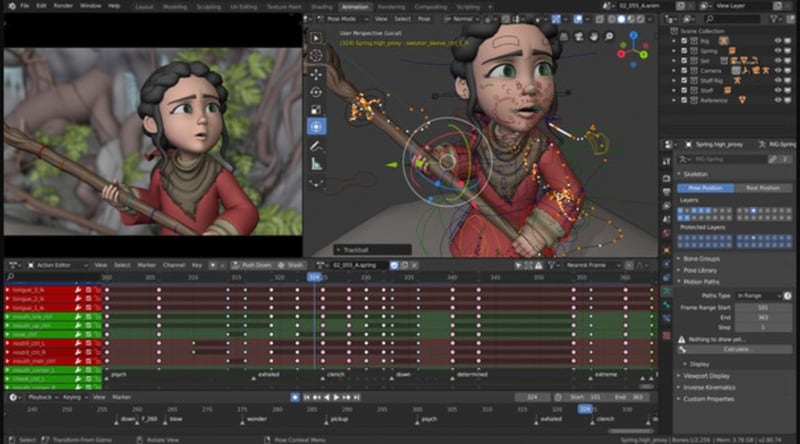
- Animation & Rigging – Blender gives you powerful tools for character rigging, keyframe animation, motion tracking, and complex scene choreography.
- VFX – Blender includes built-in simulation systems for realistic smoke, fire, fluids, cloth, and other dynamic effects.
- Video Editing – The tools in Blender video editing software let you cut, trim, add transitions, sync audio, and apply basic effects directly inside the software.
What's New in Blender 2025

The latest release, Blender 4.5 LTS, comes loaded with upgrades, with some of the most essential ones being:
For a full look at the latest updates, you can check out the full video here:
Part 2. Blender's Core Features and Usability
For the best experience of using Blender, you'll want to use a three-button mouse. It makes navigating and working in Blender much easier. If you plan on doing a lot of sculpting or painting, you might need to use an artist's tablet or a pen display for more brush control.
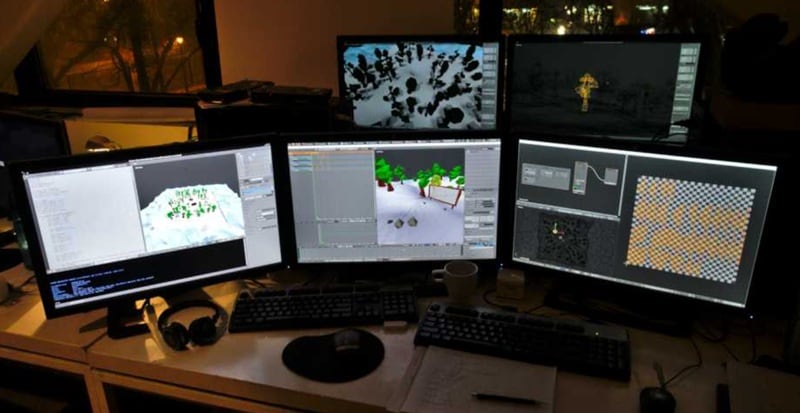
As for the minimum specs for using Blender 3D tools, you can check the following table:
| Component | Minimum Requirements |
| Operating System | Windows 8.1 (64-bit) or newer, macOS 11.2 or later, Linux with glibc 2.28+ |
| Processor (CPU) | Quad-core CPU with SSE4.2 instruction set support |
| Memory (RAM) | 8 GB or more |
| Graphics (GPU) | GPU with at least 2 GB VRAM and OpenGL 4.3 compatibility |
| Storage | HDD, SSD (recommended) |
These requirements ensure your computer can smoothly run Blender's core functions as follows.
3D Modeling & Animation
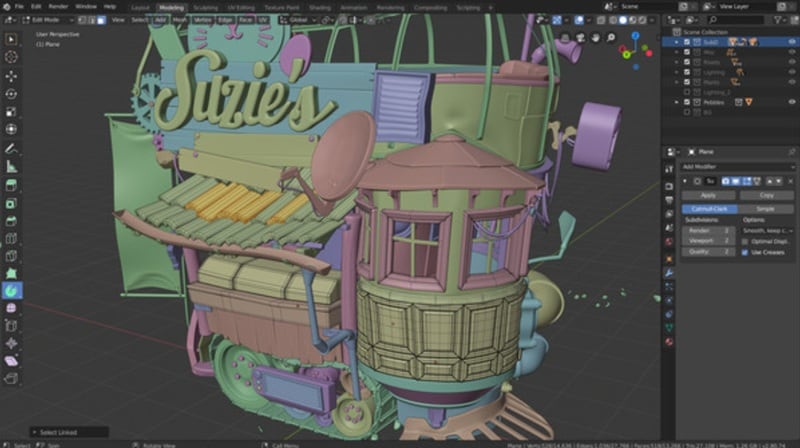
- Modeling Tools: Blender has everything you need to start shaping 3D objects. You can create and edit shapes, move edges around, fill gaps, and even make your own tools with simple scripts if you want to explore more advanced options later.
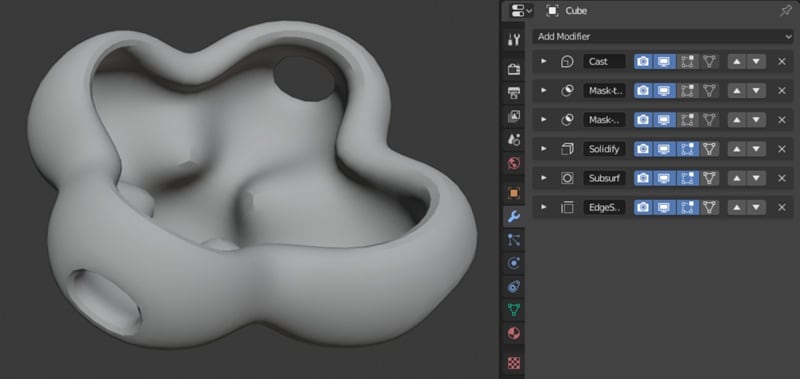
- Modifiers: Blender features Modifiers that work like shortcuts. It helps you make big changes without messing up your original model. For example, you can smooth out a shape or add extra detail automatically, and turn the effect on or off whenever you want.
- UV Unwrapping: Blender lets you wrap a 2D picture (texture) around your 3D model through UV Unwrapping. There are ready-made options like cube, cylinder, and sphere mapping. You can also paint directly on your model, work with multiple texture layers, and save your UV layout to use in other art programs.
Sculpting
- Sculpting Workspace: Blender has its own sculpting mode that's perfect for shaping detailed, organic models, like characters, creatures, or natural objects.
- Brushes: You'll find ready-to-use brushes like Crease, Clay Strips, Pinch, Grab, Smooth, and Mask, and use them right away. These brushes are customizable, and you can also make your own if you want something unique.
- Dynamic Topology: With Dynamic Topology (Dyntopo), Blender automatically changes your model's geometry while you sculpt. This means it adds fine detail where you need it and keeps other areas simple, making the process faster and more creative.
Video Editing
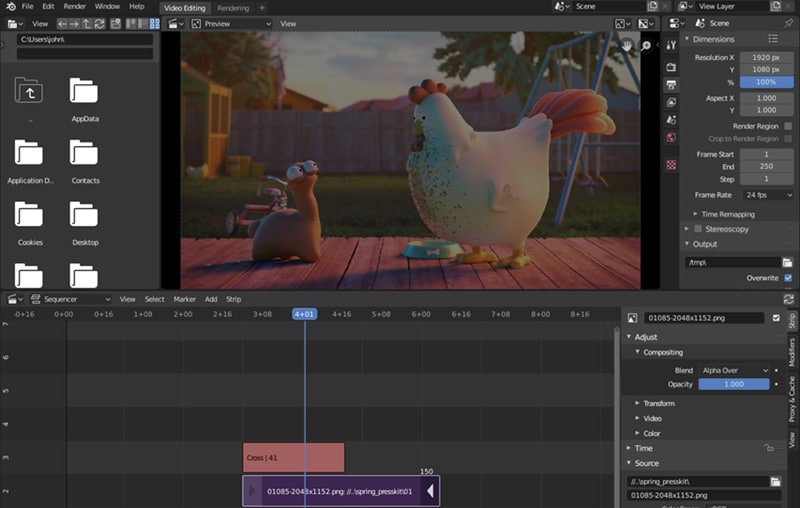
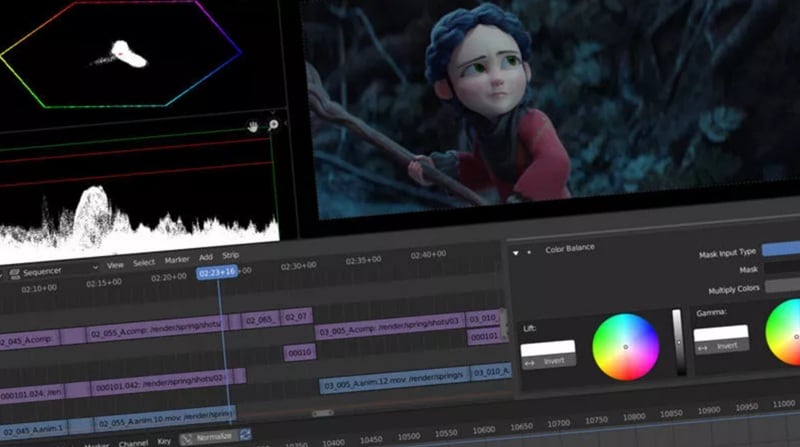
Although Blender is best known as 3D animation software, its Video Sequencer lets users perform basic to advanced video editing.
- Visual Tools: Includes live preview, luma waveform, chroma vectorscope, and histogram so you can monitor color, brightness, and exposure as you edit.
- Audio Tools: Offers audio mixing, syncing, scrubbing, and waveform visualization to help you fine-tune sound with precision.
- Tracks and Effects: Supports up to 32 tracks for adding video, images, audio, scenes, masks, and effects. You can also adjust speed, use transitions, apply filters, add keyframes, and work with adjustment layers.
Part 3. Our Experience with Blender 3D Tools and Video Editing
First, let's start with our Blender 3D software review. For first-timers who have never animated or aren't familiar with animation tools, you will likely find Blender's interface a bit overwhelming at first. The sheer number of panels, buttons, and shortcuts can be confusing.
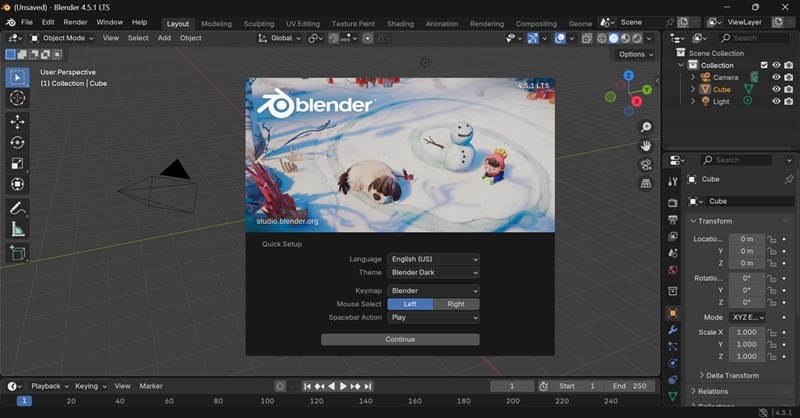
We recommend starting with the basics, such as:
- How to navigate around your scene
- How to select and manage objects
- Getting familiar with the difference between Object Mode and Edit Mode
- Learning common shortcuts
- How to use the outliner to keep your scene organized
- How to work with the toolbar for essential modeling and animation tools
They will make a big difference in how quickly you adapt to Blender.
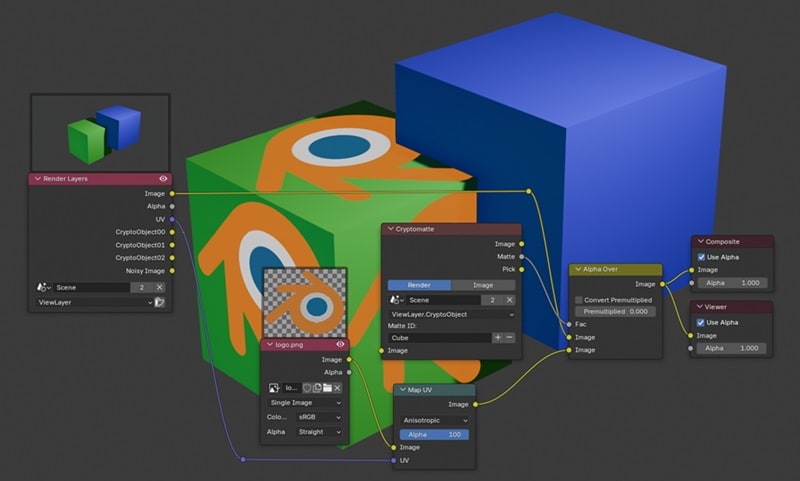
Once you've nailed those basics, you'll find it much easier to start working with the 3D tools. The modifier system in Blender also helps a lot to make experimenting with Blender less risky. You can try out complex effects non-destructively, keeping the original geometry intact.
Is Blender good for video editing?
For something free of cost, Blender is indeed a powerful tool for animation, sculpting, and rigging. However, because its primary focus is on 3D creation, the video editing side feels more like an extra feature rather than the main attraction.
For basic edits like trimming, applying color grading, to more advanced ones like adding effects or integrating 3D elements into video, Blender video editor does the job well. But it can be too complex to navigate for beginners. For simple video projects, a dedicated video editor will still give you more tools to work with and a faster, smoother editing experience.
Part 4. Pros and Cons of Using Blender
With the Blender review we have so far, let's break down its biggest strengths and weaknesses.
- Free and Open Source. No subscription fees or licenses. You can explore and experiment with its 3D tools without having to spend your money yet.
- All-in-One Creative Suite. In a single program, you can do 3D modeling, animation, sculpting, rendering, compositing, and even video editing.
- Frequent Updates. The Blender Foundation releases regular updates that add new tools, improve performance, and fix bugs.
- Massive Community and Resources. A large, active user base means endless tutorials, forums, and add-ons to help you learn and expand Blender's capabilities.
- Hard to Navigate for Complete Beginners. The interface and toolset can be overwhelming if you are new to 3D animation.
- Video Editing Limitations. Although Blender's video sequence editor offers a solid range of editing tools, it's not as fast or feature-rich as dedicated video editing software.
- Hardware Demands. Complex scenes, high-resolution textures, and realistic rendering can be slow without a powerful CPU, GPU, and plenty of RAM.
- Resource-Intensive Workflows. When working on large projects, you will need significant storage space and system resources.
- Less Intuitive for 2D-Only Work and Video Editing. Blender is mainly geared toward 3D animation. It does have the Grease Pencil for 2D projects and video editing tools, but the workflow can feel more complicated than using dedicated software.
Part 5. Who Should Use Blender?
Given the proven capabilities of Blender editing software, it fits the needs of many creators across different industries, such as:
- ✅ 3D artists and animators can use it for modeling, sculpting, animating, and rendering detailed scenes.
- ✅ Game developers can use Blender for building characters, props, and environments for their games.
- ✅ VFX creators can make use of Blender's compositing, motion tracking, and realistic simulation tools to create visual effects.
- ✅ Indie filmmakers can use Blender for animations, effects, and even basic video editing in one place.
- ✅ Students and hobbyists, since it's a cost-free way to learn and practice 3D skills.
- ✅ Freelancers can deliver professional-quality 3D work without expensive software.
However, Blender might not be the best fit for:
- ❌ Beginner 2D animators. The Grease Pencil tool is powerful, but it's trickier than programs made just for 2D.
- ❌ Video-only editors. The built-in Video Sequence Editor is fine for small jobs but limited for bigger edits.
- ❌ Low-spec computer users. Heavy scenes and high-res rendering can slow things to a crawl without strong hardware.
- ❌ Studios that are tied to specific software. Blender might not blend perfectly with certain professional pipelines.
Part 6. Want Something Easier? Try Blender Alternative Instead
If all you really need is a simple 2D graphic animation with a bit of editing that won't demand much from your computer, you might be happier with something easier to use than Blender. To give you a recommendation, you can try Wondershare Filmora.
If Blender is a 3D animation tool that happens to include video editing features, Filmora is the opposite. It's built first and foremost as a video editor, yet it gives you the flexibility to create basic motion graphic animations with ease.
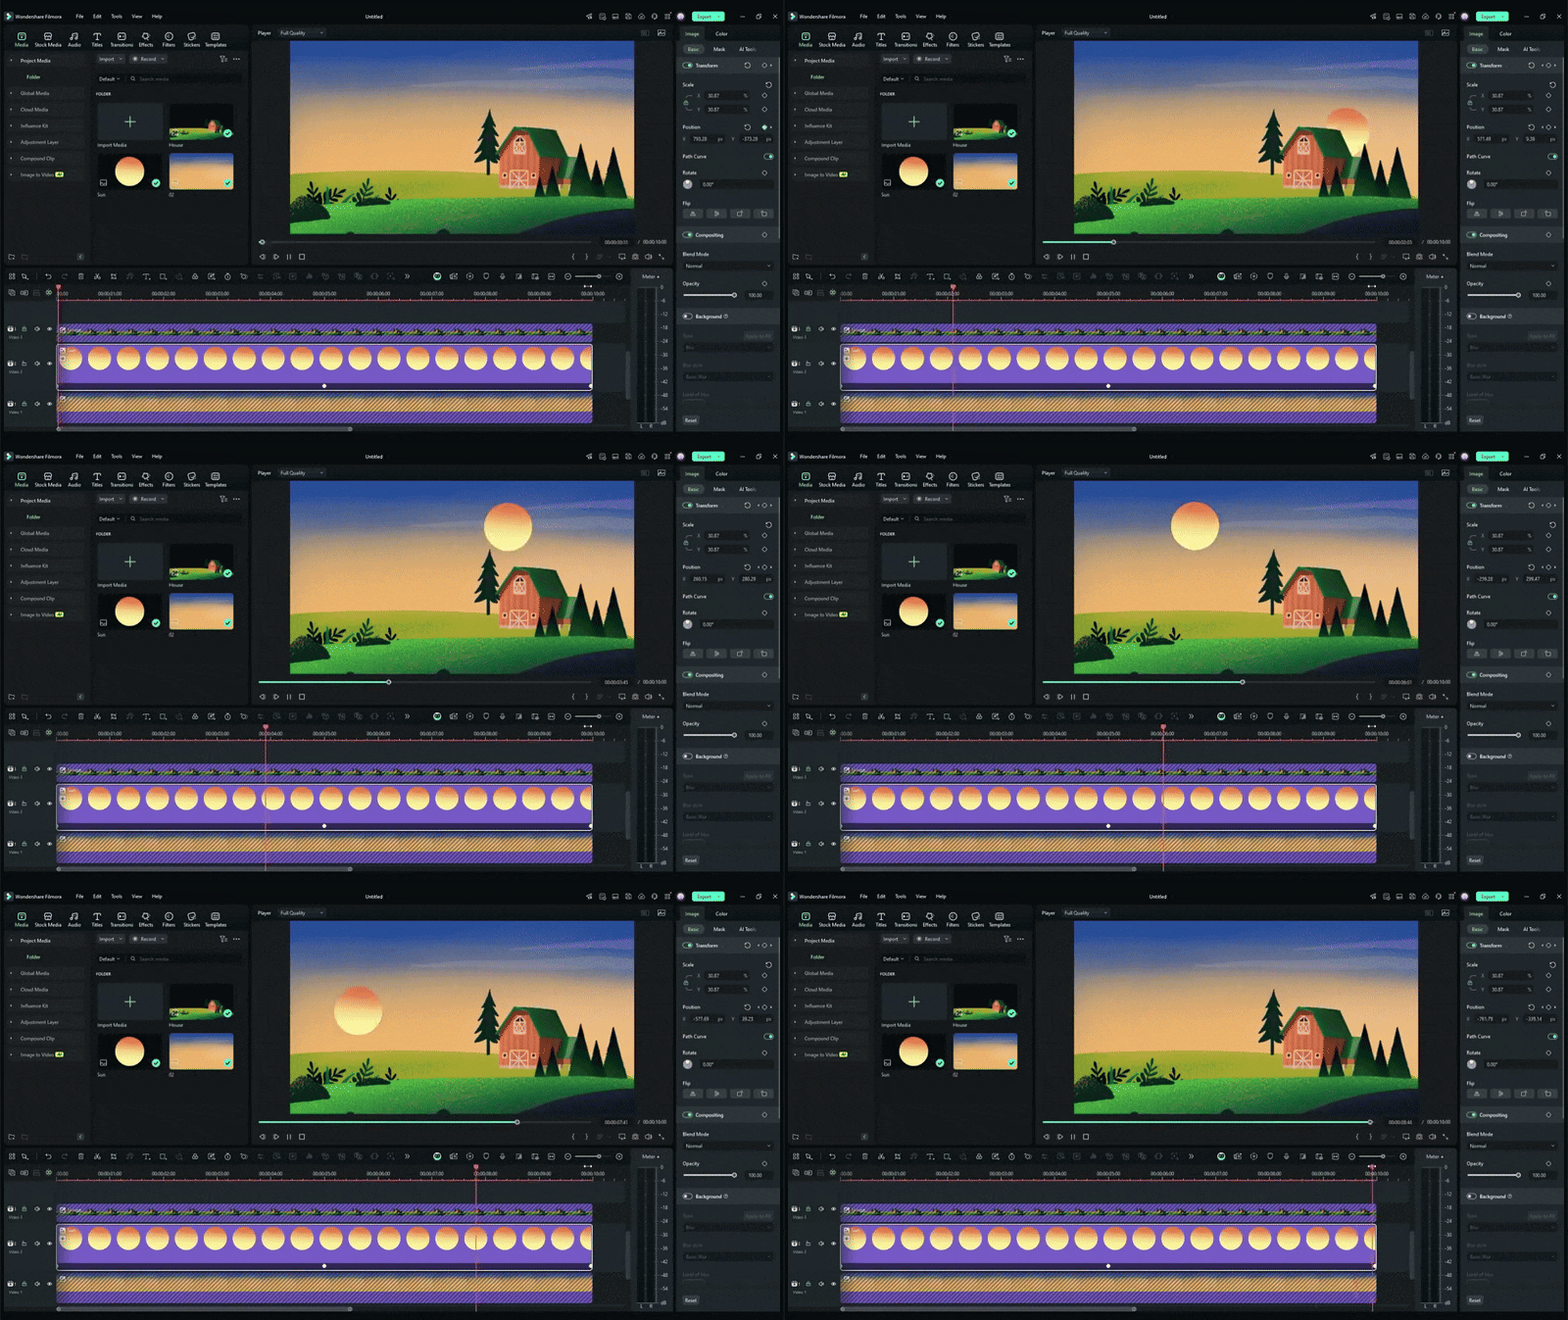
Filmora comes with an intuitive interface, a library of ready-made animations, and a simple keyframing system. You can use it to animate text, images, or shapes without spending hours learning how to do it from scratch. And, you can blend these animations seamlessly with your video projects.
How Filmora Makes Editing and Animating Easier
- Keyframe Animation: Take full control over movement, rotation, zoom, and opacity by setting your own keyframes for smooth, custom animations.
- AI Tools: Speed up your workflow with AI-powered features for tasks like masking, audio cleanup, or even generating creative content.
- Smart Masking: Quickly isolate subjects or apply effects to specific areas without painstaking frame-by-frame edits.
- Pre-made Animated Stickers Library: Add energy to your videos with a variety of ready-to-use animated stickers.
- Motion and Planar Tracking: Make text, stickers, or effects follow moving objects naturally, even on angled or shifting surfaces.
- Video Effects: Enhance your clips with stylish overlays, filters, and cinematic effects to match your creative vision.
- Customizable Animated Titles: Design animated text with your preferred fonts, colors, and motion styles to suit your project's mood.
- Plugin Support: Expand your toolkit with professional plugins like Boris FX Mocha for advanced tracking and NewBlue FX for high-end visual effects.
Conclusion
We have reviewed Blender as a popular 3D software with a built-in video editor. It's powerful, versatile, and free; no wonder that artists, animators, and developers gravitate toward it for professional-grade work.
However, its complexity and hardware demands mean it's not the easiest fit for everyone, especially if your main focus is quick video edits or simple 2D animations.
If you feel that way after reading our Blender review, switching to a more streamlined editor like Filmora could be the right call. Filmora gives you an intuitive workspace, creative animation tools, and AI-powered features that help you produce videos more easily.
Frequently Asked Questions
-
Is there a way to speed up rendering in Blender?
You can speed up rendering by enabling GPU rendering in the Preferences menu, lowering your render resolution, using the OptiX or Metal backend (depending on your GPU), reducing the number of samples, and enabling adaptive sampling. Using simplified materials, baking complex lighting, and closing unnecessary background applications can also improve render times. -
Does Blender autosave my work?
You don't have to worry about losing your work in Blender. Blender has an autosave feature that periodically saves your project in a temporary file. You can adjust the autosave interval under Edit > Preferences > Save & Load. If Blender crashes, you can recover your work by opening the autosave file, located in File > Recover > Auto Save. -
Does Blender offer AI tools?
Currently, Blender doesn't offer any built-in AI tools. However, according to an overview of Blender's development roadmap, the Blender Foundation is planning to introduce native AI features aimed at automating repetitive tasks, assisting in texture generation, and providing real-time creative support.


