Avidemux is a free and open-source video editor that is focused on performing basic tasks. It is popular among people because it does not use too much space on a computer's system. It has remained this way over the years, still being a favorite among people using Linux os and those who have slower computers.
But video editing in 2025 has changed. Creators now expect tools with AI, templates, and real-time features.
In this Avidemux review, we’ll look at what the software offers today, its features, platform support, and where it falls short. We’ll also explore if it still makes sense to use Avidemux now, and when it’s time to consider a more advanced alternative.
Overview Table – Avidemux at a Glance
Before doing a deep dive, let’s go through an overview of Avidemux’s features so that you can evaluate if it fits your workflow.
| Feature | Details |
| Platforms Supported | Windows, macOS, Linux |
| License | Open-source (GNU GPL) |
| Key Uses | Cut, trim, encode, filter |
| Advanced Features | non-linear editing, powerful scripting capabilities, and supports multiple file types |
| Portability | Avidemux can be used directly from a USB flash drive or any external storage device, eliminating the requirement of installation on a computer's hard drive. Moreover, it is offered in a particular format, aiding integration into the PortableApps.com Platform. |
| Popularity | Niche use among tech-savvy users |
Part 1: Introduction – What Is Avidemux and Who Is It For?
Avidemux was created for simple editing tasks, cutting scenes, applying basic filters, and encoding videos. It was never meant to compete with high-end editors but to serve users needing lightweight functionality with precision.

Today, Avidemux software remains relevant mostly among Linux users and video professionals with scripting needs or strict hardware limitations. It's especially valued in open-source communities.
So why review it now? While it still functions, the video editing landscape has changed. With AI and automation now mainstream, we need to assess whether Avidemux can keep up.
As a free commercial tools, Avidemux offers cost efficiency, but does that come at the expense of creativity, speed, and control?
Avidemux Platforms & Download Options
You can get Avidemux download for Windows 11/ Windows 10 / Windows 8, 8.1 / Windows 7 / XP / Vista; macOS; Linux.
For those wanting no install, there's also Avidemux portable, which runs directly off a USB flash drive. The install process is fast, and the software runs with minimal hardware: 512MB RAM and a basic dual-core CPU will do.
To get the Avidemux free download, visit: http://avidemux.sourceforge.net/download.html [the latest version]
There are no upsells, no locked features, and no watermarks. This makes the Avidemux software one of the most accessible editing tools available today.
Part 2: Key Features & Limitations
Avidemux focuses on essential editing needs. Though it’s not polished, it has features tailored to users who want to manage processes instead of relying on automation. Let’s go over the positives first and then the limitations.
- Non-linear Video Editing
Users can edit specific portions of a video without altering the full sequence. This makes it efficient for precise cuts, stabilization, and clip-level modifications.
- Audio Multiplexing (Muxing)
Avidemux allows users to insert external audio streams into video files. It’s useful for replacing audio or syncing new soundtracks with visuals.
- Audio Demultiplexing (Demuxing)
You can extract audio from video for separate processing. This is ideal for editing voice, music, or effects without affecting the visual track.
- Filters and Visual Effects
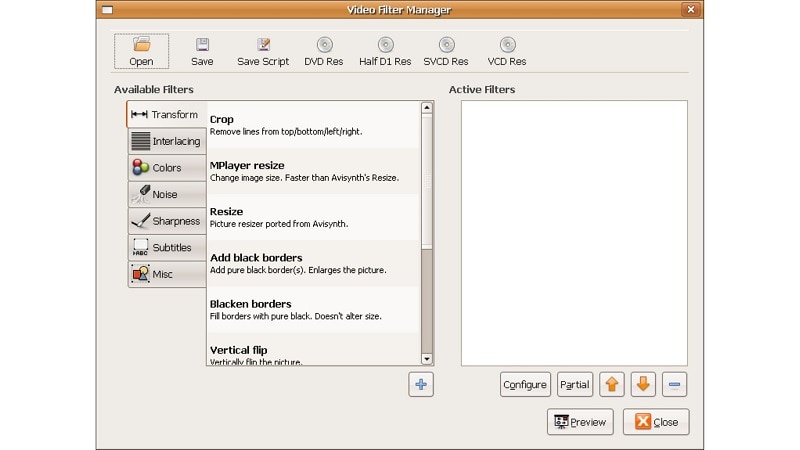
Avidemux includes a filter library for enhancing visual quality. Filters sourced from tools like MPlayer and AviSynth help adjust sharpness, color, resolution, and more.
- Subtitle Processing
The software supports hard subtitle rendering and OCR from DVD sources. It works with formats like MicroDVD (.SUB), SubStation Alpha (.SSA/.ASS), and SubRip (.SRT).
- Project System
Users can save all files related to a specific edit along with all filters and settings used. For scripting purposes in the GUI and command line, which is handy for bulk editing and automation, Avidemux utilizes the Spidermonkey JavaScript engine.
What’s Missing
Despite its efficiency, Avidemux software lacks core creative and usability features:
- No multi-layer or timeline-based editing
- No creative templates, transitions, or motion effects
- No GPU acceleration or color grading tools
- Outdated user interface
- Steep learning curve for users without scripting knowledge
Part 3: Interface & Ease of Use of Avidemux
Minimalist Design
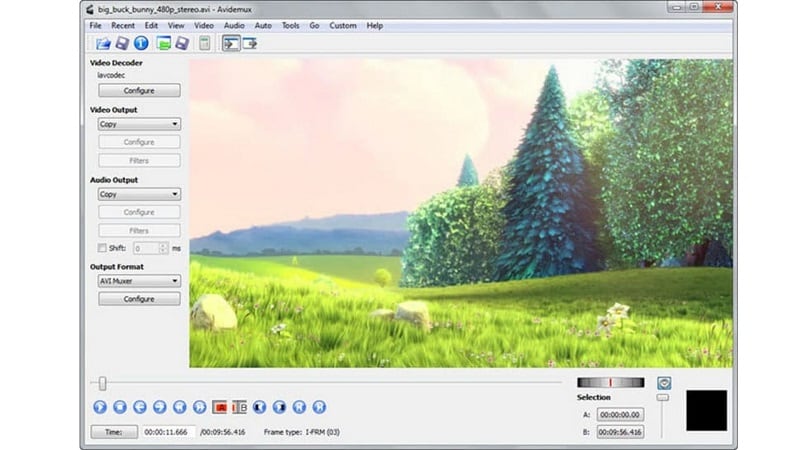
Avidemux has a clean design with no unnecessary features, and is easy to use. There are no distracting panels or tabs which makes it simple for anyone to navigate. The layout supports fast, straightforward actions, especially for trimming and encoding.
Centralized Tool Access
All essential tools, cut, filter, encode, and save, are grouped. This setup reduces clicks and helps users complete edits without hunting through menus.
Easy to Learn for Basic Tasks
- Tools are clearly labeled
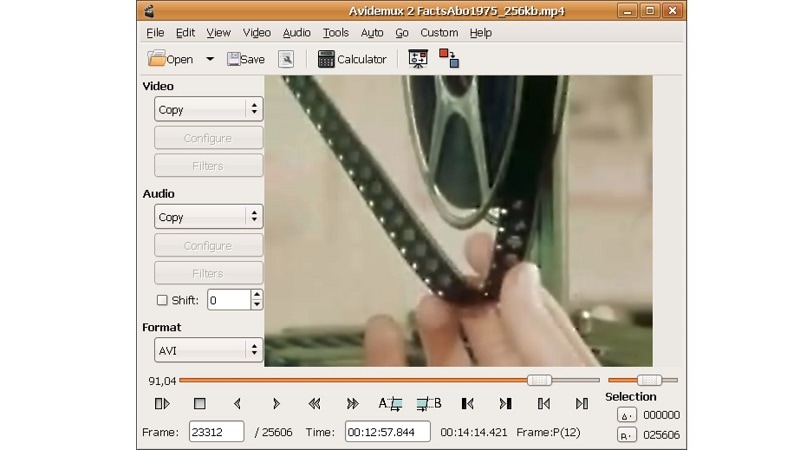
- Frame-by-frame navigation is precise
- Great for quick trims, format conversion, or encoding
- Makes Avidemux software attractive for minimal edits
No Timeline View
One major drawback is the lack of a timeline. Unlike modern editors, there’s no visual layer or sequencing interface. You won’t find multi-track or drag-and-drop editing here.
Limited to Advanced Projects
Because there’s no timeline, users rely on in/out points and manual markers. This works for short clips but becomes inefficient in projects with transitions, overlays, or synced audio.
| Use Cases | |
| For Beginner |
|
| For Basic Tasks |
|
| For Encoding |
|
Part 4: Performance & Stability
Avidemux software performs well on systems with limited resources. It’s built for speed during simple tasks like cutting or splicing, especially when no re-encoding is involved.
Performance Highlights
- Perfect for older systems because it works well with outdated technology
- Consumes minimal CPU during basic encoding and editing
- Best suited for simple edits, not demanding post-production work
What It Lacks
- No GPU acceleration, which slows down performance with 4K or complex edits
- Doesn’t support smart rendering, so even small changes often require full re-encoding
Stability Factors
- Stability depends on format and codec compatibility; mismatched settings can lead to export errors
- In some cases, Avidemux may crash when using advanced filters or unsupported file types
- Works best with standard containers like MP4, AVI, and MPEG
Part 5: Avidemux Review: Is It Still Worth Downloading?
Sure, but only if your video editing needs are basic. Avidemux software is ideal for simple video cuts, filters, and format conversions, especially on older computers or Linux systems. Best of all, it’s completely free, without watermarks, and easy on the system resources.
However, most creators demand more. Modern editors come equipped with features such as AI tools, visual timelines, templates, and advanced effects.
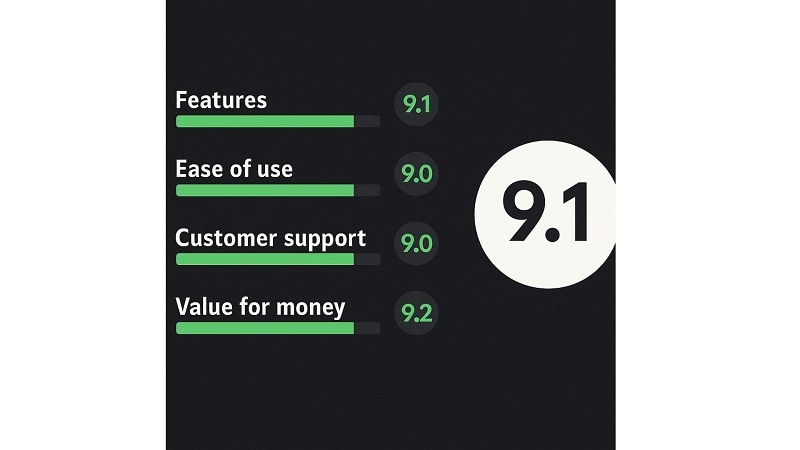
For those who want no-frills, rapid editing, Avidemux’s free download is still useful. However, for flexible and consistent content creation, a modern editor built with powerful creative tools is a worthwhile investment.
Part 6: Video Editor Alternative to Avidemux
Although Avidemux Software handles basic edits well, it is missing modern features that today’s creators need. There are no AIs, no visual timelines, and no room for creativity. For users who want more than just trimming and encoding, you may look for smarter Avidemux alternatives.
Why Filmora Is a Smarter Choice for Creators
Wondershare Filmora offers a powerful suite of tools for editing videos along with images and audio files. Alongside more advanced trimming features like splitting and merging, its creative library provides simple, yet essential tools like sprinkle filters and text animations, stickers, and even music for effortless creativity on the go.

Even with wider advanced options such as keyframing and picture-in-picture, Filmora retains a user friendly design that allows novices to navigate through the interface effortlessly.
AI-Powered Tools That Streamline Workflow
- AI Subtitle Generation and Translation
Automatically create precise subtitles from audio and translate them into various languages in real-time. It is perfect for creators with a worldwide audience.
- AI Speech-to-Text and Text-to-Speech
Filmora can convert spoken audio into editable text and vice versa. It supports multiple AI-generated voices, helping users create voiceovers without recording manually.
- AI Background Removal and Enhancement
Instantly remove or replace image or video backgrounds without a green screen. You can also sharpen and improve visual quality in just one click.
- AI Script and Video Generator
Generate scripts and automatically match them with relevant stock visuals and assets. This reduces manual effort and speeds up the content creation process.
Built for Creative Freedom
Unlike Avidemux download for Windows, which is limited to basic functions, Filmora offers a professional editing environment with drag-and-drop timelines, visual layering, advanced audio editing, and built-in stock resources. It’s made for creators who need more than cuts and codecs; it’s for those who want control, creativity, and efficiency.
Final Verdict – Is Avidemux a Smarter Editing Choice?
In this Avidemux review, we explored a tool built for speed, simplicity, and system efficiency. For basic tasks, Avidemux software still delivers. It’s free, lightweight, and works across platforms, especially for Linux users or low-spec machines.
But video creation nowadays demands smarter automation, creative flexibility, and intuitive design. That’s where tools like Filmora show their edge. With AI-driven features and a modern workflow, it opens space for creativity without complexity.
If your projects are growing beyond trims and re-encodes, exploring a more complete solution may not just help; you’ll likely wonder how you ever worked without it.


