What Is Time-Lapse Video?
Everything You Need to Know Shooting a Time-lapse Video
Achieve Perfect Time-Lapse Shots: A Guide to the Right Tools to Record Detailed Time-Lapses
Choose Your Subject, and Refine Time-Lapse Settings
Some subjects commonly chosen for shooting a time-lapse video include sunrises, sunsets, storms, and other natural phenomena. Yet, don't let these popular time-lapse topics deter you from being creative.
| Shooting Occasion | Interval | Shutter Speed | Notes |
|---|---|---|---|
| Sunrise or Sunset | 5–10 seconds | Adjust based on light changes (wide aperture) | Gradual lighting changes; shorter intervals work better. |
| Day to Night (Cityscape, Street Scenes) | 10–30 seconds | Adjust for light dimming (manual exposure compensation) | Focus on smooth transitions from day to night. |
| Clouds Moving / Weather Changes | 10–30 seconds | Adjust for cloud speed and brightness | Shorter intervals for faster-moving clouds. |
| Traffic (Cars, People) | 1–5 seconds | 1/250s to freeze motion (adjust for night) | Short intervals capture fast-moving traffic smoothly. |
| Flower Blooming / Plant Growth | 30 minutes to 1 hour | Slower, adjust for lighting changes | Long intervals for capturing slow growth; plan for long duration. |
| Ocean / Waves | 3–10 seconds | 1/100s to 1/250s (adjust for wave speed) | Short intervals for smoother wave transitions. |
| Star Trails (Astro Time-lapse) | 10–30 seconds | 15–30 seconds (long exposure) | Short intervals prevent star blur; long exposure for trails. |
| Urban Construction / Building Progress | 10–30 minutes | Manual adjustments for lighting changes | Slow intervals for gradual progress tracking. |
Tips Before You Start Your Time-Lapse Video Shoot and Edit
Before you dive in, here's a list of general recommendations for creating a good time-lapse video
Check Weather Before Outdoor Shooting
Use a Wide Aperture for Light Control
Use a Stable Tripod for Fixed Shots
Prepare a Slider for Moving Time-lapse
Ensure Sufficient Battery and Storage
Manual Focus for Consistent Sharpness
Edit Time-lapse Videos in Editing Software
How to Make a Time-Lapse Video: 3 Simple Methods
Filmora time-lapse editing software can easily speed up footage, turn photos into stunning time-lapses, and add AI effects - all in a few clicks, making timelapse editing simple, creative, and accessible.
Benefits of Making a Time-Lapse Video
Turn hours into seconds. Experience the beauty of time in motion. Explore the magic of time-lapse and how it elevates your story.
Highlight Progress
and Changes
Showcase Natural
Phenomena
Add Creative Appeal
and Engage Audiences
Enrich Your Time-lapse Video with AI Tools and Creative Assets
Want to get your work perfectly done in clicks? Filmora brings all the powerful AI tools and creative assets to the table.
- AI Text-To-Video
- AI Speech-to-Text
- AI Portrait Cutout
- AI Object Remover
- AI Music Generator
FAQs on a Time Lapse Video Editing
- Brinno BCC200/BCC2000 Plus – Weatherproof, long battery life, ideal for long-term outdoor use.
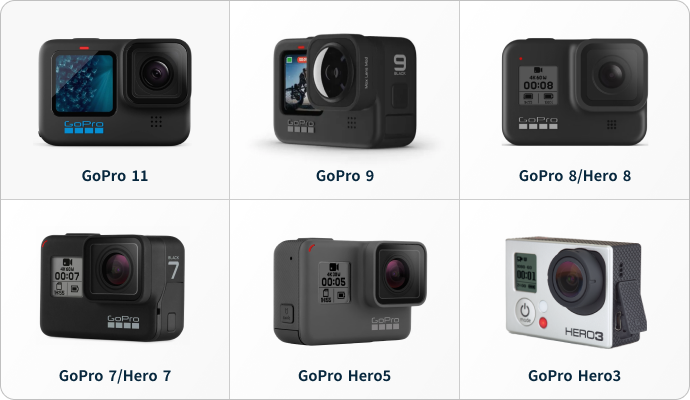
- GoPro HERO12 Black – Rugged, versatile, with 5.3K resolution and stabilization.
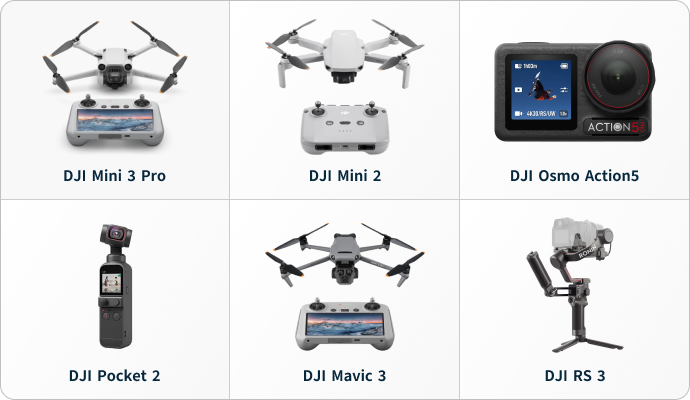
- DJI Osmo Action 3 – 4K, durable, compact, excellent for extreme conditions.
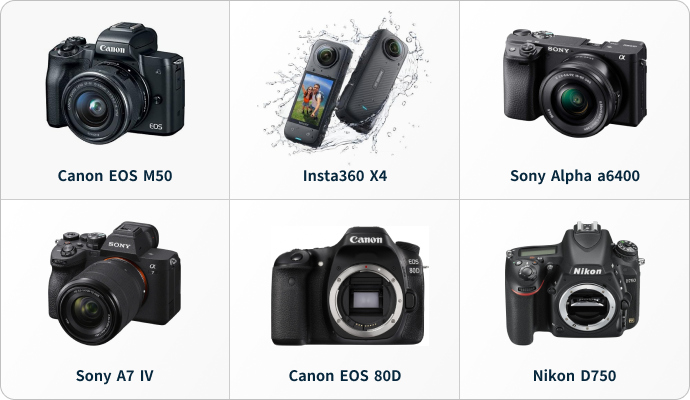
- Canon EOS Rebel T7 – High-quality DSLR, great for detailed shots, but needs weatherproof housing.
- Afidus ATL-200S – Full HD, waterproof, long battery life, perfect for remote monitoring.
- CamDo UpBlink for GoPro – Adapts GoPro for long-term time-lapse with solar/battery options.
- Open the Photos app and select the slow-motion video you want to convert.
- Tap "Edit" in the upper-right corner of the screen.
- In the editor, you can adjust the speed sliders to reduce the slow-motion effect. However, you cannot directly change it to a time-lapse from here.
- For a true time-lapse effect, export the video to a third-party app, like Filmora app, where you can speed up the video significantly.
- In the app, apply the time-lapse or fast-forward effect by adjusting the speed of the video.
On iPhone or Android phone:
- Download and open the Filmora app on your iPhone or Android phone.
- Create a new project and import the time-lapse video you want to edit.
- Once the video is imported, tap the video clip on the timeline to select it.
- Tap on the Speed option (usually represented by a speedometer icon).
- Adjust the speed by dragging the slider towards the slower speed to bring it closer to normal speed (1x is normal speed).
- Preview the changes to ensure the video is playing at the desired speed.
- Once you're happy with the changes, tap Export to save your video at normal speed.
- Import the time-lapse video into your video editing software.
- Drag the video into the timeline.
- Right-click the video and select Speed/Duration.
- Adjust the speed percentage to 100% for normal speed playback.
- Export the video in your desired format.

