
 100% Security Verified | No Subscription Required | No Malware


 ChatGPT
 Perplexity
 Gemini
 Claude
 Grok
Grok
In this article
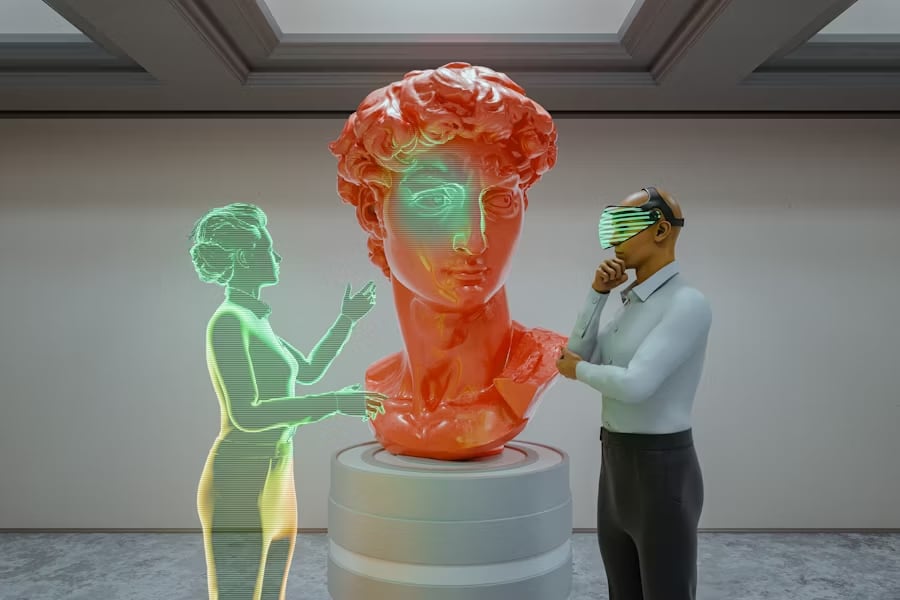
Hologram edits are one of the most exciting visual effects in modern video creation, combining glowing light, motion, and transparency to produce futuristic 3D visuals. A well-made hologram effect can instantly transform ordinary footage into something dynamic and eye-catching, often seen in sci-fi movies, music videos, and trending social media posts.
We will show you what makes a hologram look realistic and how to create it easily using different editing tools. You’ll also learn how to design hologram text, apply the right color and glow, and refine your hologram edit for a professional finish. The steps are simple, the techniques are practical, and the results can elevate your video projects with style.
Part 1. What Makes a Hologram Look Real?
A convincing hologram effect depends on the balance between light, motion, and texture. Each visual detail contributes to the illusion of depth and projection, turning a simple clip or text into a lifelike holographic display.
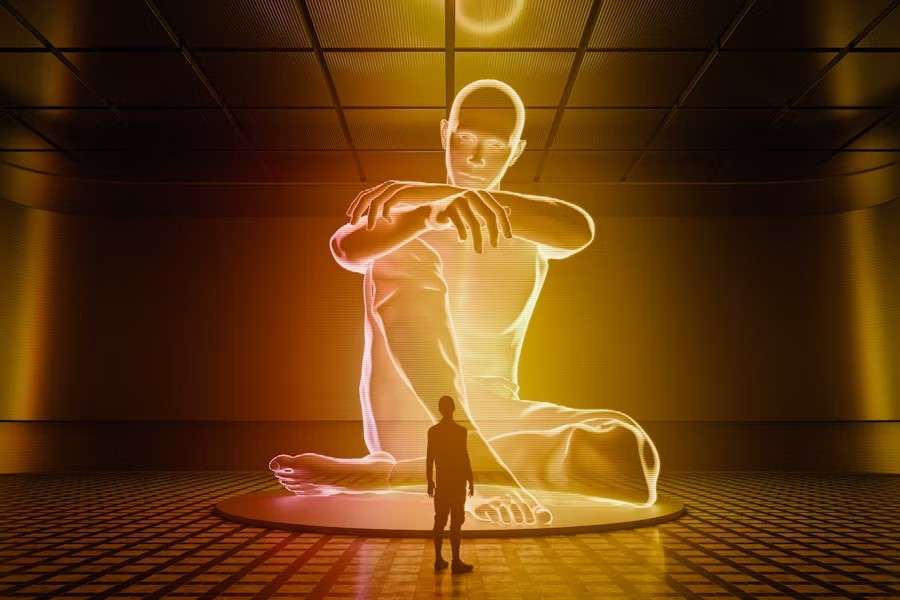
Understanding these core elements helps you build a more realistic hologram edit and avoid results that look flat or artificial.
- Color and Light
Cool tones such as blue, cyan, and teal are essential for creating a futuristic glow. Adjust the brightness and contrast slightly to make the hologram appear illuminated from within. Adding a soft outer glow effect strengthens the sense of projection and blends the subject smoothly with the background.
- Transparency
Reducing opacity helps the subject resemble a beam of light rather than a solid object. This technique works especially well for hologram text or overlays placed on darker footage, giving a more natural, semi-transparent look.
- Motion Flicker
A real hologram is never perfectly stable. Subtle flickering or glitch motion mimics the signal fluctuation of projected light. You can achieve this effect by animating small changes in opacity or by applying flicker and glitch presets for added realism.
- Scan Lines and Distortion
Adding thin horizontal lines or digital noise gives your hologram the texture of a projected screen. Chromatic aberration can also enhance the realism by splitting light slightly into red and blue edges, making the effect look more digital and layered.
- Layered Details
The key to a believable hologram edit is layering. Combine glow, transparency, flicker, and distortion on multiple tracks to create depth and separation from the background. The more precisely these layers interact, the more natural and immersive your hologram effect will appear.
Part 2. How to Create a Hologram Effect in Filmora (The Simple Way)
For the easiest method, Wondershare Filmora makes creating a hologram effect simple, even for beginners. Its drag-and-drop interface and built-in effects allow you to produce a futuristic hologram edit in just a few steps. You can combine blending, glow, and motion to transform ordinary clips into visually striking projections.
 secure download

Step 1. Import your video and overlay image
Start by opening Filmora and importing your main footage into the timeline. Then, drag the image, video element, or hologram text you want to project onto the track above it.
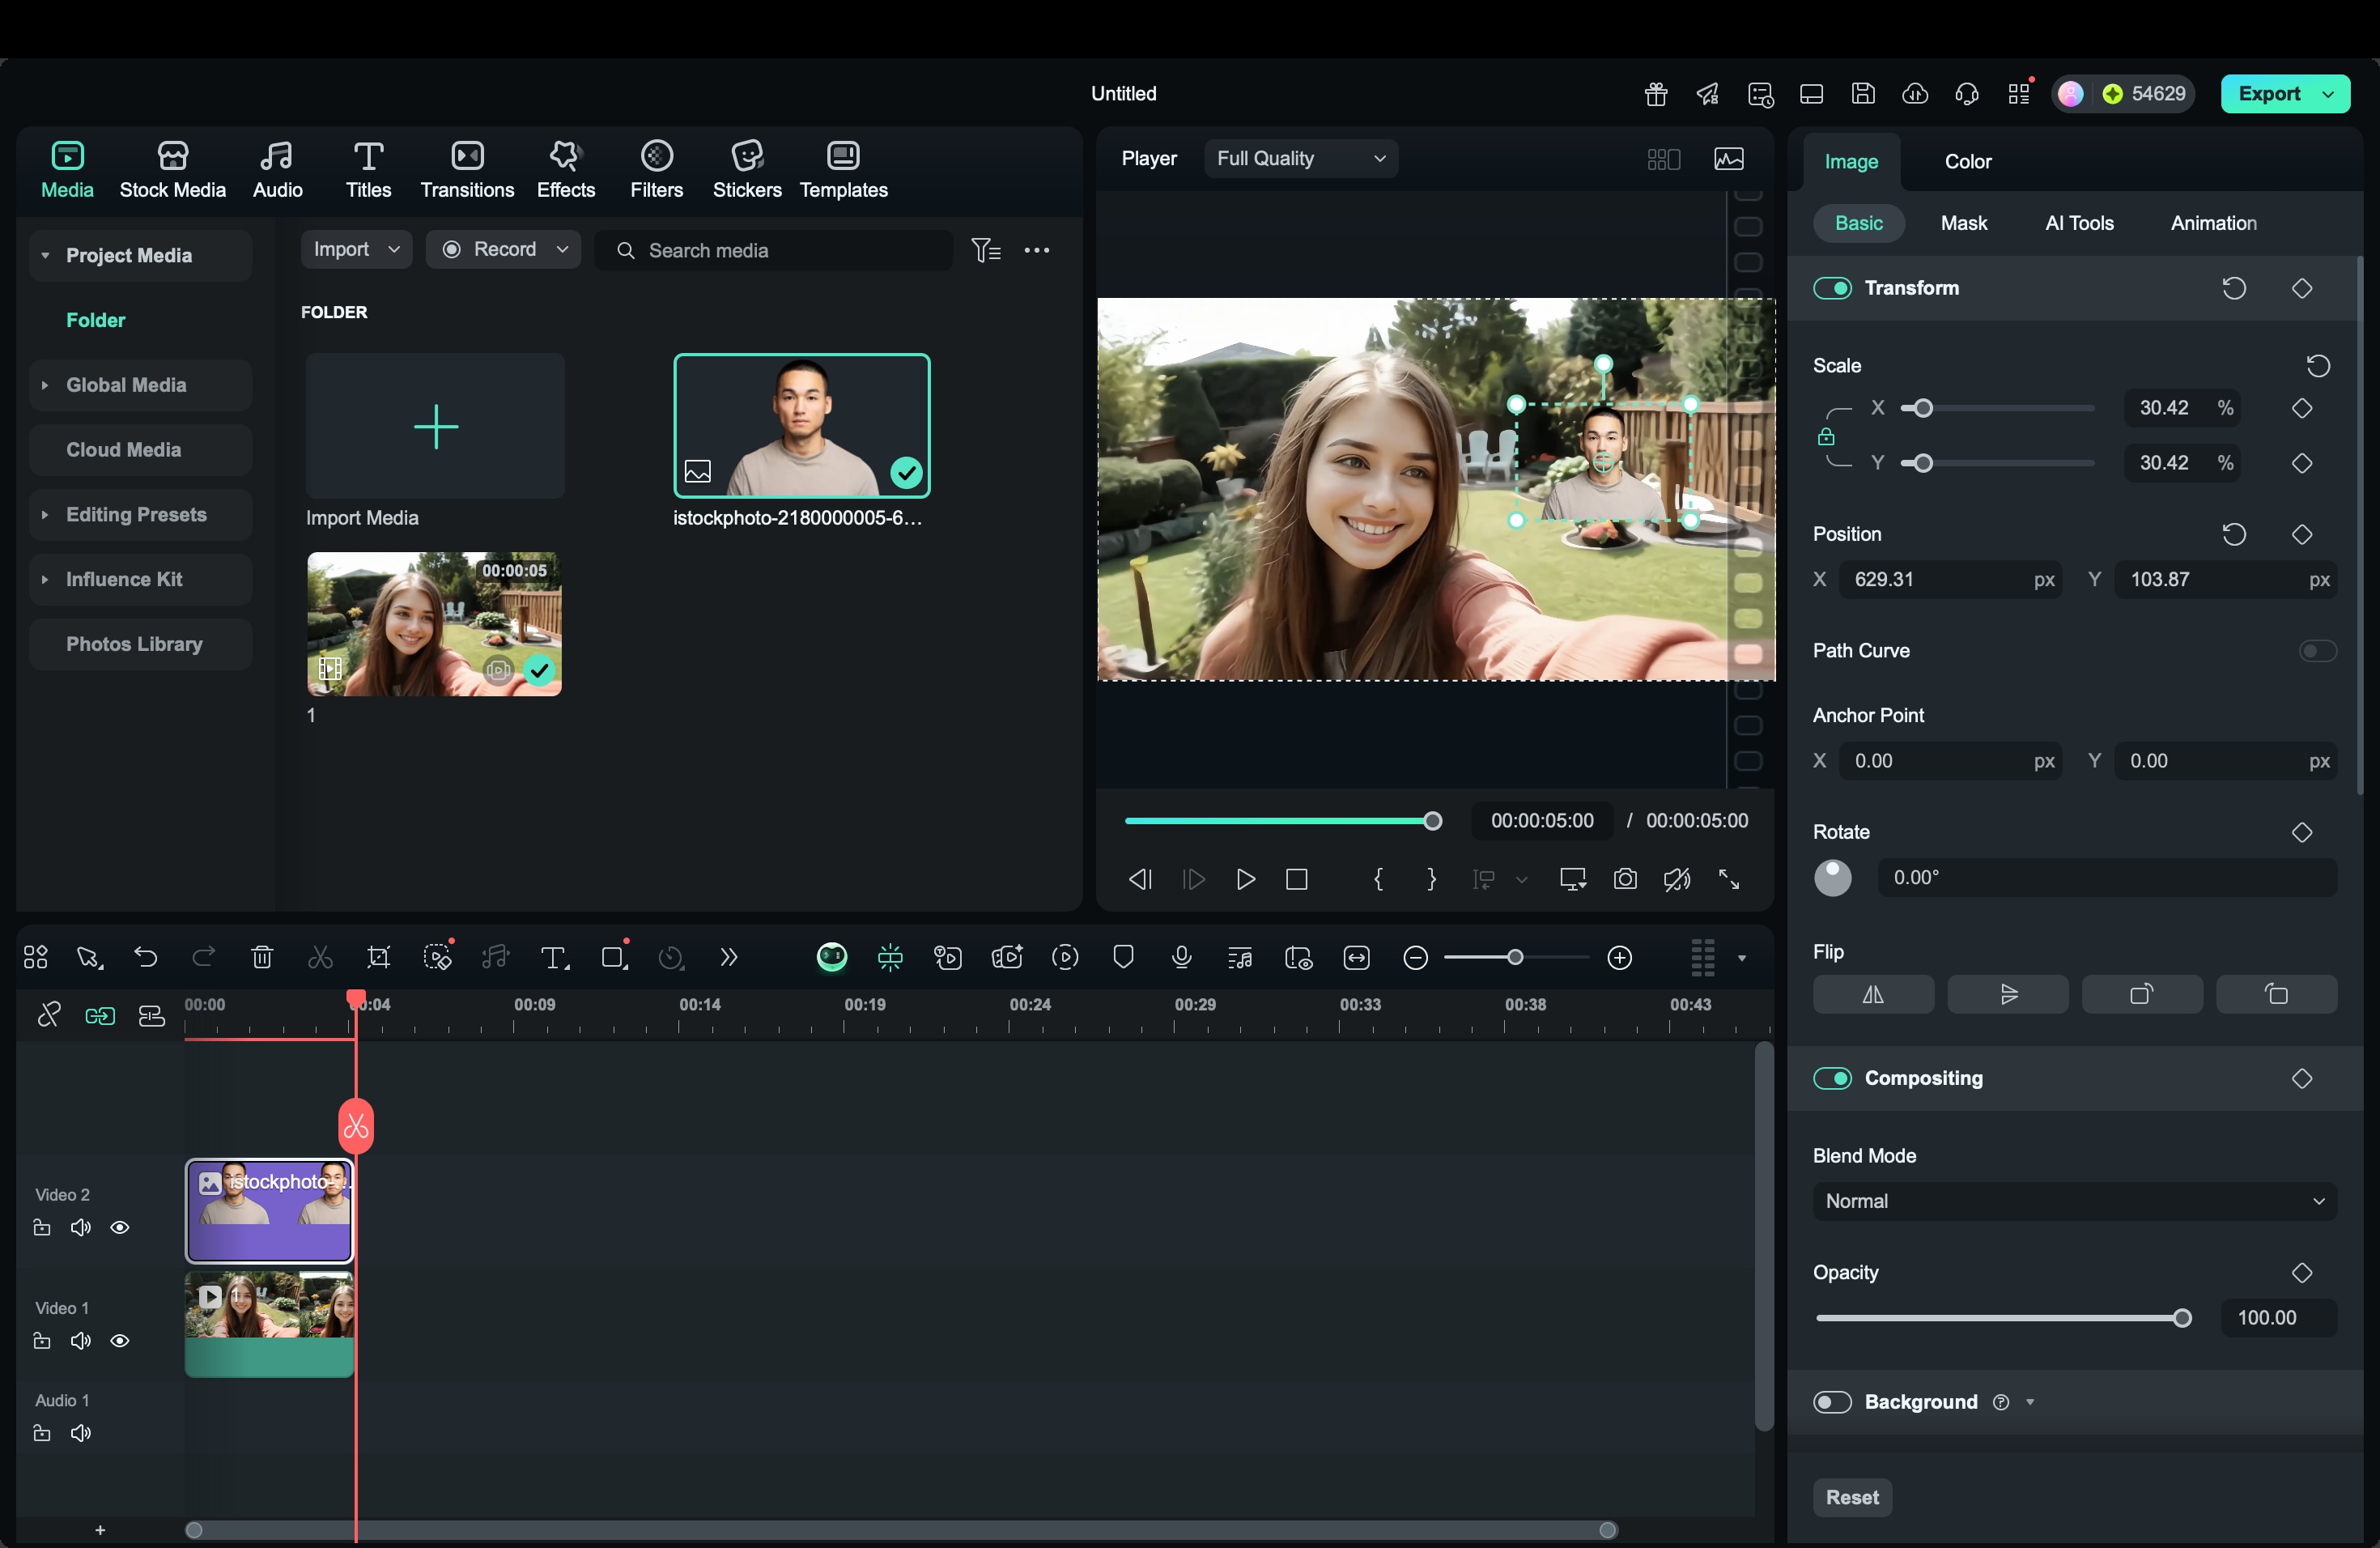
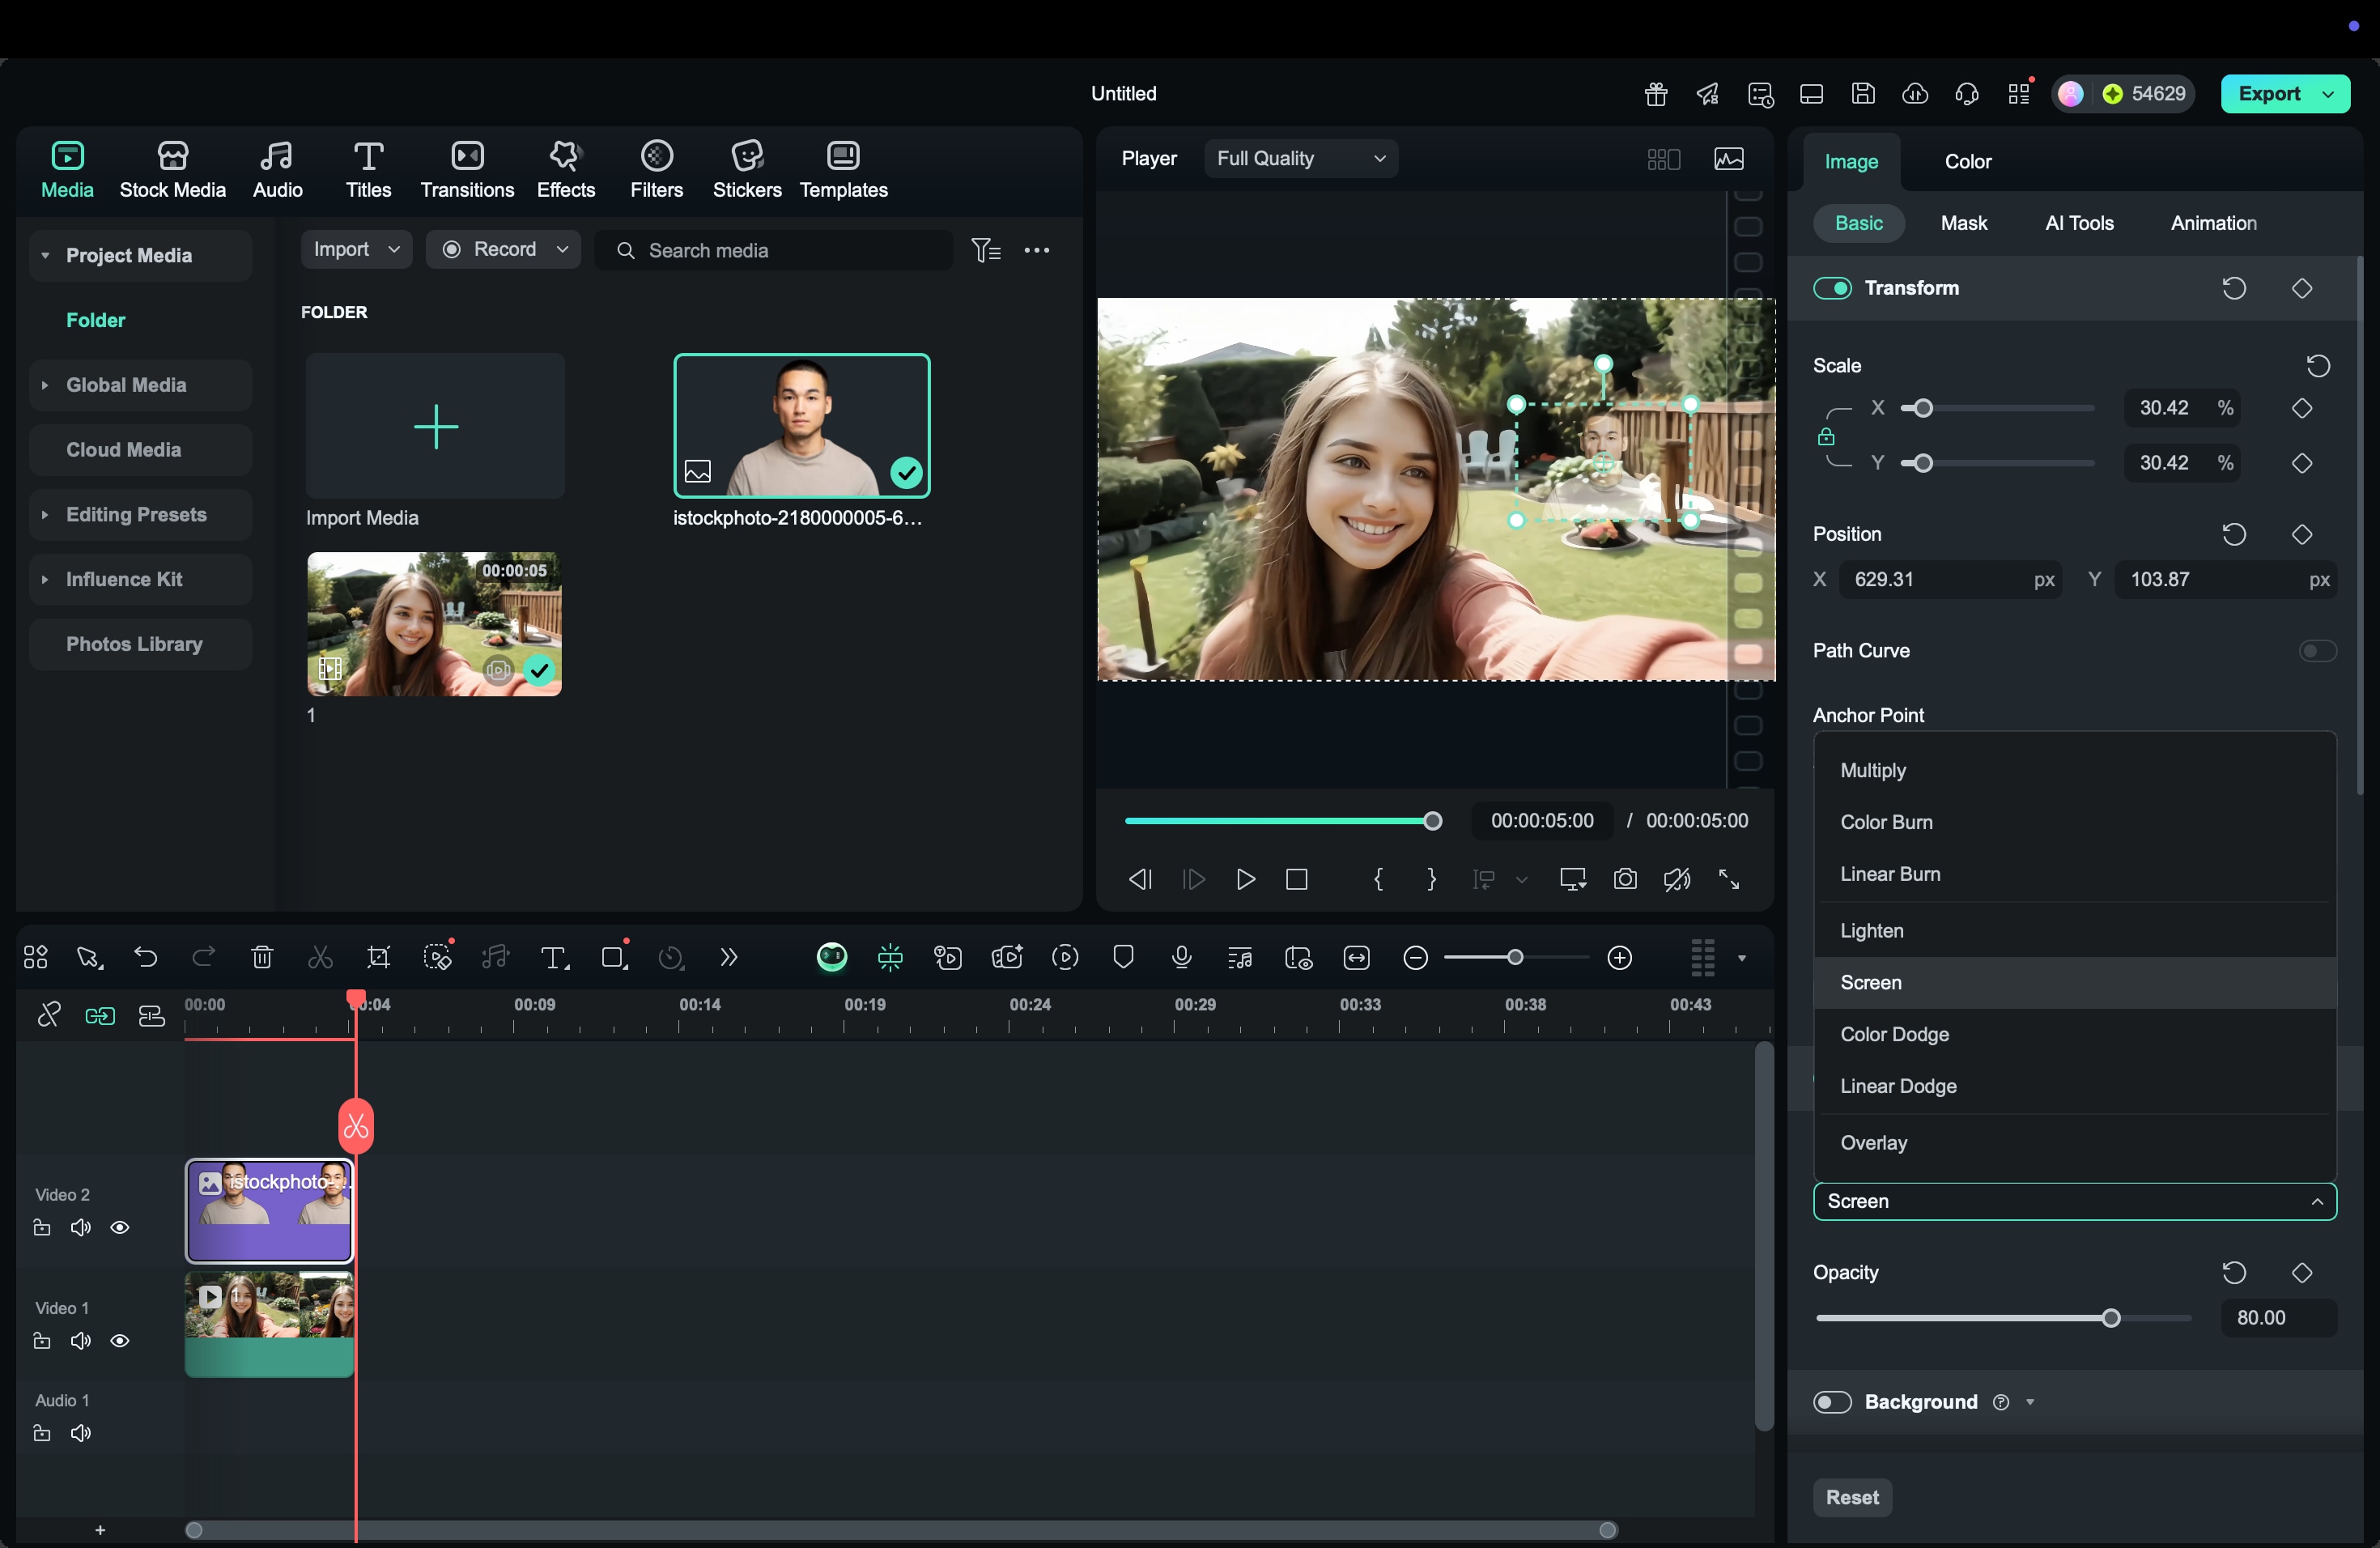
Step 2. Apply the Screen blend mode
Select the overlay clip, open the Compositing tab, and choose Screen as the blend mode. This mode removes darker areas and enhances bright pixels, so you can get an overlay with a glowing, light-based appearance.
If the glow looks too strong or faint, fine-tune the opacity or exposure settings to balance it with the background.
Step 3. Add hologram-like effects
Go to the Effects library and search for options like Chromatic Aberration, Glitch Distortion, or Scan Lines. Drag one or more of these effects onto the overlay track.
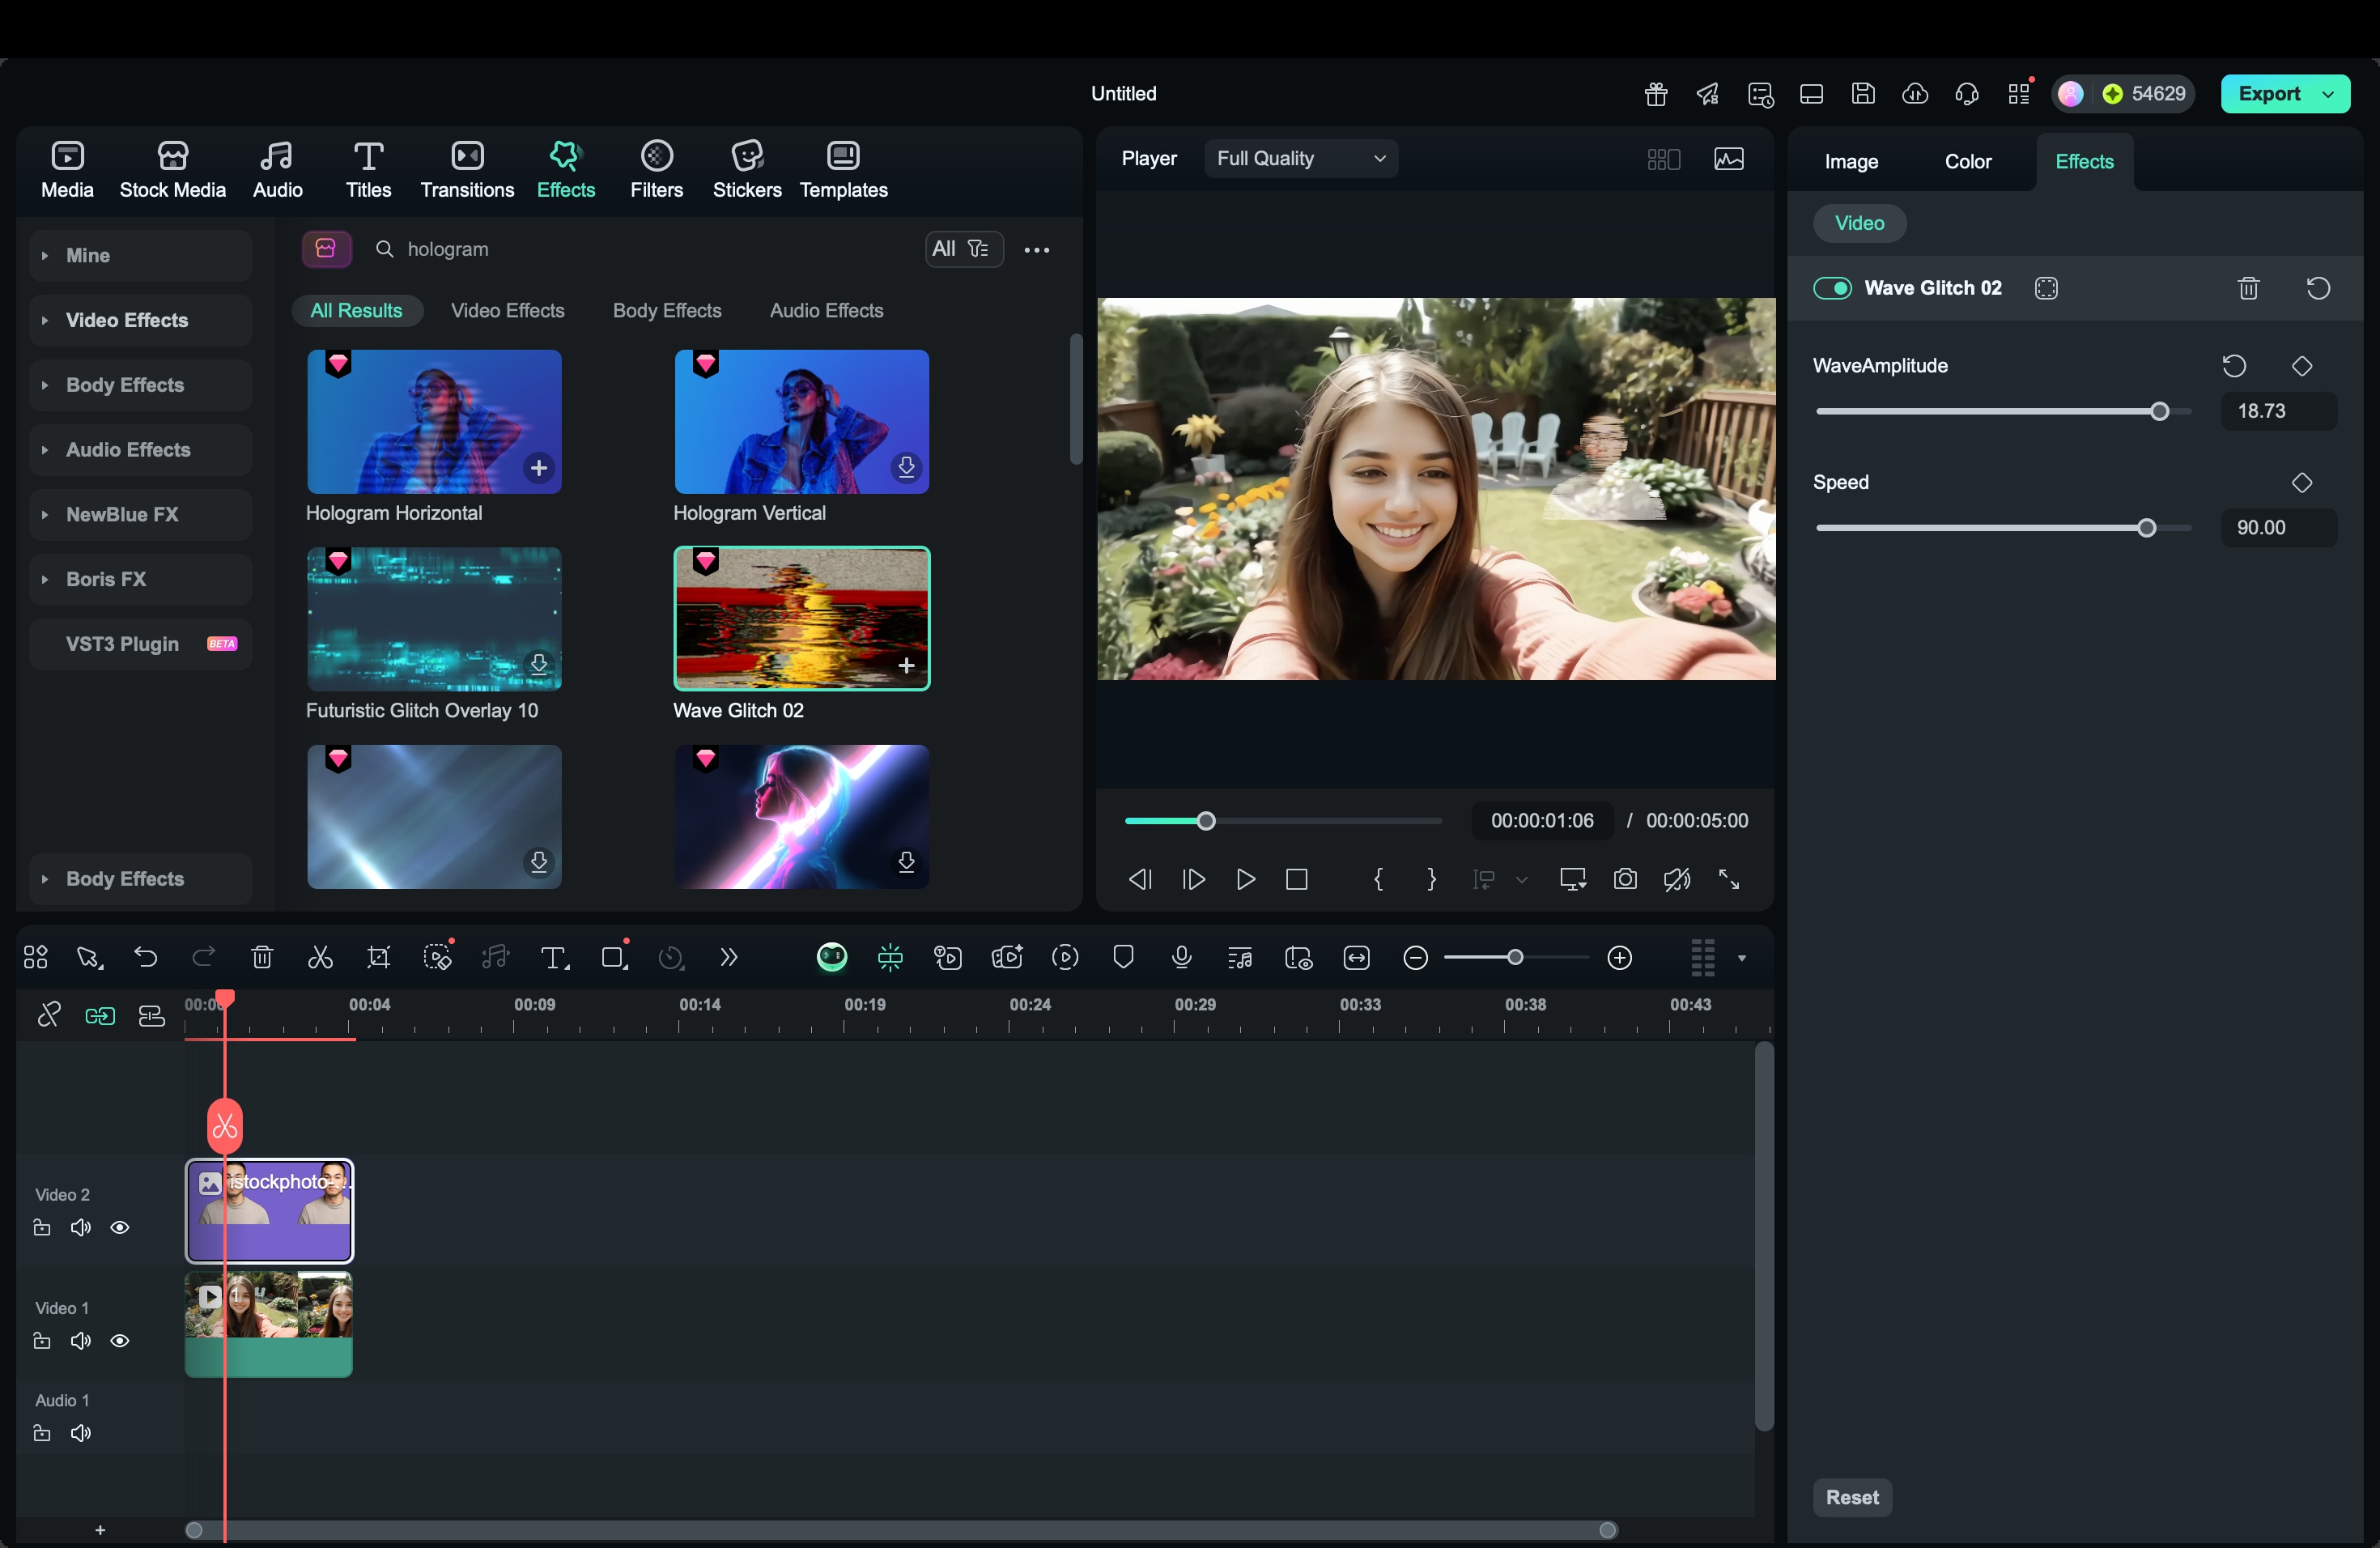
Adjust the intensity, direction, and color tint to achieve a digital, slightly unstable holographic texture. Subtle layering of effects works best for realism.
Step 4. Animate and adjust opacity
To make the hologram feel alive, animate its appearance using Animation or keyframes. Add small opacity changes or short flickers to simulate light projection.
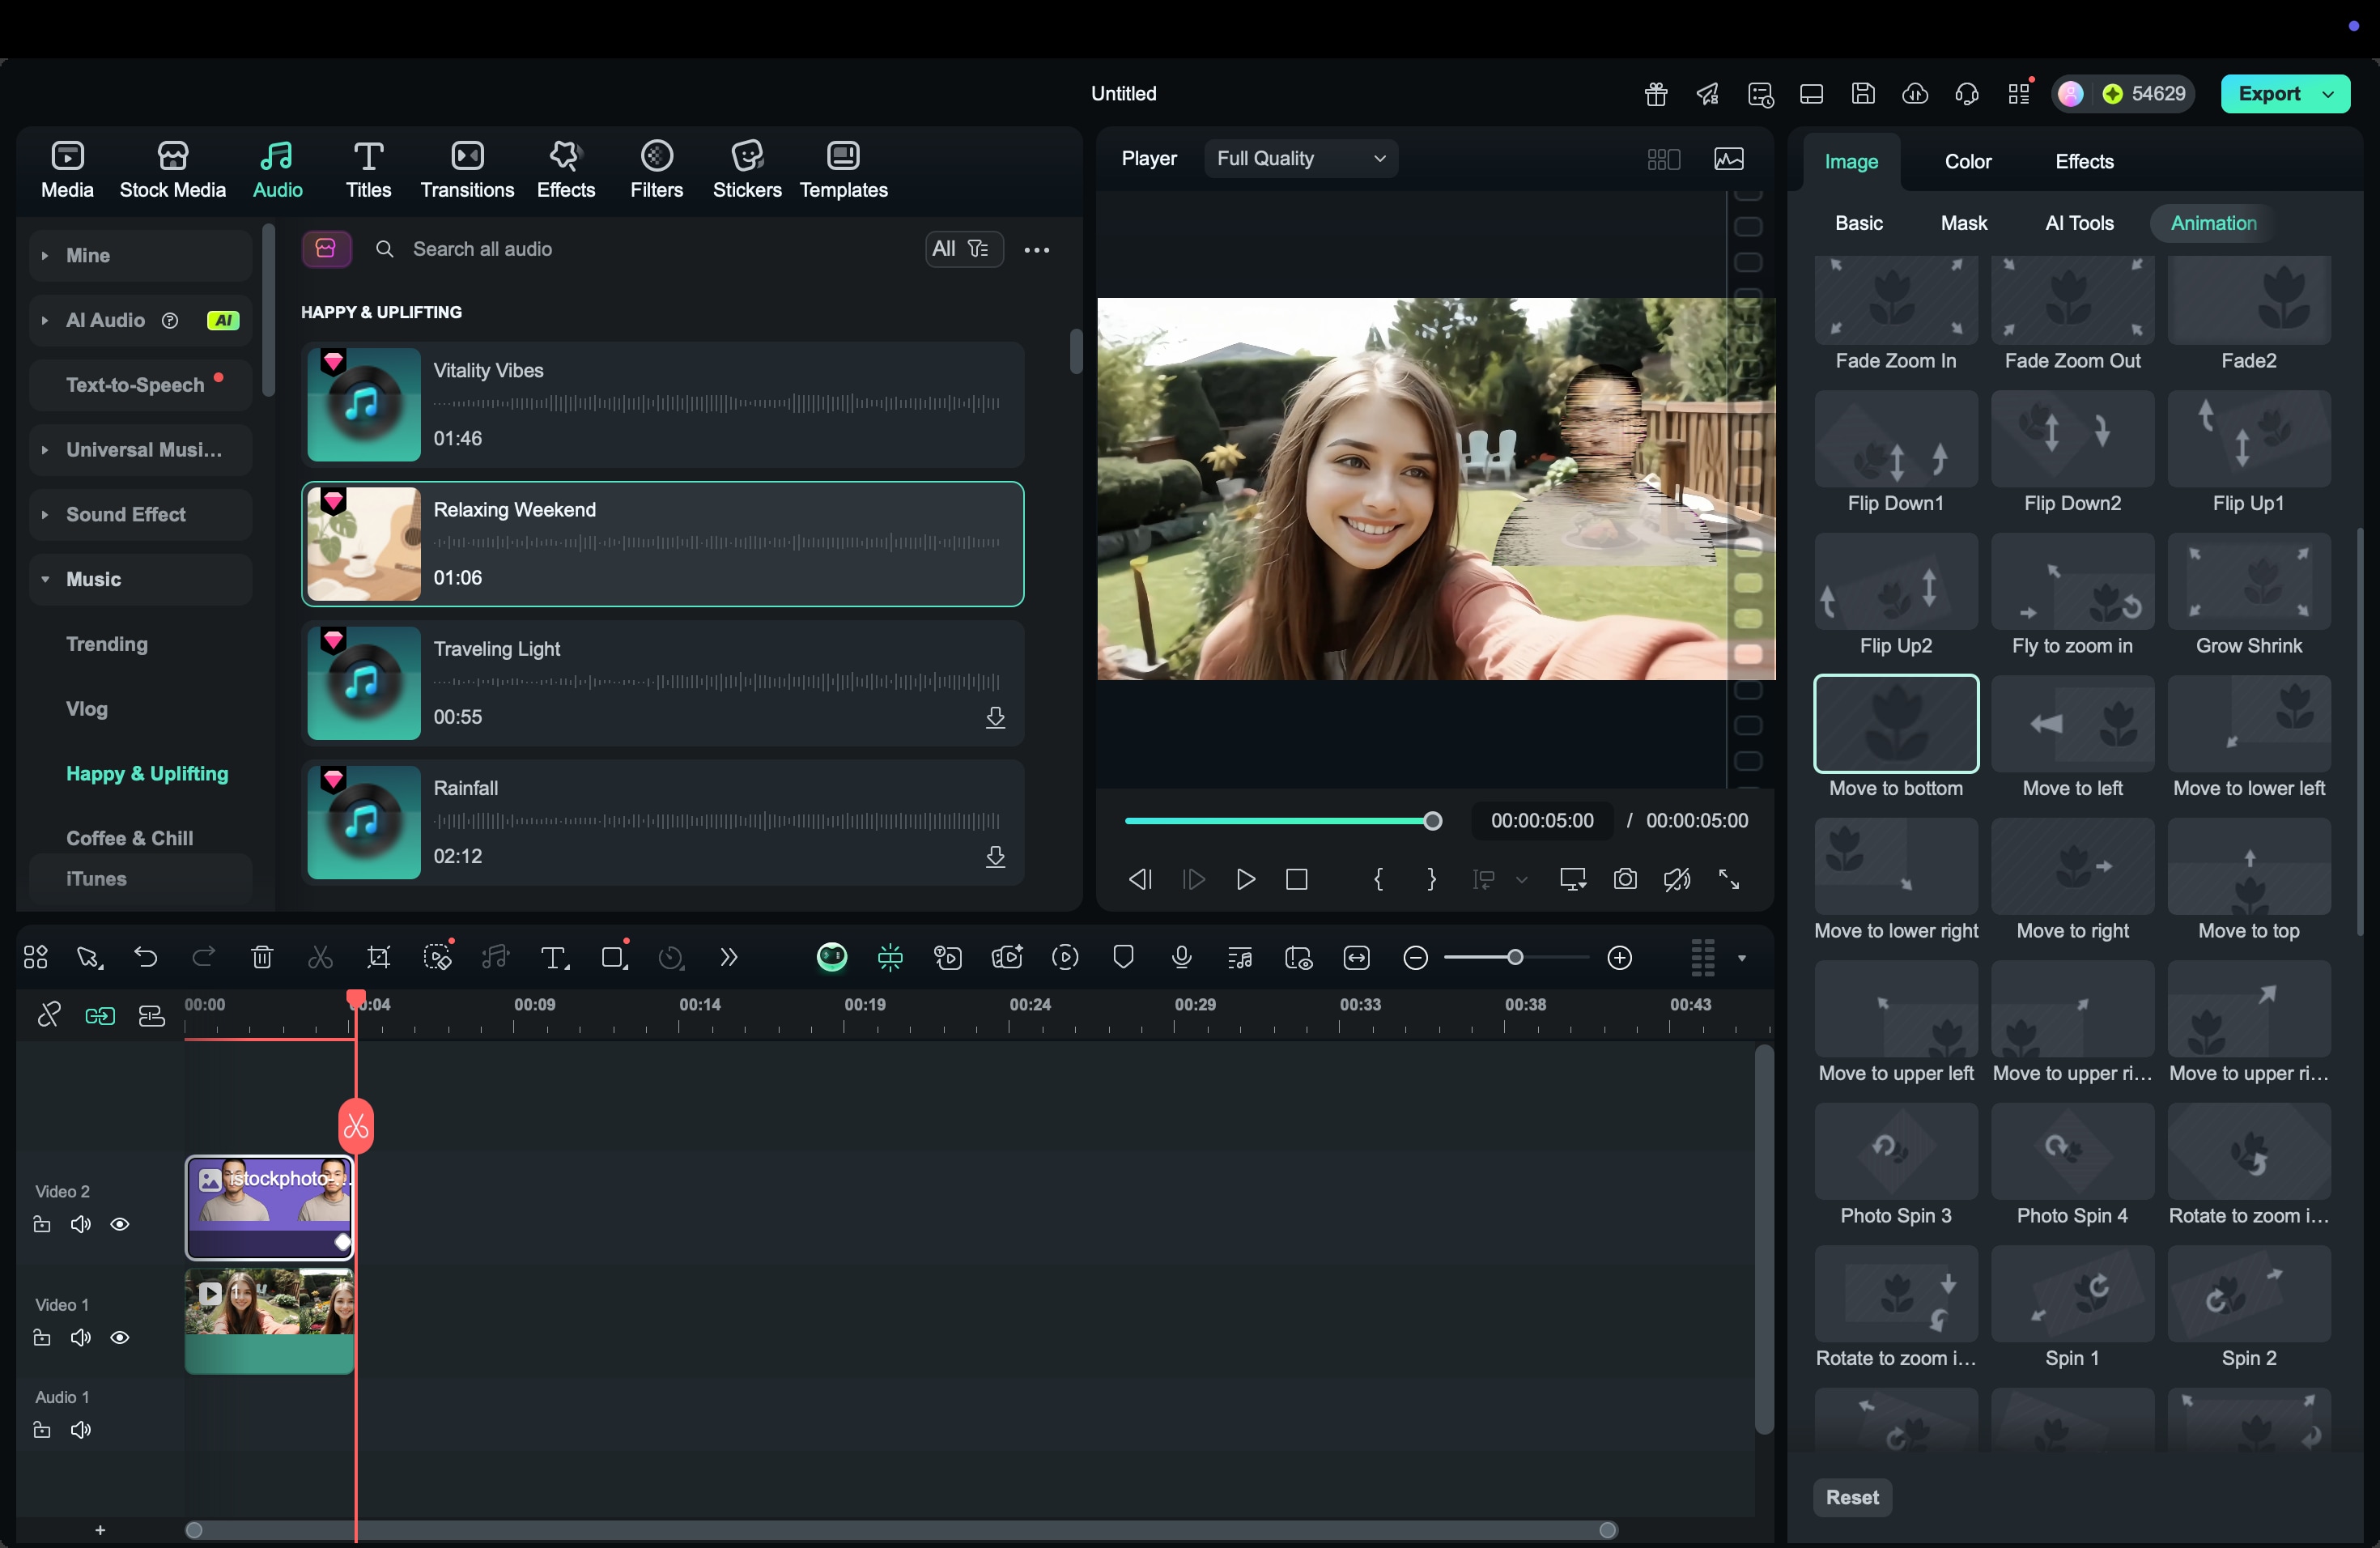
You can also add a short fade-in when the hologram appears and a fade-out when it disappears. Smooth transitions create a natural and believable effect.
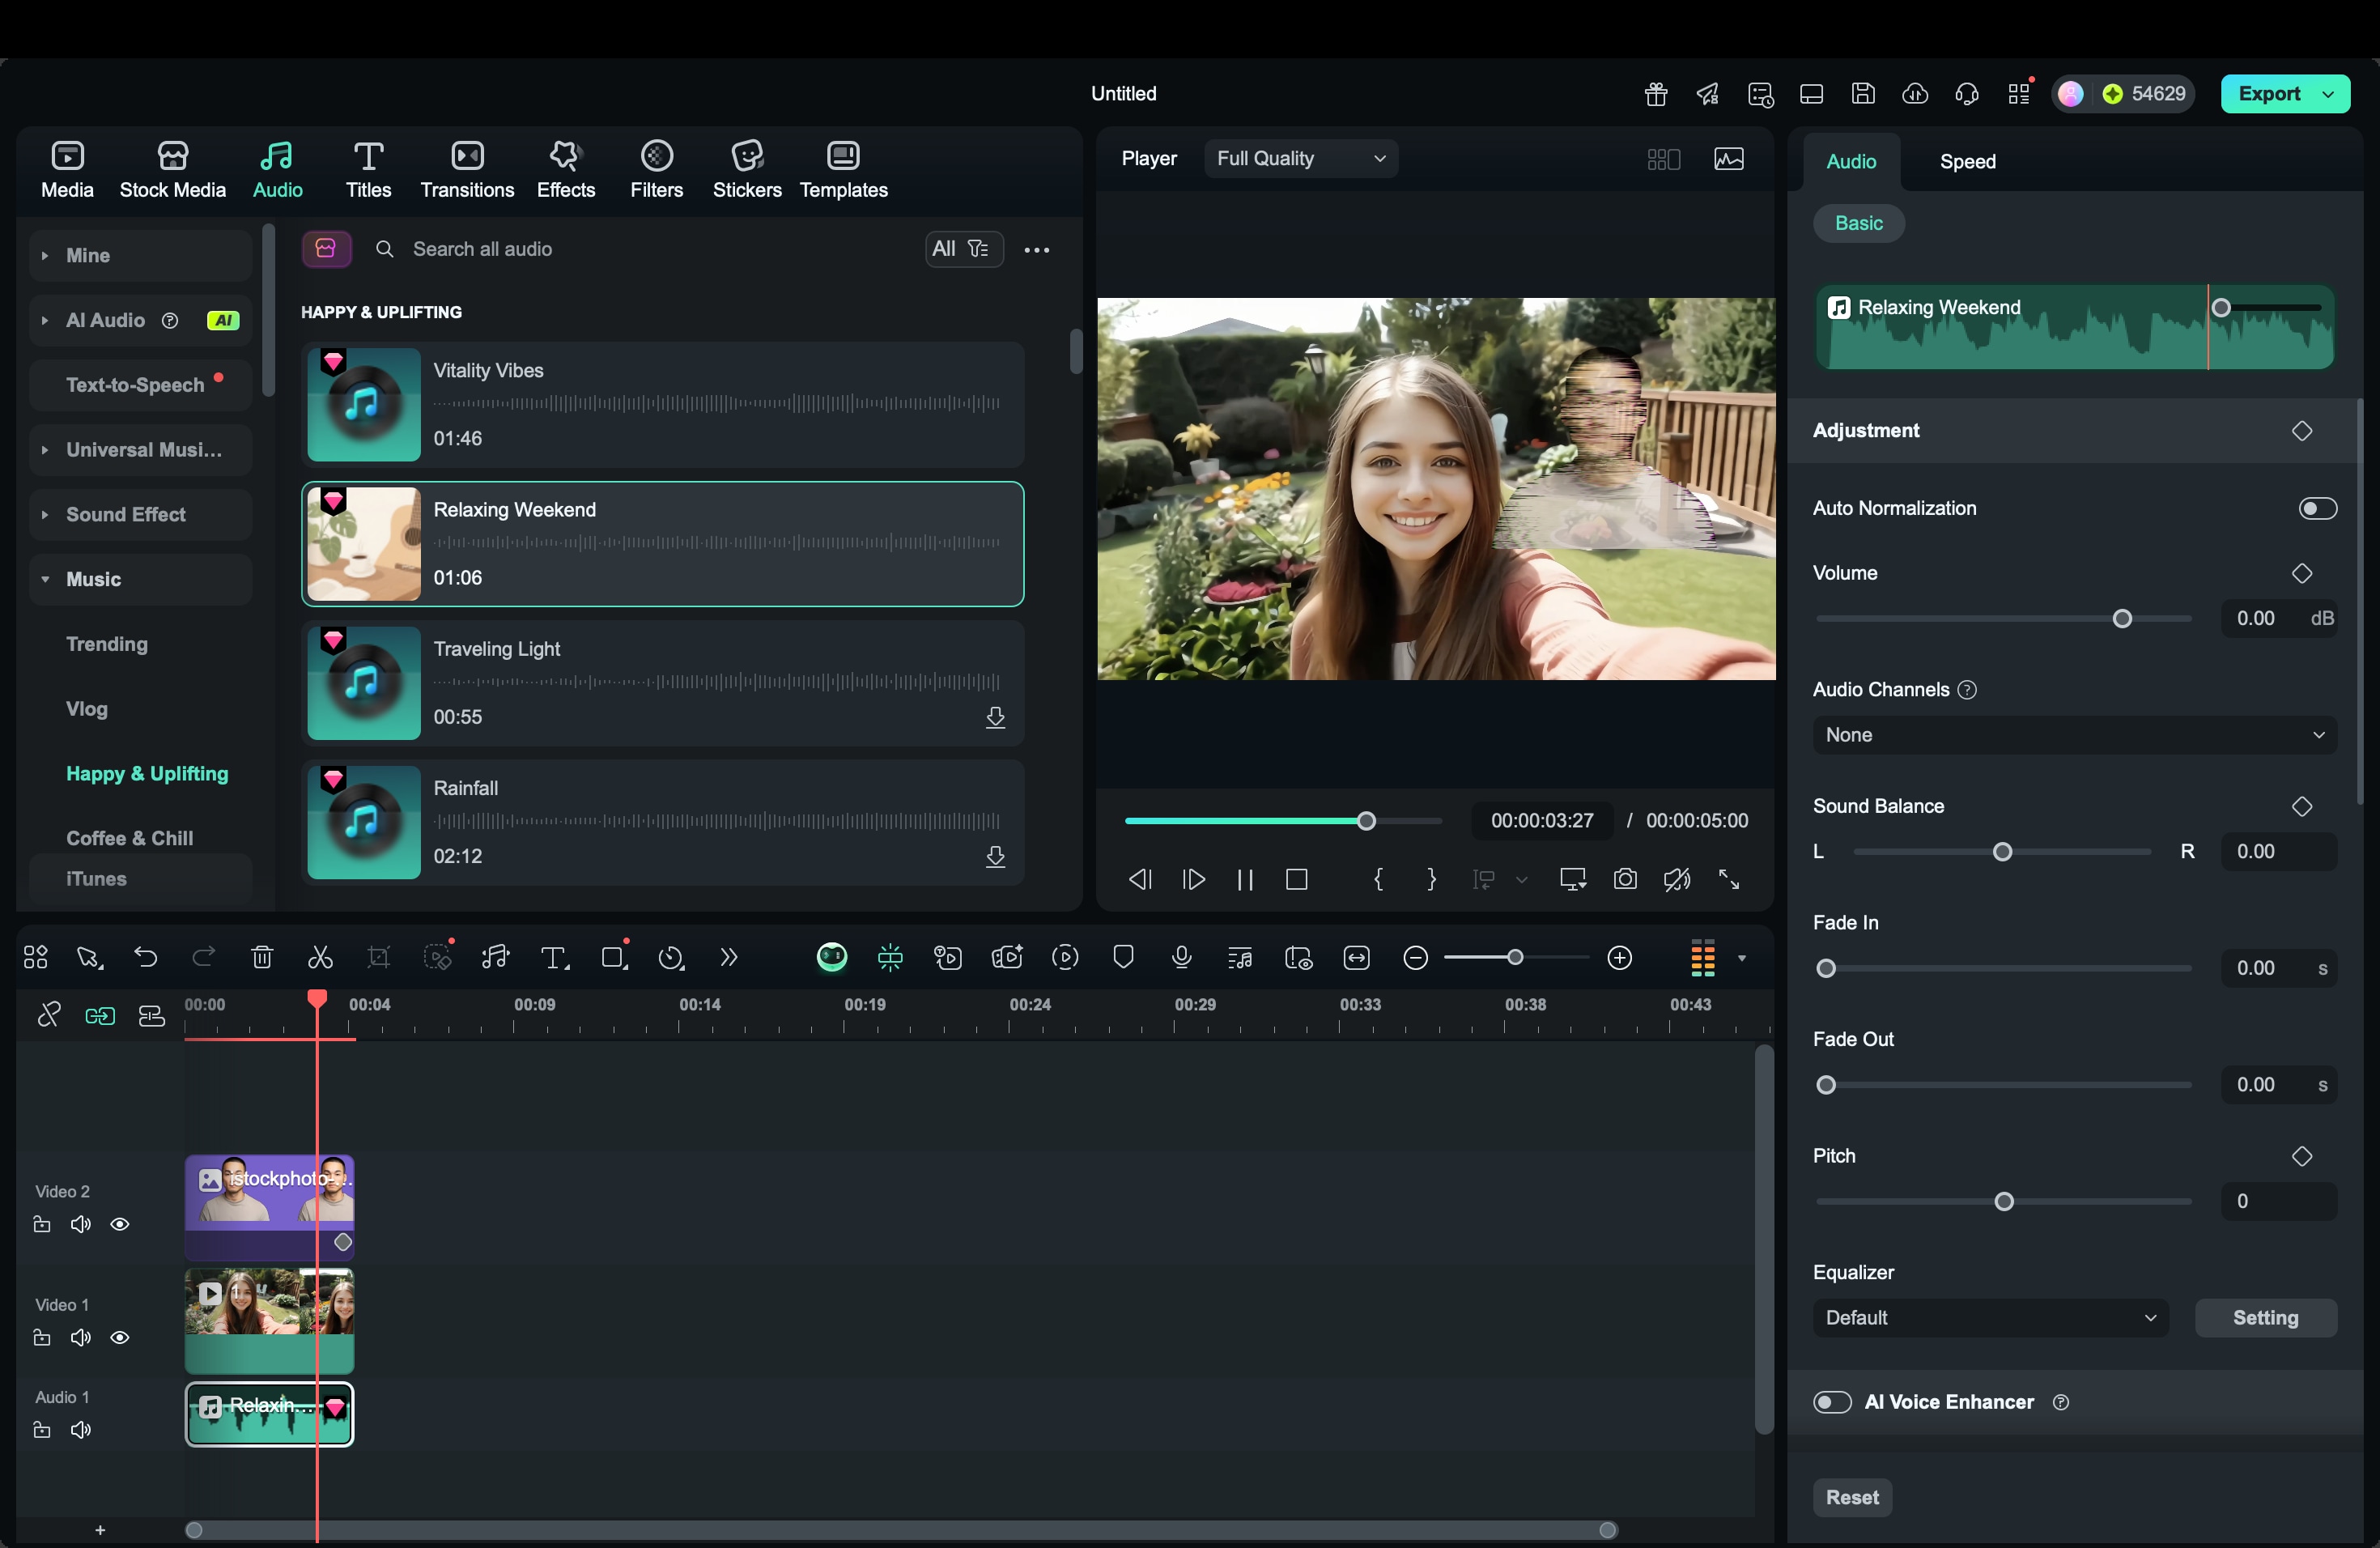
Step 5. Enhance with sound effects
Audio plays a key role in hologram realism. Open the Audio panel and explore Filmora’s sound effects library. Add soft electronic hums, static noise, or digital blips that sync with your hologram’s motion.
The right sound effect completes the illusion and helps the visual stand out more clearly.
After completing these steps, review your hologram edit in playback mode. Make small adjustments to timing, brightness, and flicker speed until the projection feels consistent with the scene’s lighting and perspective. Filmora’s user-friendly tools make it easy to create high-quality hologram effects without the need for complex visual compositing.


Part 3. Designing Hologram Text Effects in Photoshop
Other methods to design hologram text include using Photoshop. Creating hologram text in Photoshop is an excellent way to design futuristic titles, posters, or video thumbnails. The process focuses on manipulating color, perspective, and blending to make the text appear like it’s glowing in midair.
With a few adjustments, you can transform plain typography into a realistic holographic display.
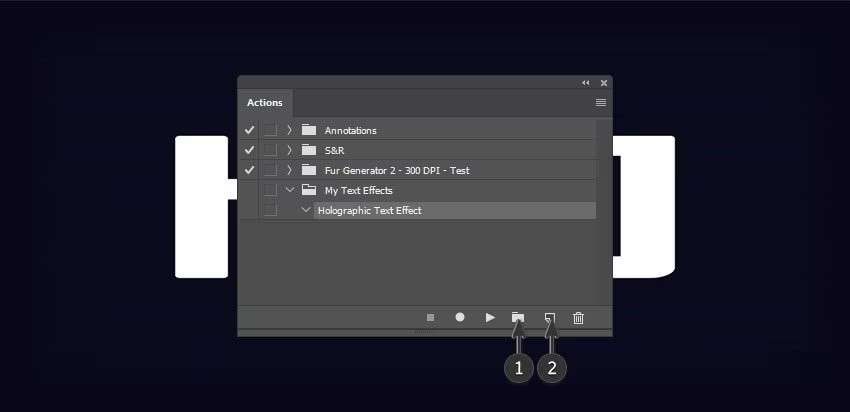
Step 1. Create a text layer
Start by opening a new project and typing your text using a clean, bold font. Choose a white or light-colored font to make the glow effects more visible. Rename the text layer (for example, “HOLO”) to keep your project organized.
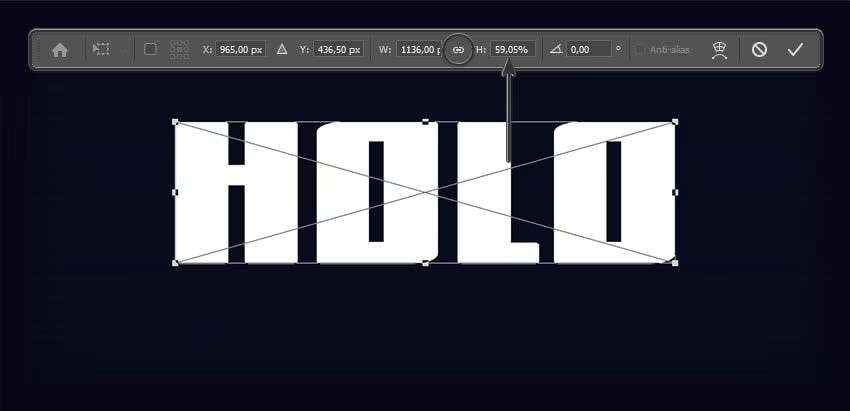
Step 2. Apply perspective transformation
Go to Edit > Transform > Perspective to give the text a tilted or angled projection. Slight adjustments make it look as if the text is being cast into 3D space. Avoid overdistortion. Keeping it subtle helps preserve readability while adding depth.
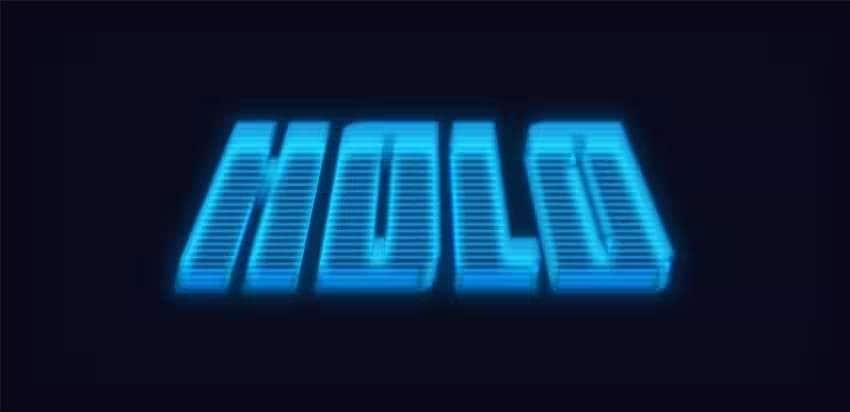
Step 3. Add holographic styling
Double-click the text layer to open Layer Styles. Enable Outer Glow, Color Overlay, and Gradient Overlay. Use cyan or teal gradients with a soft glow for a hologram-like appearance. You can also add Inner Glow for a light source effect that simulates internal brightness.
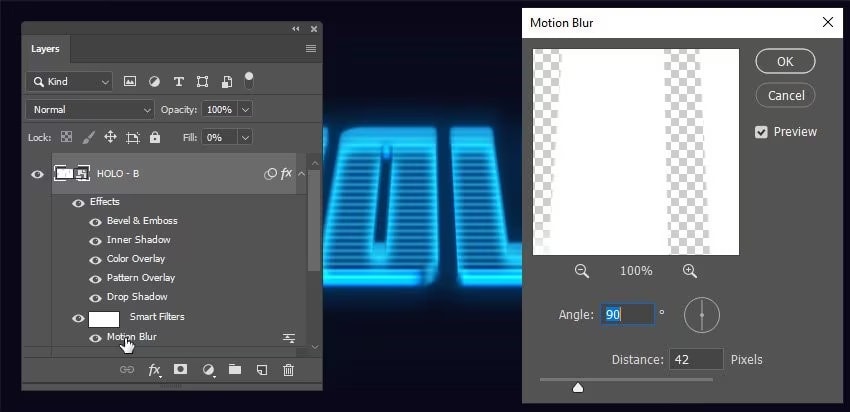
Step 4. Add motion blur and duplication
Duplicate the text layer (Ctrl + J) and apply Filter > Blur > Motion Blur. Set the angle around 80–90 degrees and adjust the distance until the text gains a smooth trailing effect. This gives the illusion of flickering light passing through the hologram.
Step 5. Adjust opacity and blending
Lower the opacity of the top layer slightly and set its blend mode to Screen or Lighten. This makes the text appear transparent and projected. Fine-tune both layers until the glow and blur feel balanced against the background.
Once the main effect is complete, you can experiment by adding digital noise, chromatic edges, or color overlays to enhance the holographic texture. These subtle touches help the hologram text blend naturally with your design and stand out on dark or cinematic backgrounds.
Part 4. Advanced Hologram Effect Tutorial in Premiere
For editors who want more control over movement and composition, Adobe Premiere Pro offers advanced tools to create highly realistic hologram effects. You can fine-tune color, blending, motion, and lighting to match your footage perfectly.
This approach takes more effort than Filmora, but the flexibility allows for cinematic-quality hologram edits.
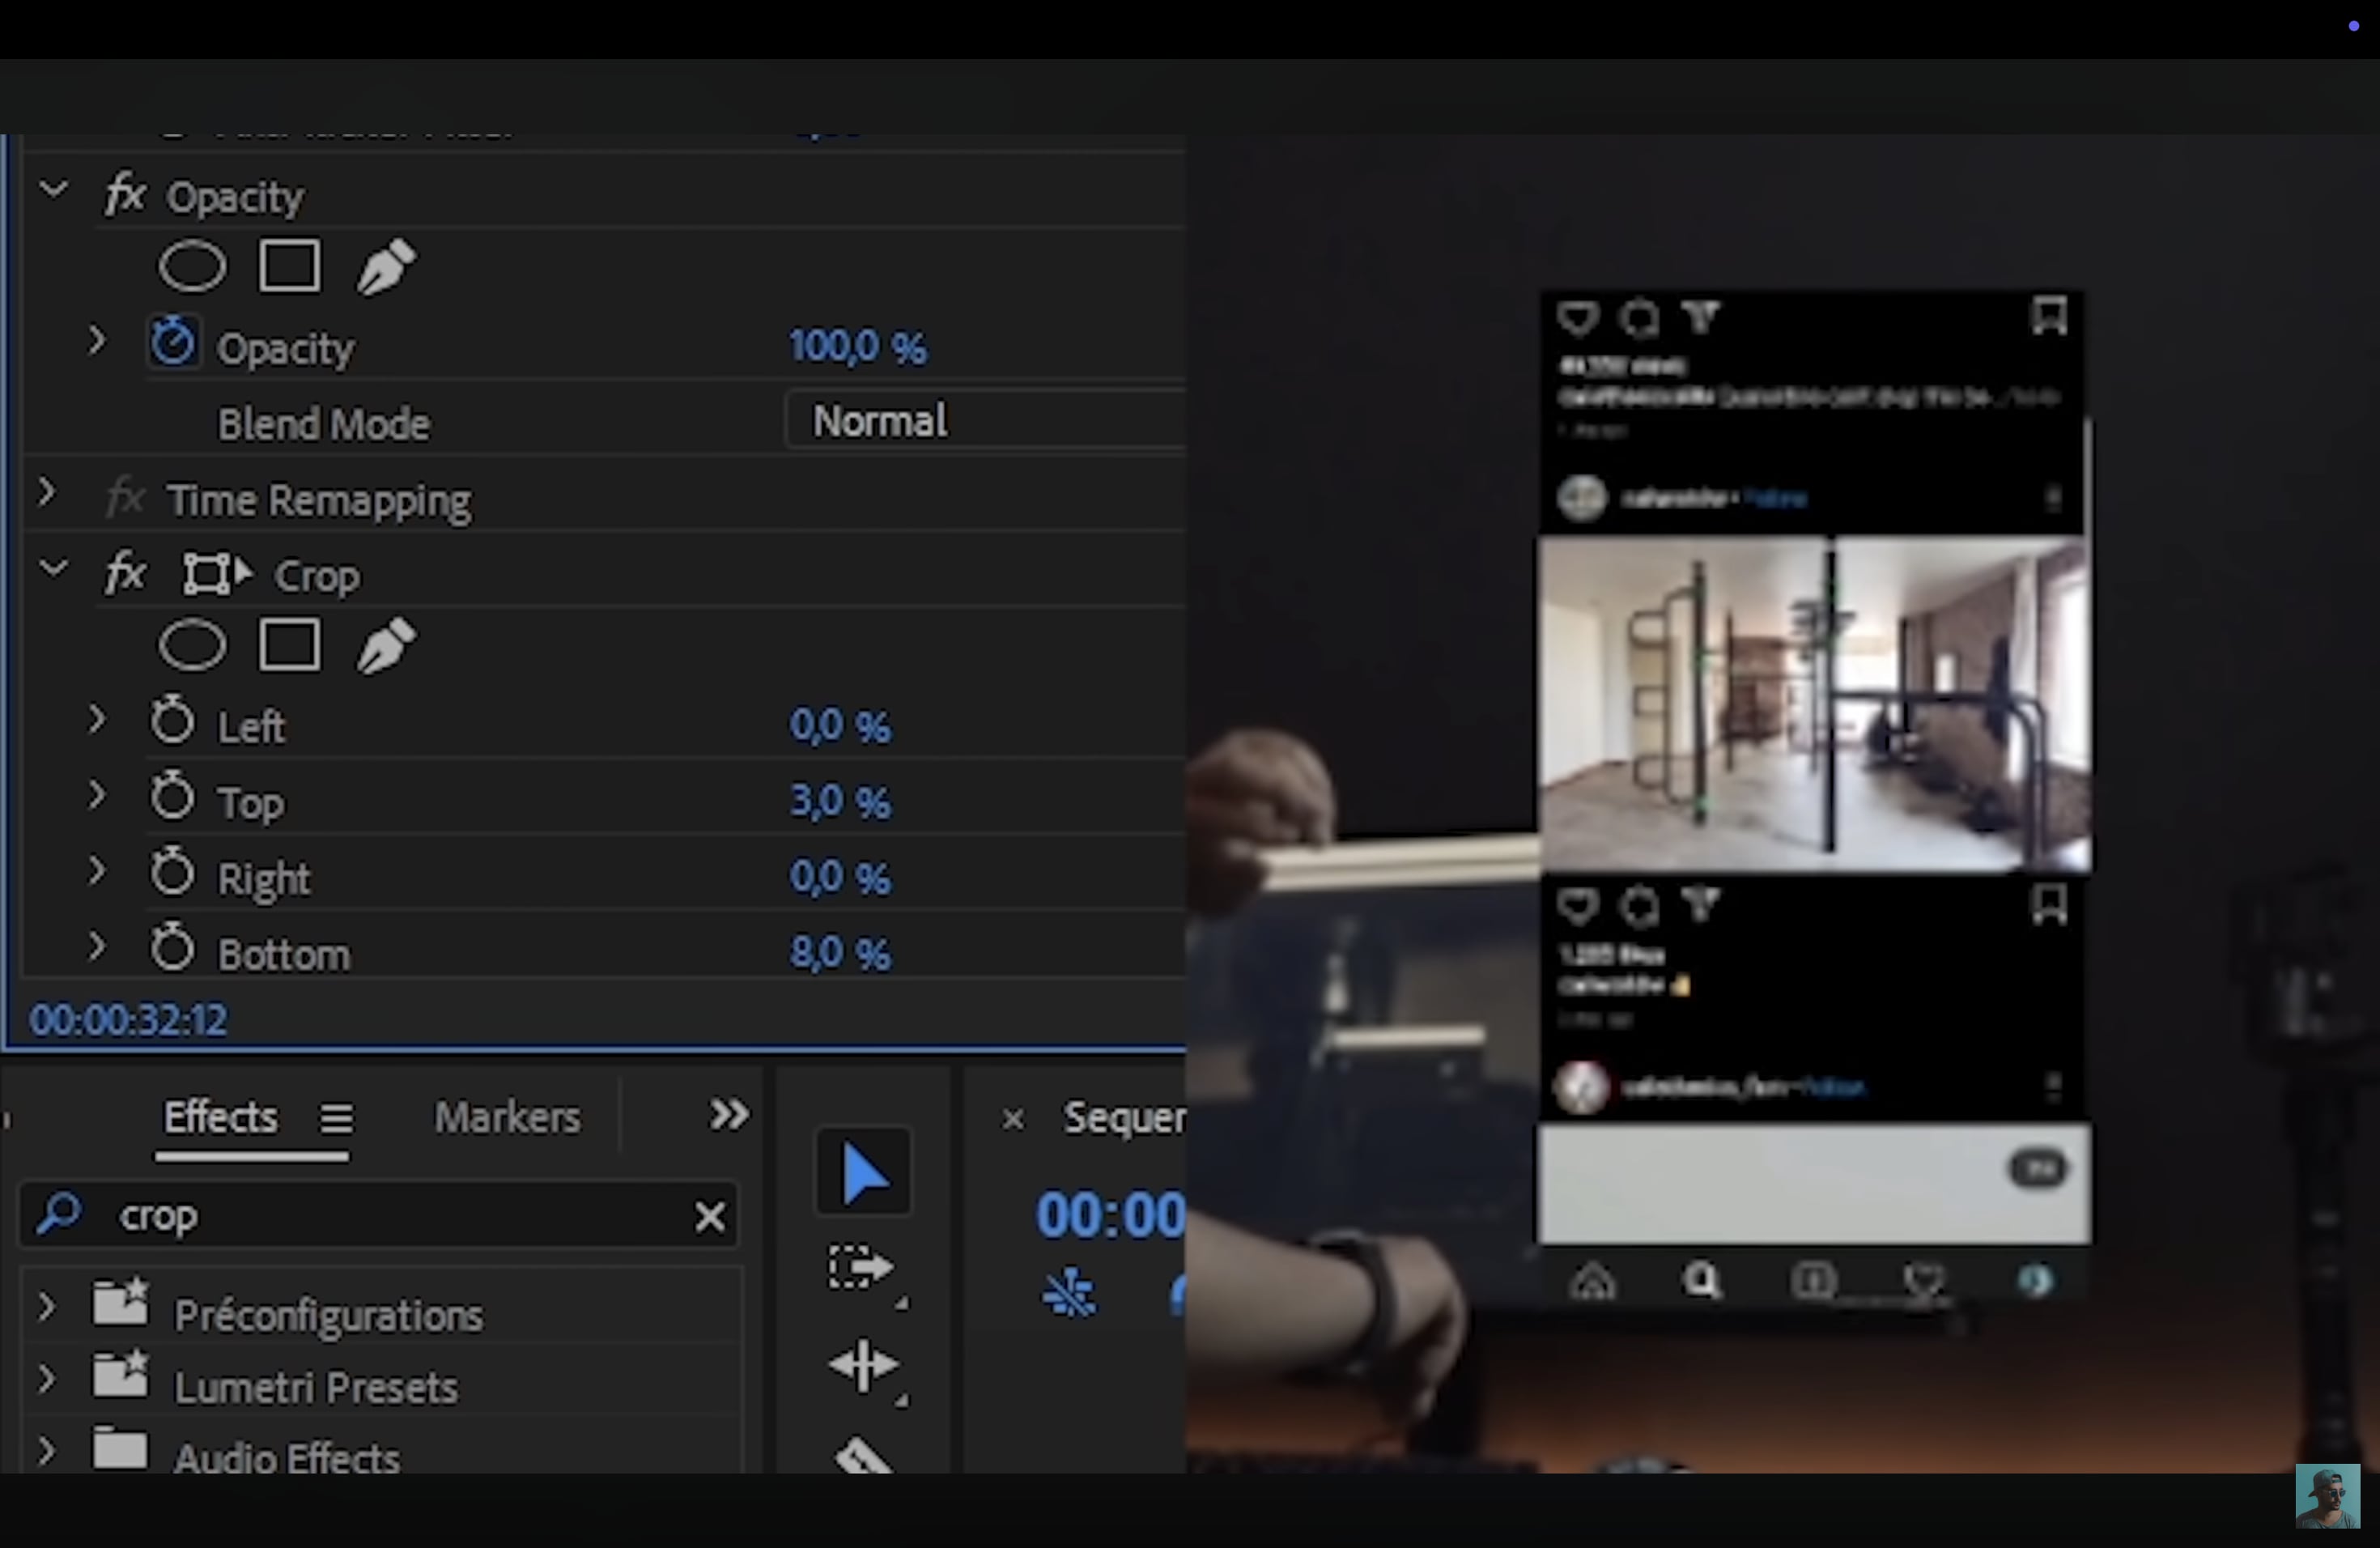
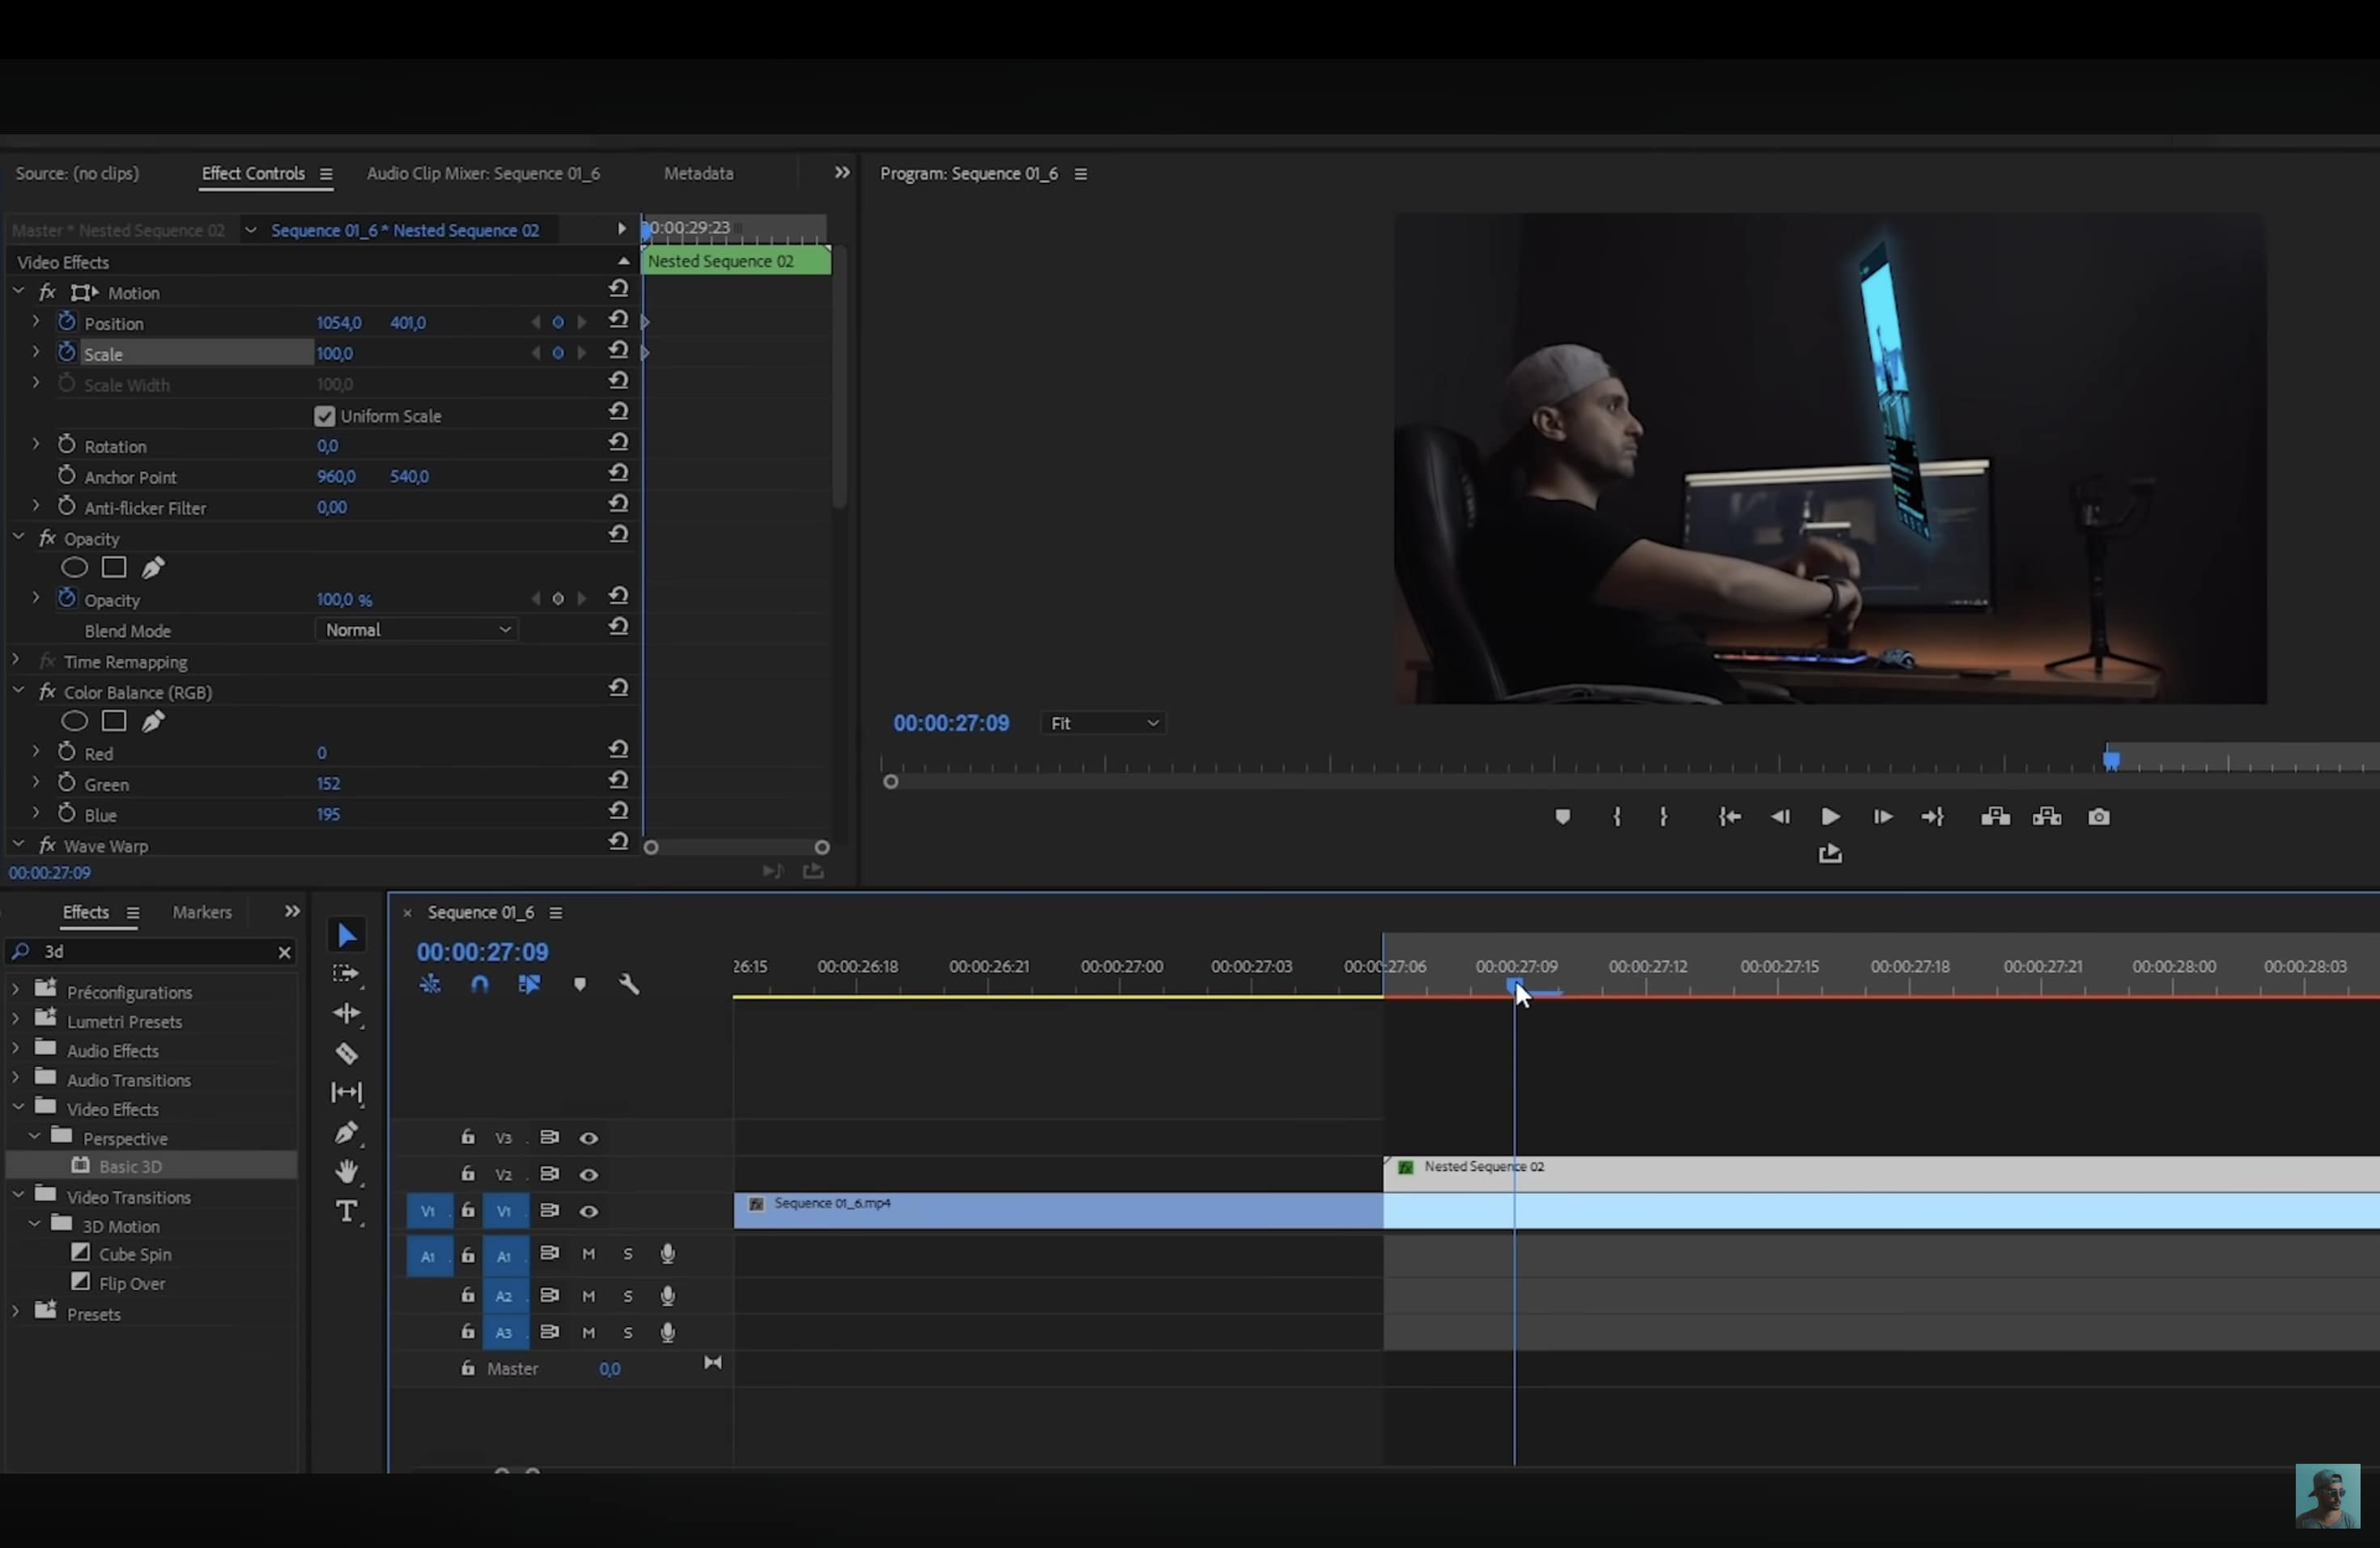
Step 1. Prepare and align your clips
Import two clips into Premiere Pro, one of yourself acting, such as scrolling or swiping, and a screen recording from your phone. Place the screen recording above your base video in the timeline.
Apply the Crop effect from Effects > Video Effects > Transform > Crop to remove unwanted edges. Lower the opacity temporarily to align both clips accurately, then adjust the timing until your hand movements match the scrolling motion.
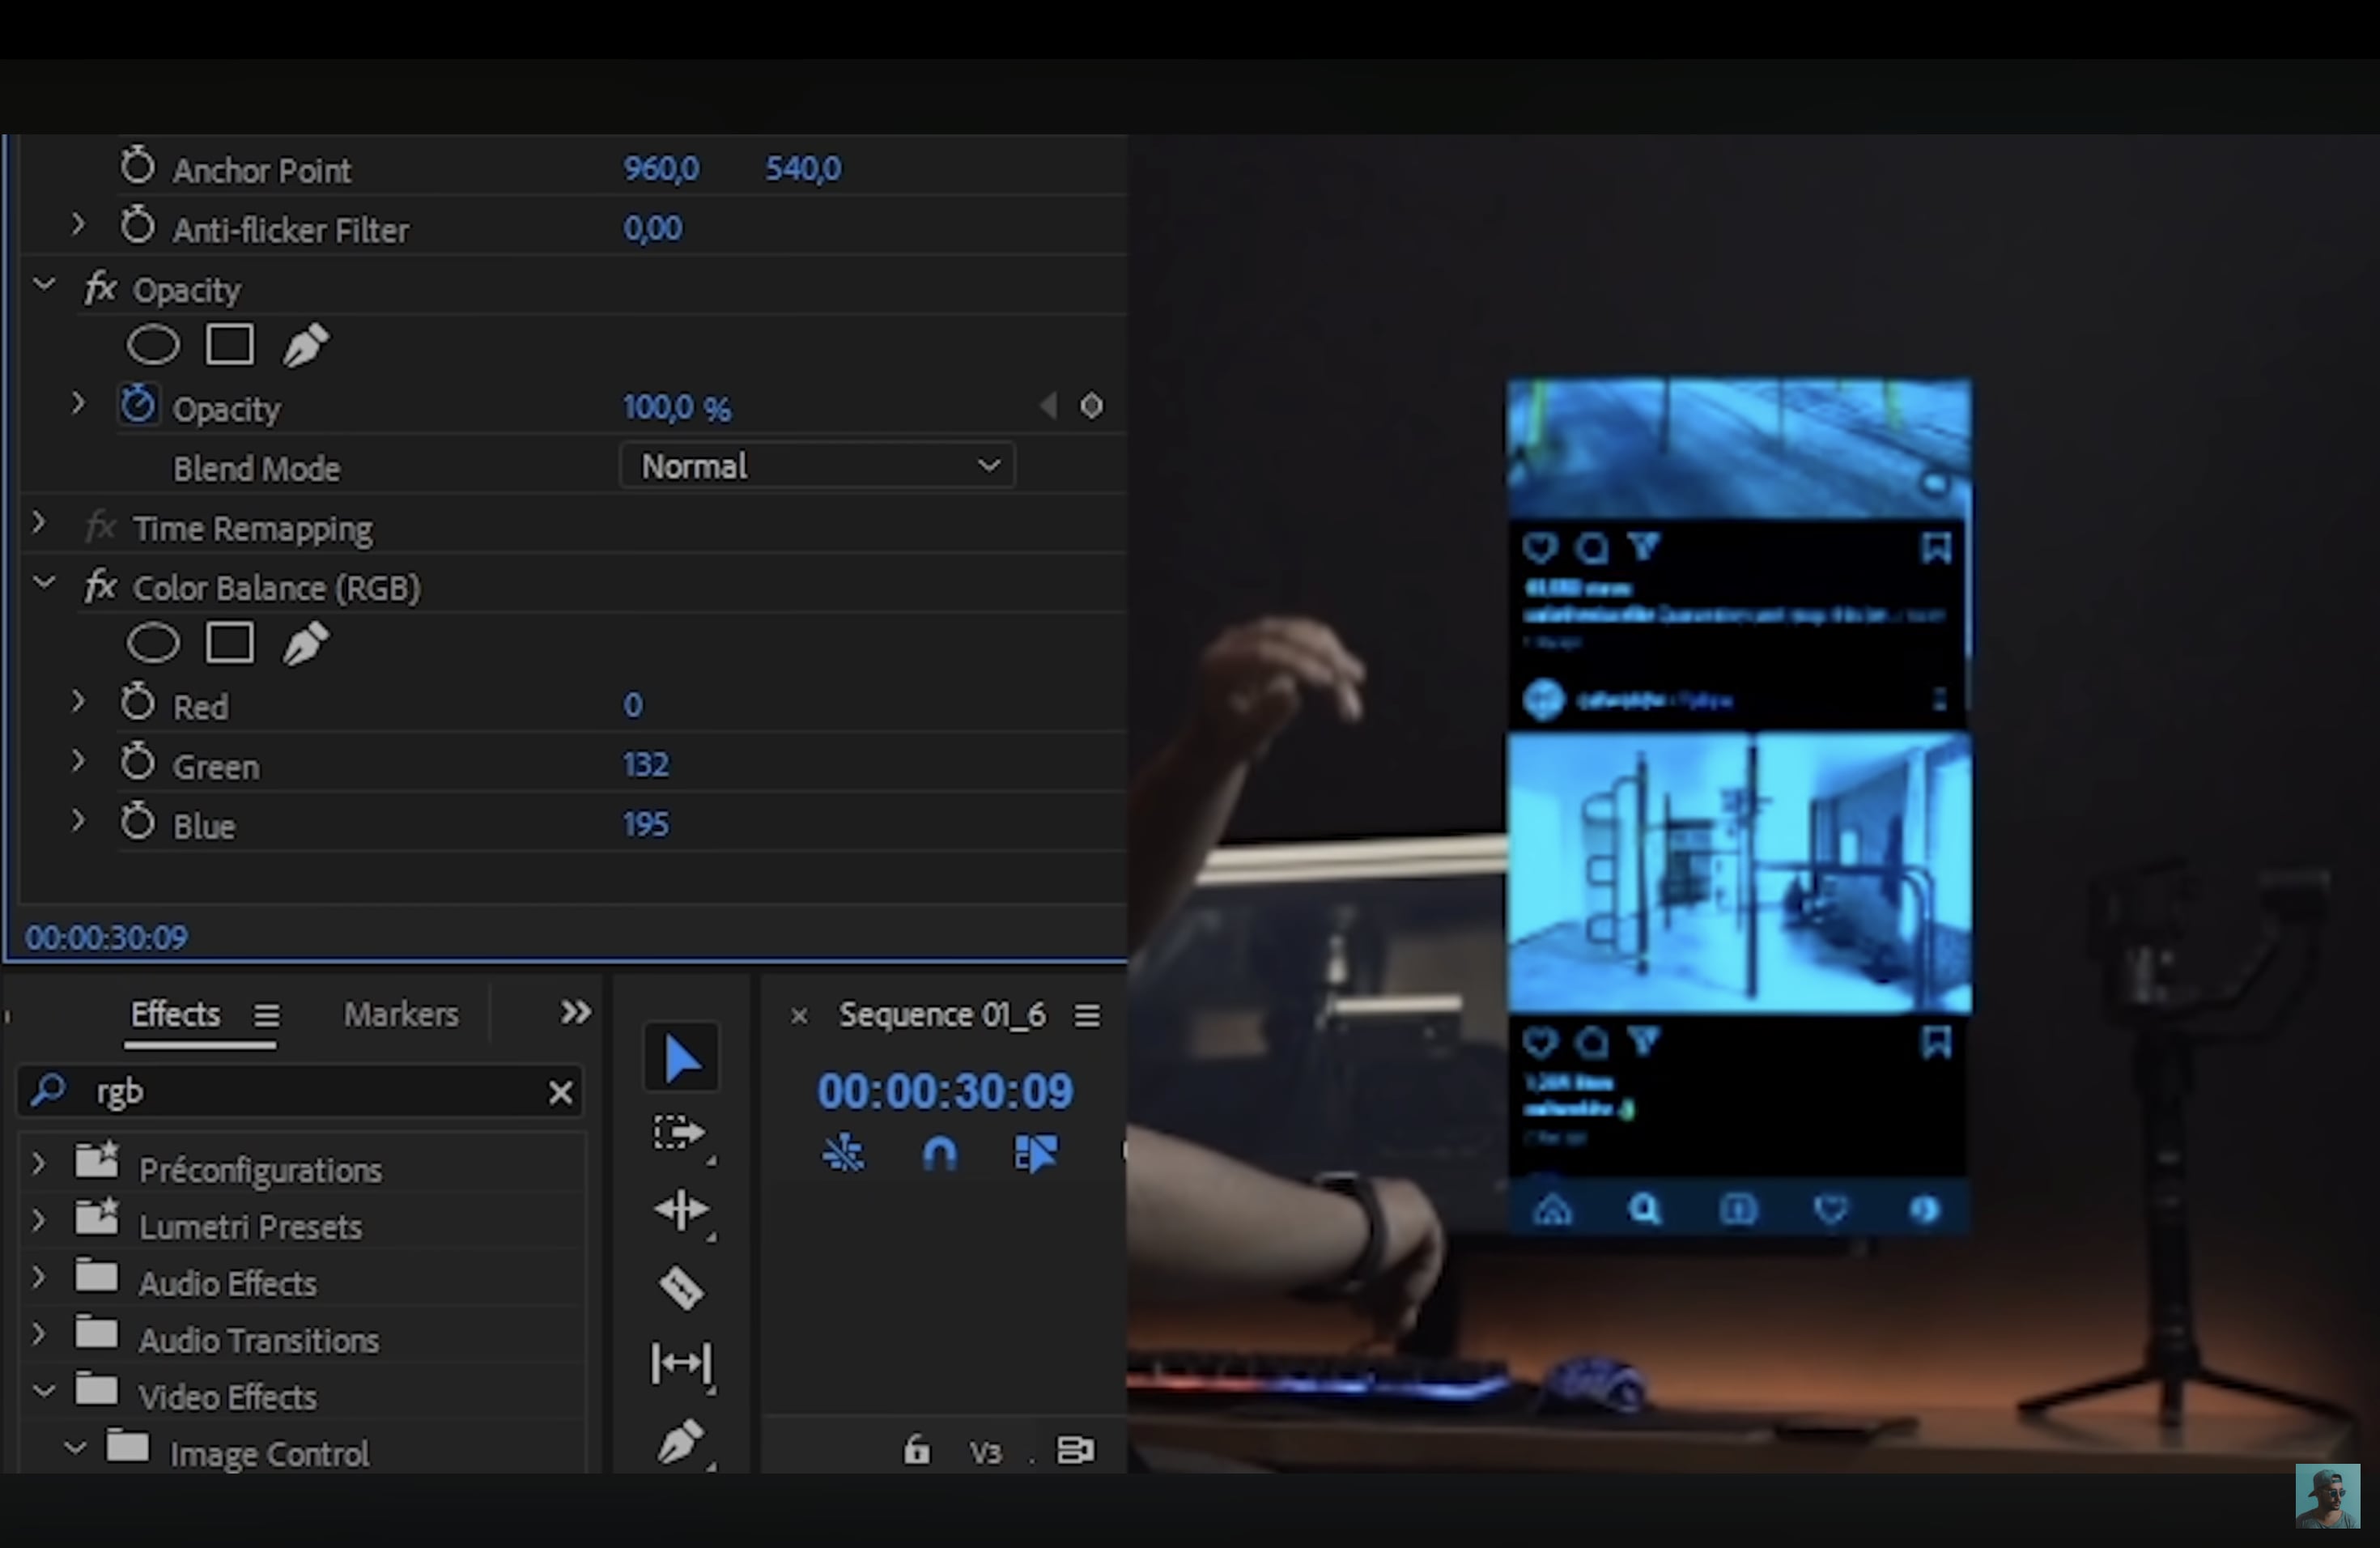
Step 2. Nest and apply color grading
Once the clips are synced, right-click the screen recording layer and choose Nest. Open the Lumetri Color panel and shift the tones toward cyan or blue.
In the Curves tab, reduce reds slightly, lower contrast, and increase highlights to give your screen a projected glow. This forms the base of your hologram effect.
Step 3. Add glow and digital distortion
Go to Effects and apply Wave Warp to the nested layer. In Effect Controls, adjust these settings to create subtle digital movement:
- Wave type: Smooth Noise
- Direction: 0°
- Speed: around 5
Then, add Alpha Glow and set glow and brightness to about 100. Change the glow color to cyan or teal for a clean, luminous holographic light.

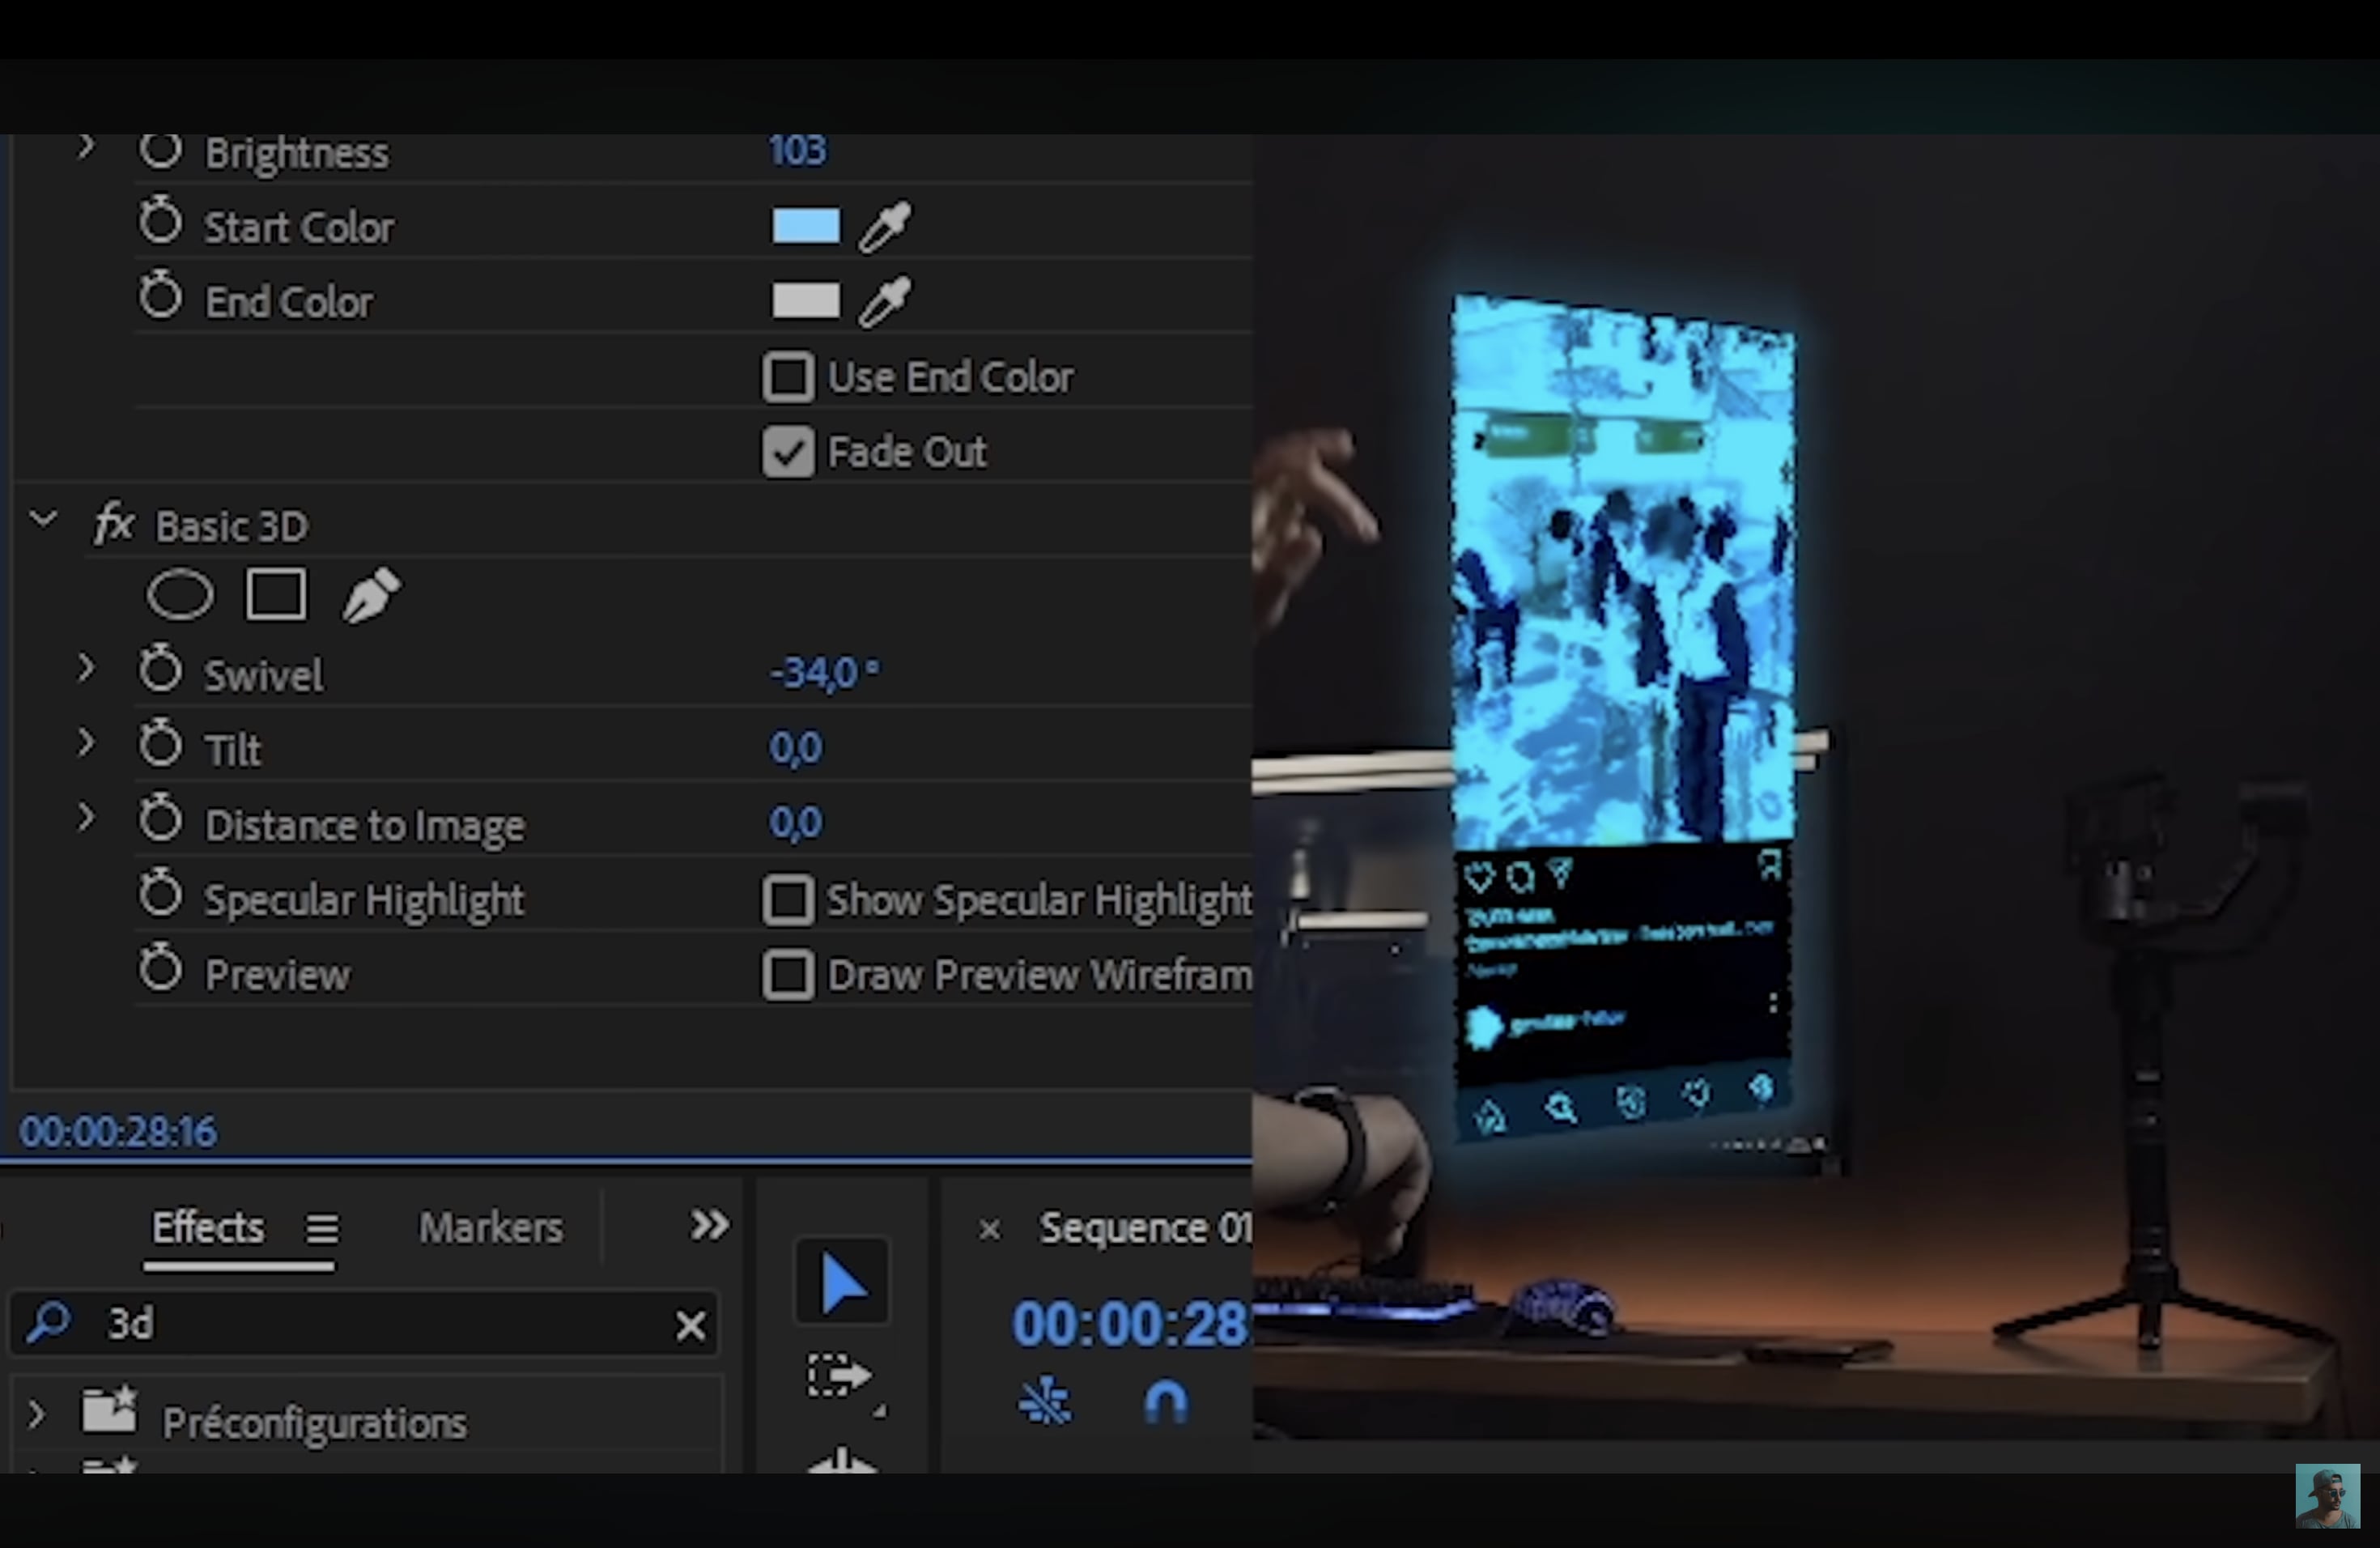
Step 4. Adjust perspective with Basic 3D
Apply Basic 3D from Effects > Video Effects > Perspective. Adjust Swivel, Tilt, and Distance to Image until the hologram aligns with your hand or background. A slight tilt makes the projection appear natural and adds depth to the composition.
Step 5. Add animation for hologram activation
Create a simple pop-up effect using keyframes. Set keyframes for Scale and Position a few frames into the clip.
At the start, reduce the scale to 0 and move the position slightly downward so it rises into view. Then, keyframe Opacity from 0% to 100% for a smooth fade-in. Adjust timing until the animation feels balanced.
Step 6. Enhance with sound effects
Add short sci-fi sounds such as “UI Hologram Open,” “Electro Textures,” or “Feedback Swoosh.” Sync them with flickers or motion to make the hologram edit more immersive. Sound effects add realism and complete the illusion of projected light.
After completing these steps, review the composite in full resolution. Premiere Pro’s precision controls give you a flexible, creative freedom to design hologram effects that look authentic and cinematic.
Part 5. Tricks to Enhance Your Hologram Effect
Creating a hologram effect is only the beginning. The key to making it stand out lies in the small adjustments that make your projection look more cinematic.
- Layer multiple effects
Combine glow, glitch, blur, and noise filters on different tracks. Stacking these effects adds visual complexity and gives your hologram a more believable digital depth.
- Use timing effectively
Sync the flicker or opacity keyframes with your video’s rhythm or soundtrack. Matching the motion to background audio or beats makes the hologram feel dynamic and integrated with the scene.
- Add perspective tilt for depth
Slightly skew or rotate your hologram layer so it appears projected into the space rather than sitting flat on the screen. This simple adjustment enhances 3D realism.
- Overlay scan lines or chromatic aberration
Add thin scan lines or slight color separation at the edges of your hologram. These small details help reproduce the look of light beams and display the distortion seen in real holographic visuals.
- Pair visuals with audio
Include low-volume ambient sounds like static, electric buzz, or soft pulses that match your hologram’s intensity. Sound design is a subtle but crucial layer that enhances immersion.
- Refine technical settings
Pay attention to resolution, layer order, and blending modes. For example, keeping glow effects above your subject but below glitch textures helps maintain balance between clarity and style.

With these techniques, your hologram effect will appear cleaner, sharper, and more consistent across scenes. Small refinements often make the biggest difference in achieving a high-quality hologram edit.
Bonus. Examples and Inspiration for Hologram Edits
Studying how hologram effects are used across different media can inspire you to develop your own creative style. From blockbuster films to short social media clips, holographic visuals have become a symbol of technology and innovation.
1. Iconic movie examples
Classic films like Star Wars, Iron Man, and Blade Runner 2049 set the standard for holographic visuals. These scenes combine glowing light, particle motion, and perspective layering to make digital images appear physically real. Analyzing these effects can help you understand how color grading and light projection shape the viewer’s perception of space.
2. Viral social media trends
On platforms like TikTok and Instagram, hologram edits are used to enhance storytelling and visual rhythm. Creators often add hologram text or floating graphics to emphasize transitions, highlight beats, or frame characters in sci-fi-inspired scenes. The mix of glow and flicker instantly grabs attention in fast-paced feeds.
3. Music performances and live shows
Concerts and stage productions frequently use holographic projections to display virtual performers, animated lyrics, or interactive visuals. These effects rely on transparent layering and precise light alignment, creating the illusion of 3D figures on stage. The result is immersive and visually stunning for audiences.
4. Creative YouTube intros
Many content creators design hologram text animations for intros, title cards, and lower thirds. The holographic glow adds a professional touch, especially in tech, gaming, or design-related videos. By combining sound effects, motion, and light balance, these elements give channels a distinct visual identity.
Observing these examples can help you understand how professionals integrate the hologram effect into different formats. Try experimenting with glow intensity, animation speed, and perspective until you find the right combination for your own hologram edits.
Conclusion
The hologram effect brings a futuristic touch to any video or design, combining light, color, and motion to create depth and realism. With the right tools, such as Filmora, Photoshop, and Premiere Pro, you can easily produce hologram edits that look professional and captivating. Experiment with glow intensity, transparency, and sound to refine your style, or try hologram text for creative titles and overlays. Each adjustment adds character and dimension to your project. Practice and imagination can help your hologram edit transform simple visuals into cinematic, eye-catching results.
