How to Record Your Computer Screen
Dec 03, 2025• Proven solutions
A screencasting software lets you record all desktop activities, so you can easily share educational videos with millions of people. In this article, we are going to show you how you can capture a computer screen and create videos that will help others become better at what they do.
How to Record Computer Screens on Windows
PC computers support software products that can be used for many different purposes. If you would like to capture the screen of your computer while using a Windows-based software, you'll need a powerful screen recorder that lets you set up a new screencasting session in just a few simple steps. Here are some of the best choices you have at your disposal.
1. Wondershare Filmora
Besides offering features that enable you to control the screen recording process completely, Wondershare Filmora is also a video editing software that lets you manipulate your videos in any way you want.
Once you've installed the software on your computer, you should double click on its desktop icon and open the Full Feature mode. After the software launches, click on the Record menu and select the Record PC screen option. Wondershare Screen Recorder window will appear on the screen so you can adjust the settings for your upcoming screen casting session.

On the left side of the Wondershare Screen Recorder's window, you'll be able to see a rectangle icon, that lets you choose which area of the screen you'll record. You can choose from Full Screen, Custom and Target Window option.
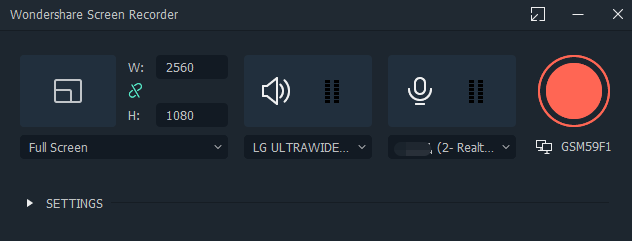
Click on the Microphone icon to select the mic you'll be using to record narration, and you can click on the Speakers icon if you want to enable or disable the computer's speakers during the screen recording session.
You'll find the Settings icon in the lower right corner of the window, click on it to gain access to more options. You can choose the destination on the computer's hard drive where the recording will be saved, adjust the frame rate or set the quality of the recording from the Quality drop-down menu.
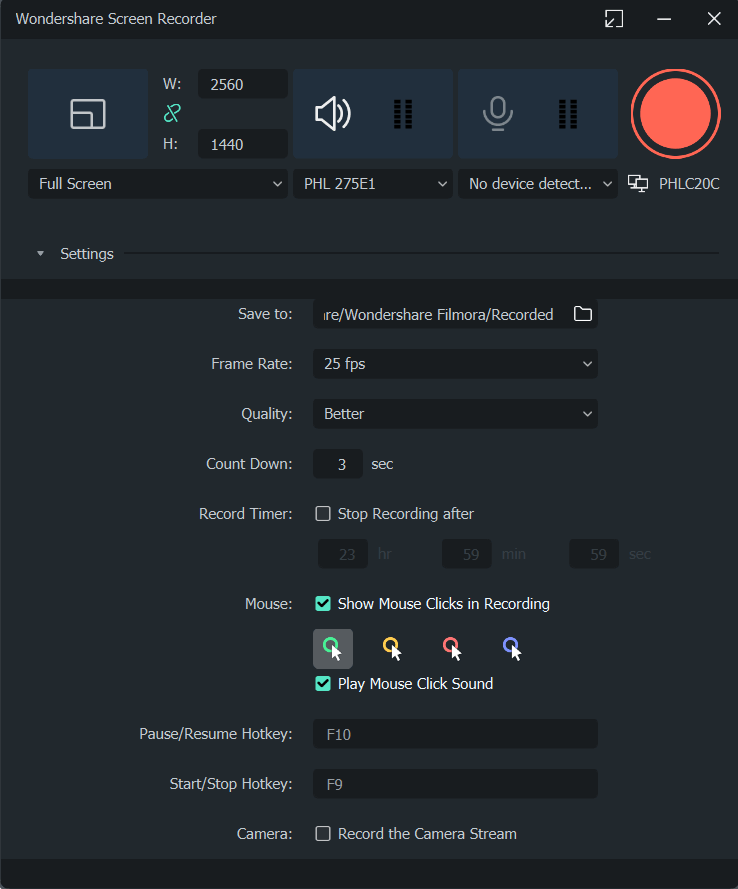
Mark the Mouse checkbox if you want the mouse clicks to be shown in the recording and you can set the maximum duration of a recording session by inserting the preferred default screen recording duration into the Record Timer box.
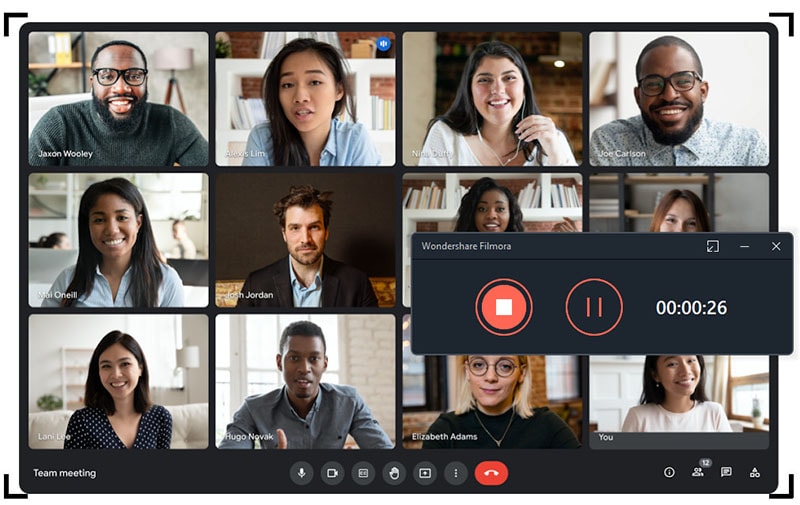
Click on the Rec button to start a new screencasting session, and the software will start recording after a three-second countdown. Press the F9 button on the keyboard to stop recording. The file will be automatically opened in Filmora's video editor so you can edit it before posting it online.
2. OBS Studio
Gamers frequently use the OBS Studio to share their live streams on Twitch or YouTube, but besides being a popular broadcasting software, OBS Studio is also a reliable screen recording option. After downloading the software for free and going through the setup process, you can start a new screen capturing session.
https://images.wondershare.com/filmora/article-images/obs-interface.png
Right-click in the Sources box, and then choose the Display Capture option from the Add menu to add a new source to the software. A dialogue box will appear on the screen asking you to name the new source, make sure that the Create New checkbox is marked and proceed to insert the name of the source you're adding to the software.
A preview of your desktop will appear on the screen and if you want, you can also toggle the Capture cursor option on. Clicking on the OK button will add the new source to the software and you'll be able to see your desktop in the OBS Studio's preview window. Adjust video and audio options before starting a new session, and click on the Start Recording button to start capturing your screen.
The software also enables you to record just one application, so if you don't want to record an entire screen, you should select the Window capture option from the Add menu, that can be accessed by right-clicking inside the Sources box. Name the new source and click on OK button to add it to the software. Afterward, you should adjust the audio and video settings before hitting the Start Recording button.
3. Windows 10 built-in Game Bar
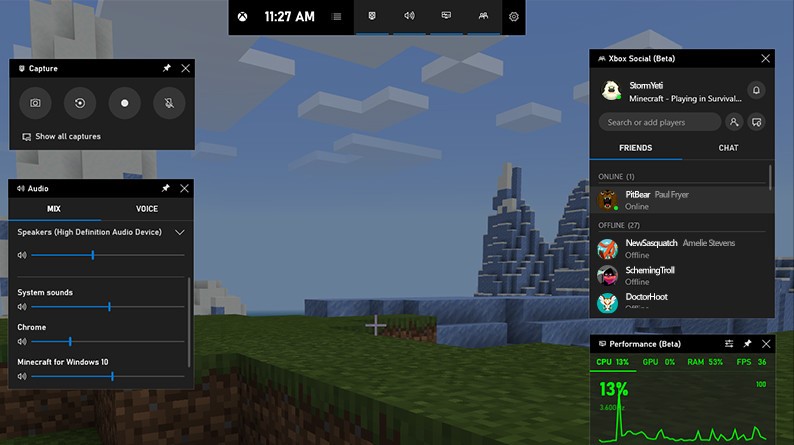
PC users who have Windows 10 installed on their computers don't need a third party app to create a screen recording, because the built-in Xbox app features screen capturing tools. Launch the Xbox app, then press the Windows and G icons on the keyboard and choose 'Yes this is a game' option. If you want to change the video quality or adjust the audio settings, you can do so by opening Game DVR options menu.
OfPbr1mRDuo
Click on the Start Recording button or use the Windows, ALT and R keyboard shortcut to start a new screen capturing session. In order to be able to use the Game Bar as a screen recorder, you need to make sure that your computer supports AMD VCE, Nvidia NVENC, or Intel Quick Sync H. 260 encoders.
How to Record Computer Screens on macOS
Mac computer offer a lot of different ways to produce screen recordings easily. Probably the easiest way to record a screen on a Mac computer is to use the QuickTime Player.
1. QuickTime Player
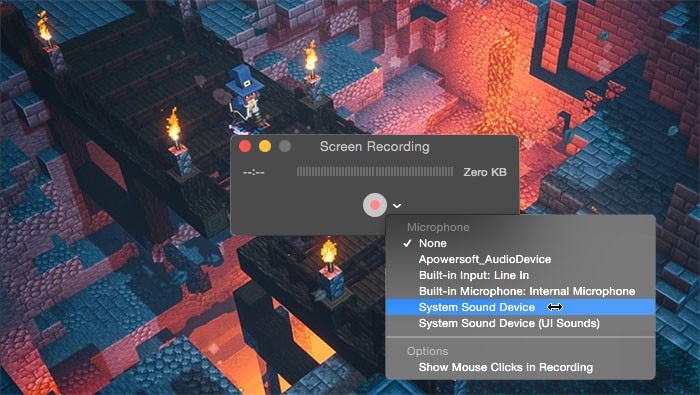
Open the QuickTime Player and click on the File menu. Select the New Screen Recording feature from the menu. Once the Screen Recording window appears on the screen you can click on the Options pop-up menu to choose the microphone you'll be using during the screen capturing session or enable the Show Mouse Clicks in Recording feature.
Hit the Record button to pick the recording type. Click just once anywhere on the screen to start capturing the full screen or alternatively, you can drag the mouse cursor to select the portion of the screen you'd like to capture and click Start Recording to start a new screen recording session.
2. Filmora for Mac
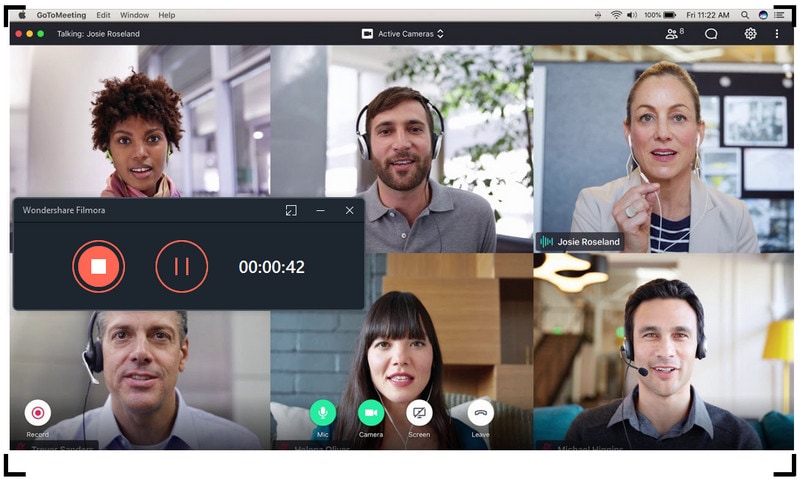
To record your computer screen with macOS, you can also use Filmora screen recorder. It supports all the mac system and can help capture screen videos with high quality. Compared with the free mac recorders, Filmora offers the mouse click effects with sound, high video quality, customize recording area and time, and the built-in powerful video editing tools. The steps to use it for recording is just the same as it on Windows PC.
Conclusion
Recording all your desktop activities on Mac and PC computers is a simple and fun process. Which screen recording software you are going to use mostly depends on the reason why you're making the recording in the first place.
Filmora enables you to edit the screen recording immediately after your capture, while OBS Studio is a great option if besides recording your screen activities you also want to broadcast live videos to Twitch or YouTube.
There are also many other free screen recorders, such as screen recorder Pro, TinyTake, Flashback and more, you can try and which screen recording software you like to use the most? Leave a comment below and let us know.
In this guide, we'll show you how to edit your first video step by step on your Windows or Mac, how to choose a video editing software and community provided.
by Richard Bennett Jan 06, 2026 11:36 AM
In this post, we've reviewed all popular video editing software in the market, and come out with the best video editors for Windows/Mac/iOS/Android/Linux for you.
by Richard Bennett Jul 14, 2025 14:51 PM


