
"I want to start creating gaming content for my YouTube and Twitch channels, and I heard OBS is a good tool to use. How do I use the OBS screen recorder to make videos?"
OBS screen recorder has become the go-to tool for streaming and capturing content for platforms like YouTube and Twitch. It's a powerful solution that just so happens to be free and open-source – a perfect thing for creators on a budget who need high-quality videos.
The only issue? OBS has a bit of a learning curve, and figuring out how to use it on your device could be a hassle.
Have a look at the guide below and learn how to record screens with OBS Studio on any device you may have – Windows, Mac, or mobile.
In this article
What Can You Record With an OBS Screen Recorder?
OBS, short for Open Broadcaster Software, is a free, open-source tool for recording and streaming video content. Most commonly used for live streaming, in particular, it has a nice variety of features that help you capture and perfect your videos.
- Scene composition – create scenes from different sources;
- Audio mixer – enhance your audio and use filters like noise suppression, noise gate, and gain;
- Modular UI – rearrange the layout of OBS to your liking;
- Customizable transitions – add visually appealing transitions between scenes;
- Hotkey adjustment – set hotkeys as you see fit and create keyboard shortcuts for different actions;
- Live previews – get a preview of all your scenes and sources before going live.
You may also be interested in:
Basic Settings for Recording Screen with OBS
As mentioned, the OBS screen recorder is compatible with both Mac and Windows, and you can technically use it on mobile devices. While the process of recording may differ slightly for each of them, two processes remain largely the same, regardless of your specific system:
- Installing the OBS Screen Recorder
- Configuring OBS
To record screen with OBS, you, of course, first have to install it:
- Visit the OBS website;
- Select your operating system – Windows, Mac, or Linux – and wait for OBS to download;
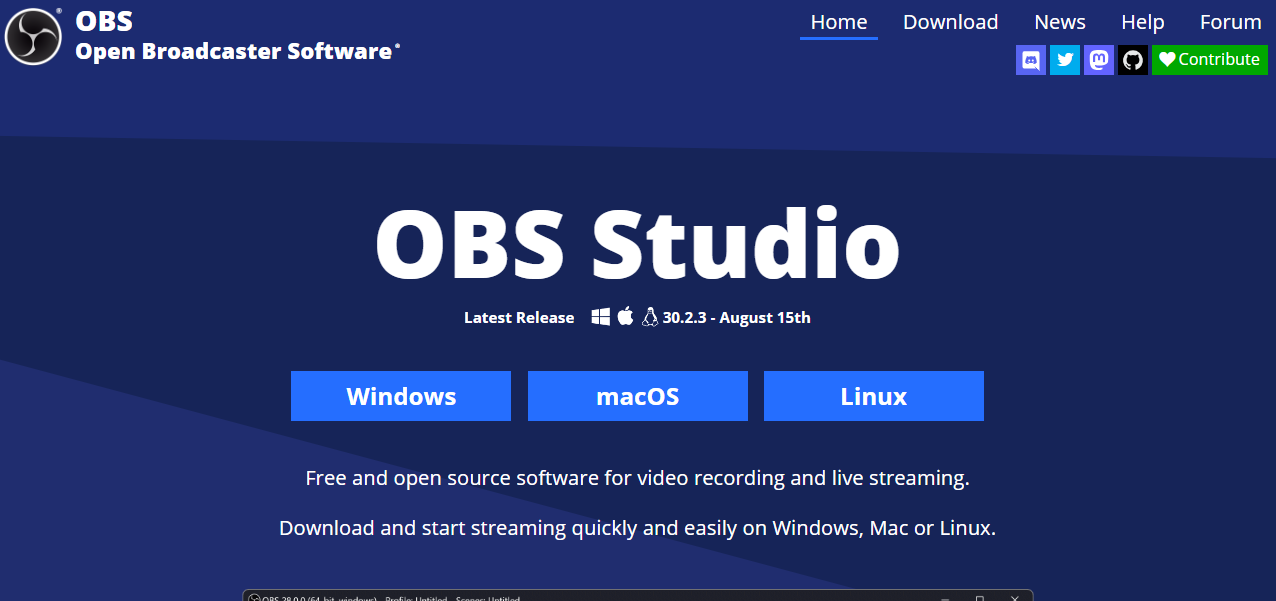
- Run the installer and follow the on-screen instructions.
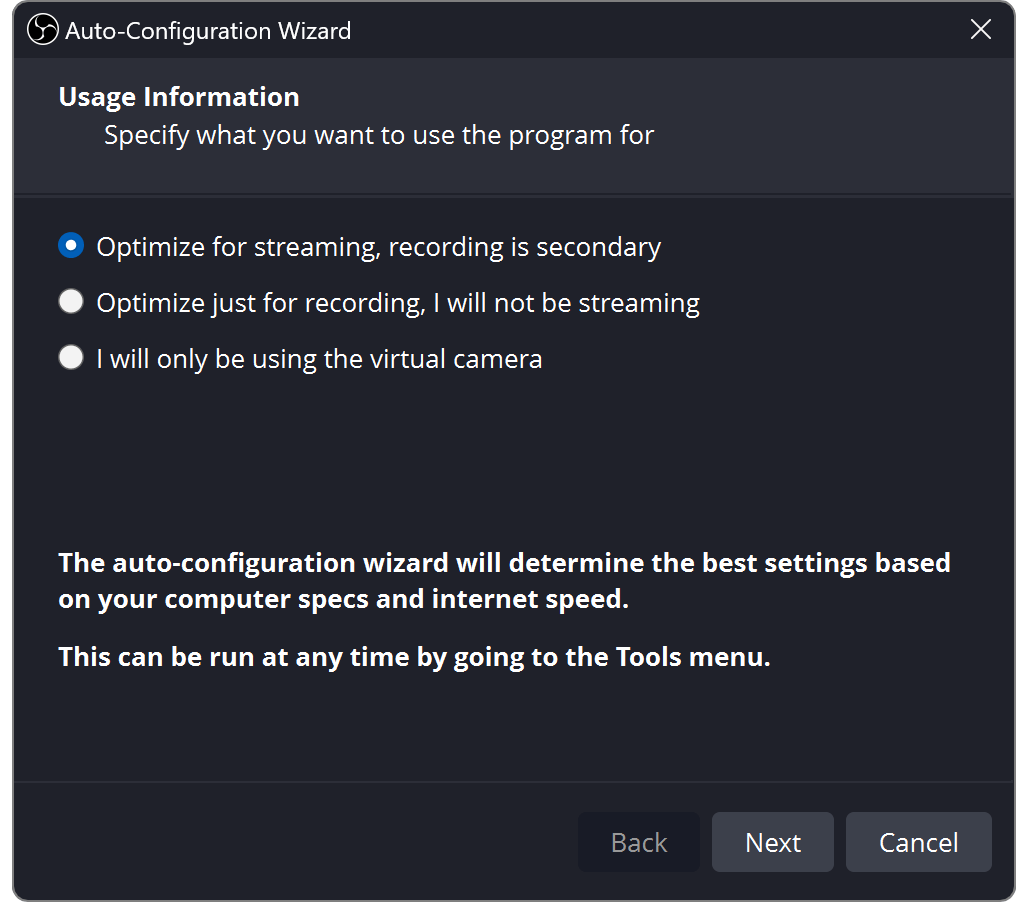
Once the installation is complete and you launch the program, you'll be asked to configure the main settings. You can select what you'll mainly use the OBS for:
- Streaming
- Recording
- Using your virtual camera
You'll also be able to set your preferred resolution, bitrate, and more. Simply specify your choices, click Next, and configure the tool however you see fit. Don't worry – if needed, you can always change the configurations later on.
How to Record Screen With OBS on Different Devices?
Method 1: Record Screen with OBS on Windows PC
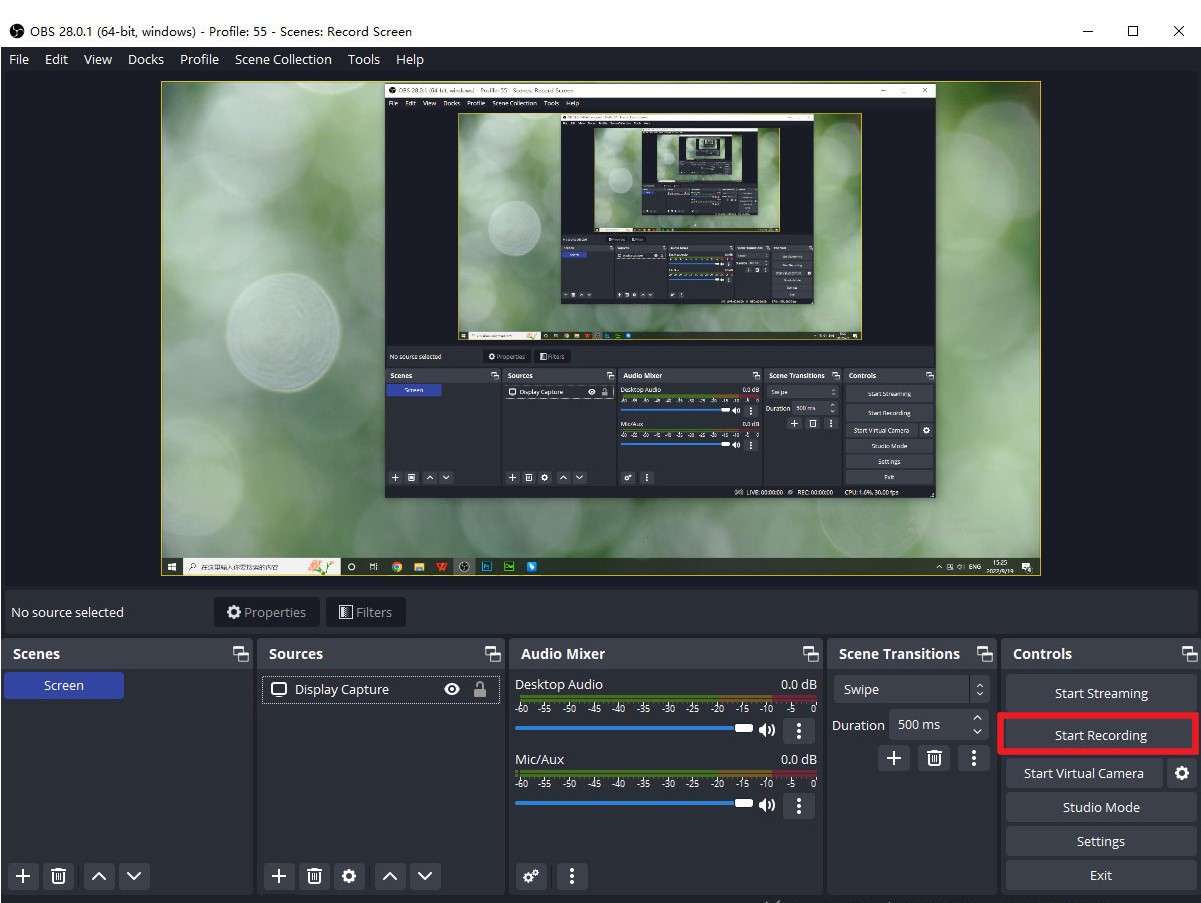
Once you've installed OBS on your Windows device, there are just a few more steps you'll need to follow to start recording. Here's what you'll need to do:
- Launch the OBS screen recorder;
- The program should automatically create a Scene. If it doesn't, click the + icon by Scenes;
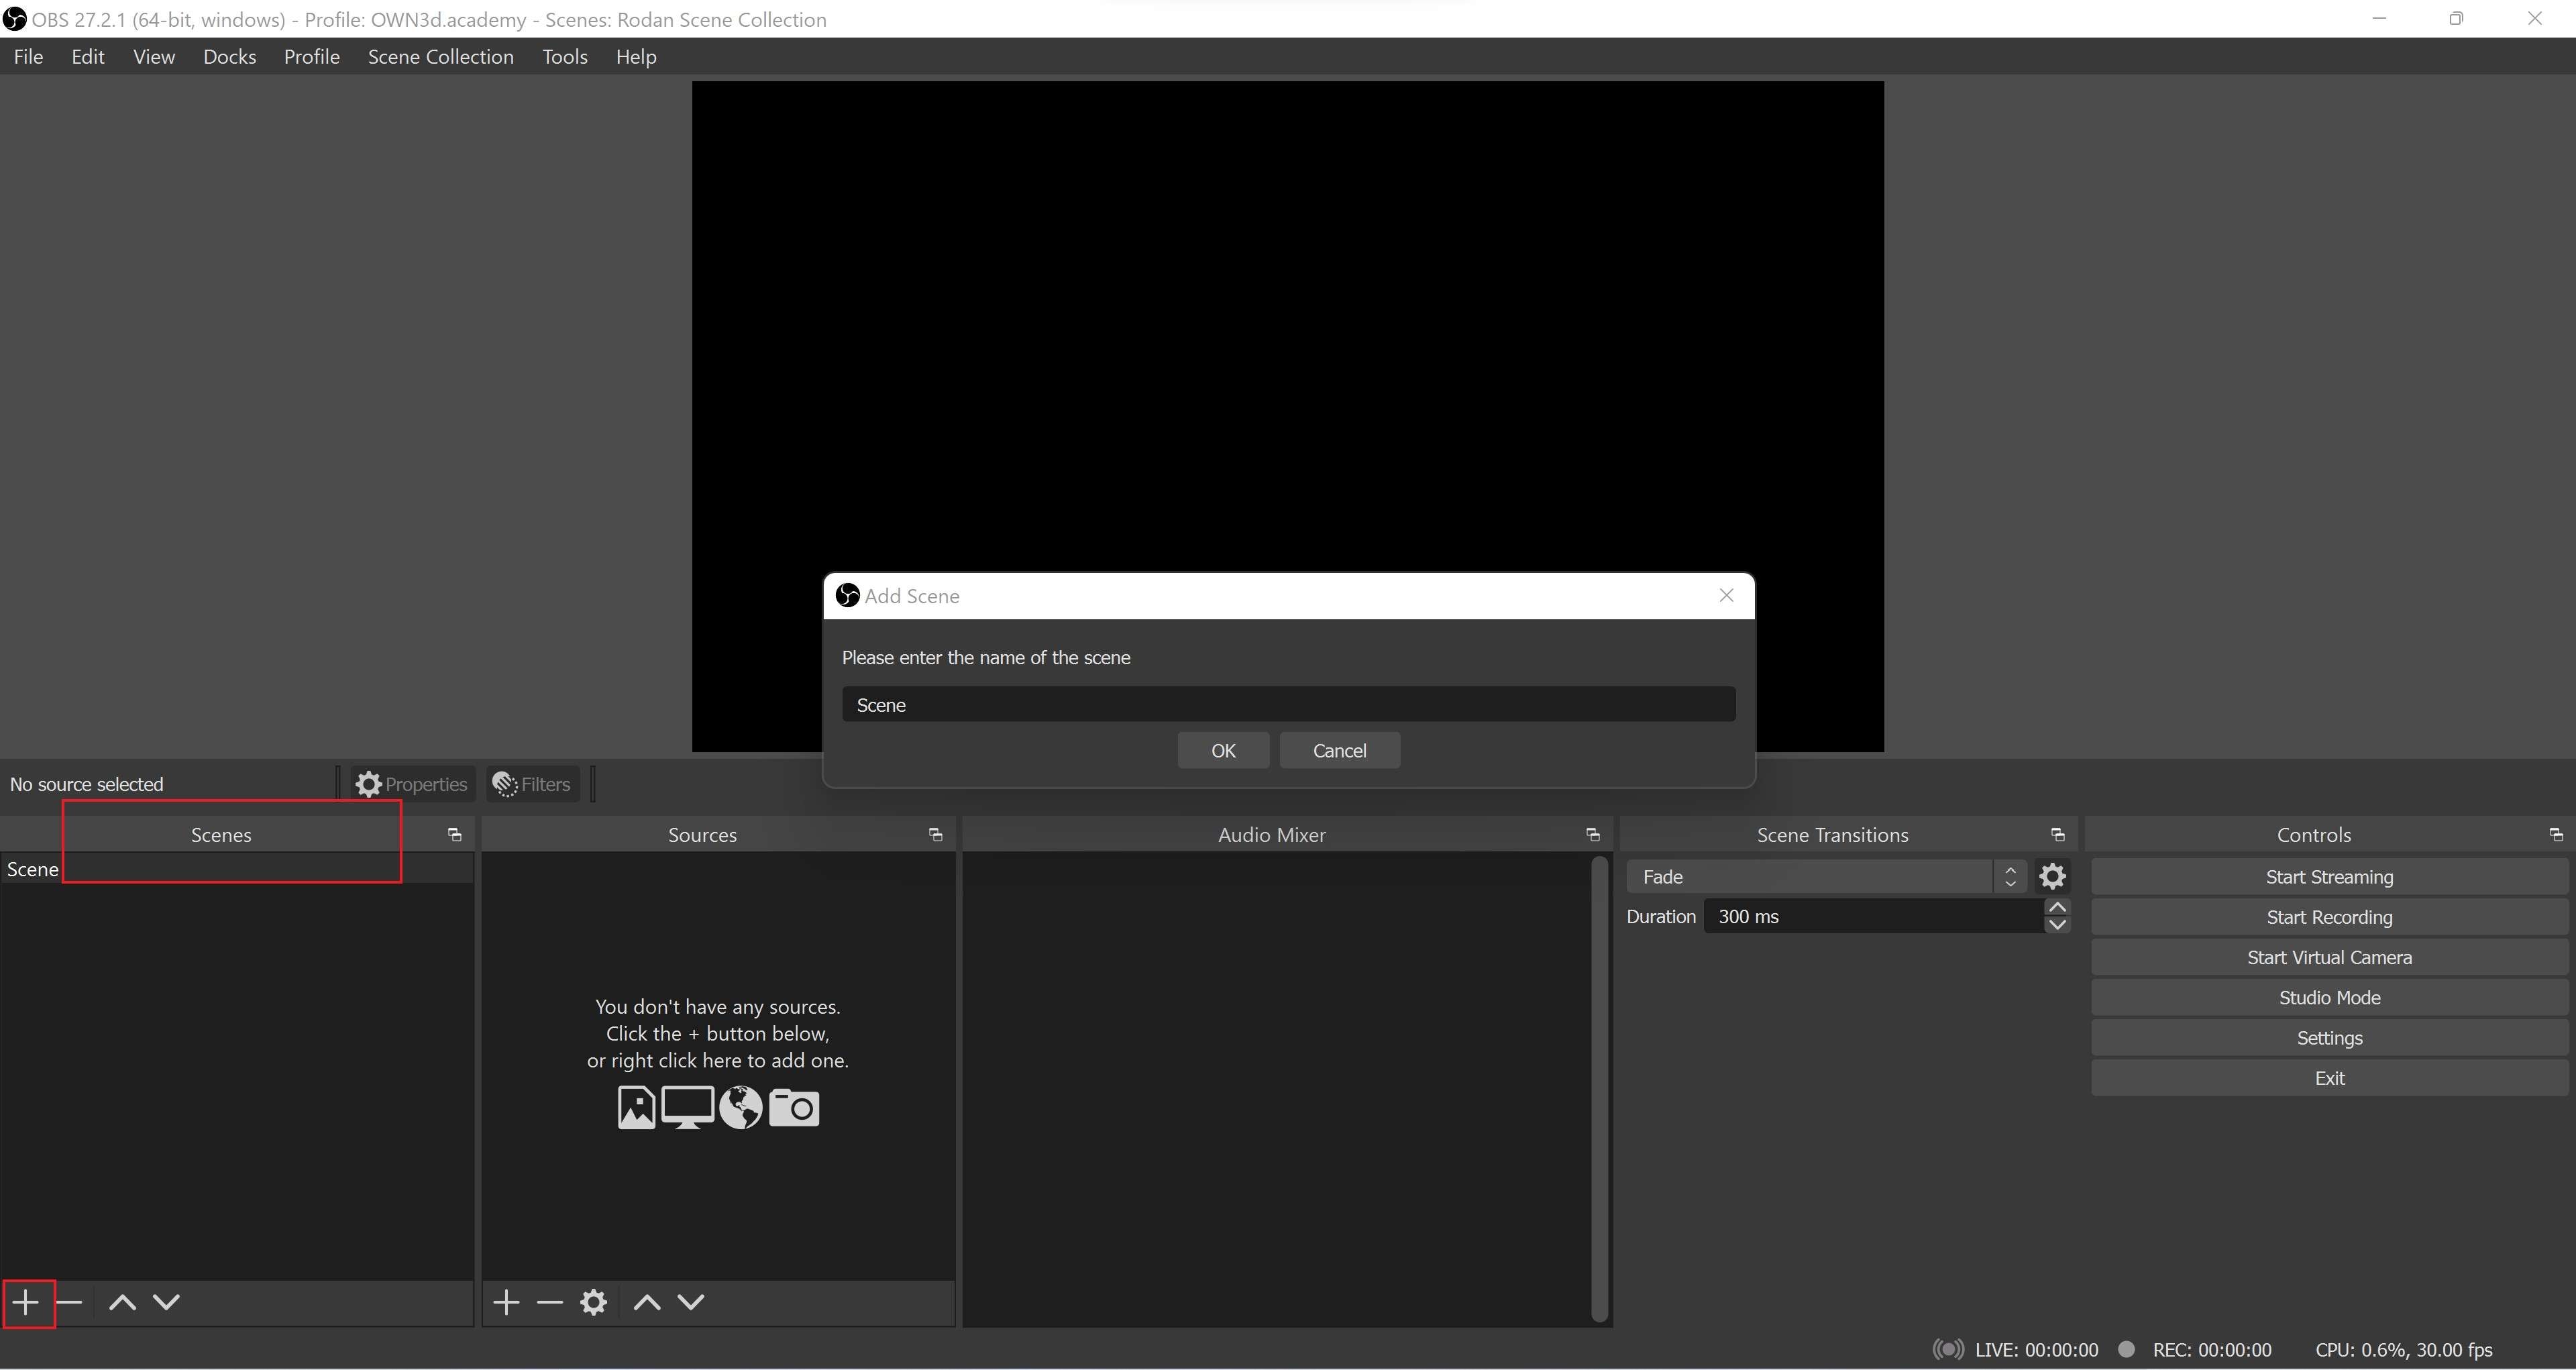
- Click the + icon by the Sources tab, go to Display Capture, then create a title, and click OK;
- Select your Window Capture and customize the settings;

- Go to Settings > Output;
- Specify your Recording Path and click OK;
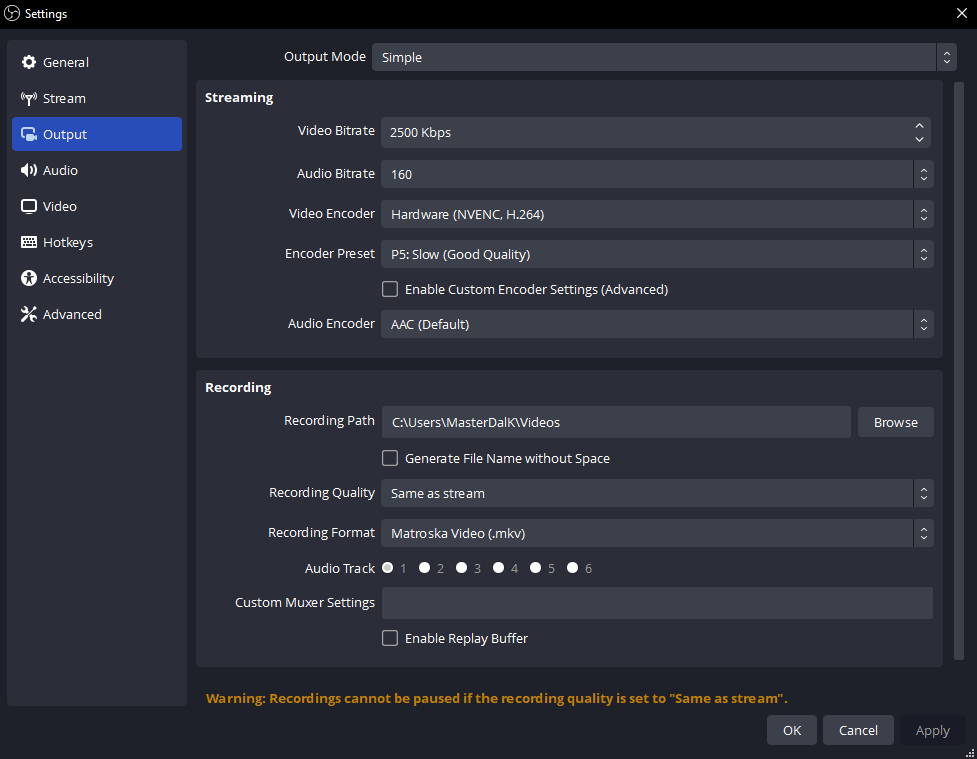
- In the main menu, click Start Recording.
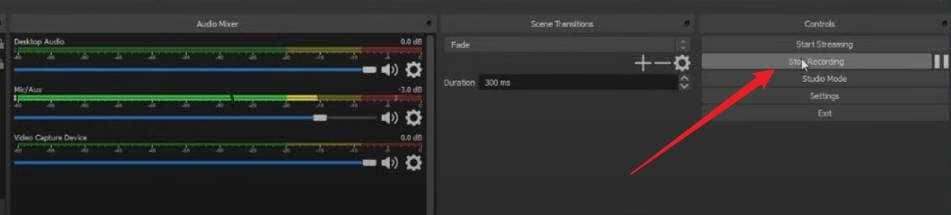
- Click Stop Recording if you want to finish it.
Method 2: Record Screen With OBS on Mac
If you want to screen record with OBS on Mac, the process looks pretty similar to that on Windows. Here are the steps you'll need to follow to start screen recording on Mac:
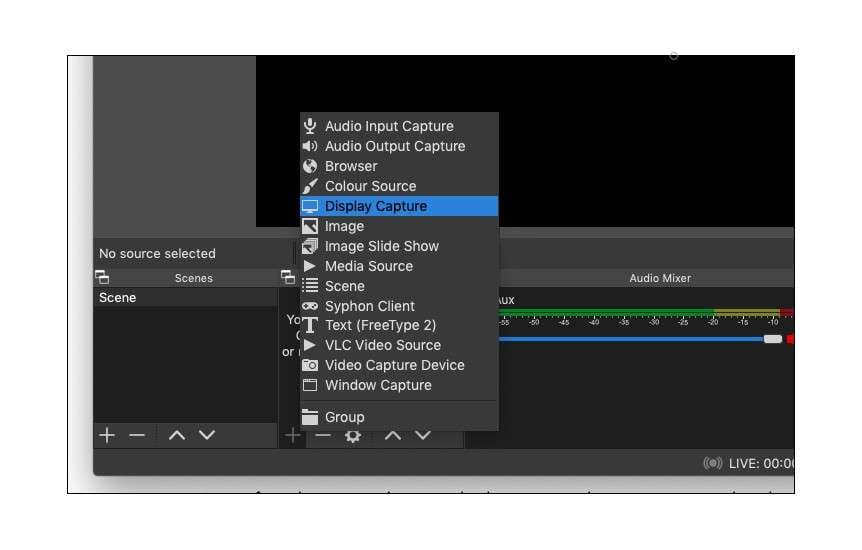
- Launch the OBS screen recorder and click the + icon by Scenes to create a scene;
- Click the + icon by Sources and select your Display Capture;
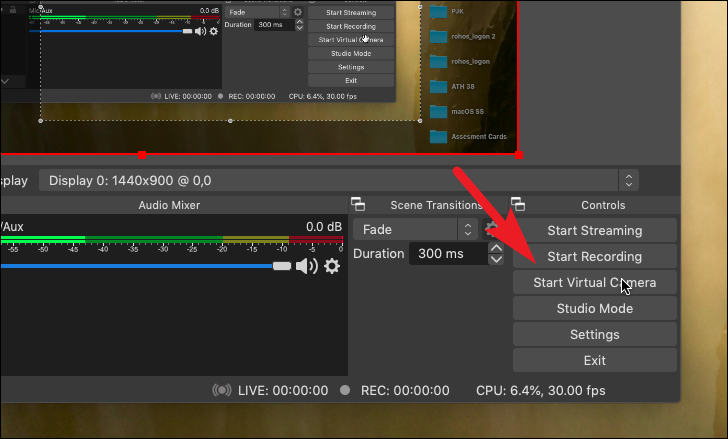
- Go to Settings > Output and set your Recording Path;
- Click Start Recording to begin your screen capture.
Method 3: Record Screen With OBS on Mobile
Technically, there isn't an OBS screen recorder version designed specifically for smartphones. If you want to capture your mobile screen using OBS – you just have to set your phone up as a webcam.
Once you've installed the appropriate app on your device and connected it to your computer, you need to follow the next few steps to start recording your mobile screen:
- Launch OBS on your Mac or Windows device;
- Click the + icon by Scene to set the scene, then under Video Capture Device, select your smartphone;
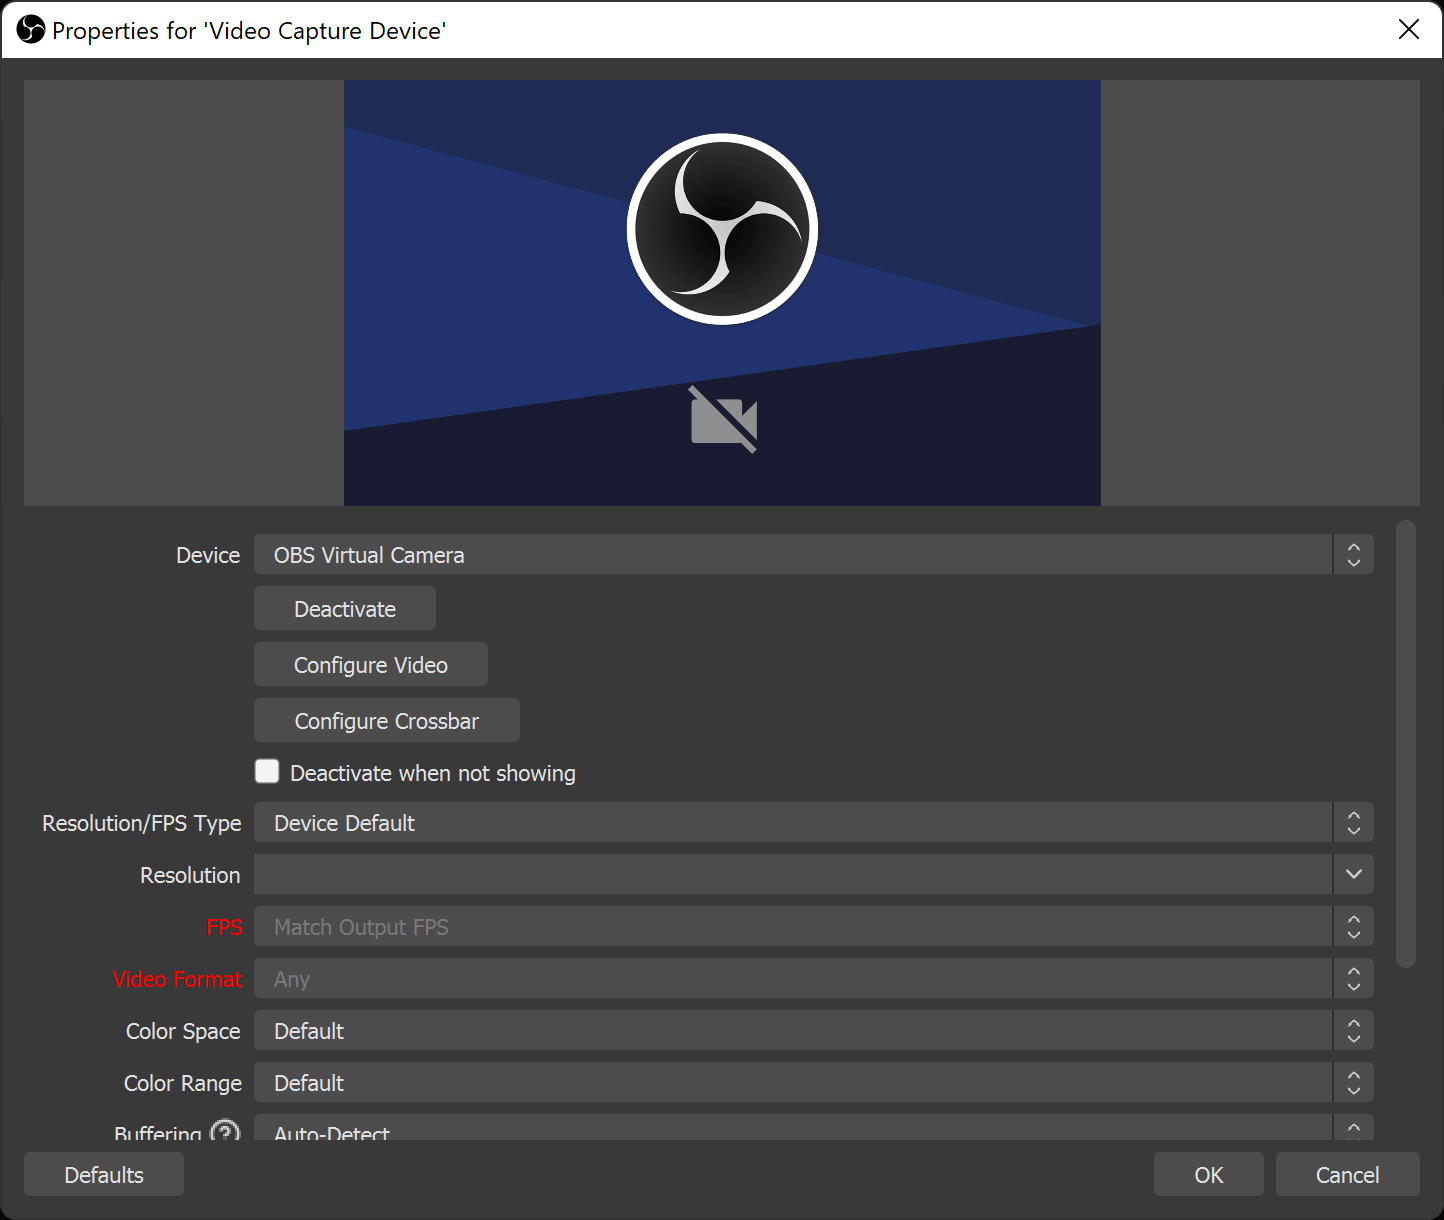
- Set up mirroring or camera streaming on your chosen webcam app on your smartphone;
- Adjust the camera feed in OBS, then click Start Recording.
In general, you'll want to keep both your phone and your computer connected to the same network to minimize glitches or similar issues.
Limitations of Recording Screen with OBS
While it's certainly convenient and offers useful features, recording screen with OBS Studio has a few shortcomings you should be aware of.
- It has a steeper learning curve than most similar tools.
- It tends to be resource-draining, meaning you'll need a powerful computer to avoid encountering bugs, glitches, and lagging issues.
- It lacks more advanced recording and editing features that would make it more usable.
Best Alternative to Record Screen with OBS
Although OBS Studio has some convenient features for recording your screen, it leaves something to be desired. As mentioned, it's somewhat complicated to use, especially for beginners, it lacks more advanced features, and it can be very slow on less powerful devices.
If you want an easier, more feature-packed, and more lightweight solution, you'll need an OBS alternative like Wondershare Filmora.
It's a sophisticated recorder and editor with hundreds of useful features and suitable for new and experienced users alike, ensuring that every feature you need is no more than a click away.
Its free screen recorder is fully customizable, so you can easily capture the entire screen, a specific window, or any custom area you need. You can also use it to record both your screen and webcam, as well as microphone and system audio, with ease.
Moreover, it gives you access to convenient features such as a record timer that automatically stops your recordings, cursor highlight, click sounds, and more.
Considering that it has a full-featured editor as well, Filmora can be used to perfect your recordings after the fact and publish high-quality videos to popular platforms.


How to Record Screen with Wondershare Filmora?
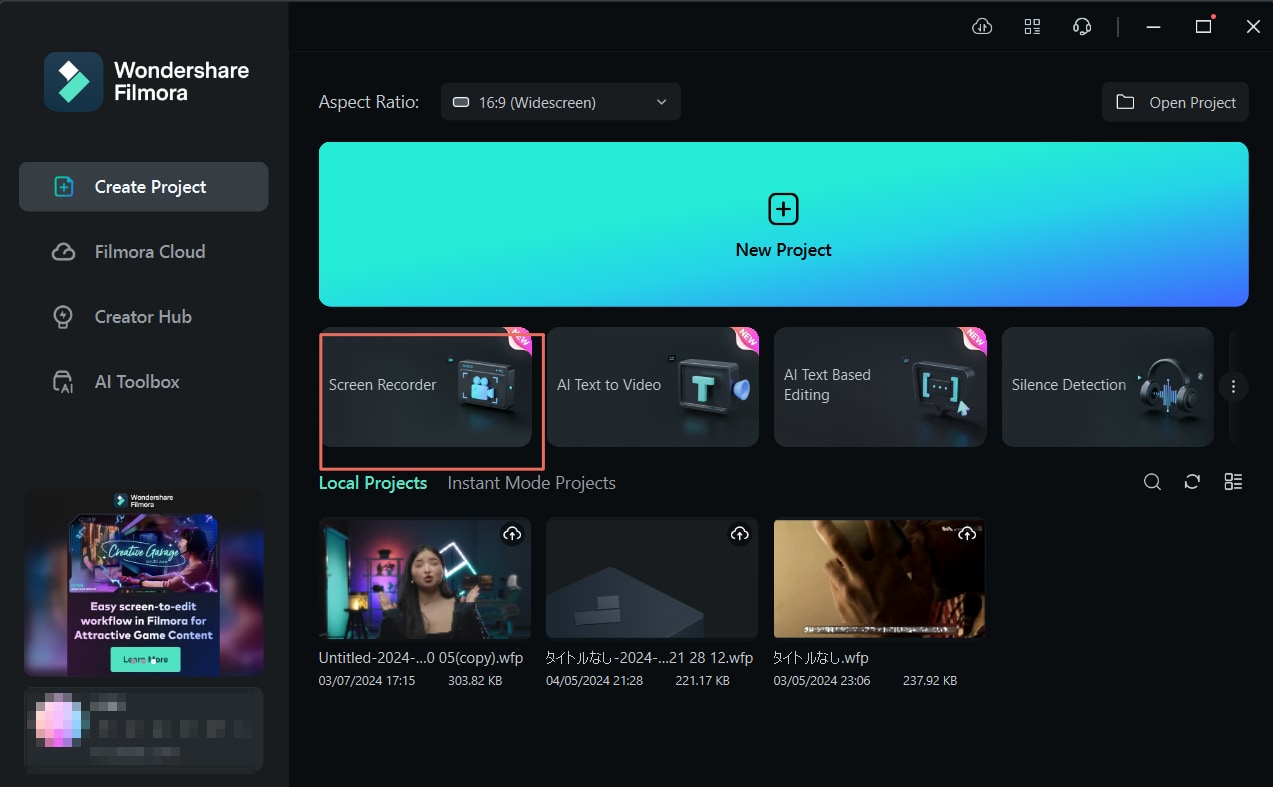
- Install Filmora on your device and sign in to your Wondershare account by clicking the Login button;
- Go to Screen Recorder;
- Specify your screen resolution and recording settings;
- Add or remove microphone and system audio capture, webcam capture, and more;
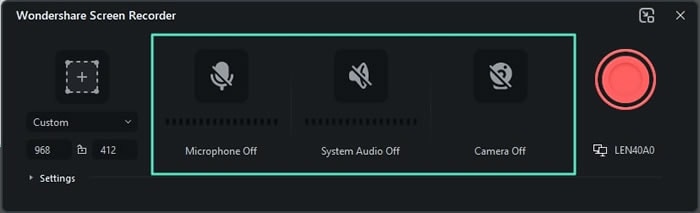
- Expand Settings and adjust additional recording settings – fps, quality, etc;
- Click the red Record button and start recording your screen.
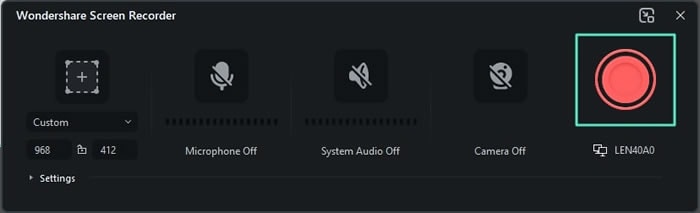
- Press F9 to finish recordings, and export it if you are satisfied.
Conclusion
OBS Studio can be a convenient solution for capturing screen recordings on a budget. Free and open-source, it has all the basic features you need.
However, considering that it's robust, drains your computer resources, and has no advanced features, it's not always the best choice.
If you want high-quality videos that you can easily capture and perfect, you need an advanced solution like Wondershare Filmora. With seamless recording features and sophisticated editing capabilities, it's the best tool for capturing high-quality content.
