

Your texts don't have to stay static, plain, and boring. You can make them move, bounce, or glide. When done right, that motion pulls the viewer in before a single sentence is read.
This is the essence of dynamic text animation and the powerful dynamic text effect it brings. It's a blend of movement and typography that turns plain titles or captions into something alive. From film intros to quick reels, mastering dynamic text animation has become essential for visual storytelling.
Adobe's classics like After Effects have built the foundations of this craft. But not every creator wants to wrestle with layers and keyframes. Many also look for something lighter, faster, but still powerful, like Wondershare Filmora.
In this comparison, we'll break down how both After Effects and Filmora handle dynamic text animations, so you can choose which one suits your workflow best.
Part 1. Understanding Dynamic Text and Essential Animation Principles
Before diving into tools and effects, it's worth understanding what makes dynamic text so attractive. Unlike static captions that simply sit on screen, dynamic text adds energy and motion. It's the difference between reading and feeling the message.
Common Use Cases
You'll find dynamic text animation almost everywhere since it can keep the viewers engaged. Some of the most common places it's used are:
- Video intros and trailers
- Lyric and explainer videos
- News tickers and headlines
- Gaming overlays
- Product promos and branded shorts
Popular Types of Text Animation Styles
Character or letter-by-letter reveals
Each character appears one after another, fading, sliding, or popping into view. It's ideal for creating suspense and excitement, or building rhythm in title sequences.

Path or curve motion
Instead of moving in a straight line, the text follows a drawn curve or shape, like a brand name wrapping around a globe or a quote spiraling into view. Designers often use this dynamic text animation style for logos, intros, or lower-thirds.
Audio-driven or beat-synced text
Here, motion matches sound. Words scale, bounce, or flash exactly in sync with beats or voiceovers, giving the impression that the text reacts to audio. It's common in lyric videos, music reels, and event teasers.

3D text, depth, or camera moves
This style adds perspective and realism, making words feel like part of the environment rather than an overlay. You might see text rotating in space, flying past the camera, or catching light like physical objects.

Key Dynamic Text Animation Components
No matter which style you use, every dynamic text animation relies on a few core elements that define how it moves and feels on screen.
- Position: Controls where your text moves across the screen.
- Scale: Adjusts how your text grows, shrinks, or zooms in and out dynamically.
- Rotation: Adds spinning or flipping effects to your text.
- Opacity: Fades text in or out for smooth transitions.
- Tracking & Kerning: Animates letter spacing for expanding or tightening effects.
- Anchor Point: Determines the pivot from which your text scales or rotates.
- Easing: Smooths motion by adjusting speed curves for more natural movement.
- Masks & Reveals: Creates wipe or slide-in effects that reveal text.
- Motion Blur: Adds realistic motion trails to enhance depth and fluidity.
- Duration: Controls how long the animation plays and how quickly each movement unfolds.
Together, these elements form the backbone of professional dynamic text animation. When done right, even a few moving words can capture attention faster than complex visuals and prove that design often lives in the smallest motion.
Part 2. Advanced Dynamic Text Effects: Comparing After Effects, Premiere Pro, and DaVinci Resolve Alternatives
Adobe's Creative Suite remains the backbone of modern motion design. After Effects, Animate, and Photoshop offer unique ways to bring dynamic text animation to life. Below, we'll explore how each one works, what makes it stand out, and where it fits in your workflow.
1. After Effects
Ask anyone who's spent time in motion design, and they'll tell you: Adobe After Effects is where most professional dynamic text animation after effects are created. It's the industry-standard tool that lets words move with intention, providing the complex control often required for high-end dynamic text effect work.
But After Effects does more than slide text across the screen. It gives every letter a life of its own. You can animate an entire headline as one unit, or let each character behave independently, spinning, fading, or bouncing in its own rhythm. That flexibility is what makes After Effects dynamic text feel so expressive and handcrafted.

- Industry-standard precision and flexibility
- Massive ecosystem of presets and plugins
- Seamless integration with Premiere Pro, Photoshop, and Audition
- Steeper learning curve for beginners
- Heavy rendering requirements
- Time-intensive setup for simple edits
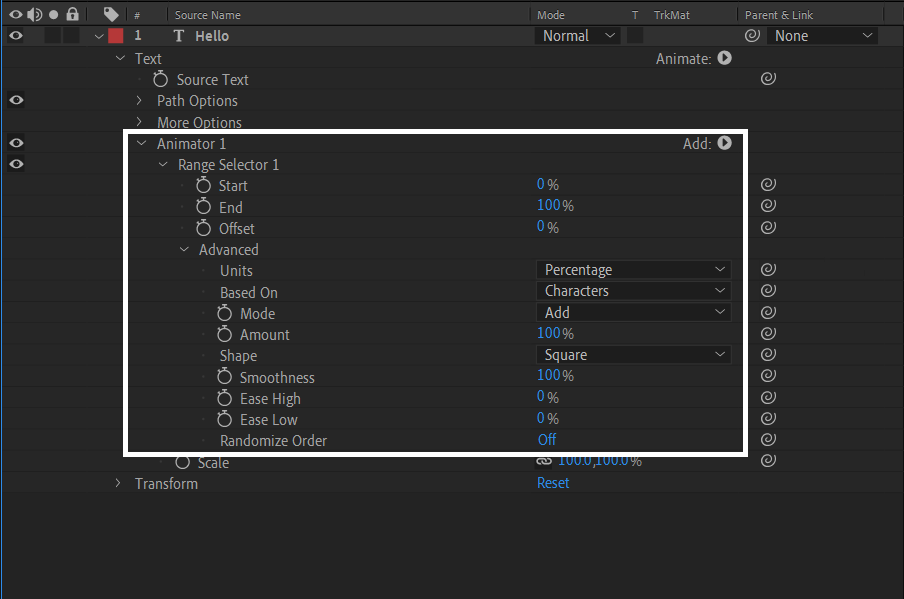
- Text Animators & Selectors: These are the building blocks of After Effects' dynamic text. You can animate opacity, scale, rotation, or skew for individual characters or words. Selectors define the range like a "mask for motion", so one letter can slide in while another spins or fades at a different speed.
- Animation Presets & Templates: After Effects ships with hundreds of ready-to-use presets such as typewriter, fade-up, bounce, blur, 3D spin, and more.
- Motion Blur / Easing / Keyframes / Expressions: Motion blur keeps movement cinematic; easing controls how motion accelerates or slows; keyframes mark each phase; and expressions tie actions to formulas or audio beats.
- 3D Text & Camera Integration: Turn letters into 3D objects that rotate, tilt, or catch light inside a virtual scene.
How Dynamic Text Works in After Effects
Inside After Effects, a text layer acts almost like a tiny world of its own. You can move, scale, or rotate the whole thing, but there's something more than this.
You have the options of animators and selectors. They let you decide which characters should move, how much they move, and when they do. You can even randomize motion, link it to sound, or build gradual transitions that flow letter by letter.
Quick Tutorial: The "Write-On" Effect
A classic beginner project for mastering dynamic text animation in After Effects is the Write-On or "stroke reveal" technique:
- Create a new composition and insert your text.
- Select Effect → Generate → Stroke.
- With the Pen Tool, trace the path of your letters.
- Set Paint Style to "Reveal Original Image."
- Animate the End property from 0% to 100% over time.
- Activate Motion Blur for smoother pen movement.
You'll get a clean, handwriting-style animation perfect for signatures, intros, and elegant titles.
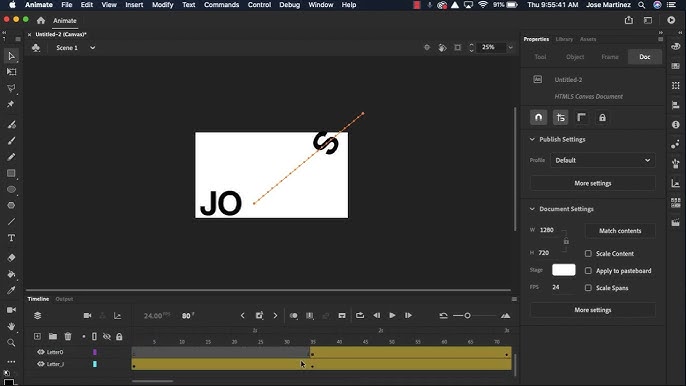
2. Adobe Animate
While After Effects shines in cinematic motion, Adobe Animate focuses on interaction. It is the kind of dynamic text animation and character movement you'd find in web experiences, games, or interactive videos.
- Optimized for 2D vector and web animation
- Great for interactive, dynamic text animation and game UIs
- Lighter file sizes compared to video formats
- Timeline-based and easy to learn for artists
- Limited 3D capabilities
- Not ideal for cinematic or layered VFX work
- Requires scripting for advanced interactivity
- Symbol Animation & Reuse: Animate once, reuse infinitely. Symbols make animation lightweight and manageable while keeping creative control intact.
- Independent Timelines: Movie clips have their own timelines, so animations can loop or run asynchronously without breaking the main scene.
- Graphic Loop Modes: Options like loop, reverse loop, or play once control how short animations behave, giving precision to motion timing.
- Interactive Elements: With simple scripting or triggers, text and buttons can respond to mouse movement, creating an engaging, responsive feel.
- Support for Audio & Video: Add music, voiceovers, or embedded clips directly into the timeline for fully integrated storytelling.
How Adobe Animate Works
At its core, Adobe Animate runs on a symbol-based system. Think of symbols as reusable building blocks, small animated components that you can place, edit, or trigger throughout your project. Each symbol lives inside your Library and can be dropped onto the Stage again and again, saving time and keeping your file size efficient.
There are three main kinds of symbols:
- Movie Clips: Mini-timelines inside your main animation. Each has its own frames, allowing you to loop or script animations independently. Perfect for complex elements like bouncing logos, text highlights, or character gestures.
- Graphic Symbols: Used for shorter or static motion tied directly to the main timeline. They're great for looping logos, small text effects, or secondary background animation.
- Buttons: Interactive symbols that respond to hover, click, or touch actions. Each button contains four frames (Up, Over, Down, Hit), letting you visually show interaction states.
This modular approach is what gives Adobe Animate dynamic text its flexibility: instead of redrawing or keyframing everything, you simply animate and reuse symbols across multiple screens.
Quick Tutorial: Animating a Text Loop in Adobe Animate
- Create a new document and type your text using the Text Tool.
- Convert it to a Graphic Symbol (Modify > Convert to Symbol > Graphic).
- Double-click the symbol to open its timeline.
- Add keyframes at frames 1 and 20. Adjust the text's position or color in the second keyframe.
- Right-click between them and choose Create Motion Tween.
- In the Properties panel, set Looping Mode to "Loop" or "Reverse Loop."
Now, your text is a perfect lightweight animation for banners or web intros.
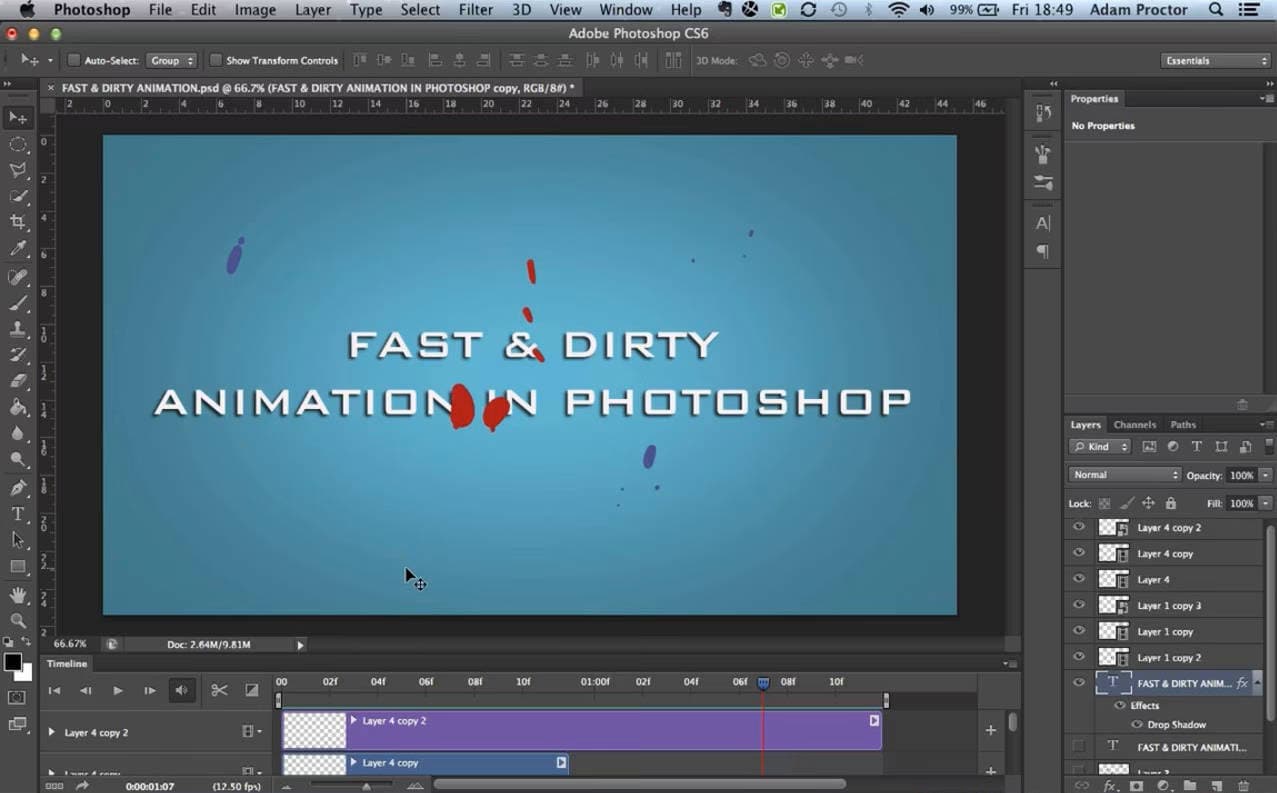
3. Photoshop: Frame-Based Motion Text
When people think of Photoshop, they often picture still images, not motion. But in reality, Photoshop animation is surprisingly powerful for short text motion effects, GIFs, and lightweight video intros.
Unlike After Effects or Animate, Photoshop takes a frame-based approach, letting you create looping animations one frame at a time, almost like digital flipbooks.
- Great for GIF text animations and social posts
- Familiar Photoshop interface
- Full access to filters, layer styles, and brushes
- Ideal for subtle or handcrafted motion
- Lacks real-time 3D or physics-based motion
- Frame-by-frame workflow can be slower for long sequences
- No native audio support
- Video Layers: Edit frame-by-frame using brushes, masks, and layer styles. Perfect for precise touch-ups or hand-drawn animation.
- Timeline Panel: Work in Frame Mode for classic GIF-style loops, or Timeline Mode for smoother, keyframed transitions.
- Tweening Frames: Automatically generate in-between frames to smooth out motion or fades.
- Layer Effects & Blending: Apply drop shadows, glows, or transforms to make frame-based motion text stand out.
- Export Options: Save your animation as a looping GIF, MP4, or QuickTime movie.
How Frame-Based Animation Works in Photoshop
Photoshop uses video layers and the Animation (Timeline) panel to bring visuals to life. Each frame is a snapshot in time; you edit, duplicate, or "tween" between them to create motion.
If you need more control, you can switch to Timeline Mode, as it lets you animate layer properties (like opacity or position) with keyframes, similar to After Effects. It's a simpler but surprisingly capable way to build motion typography without leaving Photoshop.
Quick Tutorial: Creating a Fading Text Animation
- Open Photoshop and create a new canvas.
- Type your text and name the layer clearly.
- Go to Window › Timeline and select Create Frame Animation.
- Duplicate the first frame in the Timeline.
- On the second frame, reduce the text layer's opacity to 0%.
- Click the Tween icon at the bottom and choose "Add Frames."
- Preview with the play button and export via File › Export › Save for Web (GIF) or Render Video.
In just a few minutes, you've built a looping, fading text reveal that is smooth, lightweight, and perfect for web or social media visuals.
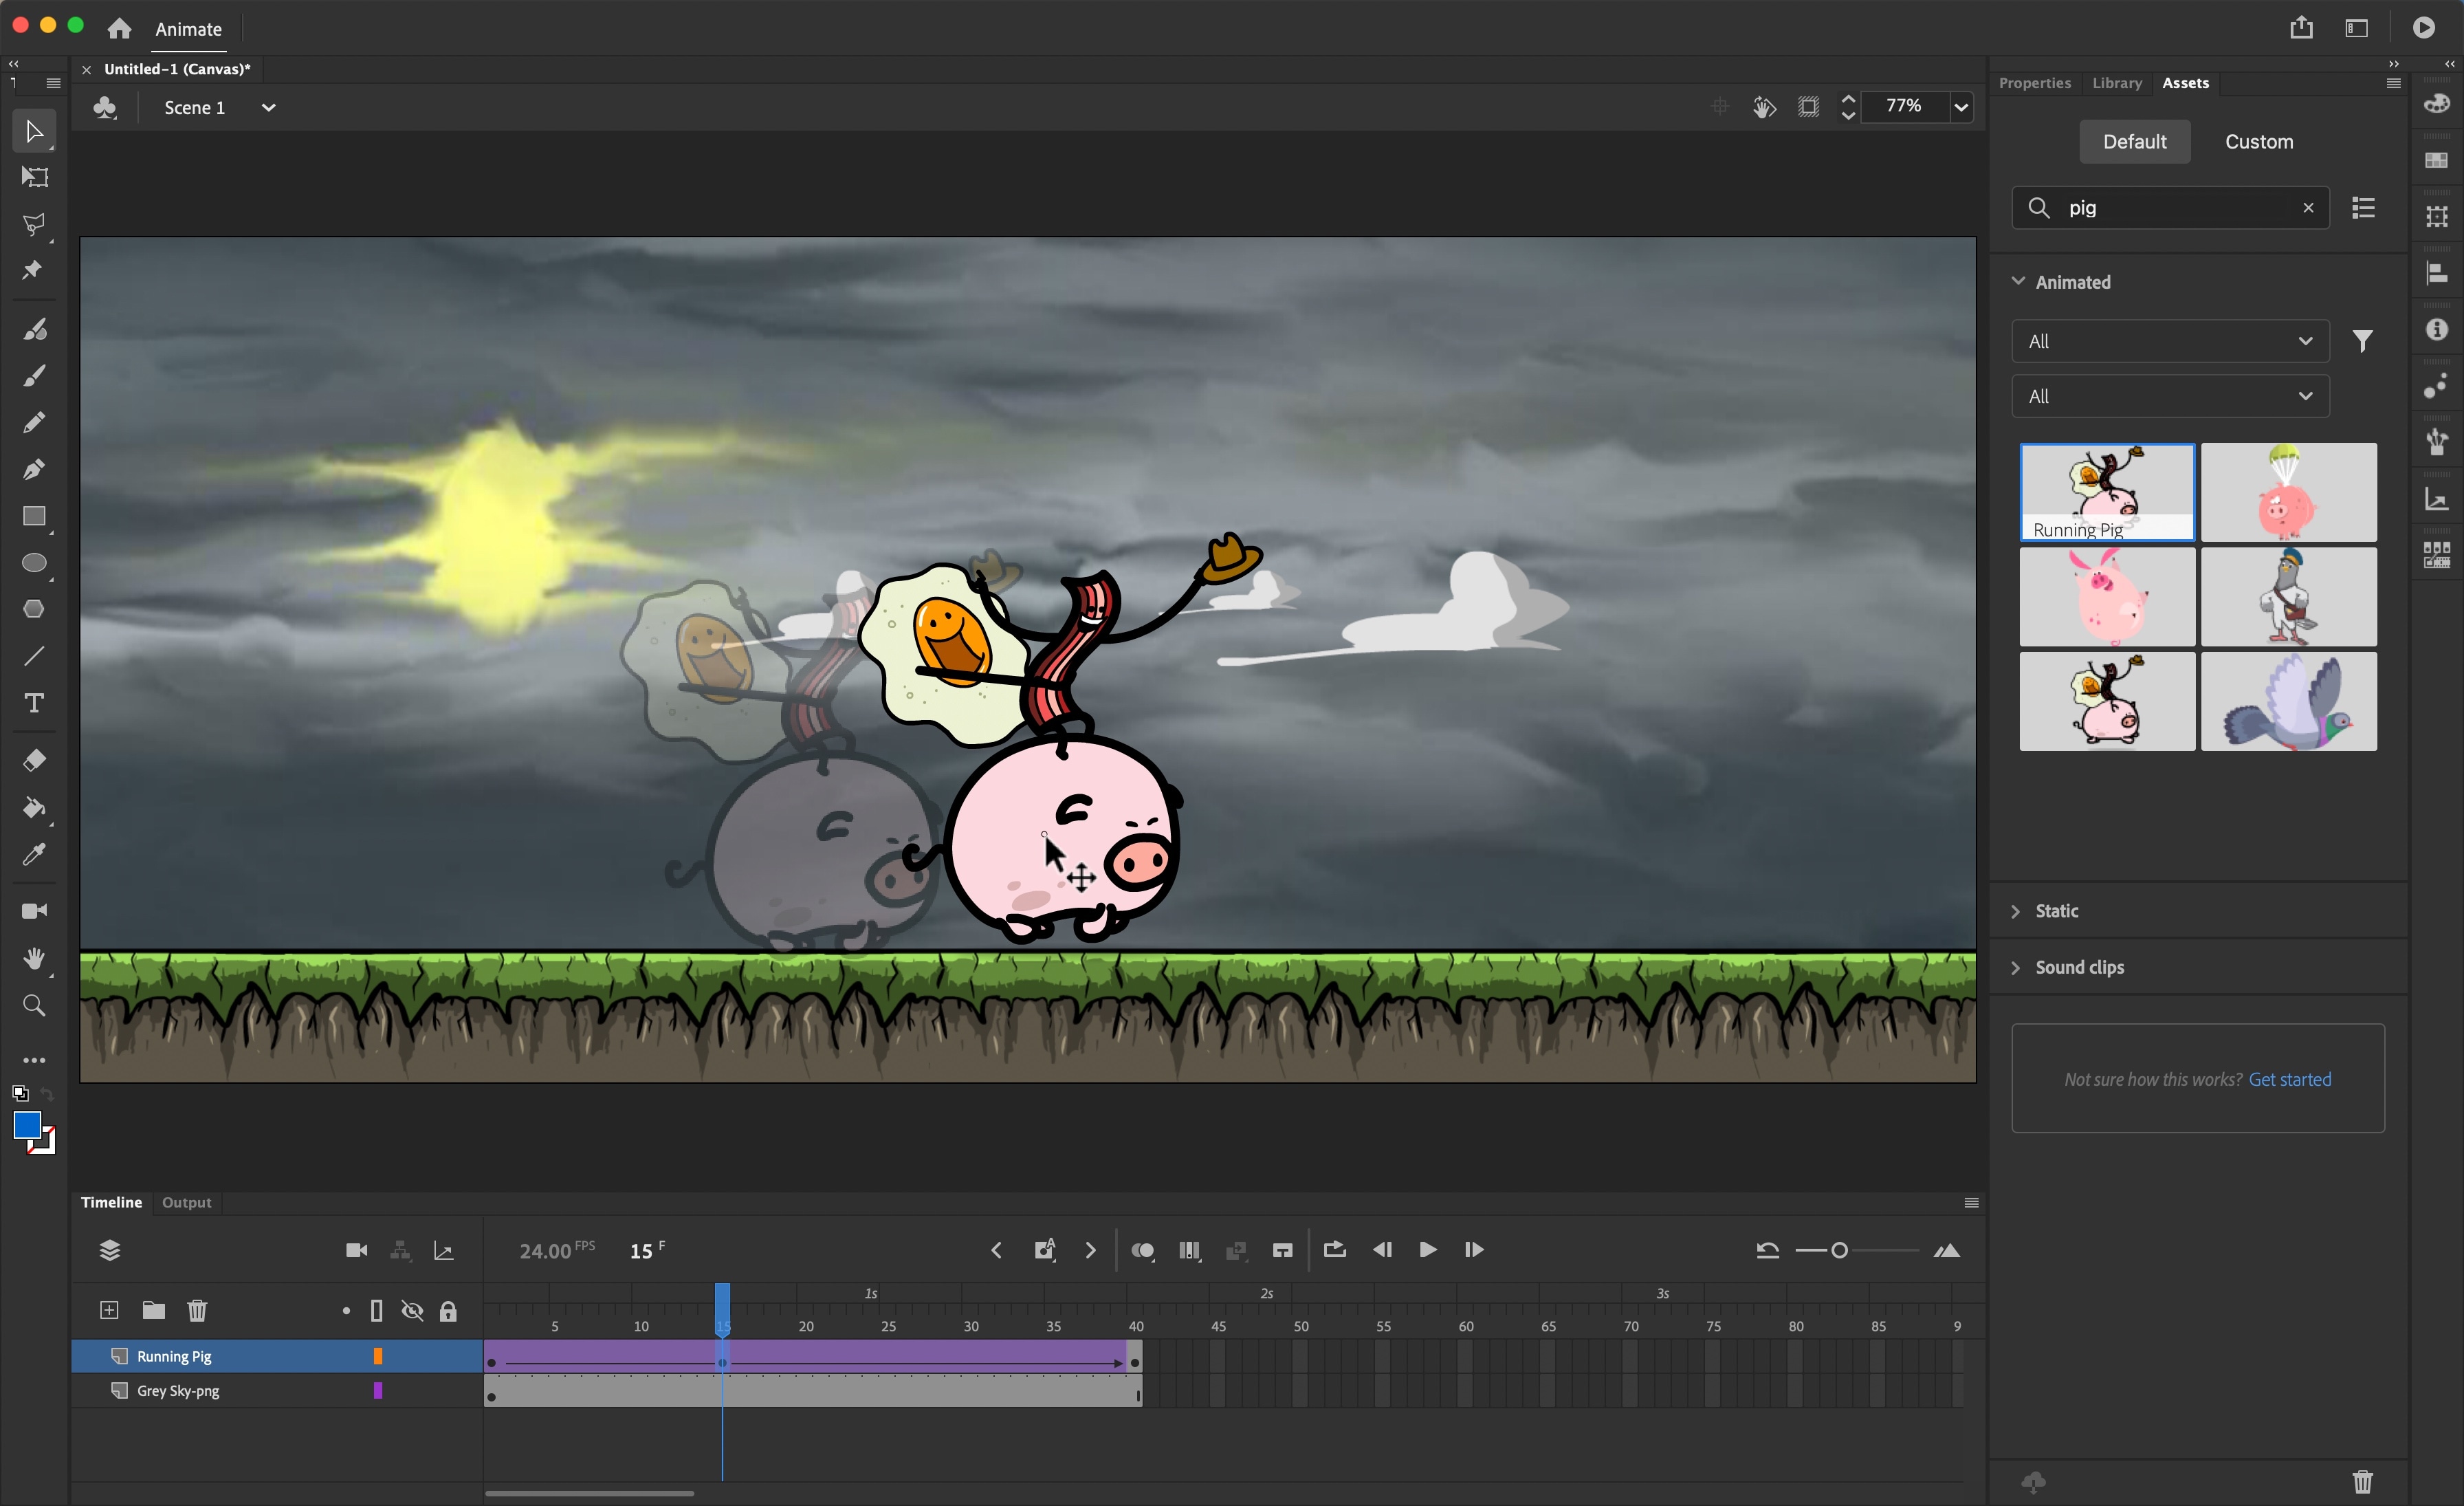
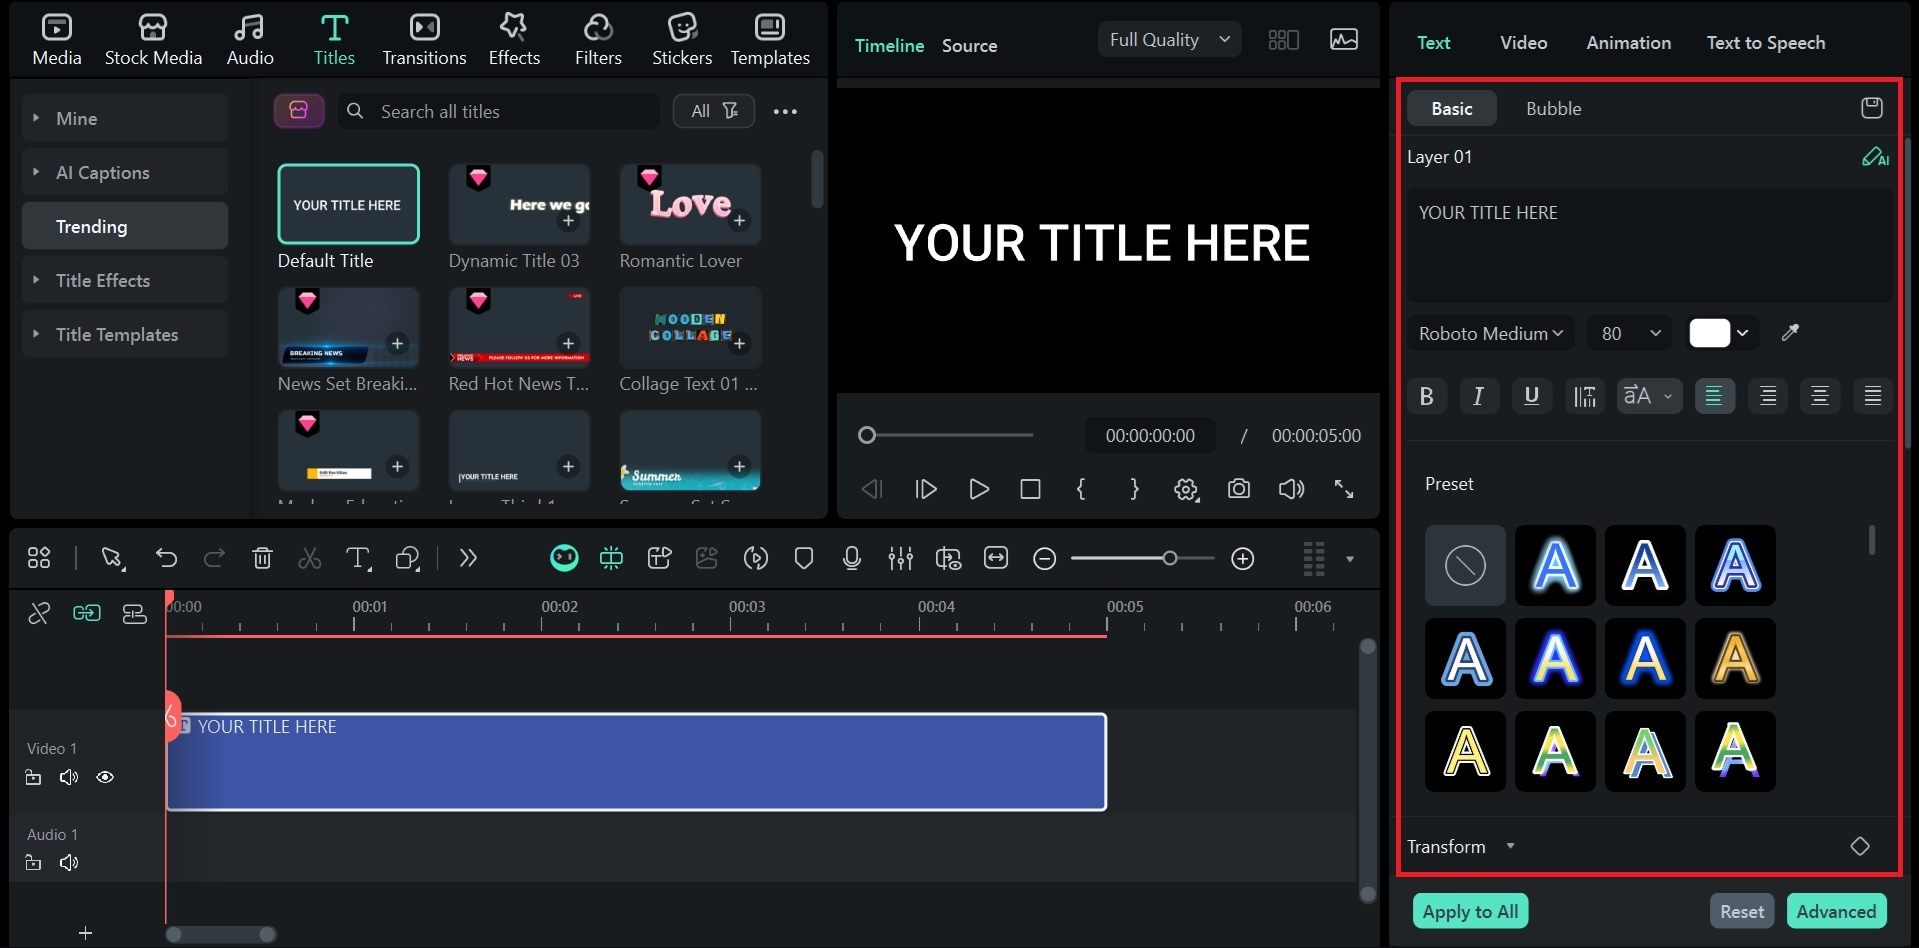
Part 3. Filmora: The Easiest Way to Create Dynamic Text Animations (Professional Results)
After dealing with the complexities of programs like After Effects, Premiere Pro, or DaVinci Resolve, Wondershare Filmora offers a refreshing experience. It is fast, visual, and built for creators who want professional dynamic text animation and a strong dynamic text effect without the steep learning curve of tools like dynamic text animation premiere pro or dynamic text animation davinci resolve.
It's an all-in-one video editor with a strong focus on text animation, offering an intuitive drag-and-drop workflow paired with powerful AI-driven tools.
- Extremely beginner-friendly interface
- Large library of text animation presets
- AI automation for captions & animated text
- Integrated stock music and creative assets
- Perfect for YouTube creators, marketers, and educators
- Less granular control than After Effects
- Limited support for advanced 3D compositions
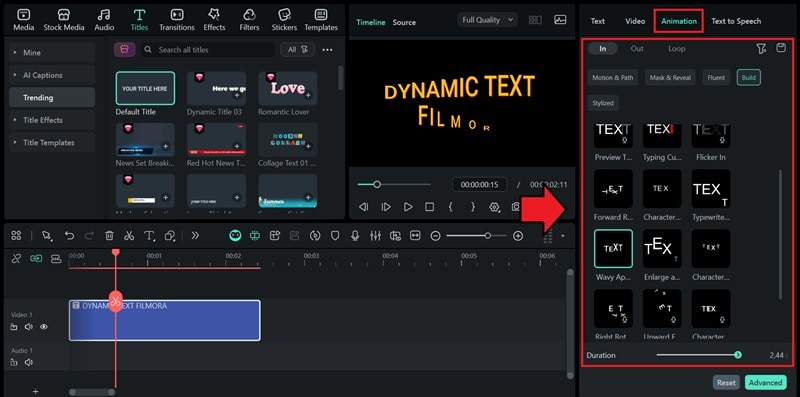
- Tons of Animation Presets: Instantly add movement styles such as fade, bounce, zoom, erase, or typewriter.
- Animation Tab per Text Layer: Preview and apply animations with one click; no timeline complexity.
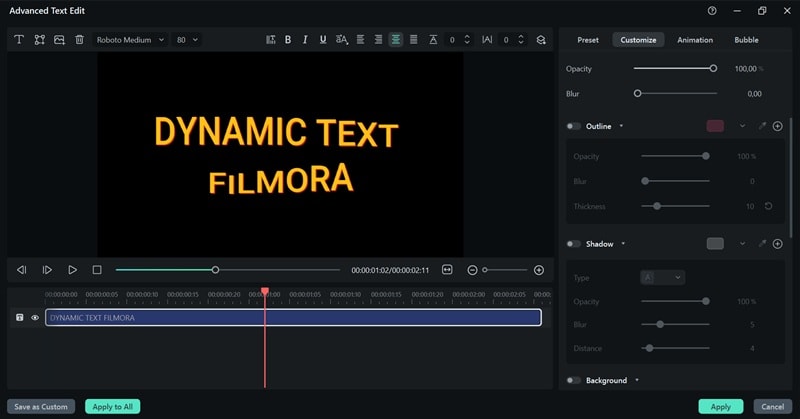
- Advanced Customization Panel: Fine-tune the typography inside the Advanced editor.
- Keyframe Animation & Custom Paths: Draw custom movement paths and animate position, scale, or rotation precisely with keyframes.
Why Filmora for Dynamic Text
- Filmora makes text motion design accessible to everyone.
- Includes built-in animation presets and a dedicated Animation tab for every text layer.
- You can combine ready-made effects with keyframe animation, masking, and even plugin FX support for total creative control.

How to Add Text Animation in Filmora (Desktop Version)


Popular Filmora Text Templates
- 3D Text Openers: Great for cinematic intros and YouTube titles.
- Lower Thirds & End Credits Packs: Polished templates for corporate or documentary videos.
- Neon Sign Titles: Glow and pulse effects for nightlife or promo edits.
- Subtitles & Message Overlays: Clean, minimal text for vlogs or tutorials.
Part 4. Comparison Table: After Effects vs. Filmora for Dynamic Text Animation
| Criteria | Adobe After Effects | Adobe Animate | Adobe Photoshop | Filmora |
| Primary Purpose | Motion graphics & VFX | 2D web / character animation | Image & frame editing | Quick text & video animation |
| Animation Control Depth | Full keyframes & expressions | Timeline & tweening | Manual frame edits | Presets + keyframes |
| Ease of Use | Complex, steep learning curve | Moderate | Simple but limited | Very easy |
| Dynamic Text Options | Per-character 3D & path text | Basic moving text | Static or opacity fades | 80+ presets + AI text animation |
| Customization Flexibility | Unlimited, detailed | High | Minimal | Moderate–high via panels & plugins |
| Best For | Motion designers & studios | Web animators | Graphic artists | Content creators & marketers |
| Cost & Accessibility | Requires Adobe subscription | Requires Adobe subscription | Requires Adobe subscription | Affordable, available as a subscription or a one-time plan |
| Output Speed | Slow on low-spec computers | Moderate | Slow on low-spec computers | Fast export for social media |
Conclusion
Dynamic text animation has evolved from complex keyframing to tools that make creativity feel effortless. Adobe's suite remains unbeatable for precision and cinematic depth, but it often demands time, experience, and high-end systems.
For most creators who want polished, expressive motion without the steep climb, Filmora hits the sweet spot. When compared to the time required for dynamic text animation premiere pro or the setup in dynamic text animation after effects, Filmora's ready-made presets and intuitive controls make creating a professional dynamic text effect easy and fast.
