
"I've recently tried to crop a video in QuickTime Player on my Mac but couldn't find the crop feature. Can anyone help?" Yes, we can. This is one of the most popular, widely used media players among Mac users.
While it is possible to crop a video in QuickTime Player, the process comes with a twist. The pre-installed version (free version) doesn't come with the video cropping tool. Instead, you must upgrade to the pro version and use it in conjunction with Photoshop to crop your videos (more on that later).
Today, we'll show you how to crop a video in QuickTime Player on Mac using the pro version and Photoshop. We'll also delve deeper into its cropping limitations and offer an alternative solution.
In this article
How to Crop Videos in QuickTime?
Cropping videos in QuickTime takes quite a few steps and seems a little bit complicated, but here is the step-by-step guide for you.
- Launch QuickTime Player on your Mac;
- Navigate to File > Open;
- Find the video file you wish to crop and open it in QuickTime;
- Play the video, find a representative frame for your mask file, and then hit Pause;
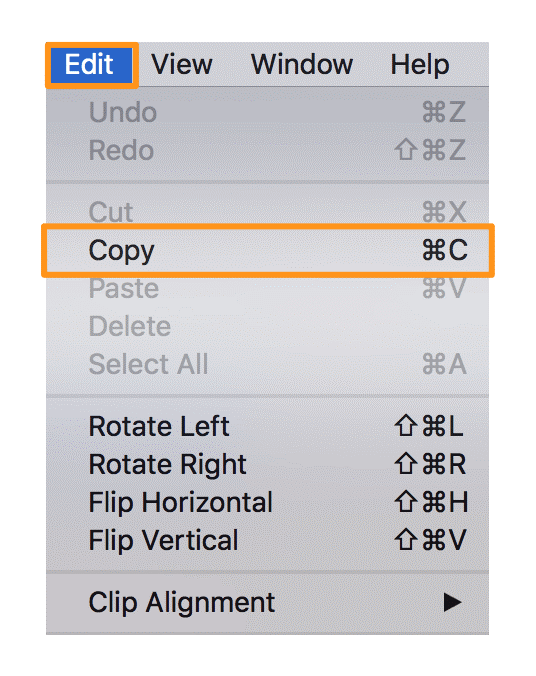
- Navigate to Edit > Copy to copy the image of the selected frame;
- Export it as a JPG file;
- Next, open Photoshop and navigate to Edit > Copy;
- Paste the video frame image;
- Navigate to the Rectangular Marquee Tool;

- Select the area of the frame image you wish to keep and fill it with black color;
- Fill other areas with white to use them as a mask;
- Save the image as TIFF or GIF;
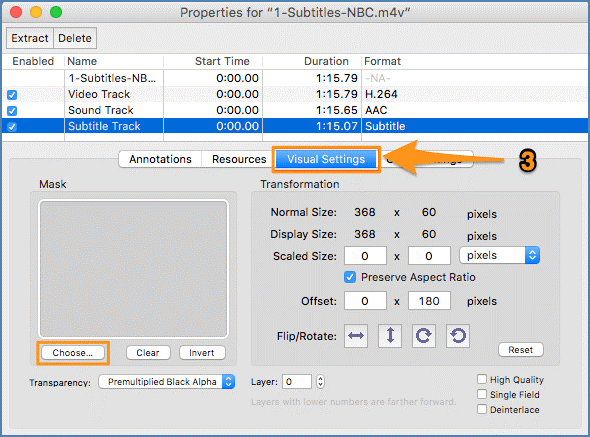
- Go back to QuickTime Pro and navigate to Window > Show Movie Properties;

- Locate Visual Settings, click Choose, and import the mask file;
- Navigate to File > Export to save the cropped video on your Mac.

Limitations of Cropping Videos in QuickTime

While it is technically possible to crop a video in QuickTime Pro on a Mac, the process is tedious and time-consuming, requiring a dozen steps. In addition, you must purchase the Pro version (around $30) to access the Crop features.
Except for these, there are some other limitations of cropping videos in QuickTime Player you may need to know.
- QuickTime Player doesn't support batch cropping;
- The maximum size of the video file is 2 GB;
- The player supports a limited number of video formats (AVI, MJPEG, DV, AVCHD, 3GPP, 3GPP2, MP1, MP2, and MP4).
An Easier Video Cropping Alternative to QuickTime: Filmora
As you can see, using QuickTime Pro to crop videos on your Mac is tedious and pricey. You may look for an alternative to help you simply the video cropping process - try Wondershare Filmora! It offers different ways to crop videos according to your requirements.
- Auto-reframe and resize your videos automatically to ensure the focus is always on the action.
- Crop videos from preset aspect ratios with one click like 1:1, 9:16, 21:9, etc.
- Customize the cropping area.
- Crop videos into any shape by mask.
In addition to that, Filmora also provides many AI-powered video editing features to take your videos to the next level.
How to Crop Videos in Filmora?
Download and install Filmora on your Mac, then follow the steps below to crop your video.
- Launch Filmora and navigate to the main menu;
- Select Create Project > New Project;
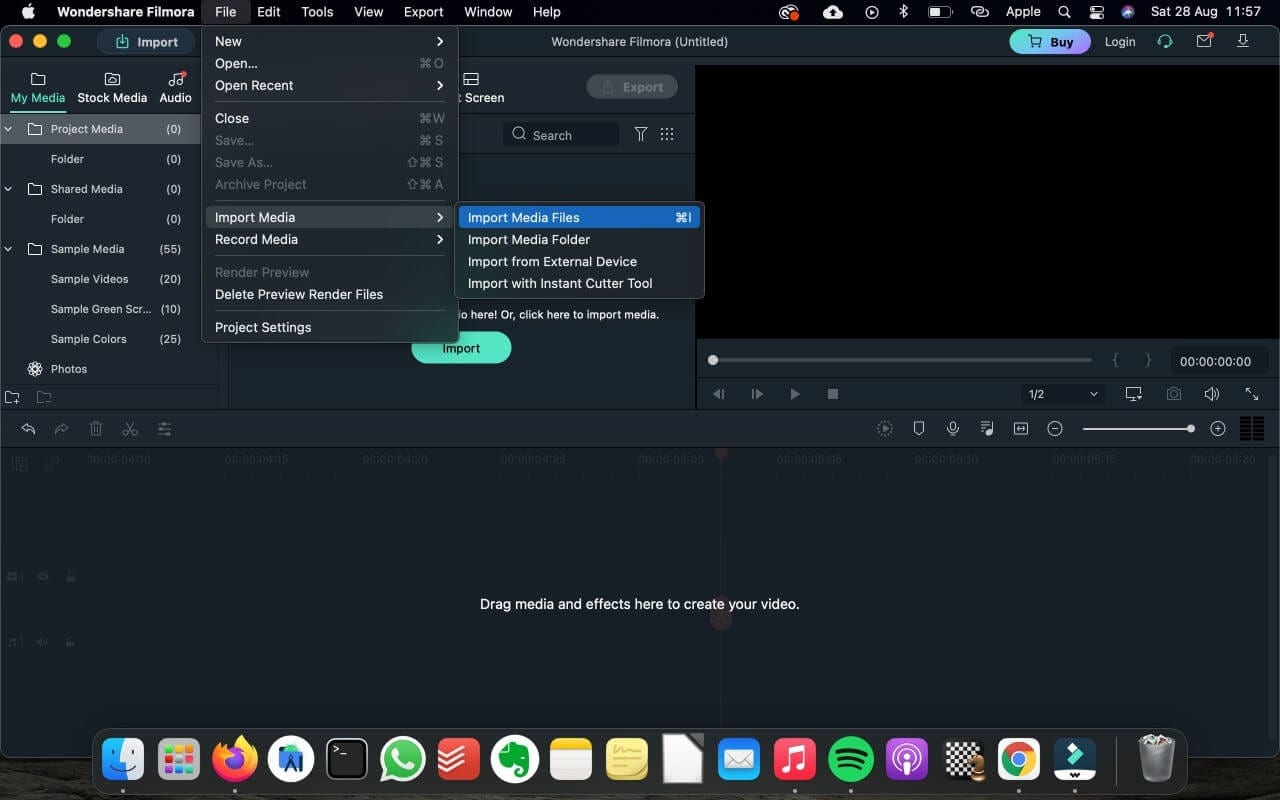
- Navigate to File > Import Media > Import Media Files;
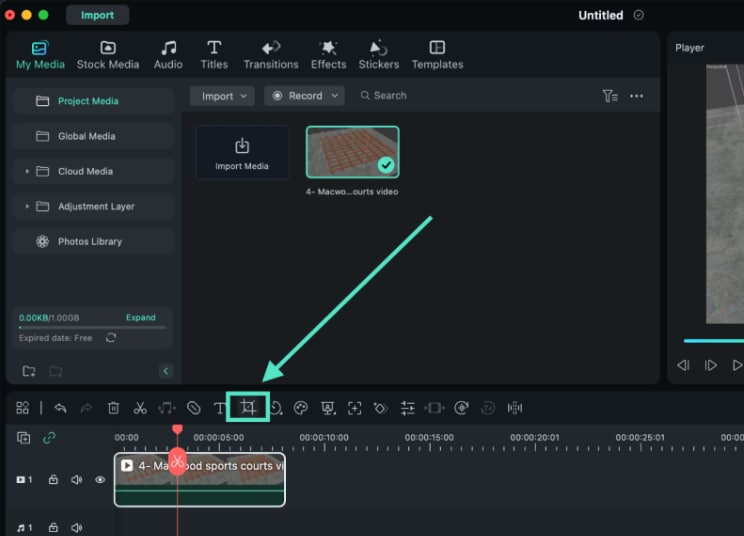
- Drag and drop the video to the timeline;
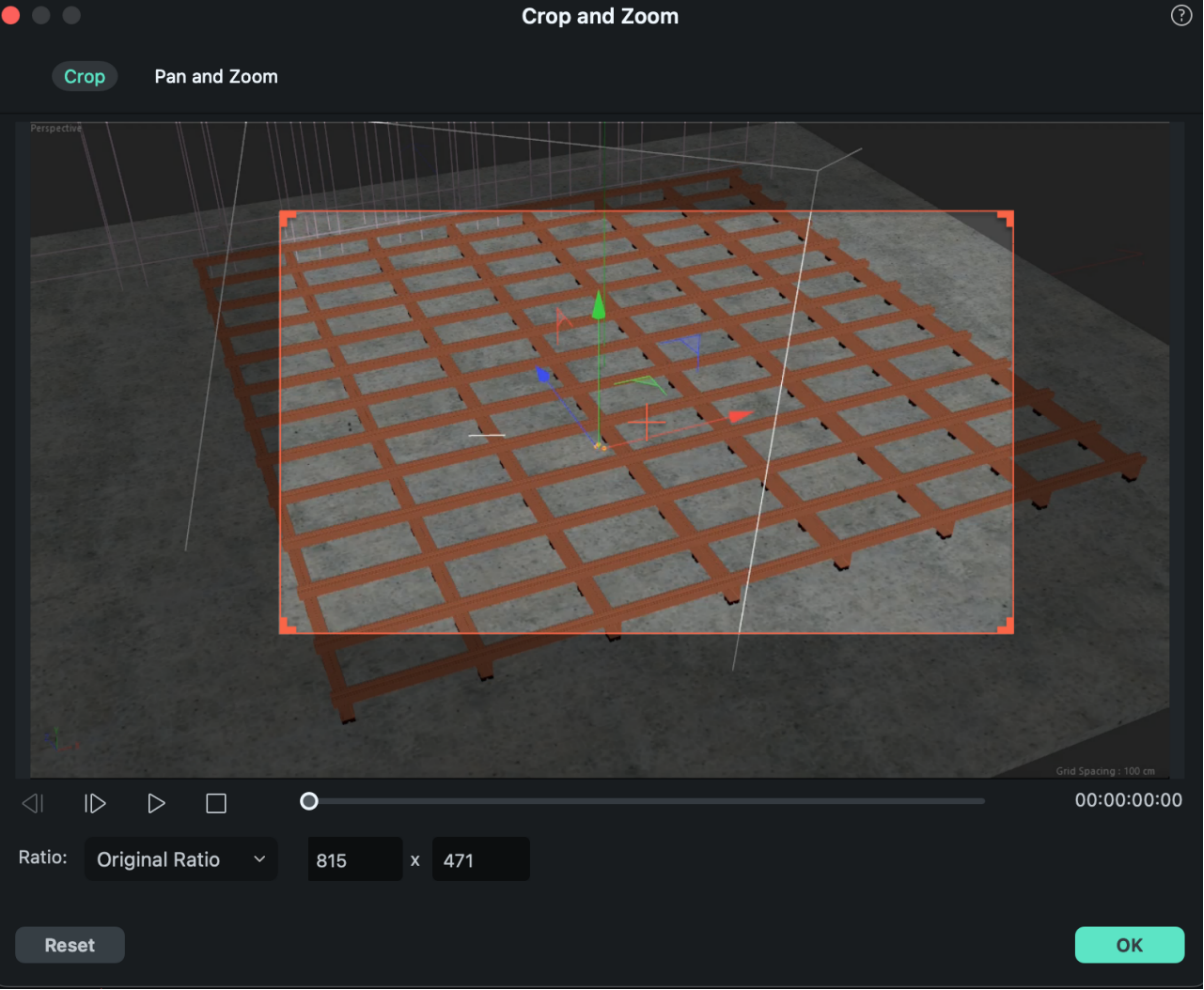
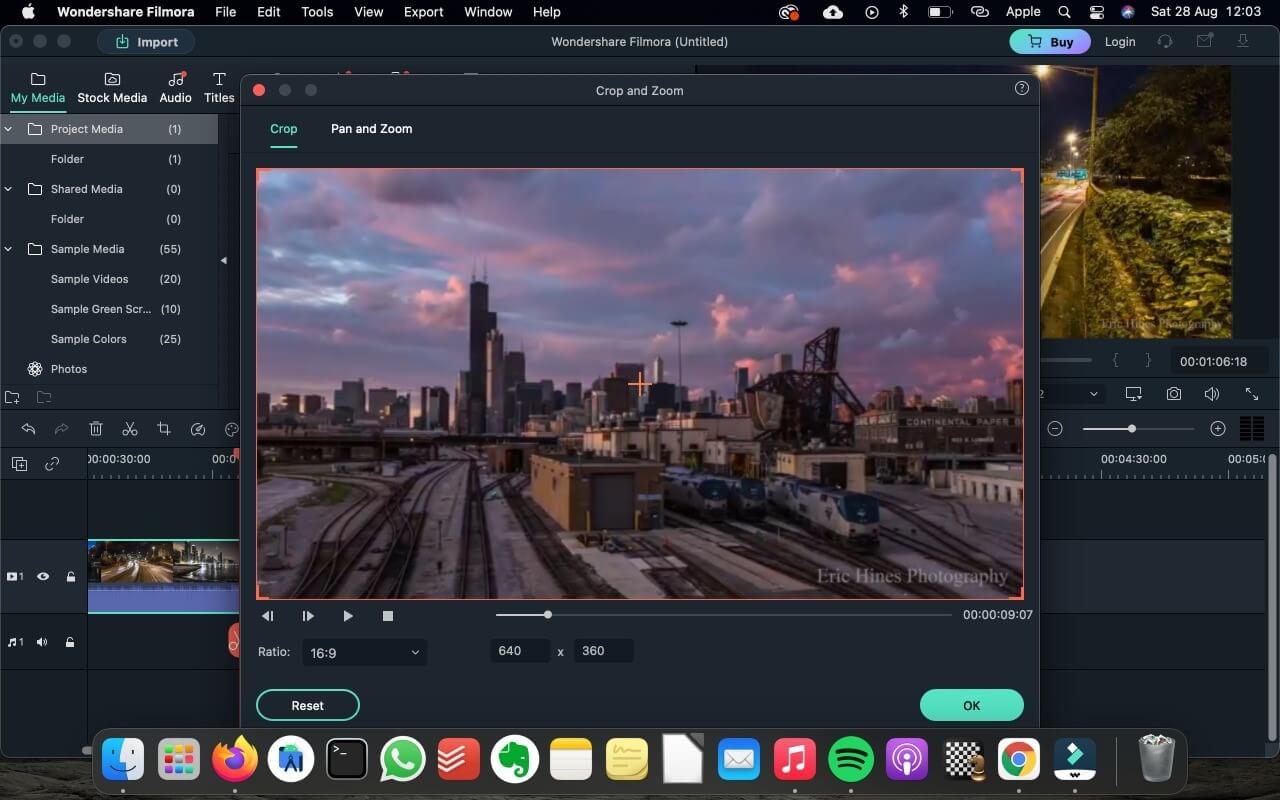
- Select the Crop tool;
- Customize the video region and adjust the aspect ratio;
- Click OK to confirm;
- Preview your changes before saving;
- Click Export to save the cropped video on your Mac in a preferred format or share it on platforms like YouTube and TikTok.
No More Video Cropping: Changing Video Background with a Simple Click
As mentioned, Filmora can do much more than just crop, trim, and rotate your videos. It can do whatever you want it to do using the immense power of AI-enabled editing tools. Sometimes, you may want to crop the videos because there is something you don't want to keep in the video background, in that case, let's try Filmora's AI portrait. It empowers you to remove or change an unwanted video background with a few clicks.
Here's how to use it:
- Launch Filmora and import your video;
- Drag and drop it on the timeline;
- Navigate to AI Tools > Enable AI portait;
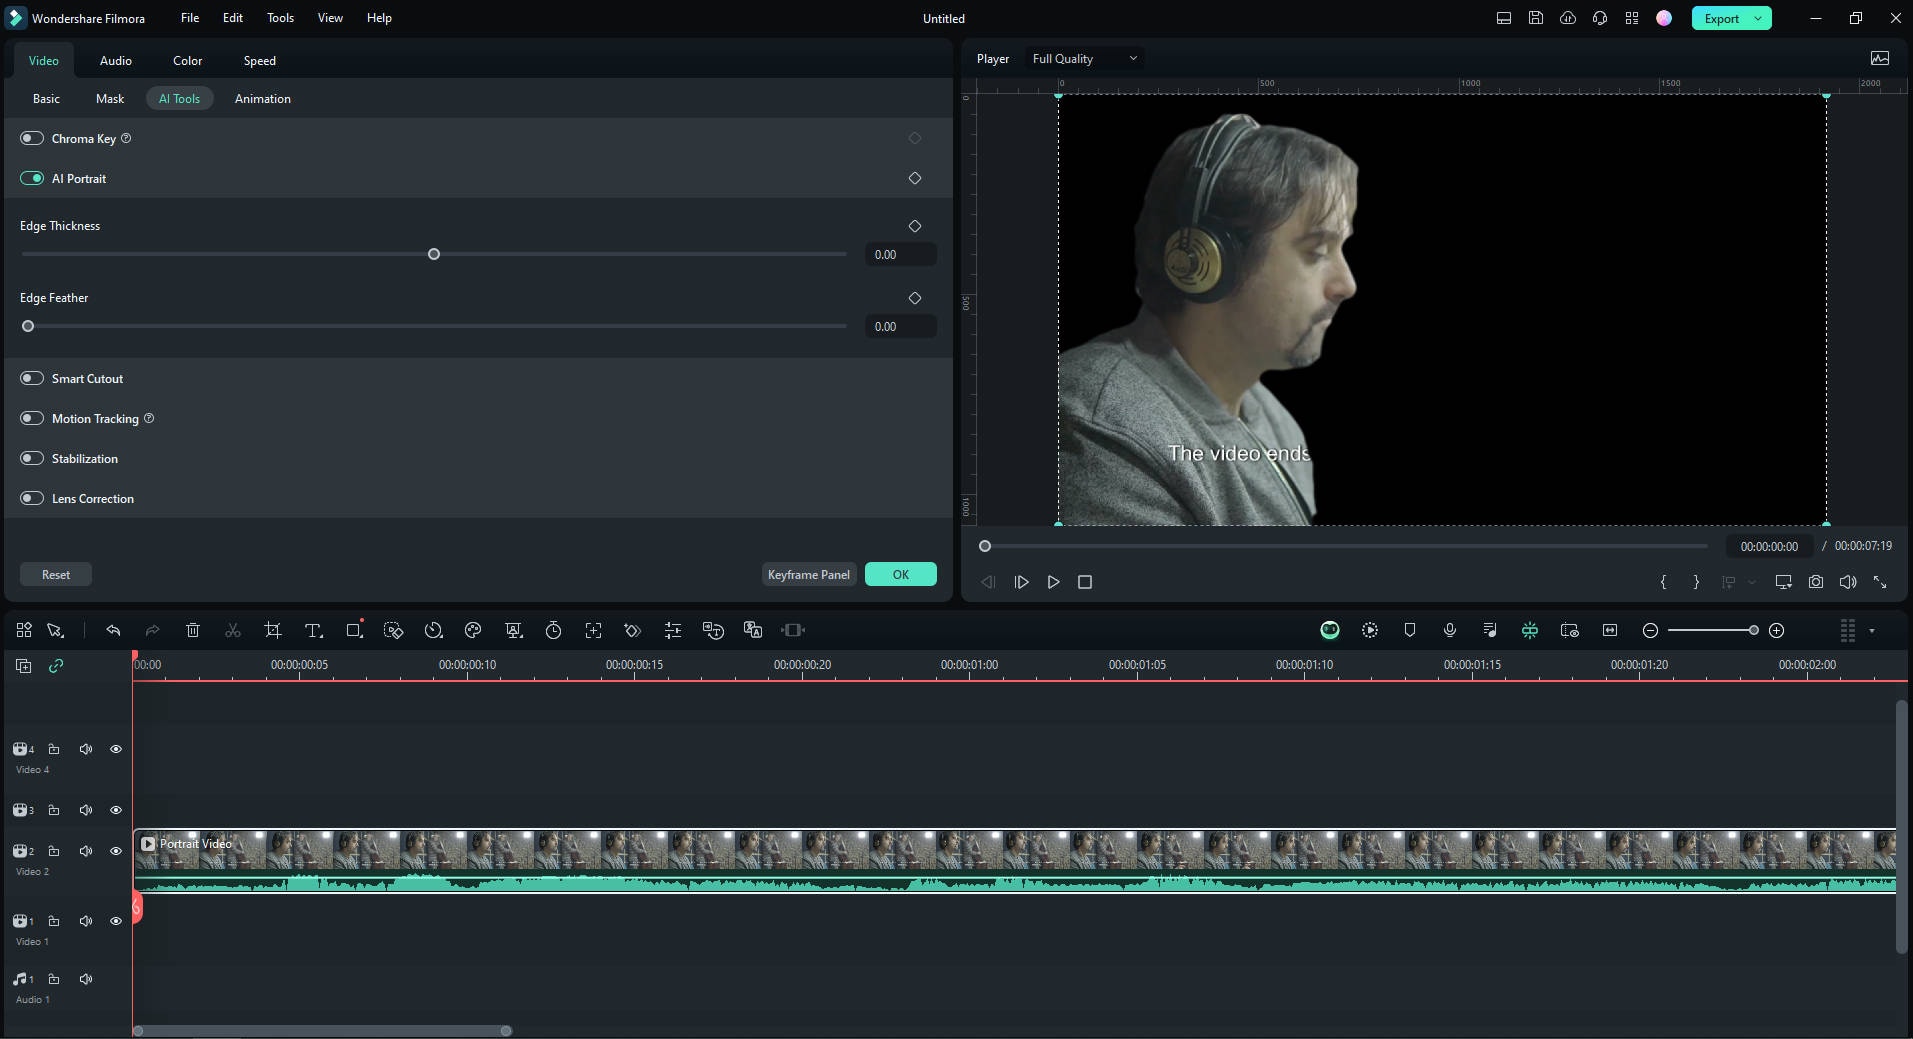
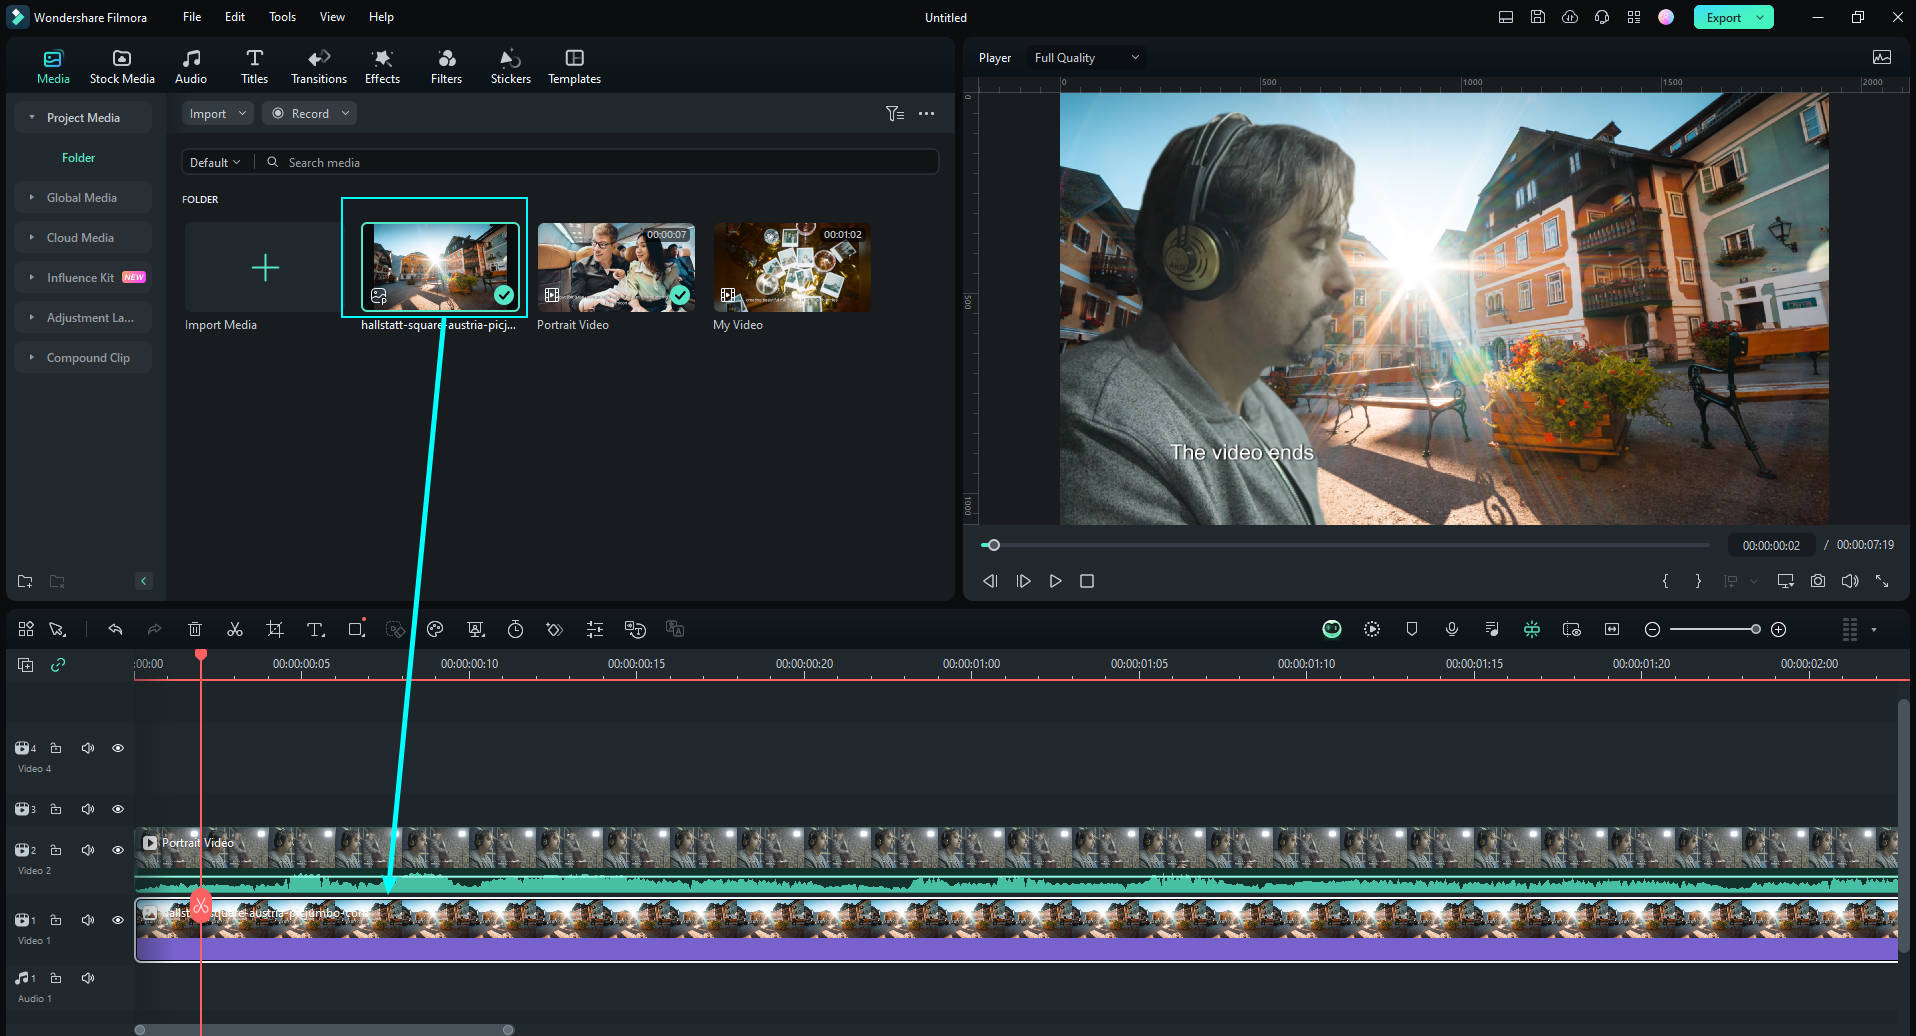
- Import the images that you want to replace the background and add it to the new track. Now the video background has been changed.
- Go to Effects > Body Effects > Select the AI Portrait filter you wish to apply;
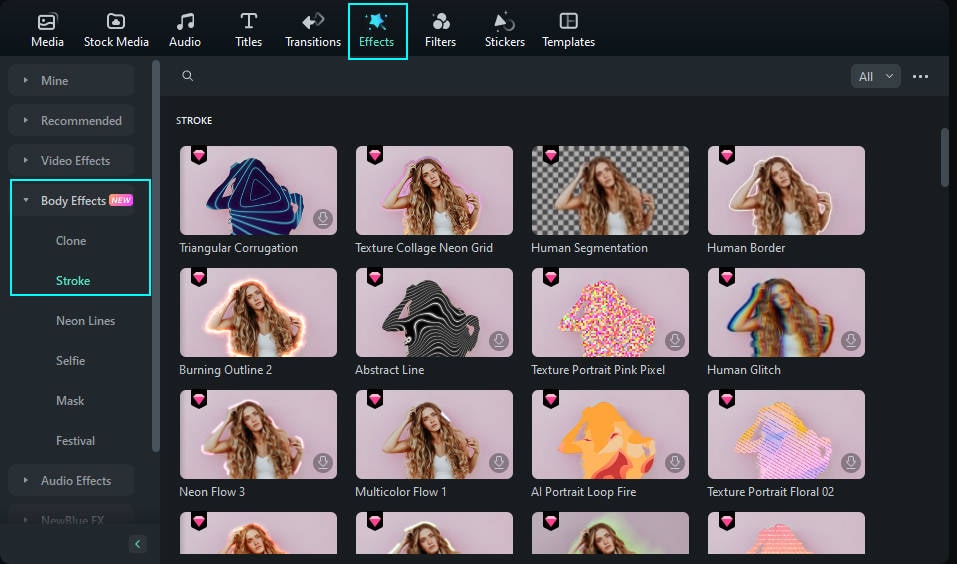
- Adjust the filter settings to get the best results;

- Export and save the video on your Mac.
Conclusion
In conclusion, cropping videos in QuickTime is complicated and requires time, effort, and resources. Therefore, we've picked a good alternative - Wondershare Filmora to streamline the video cropping process, allowing you to crop multiple video files with a few clicks. In addition, Filmora gives you a world of editing features and AI-enabled tools to help you polish your video content to perfection.
FAQs
-
Can QuickTime player crop videos?
Technically, it can, but the process is exhausting and time-consuming. You'll need QuickTime Pro version and Photoshop to crop videos:- Run QuickTime on your Mac and pause on any frame;
- Export the frame as a JPEG image;
- Open Photoshop and create a mask file from the frame image using the Rectangular Marquee Tool;
- Export the mask file as TIFF or GIF and go back to QuickTime;
- Navigate to Window > Show Movie Properties > Visual Settings and apply the mask file;
- Export the cropped video.
-
Why should I use a third-party video editor to crop videos on a Mac?
You should use a professional video cropper to streamline the cropping process and make things easier on yourself. Since cropping a video in QuickTime tends to be tedious, a third-party video editor can help you speed things up and ensure you get the desired outcome. -
What are the best tools for cropping videos on Mac?
Some of the best tools for cropping videos on Mac are Wondershare Filmora, the Photos app for Mac, iMovie, and Wondershare UniConverter.
