

 TL;DR:
To reduce a video file size in Wondershare Filmora, lower the export resolution and bitrate, convert the file to a compressed format like FLV, or use the scissor tool on the timeline to cut and delete unwanted clips.
● Filmora avoids the strict file size limits and forced watermarks typical of free online compressors while allowing local 4K and HD file compression.
● If the original video is too large to edit smoothly, enabling Proxy Editing creates a lower-resolution working file for the timeline while preserving the high-resolution source for the final export.
● The initial software download requires 300 to 500 MB of space, but users must allocate additional disk space for the full installation to meet system requirements.
Ask AI for a summary
 ChatGPT
 Perplexity
 Gemini
 Claude
 Grok
Grok
Are your video files too large for email, social media, or saving disk space? Learn the easiest and most effective ways to make a video smaller in size without losing quality, using Wondershare Filmora. This guide covers reducing resolution, adjusting the bitrate, and trimming unwanted clips.
To make a video file smaller, lowering video resolution is the most effective and easy way. Or you can convert your big video to other format that has smaller size like FLV. Another effective way is to cut off unwanted video clips of the big video, if you like.
You can do all of these things in an intelligent video editing tool- Wondershare Filmora for Mac (Originally Wondershare Video Editor for Mac)). It enables you to make video size smaller by reducing video resolution, bit rate, frame rate, as well as converting to other formats like FLV or cutting off some unnecessary clips if you like. Most importantly, this app has the ability to make videos smaller while maintaining relatively high visual and auditory quality.
Filmora vs. Online Compressors: Why Filmora is Better
While many free online tools can make your video smaller, they often impose strict file size limits, watermark your video, or severely degrade the quality. Filmora allows you to:
- Compress 4K/HD files without limitations.
- Fine-tune quality with precise control over bitrate and resolution.
- Edit and compress in one professional, secure environment.
3 Easy Ways to Make Video Files Smaller in Filmora
Before you begin: Many users also ask about the Filmora download size and system requirements. The Filmora installer file is typically around 300-500 MB for the initial download, but the full installation requires more disk space. Check the official Filmora system requirements page for the most current information to ensure a smooth video editing experience.
Method 1: Load and Trim Unwanted Video Clips (Optional)
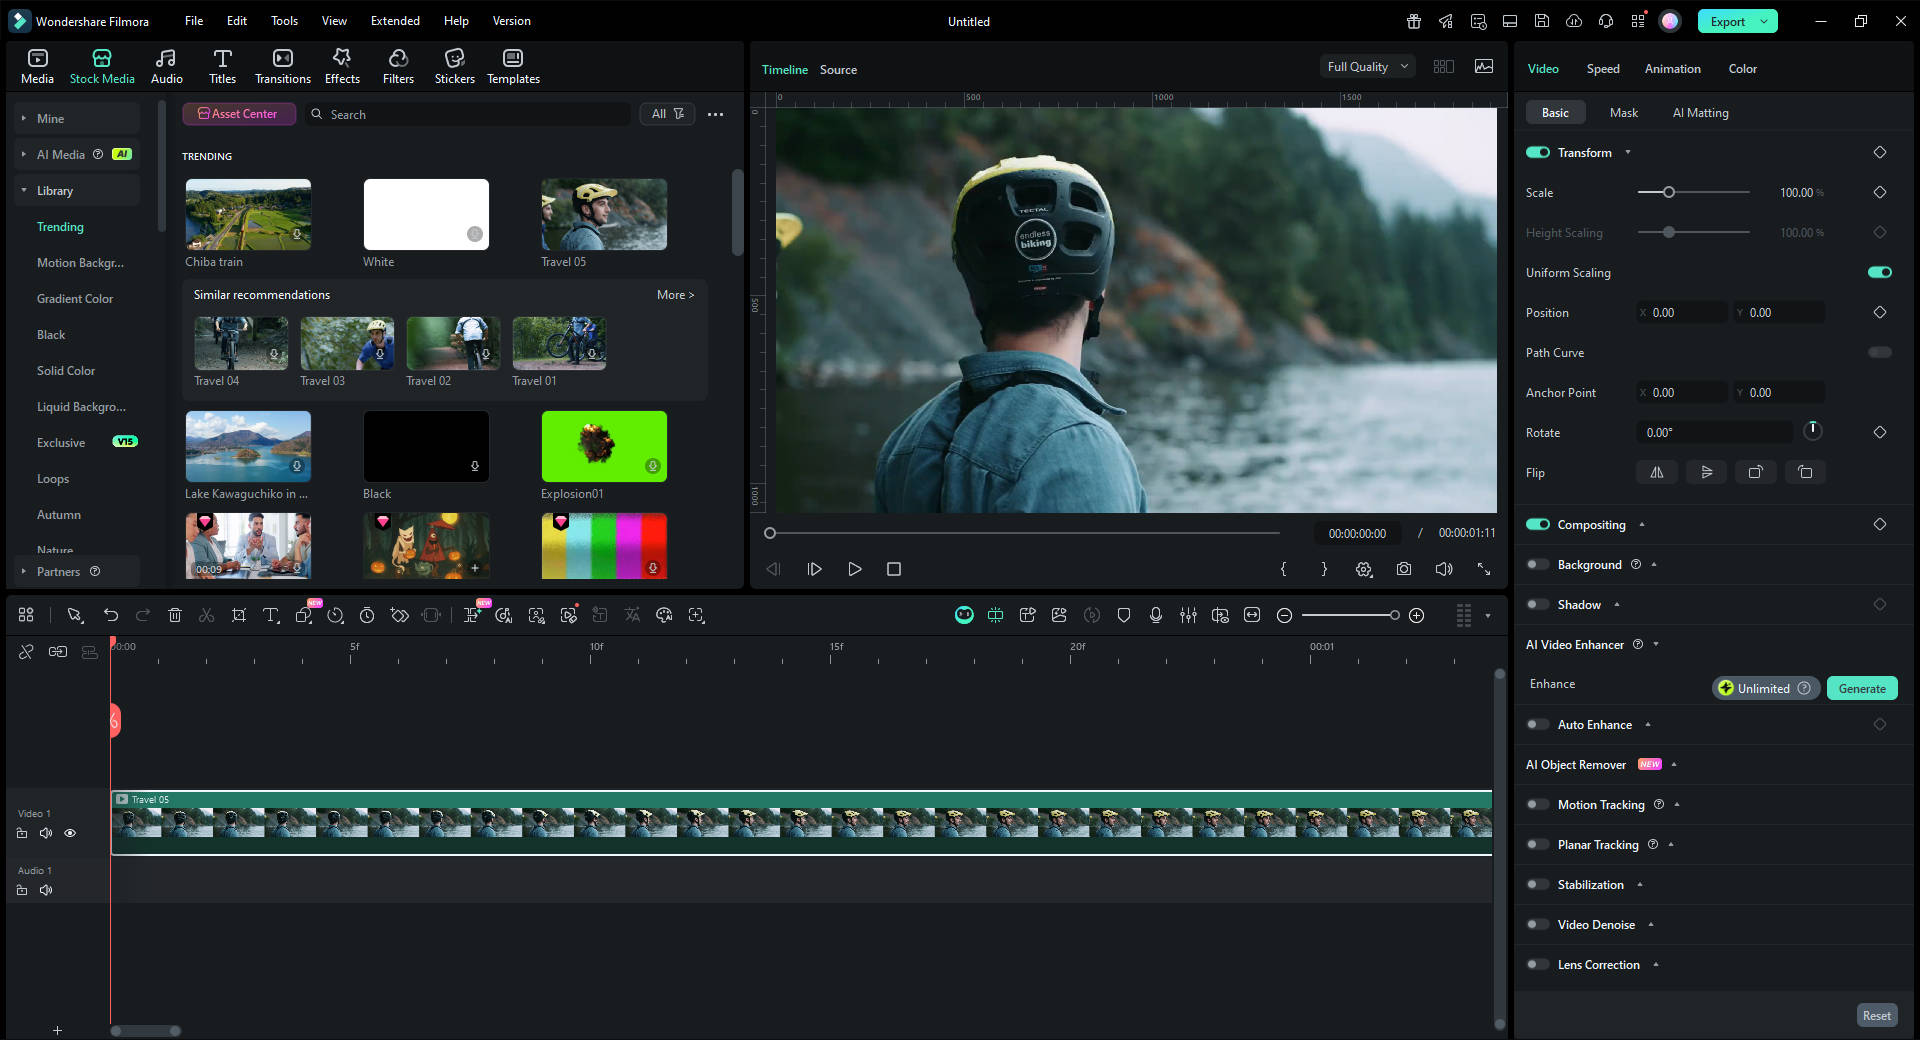
There are two ways to import a video into the app: click the "Import" button on the top-left corner to add a local file, or drag the video directly into the album. Once it appears in the album, drag it to the timeline at the bottom to begin editing.
If you need to trim unnecessary parts, continue to Step 2; otherwise, skip to Step 3.
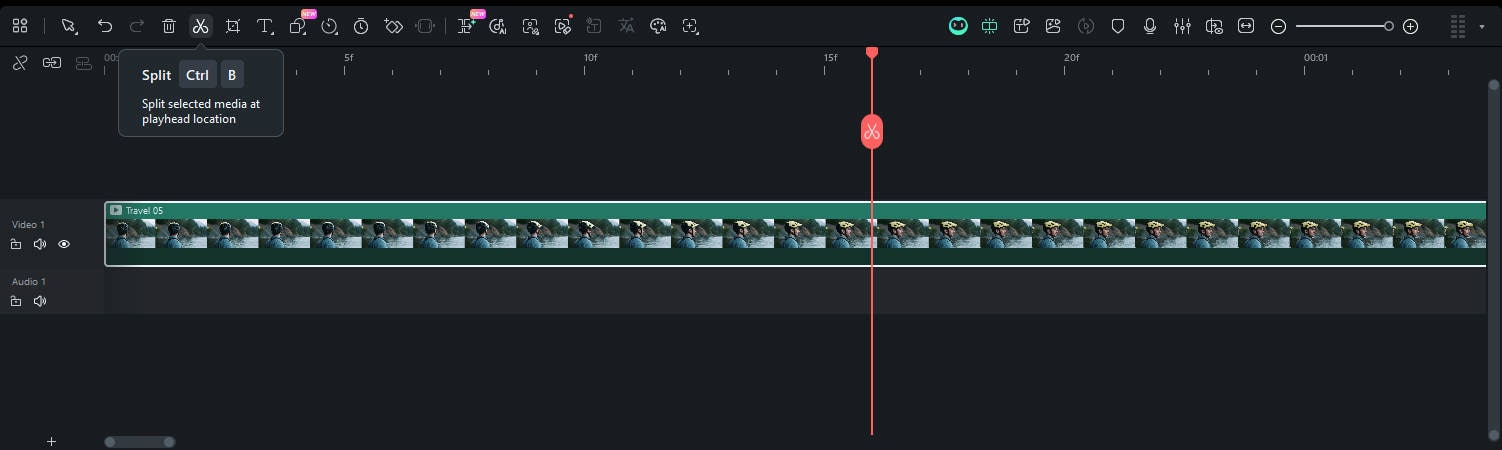
Method 2: (Optional) Cut Unnecessary Clips

Method 3: Use Filmora’s Proxy Editing for Large Files (Technical Tip)
If your video is too large to edit smoothly, you can use Filmora's Proxy Editing feature. This creates a smaller, lower-resolution version (proxy file) for seamless editing. When you export, Filmora uses the original high-resolution file, ensuring your final compressed video maintains its quality and saves you editing time.
Check the video guide below to get more detailed information:
Conclusion
You no longer have to struggle with oversized video files. By following these simple steps—whether you choose to trim clips, reduce resolution, or adjust the bitrate—you can successfully make a video smaller in size using the powerful and intuitive features of Wondershare Filmora. Filmora ensures your videos remain high-quality and manageable for all your needs, from emailing to social media uploads. Download Filmora today to start compressing and editing your videos efficiently.
