

If you're looking for a quick "merge" button in After Effects, you won't find one. Unlike Photoshop or Premiere, After Effects handles things differently. But, you can still bring multiple elements together seamlessly using tools like Pre-compose, Sequence Layers, and Nesting.
When people search for how to "merge" in After Effects, they're often talking about a few different tasks: merging video clips in the timeline, combining layers into a single unit, syncing audio with footage, or even consolidating entire compositions.
Each situation has its own solution, and in this guide, we'll walk through the methods step by step so you can pick the right approach for your project.
Part 1. Merge Clips in After Effects (Sequence Layers)
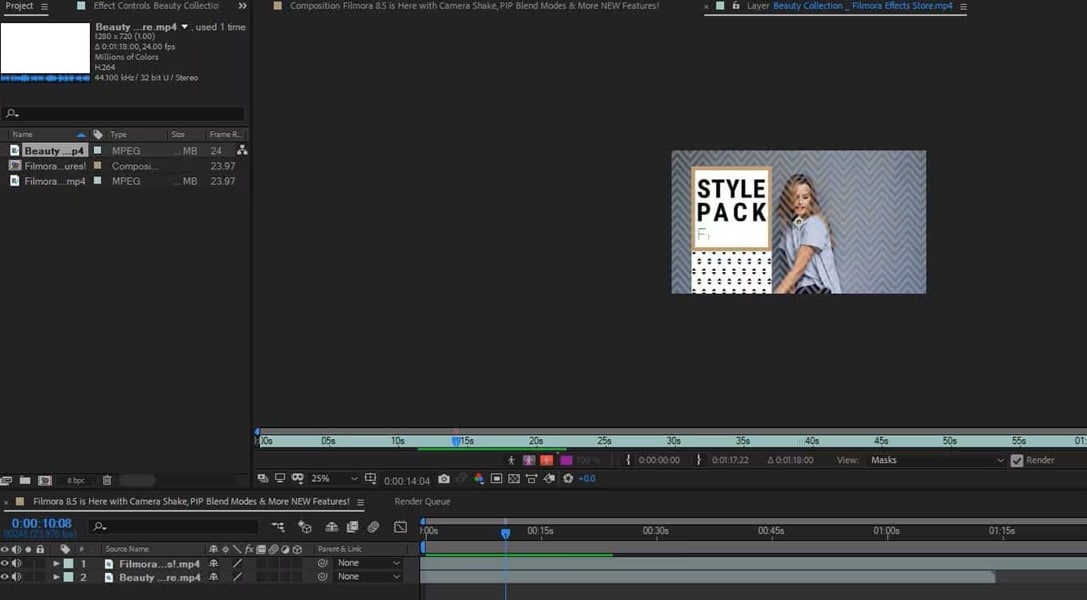
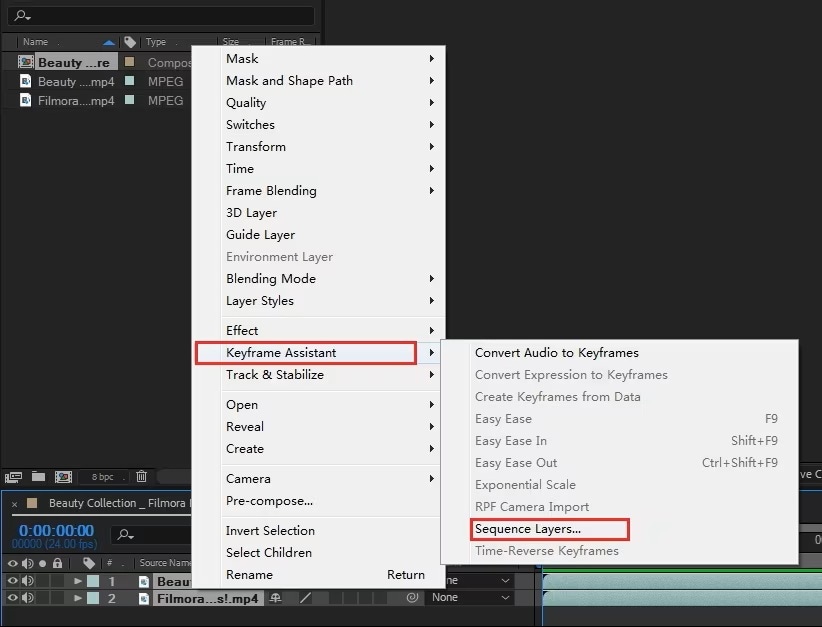
One of the most common things users mean by "merge" is combining separate video clips into a single sequence. In After Effects, this is done with the Sequence Layers function inside the Keyframe Assistant menu.
How to Merge Clips in AE Using Sequence Layers
When to use this method
Sequence Layers is ideal when you need to stitch together several clips to run end-to-end without gaps or overlap. This method is perfect for creating a rough cut or preparing a sequence for further editing.
Alternative: Manual alignment
If you prefer more control, you can also drag clips on the timeline manually. This method lets you adjust the timing, add transitions, or leave intentional gaps between clips instead of forcing them to blend automatically.
Part 2. Merge Layers in After Effects (Pre-compose)
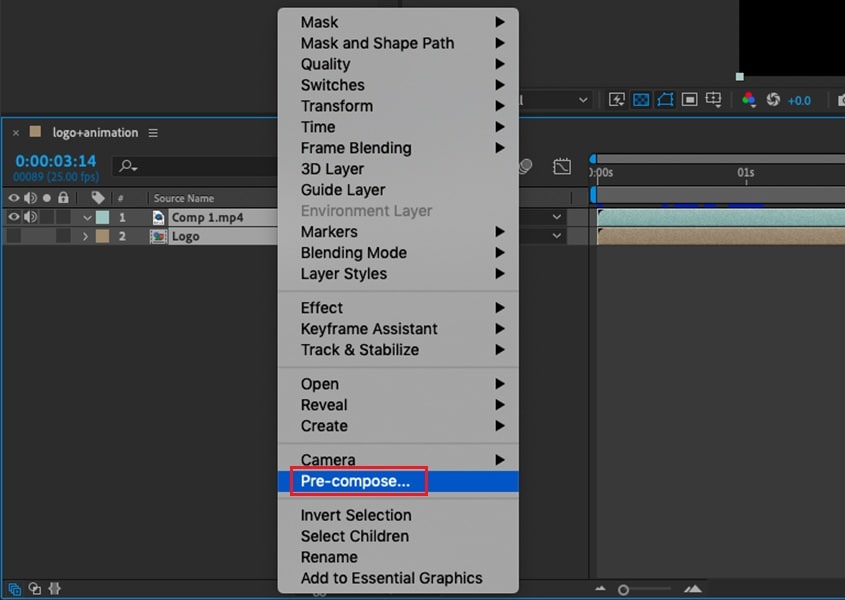
Pre-compose bundles selected layers into a single, nestable composition so you can work on them as one layer while keeping the originals editable. This is the popular method when you want to apply an effect, mask, or motion to a group of layers without repeating the same controls on each one.
How Pre-compose works
When you pre-compose, After Effects creates a new composition that contains the layers you selected. That new composition appears in the parent timeline as a single layer. You can open the nested composition at any time to edit the original layers, so you do not lose editability.
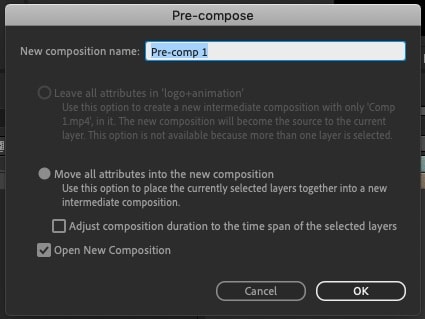
How to Merge Layers in After Effects Using Pre-Compose
- Move all attributes into the new composition: transfers effects and keyframes into the precomp.
- Leave all attributes in the original composition: keeps effects and transforms applied in the main comp while the layers are nested.
When to use Pre-compose
Use pre-compose to simplify a crowded timeline, apply a single effect to many layers at once, or create reusable grouped elements that you can move, time remap, or animate as a single unit.
Alternative: Group layers with a Null Object
If you want to move or animate several layers together without actually merging them, use a Null Object. Go to Layer > New > Null Object, then link your layers to it using the Parent & Link menu or the pick whip. Now, any changes you make to the Null (like position, scale, or rotation) will affect all linked layers, while each layer still stays editable on its own.
Note: Flatten with render and re-import
For permanent merging, you can render the layers as a single video and bring that file back into your project. This makes playback faster and simplifies your timeline, but you won't be able to adjust the original layers anymore.
Part 3. Combine Two Compositions (Nest vs. Render & Import)
Sometimes, instead of merging clips or layers, you may want to combine entire compositions. After Effects gives you two main options: nesting or rendering and re-importing.
Nesting compositions
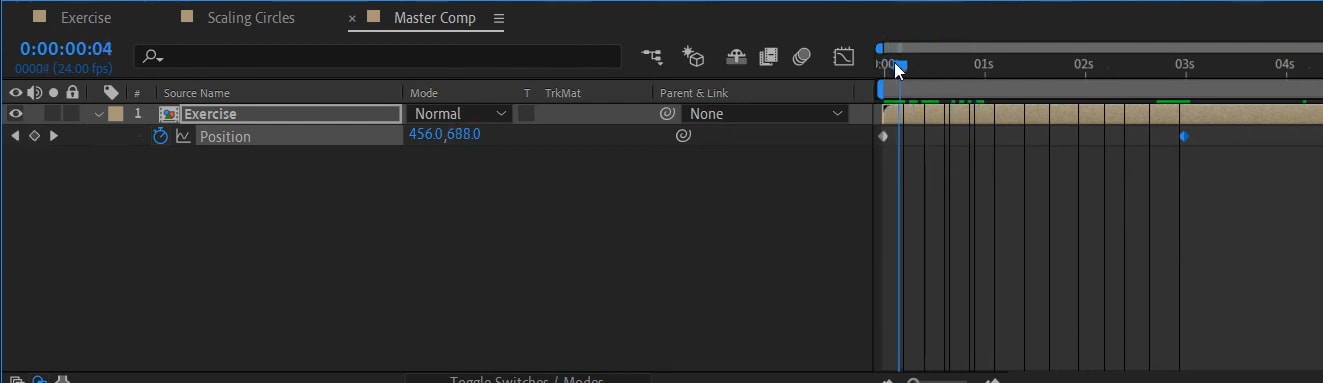
Nesting is the simplest way to combine compositions. Drag one composition into another, and it will appear in the timeline as a single layer. Everything inside remains editable, and you can double-click the nested comp anytime to open and adjust its contents.
Nesting is a great option for organizing projects or applying an effect to several comps at once.
Rendering and importing back
Another option is to render your compositions as one video file and then bring that file back into the project. This approach flattens everything, which makes After Effects run smoother, but you lose the ability to edit the individual layers inside those comps.
When to use each method
- Nesting is best when you want to keep full control and continue editing.
- Render and import are best when you are ready for a final version, need faster previews, or want to hand over a streamlined file to someone else.
Part 4. Combine Separate Video & Audio Tracks
After Effects is not built like a typical video editor, so it does not automatically sync audio and video the way Premiere Pro does. However, you can still combine them easily with a few simple steps.
Importing video and audio separately
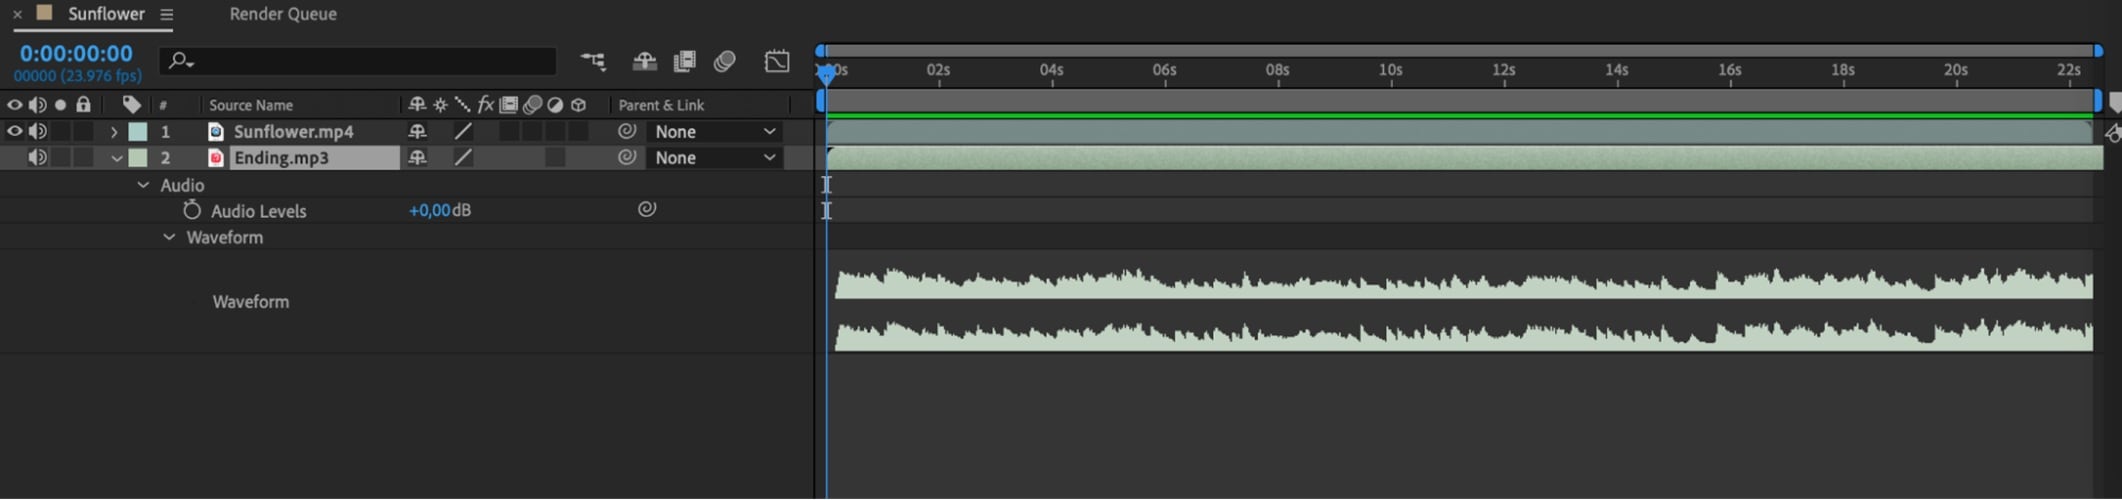
Start by importing your video file and your audio file into the project panel. Drag both into the same composition timeline.
Syncing manually
Play through the timeline and align the audio track with the video. You may need to zoom in on the timeline to match a visual cue, such as a clap or a movement, with the corresponding sound. Once they are lined up, you can lock the audio track to prevent accidental shifts.
Tips for working with audio
- Rename your audio layer so it is easier to find in a complex timeline.
- Use markers to help align beats or dialogue with video events.
- If you want both tracks to stay together, pre-compose the video and audio layers after syncing.
Although After Effects does not have a "merge audio" button, these steps let you sync and manage separate tracks effectively.
Part 5. Methods Comparison Table
With several ways to combine or merge layers in After Effects, it is helpful to look at them side by side. Here's a quick comparison of the main methods:
| Method | Best For | Editable | Difficulty |
| Sequence Layers | Combine multiple clips in sequence | ✅ | Easy |
| Pre-compose Layers | Grouping layers into a single unit | ✅ | Easy |
| Null Object Parenting | Animating or moving layers together | ✅ | Medium |
| Nest Compositions | Combining whole compositions | ✅ | Medium |
| Render & Import | Flattening for faster playback | ❌ | Hard |
Part 6. Quick Fixes (Common Errors)

Even with the right workflow, merging in After Effects can sometimes cause small issues. Here are some common problems and how to solve them:
Issue 1: Pre-compose breaks effects
Solution: When pre-composing, ensure you choose the right option in the Pre-compose dialog. If the effect disappears or looks different, try choosing Move all attributes into the new composition instead of leaving them in the original comp. You can also enable Collapse Transformations on the pre-com layer to preserve certain effects or vector quality.
Issue 2: Clips not aligning
Solution: If clips are not lined up properly after using Sequence Layers, check that they are trimmed correctly in the timeline before sequencing. For more precise control, zoom into the timeline and drag clips manually, or use the Shift key to snap clips to the playhead.
Issue 3: Audio missing after merging
Solution: First, confirm that the audio icon (speaker symbol) is enabled on the layer. If it is still silent, go to Edit > Preferences > Preview and ensure Audio Preview is turned on. For projects with separate audio and video files, double-check that they are properly synced and consider pre-composing them into one unit to keep everything locked together.
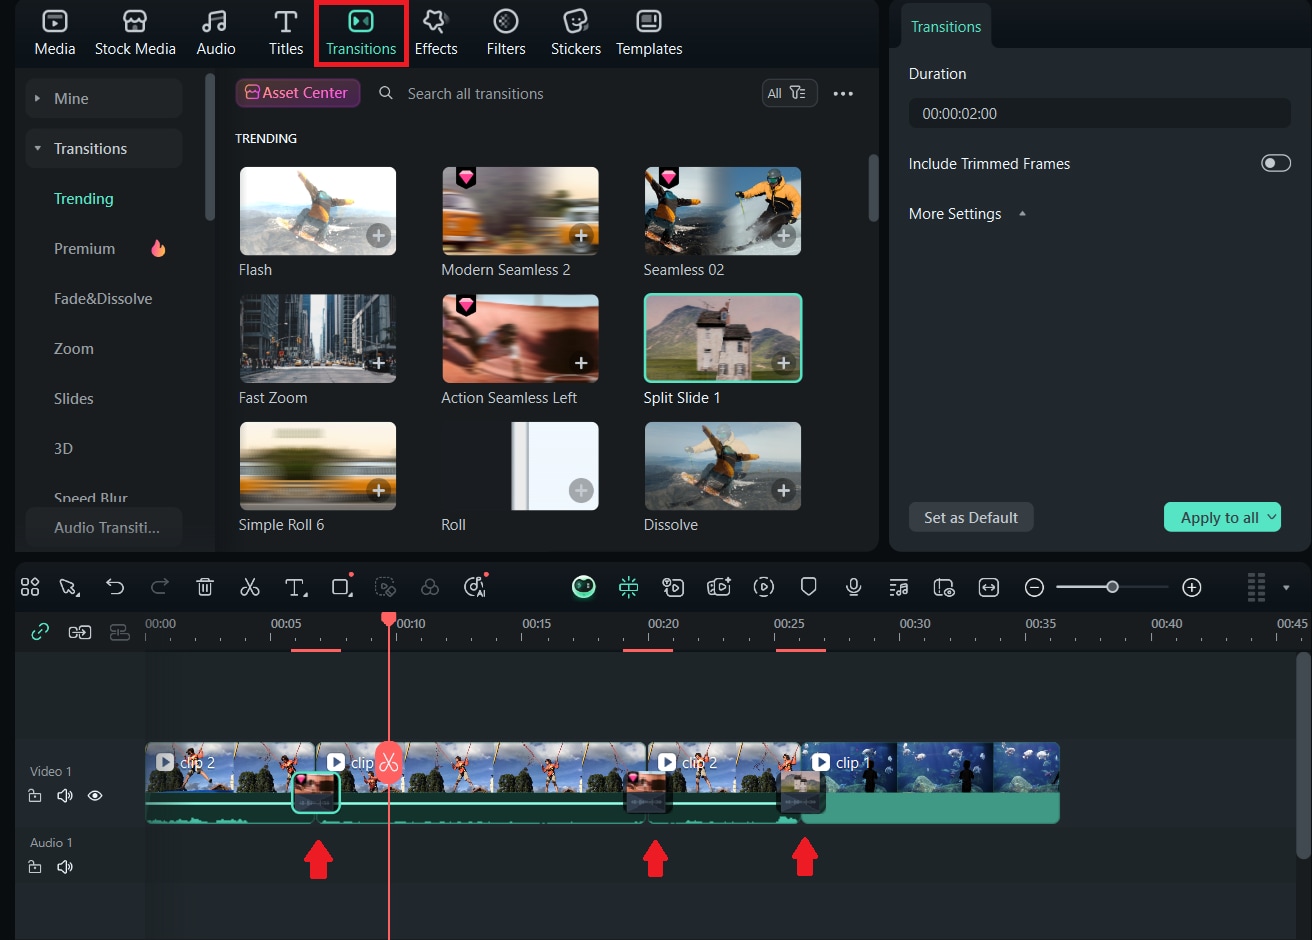
Bonus: Merge Videos the Easy Way (Filmora)
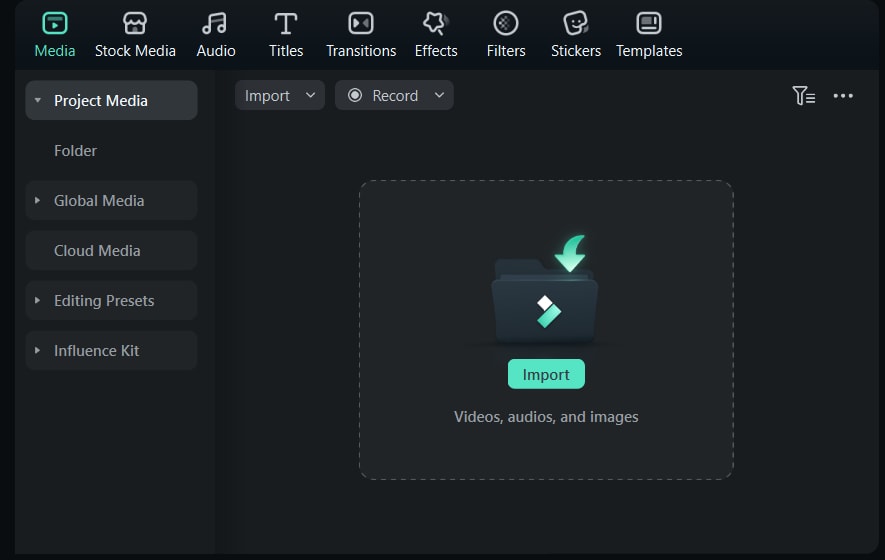
Not everyone needs the advanced features of After Effects just to combine clips. If your goal is simply to merge videos in After Effects, but you want a quicker option, Wondershare Filmora offers a much easier way.
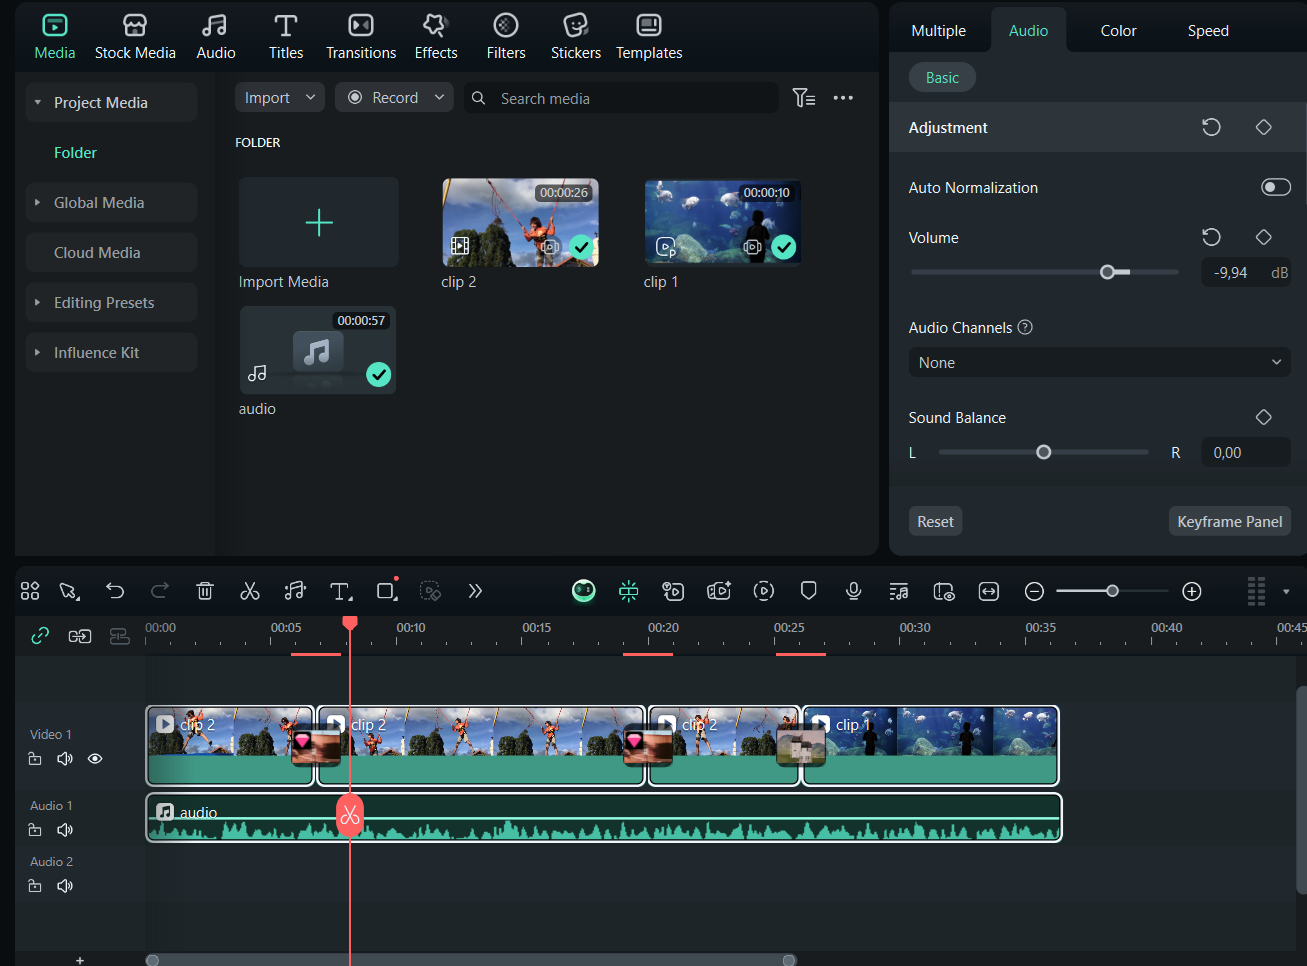
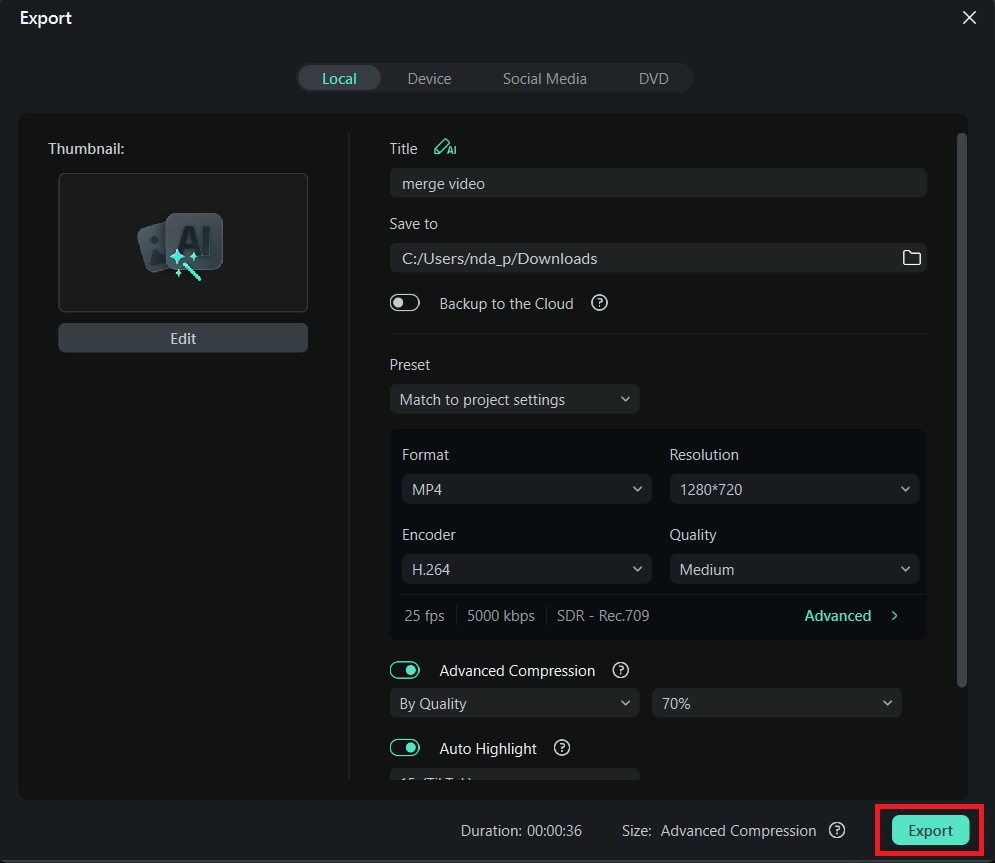
With Filmora, you can drag and drop clips onto the timeline, sync audio effortlessly, and export your finished video in just a few clicks. There is no need to worry about nesting, pre-composing, or sequence settings.
How to Merge Videos in Filmora

Conclusion
Frequently Asked Questions
-
Can I flatten layers in After Effects like in Photoshop?
Not exactly. After Effects does not have a direct flatten button. The closest option is Pre-compose, which groups layers into a single composition while keeping them editable. If you want a permanent flatten, you can render the layers out as one video and re-import it. -
ow do I merge audio and video in After Effects?
Import your audio and video files separately, place them in the same composition, and align them on the timeline. Once they are synced, you can pre-compose them to keep both tracks together. -
What's the difference between Pre-compose and Nesting?
Pre-compose is used to group selected layers inside a single new composition. Nesting means placing one full composition inside another. Both simplify your timeline, but pre-composing is better for organizing layers, while nesting is useful when you want to combine entire compositions.
