

 TL;DR:
iMovie allows you to record video directly using your device's built-in or external webcam on Mac and iOS, but it entirely lacks desktop screen recording functionality.
● To include desktop applications or full-screen footage in an iMovie project, you must first capture the screen using a separate application like QuickTime Player and manually import that file into the iMovie media library.
● iMovie restricts users to basic camera capture within the Apple ecosystem for simple personal videos, whereas Wondershare Filmora provides a cross-platform alternative for Mac and Windows users requiring integrated screen and webcam recording.
● Wondershare Filmora streamlines the creation of tutorials and gameplay by recording custom desktop areas directly into the editing timeline, utilizing built-in AI Audio Denoise and Audio Ducking to automatically balance voice narration.
Ask AI for a summary
 ChatGPT
 Perplexity
 Gemini
 Claude
 Grok
Grok
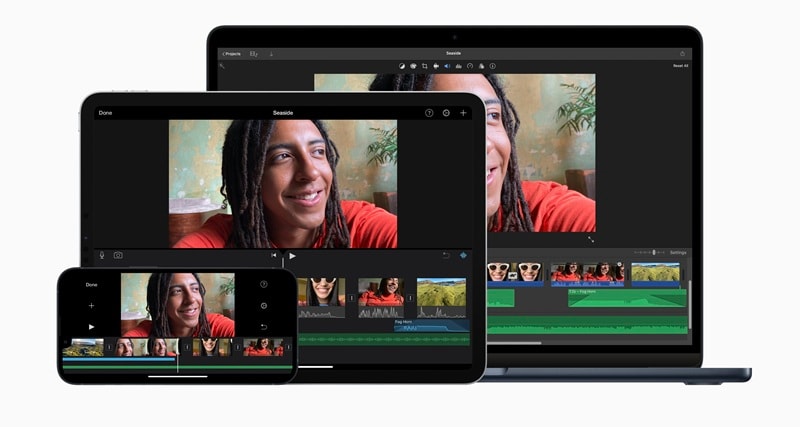
One of the most common questions from iMovie users is, "Can I record a video directly in iMovie?" The short answer is, yes. Learning how to record a video in iMovie is easy once you know where to find the option.
However, iMovie does not support direct screen recording. If you want to do a screen record in iMovie or use iMovie screen recording to capture your desktop, you will need to rely on other tools first and then import the file into iMovie.
Scroll down through this article to understand how to record a video using iMovie. We will also explain how to record video with iMovie on both Mac and iOS, and what to consider if you need a screen recording alternative to iMovie.
Part 1. How to Record a Video in iMovie on Mac
iMovie includes a straightforward option if you want to know how to record a video on iMovie. It allows you to use your Mac's built-in FaceTime HD camera or any connected webcam to capture footage directly into your project. This feature works well for tasks such as recording talking-head clips, tutorial introductions, or personal notes that you want to edit immediately.
How to Record a Video Using iMovie
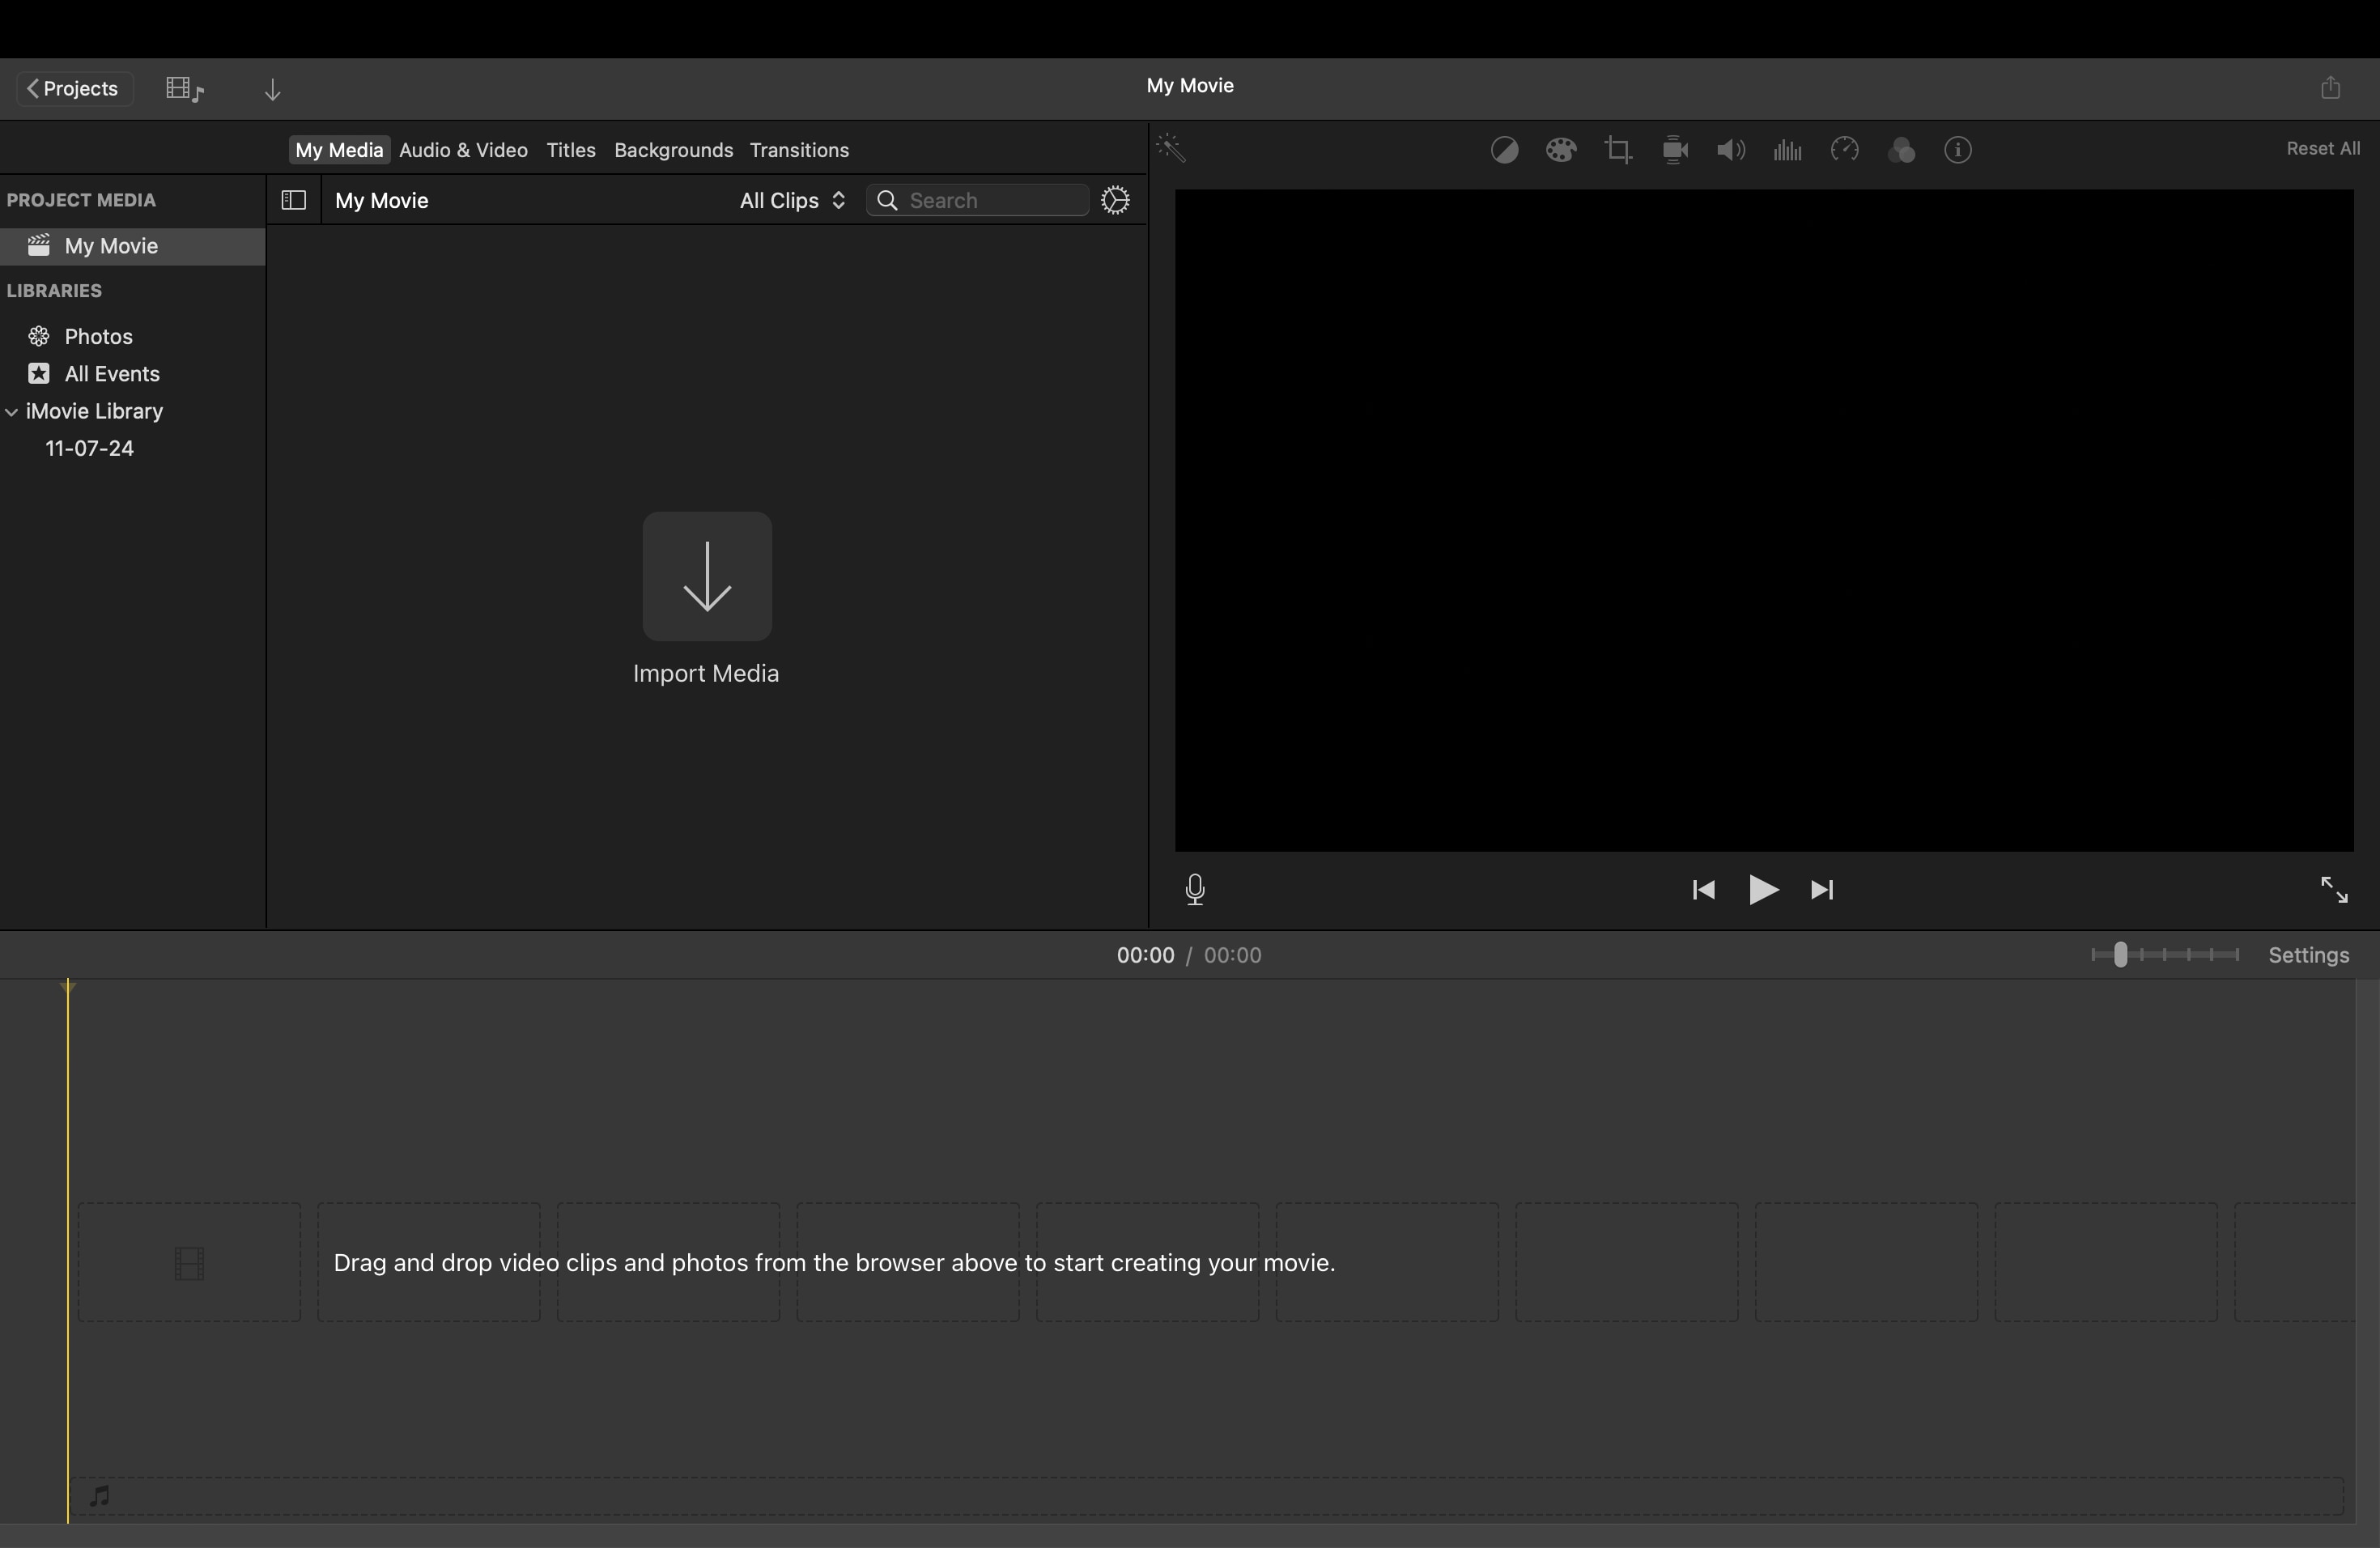
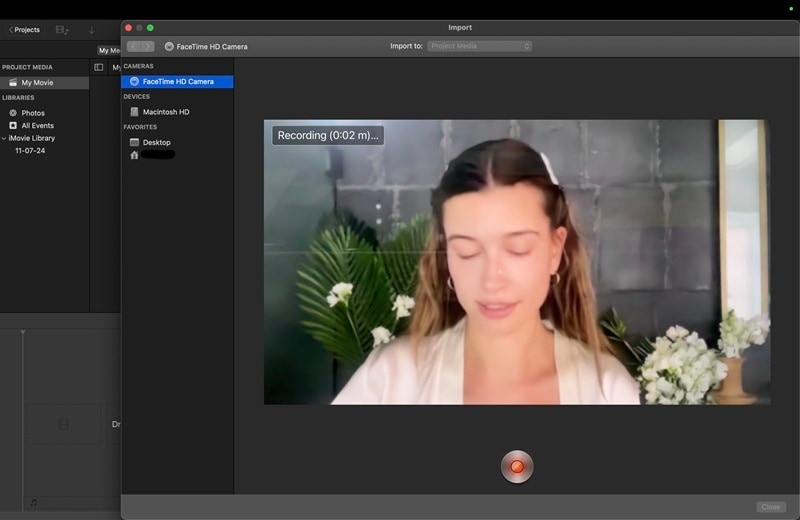
Launch the iMovie app. In the toolbar, click the Import button to open the Import window. If the button is not visible, click Media, then select Import Media.
This is the section where iMovie manages files and camera input, and where you begin a screen record iMovie project that involves webcam capture.
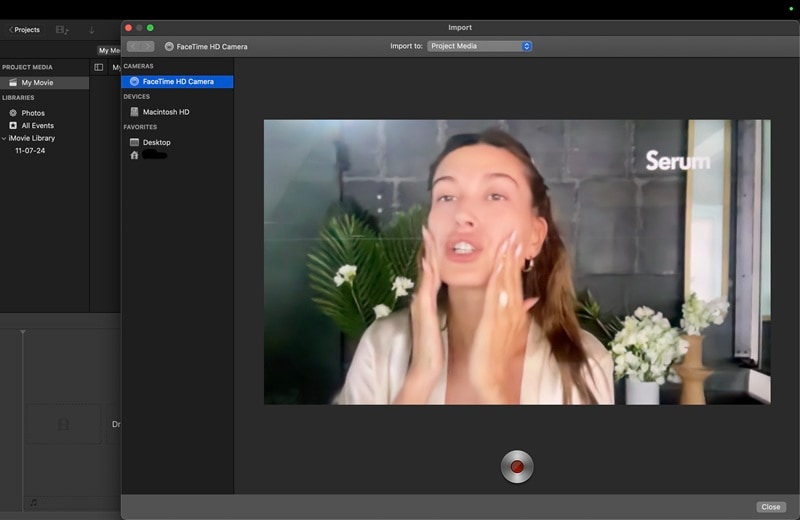
Look at the Cameras section in the Import window. Here, you will see your Mac's FaceTime HD camera or any external camera connected to the system. Select the camera you want to use.
Once selected, a live preview will appear so you can check framing and lighting before recording.
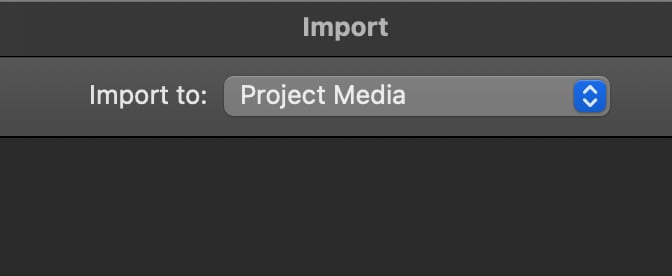
Decide where your recording will be saved. Use the Import to menu at the top of the Import window. You can:
- Save to an existing event if you want the clip stored with other related files.
- Create a new event and give it a clear name to organize your project.
- Choose project media if you want the recording added directly to your open timeline.
Click the Record button below the preview screen. iMovie will begin capturing video immediately from your chosen camera. While recording, monitor the live preview to ensure the video is being captured correctly.
When you are finished, click the Record button again. Each session creates a separate clip, so you can repeat the process multiple times if you need several takes.
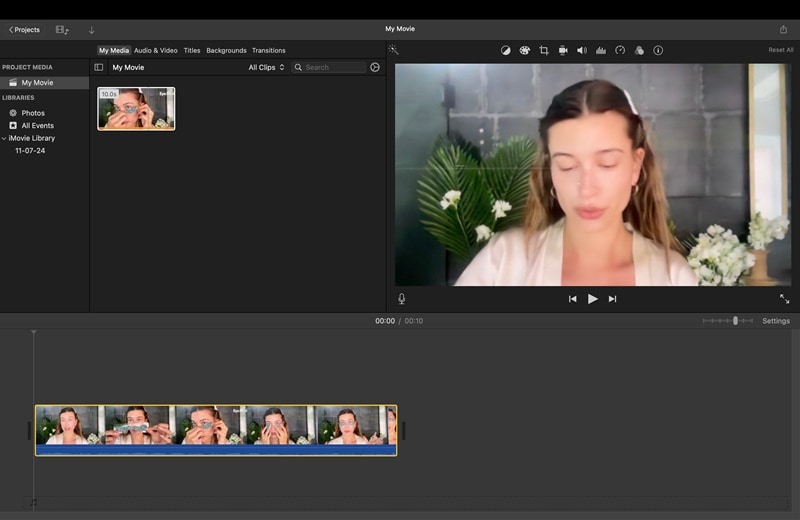
Click Close to exit the Import window and return to the main iMovie interface. From there, you can drag your recording into the timeline, trim it, or start adding effects and transitions.
Important Note
The recording function in iMovie is designed only for webcam capture. It cannot record your Mac desktop, applications, or system activity. That means full-screen recording in iMovie is not possible.
If you need to include screen footage, you must use another tool, such as QuickTime Player, which is already built into macOS, or professional software like Wondershare Filmora that provides both screen recording and editing features. After recording, simply import the video file into iMovie for further editing.
Part 2. How to Record a Video in iMovie on iPhone/iPad
If you are using iOS, you may be wondering how to record a video with iMovie on your iPhone or iPad. The process is simple, since iMovie can access the device's built-in camera and add footage directly into your project. This makes it convenient for quick captures when you are on the go.
How to Record a Video with iMovie (Mobile)
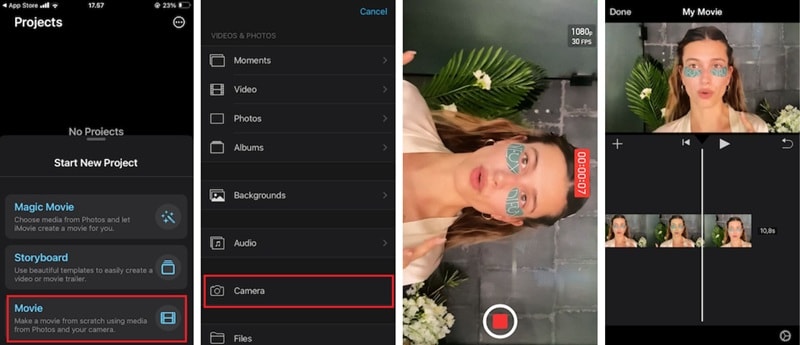
Launch the iMovie app on your iPhone or iPad, then tap the Movie button under the Start New Project menu to begin.
Inside the project screen, tap the Camera icon to switch into recording mode.
Use the device's camera to capture your footage. This is the main step if you want to learn how to record a video using iMovie on mobile.
Once you finish, tap the stop button. The recorded clip will be added directly to your project timeline.
Use iMovie's built-in tools to trim, split, or enhance your clip. This is how you can quickly manage iMovie screen recording clips captured on your iPhone or iPad.
Part 3. Recording Tips and Key Considerations for iMovie
Recording in iMovie is simple, but a few adjustments can make a big difference in the quality of your videos. Good preparation ensures that your recordings look sharp, sound clear, and are easier to edit later. Below are some useful tips, followed by the main advantages and disadvantages of relying on iMovie for recording.
Tips for Better Recording
- Set up good lighting: Position a light source in front of you to avoid shadows or dark footage. Even natural daylight from a window can make webcam recordings look more professional.
- Reduce system load: Close apps or background programs that you do not need. This prevents lag and helps iMovie record smoothly without interruptions.
- Choose the right resolution: Recording in 1080p or higher gives you sharper video. This also allows more flexibility during editing, since you can crop or zoom without losing much quality.
- Check your audio input: Use an external microphone if possible, as Mac's built-in mic may capture background noise. Even with iMovie's simplicity, clean audio will improve your final video.

Pros and Cons of iMovie for Recording
- Pre-installed on Mac: iMovie is already available on most Apple devices, so you do not need to download or install extra software.
- Quick webcam capture: Ideal for simple clips where you only need to use your FaceTime HD camera or a connected webcam.
- Seamless editing workflow: Once you record, the video is immediately accessible in iMovie. You can trim, split, or enhance it without moving files between apps.
- No desktop screen recording: iMovie cannot capture your Mac desktop or apps, so you cannot use it for tutorials, gameplay, or presentations.
- Limited camera controls: Unlike professional tools, iMovie does not allow you to adjust frame rate, exposure, or advanced recording settings.
- Extra steps for screen + webcam: To combine webcam recordings with screen footage, you need to use another app such as QuickTime Player or Filmora, then import the files into iMovie.
Part 4. Best Alternatives to Record Video & Screen
While iMovie excels at webcam recording and video editing, it has one notable limitation: the absence of a built-in desktop screen recorder. For users who frequently need to capture both their screen and webcam footage, this gap can disrupt their workflow.
This is where Wondershare Filmora shines as a comprehensive alternative. Filmora seamlessly integrates screen recording, webcam capture, and editing capabilities into a single, unified platform. This all-in-one approach eliminates the hassle of juggling multiple applications and creates a more streamlined content creation experience.
- Cross-platform compatibility: Works on both Mac and Windows (unlike iMovie's Apple-only limitation)
- Flexible capture options: Full-screen or custom area recording with dual audio input
- Seamless workflow: Recordings import instantly into the editing timeline
- AI-enhanced audio: Built-in tools automatically clean up sound during recording
- All-in-one solution: Screen recording, webcam capture, and editing in one platform
How to Screen Record with Filmora
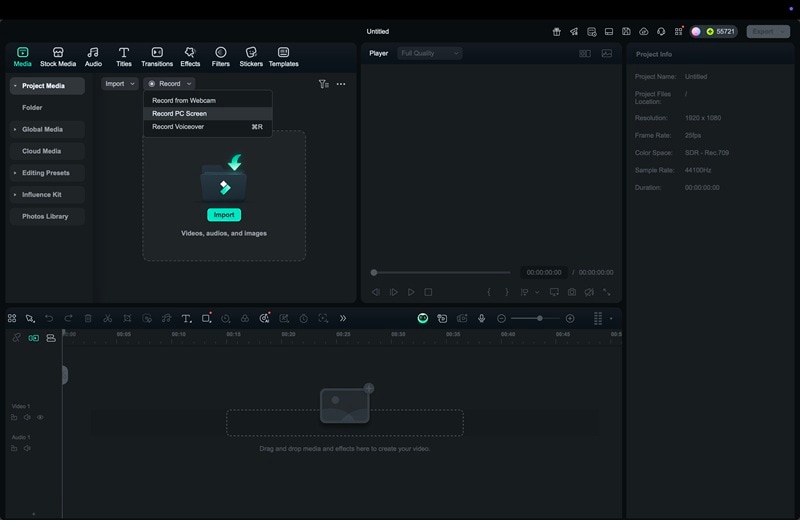
Open Filmora on your Mac or Windows computer. On the startup screen, select New Project. This opens the main editing interface, where you can access all recording tools.
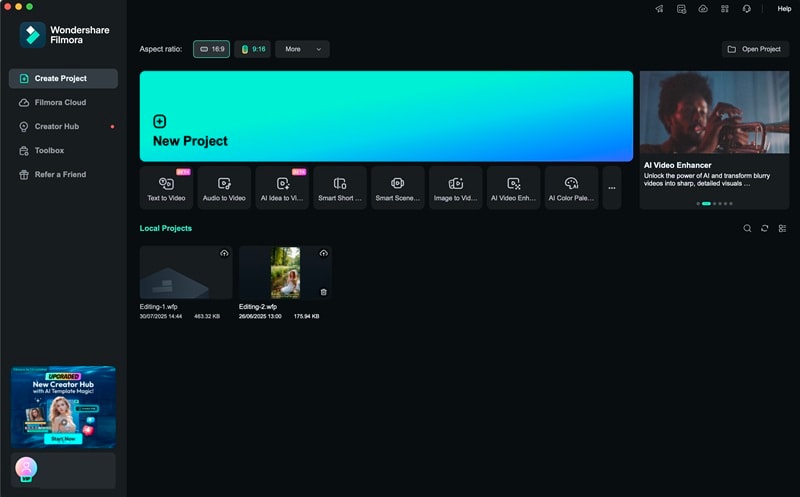
In the top menu, click Record, then choose Record PC Screen. A recording window will appear with customizable options for your capture.
Choose between Custom or Full Screen recording. If you only need part of the screen, select the custom option and drag to mark the area. Next, pick your audio sources:
- System Audio to capture the computer's internal sound.
- Microphone Audio to record your voice.
You can enable both if you want narration alongside system sounds.
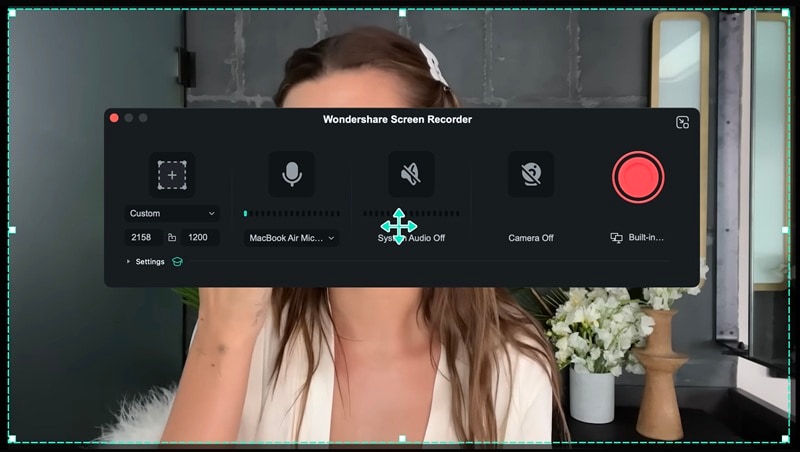
Set your preferred frame rate, define hotkeys for quick control, and choose recording quality. Higher frame rates are ideal for gameplay or motion-heavy tutorials, while lower rates are fine for static presentations.
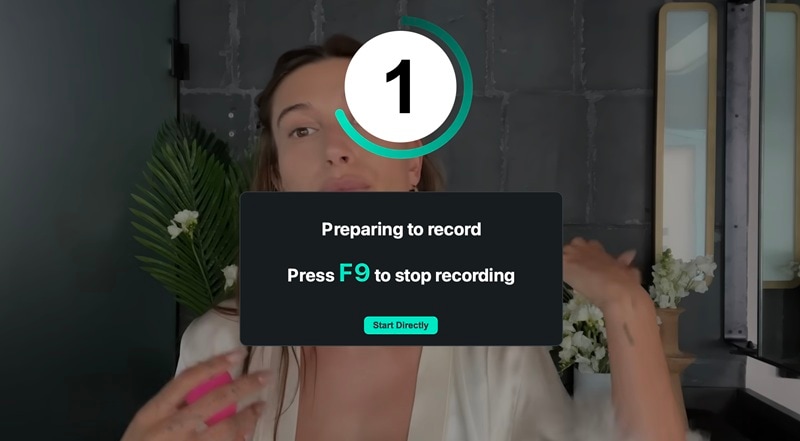
Click the REC button to begin recording. Filmora will count down from three before capturing starts. While recording, you can pause if needed. When you finish, use the assigned hotkey or press the stop button in the control bar.
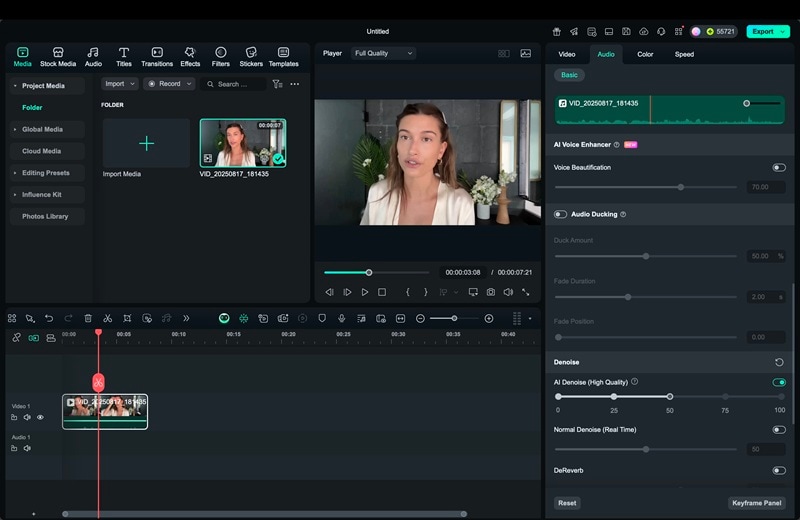
Once you stop recording, the file is automatically saved and added to your media library inside Filmora. From there, you can drag it onto the timeline to begin editing. You can trim unwanted parts, add effects, or combine it with webcam footage.
Filmora also provides advanced audio tools to polish your sound:
- AI Audio Denoise: This feature reduces background noise in your recording, such as typing sounds, fan noise, or ambient hum. It automatically isolates the main voice or sound, making your audio cleaner and more professional.
- Audio Ducking: This tool lowers the background music volume whenever dialogue or narration is detected. It helps ensure that your voice remains clear and easy to hear without having to adjust audio levels manually.
With these tools, you can immediately enhance both the video and audio quality of your recording right after importing it into the timeline.
Enhanced Recording Experience for Content Creators
Good News? Filmora is set to release significant improvements to its recording capabilities, addressing key user feedback and workflow challenges:
- Webcam optimization - Background blur/removal, horizontal mirror, and customizable avatar frames (circular or square) with proportional scaling
- Smart resolution shortcuts - Auto-saves your 5 most recent resolution settings plus preset ratios for major platforms (16:9, 4:3, 1:1, 9:16)
- Professional controls - Dotted border display toggle and real-time audio monitoring for precise recording management
iMovie vs Filmora Feature Comparison
| Feature | iMovie | Filmora |
| Direct Camera Recording | Yes | Yes |
| Built-in Desktop Screen Capture | No | Yes |
| Webcam + Screen Simultaneous | No | Yes |
| Platform Support | macOS, iOS | macOS, Windows |
| Editing Tools | Basic | Advanced |
| Learning Curve | Easy | Easy |
Choosing the Right Tool for Your Needs
Filmora is ideal for:
- Screen recording + video editing in one platform
- Tutorial creation, gameplay recordings, and business presentations
- Cross-platform work (Mac and Windows)
- Multi-source content (screen + webcam simultaneously)
iMovie works best for:
- Traditional video editing without screen recording needs
- Mac users preferring Apple's native ecosystem
- Personal projects like family videos and travel vlogs
- Straightforward editing with simplified workflows
Choose based on your workflow: Filmora for integrated screen recording projects, iMovie for pure video editing within the Apple ecosystem.
Conclusion
Using iMovie is simple if your goal is to record with a webcam. It is a convenient choice for personal clips, quick tutorials, or introductions.
However, screen recording in iMovie is not possible since the app does not include a built-in desktop recorder. Its features are limited to basic camera capture, so if you are searching for a full iMovie screen recording option, you will need to rely on another tool first. This is where Filmora becomes the better choice.
Filmora allows you to screen record iMovie projects alongside webcam footage, with advanced editing and AI audio tools built in. In short, use iMovie for basic clips, but choose Filmora when you need professional-quality screen and video recording in one workflow.
