

The reverse video effect is a creative trick that can make your content stand out, whether for YouTube, TikTok, or Instagram. While online video reversers exist, they can be unreliable. For a stable and powerful solution, desktop and mobile video editors are the best choice. This guide will show you how to reverse a video clip easily using Wondershare Filmora on both your computer and phone, helping you create stunning effects in just a few clicks.
Part 1: How to Reverse a Video on PC/Mac with Filmora
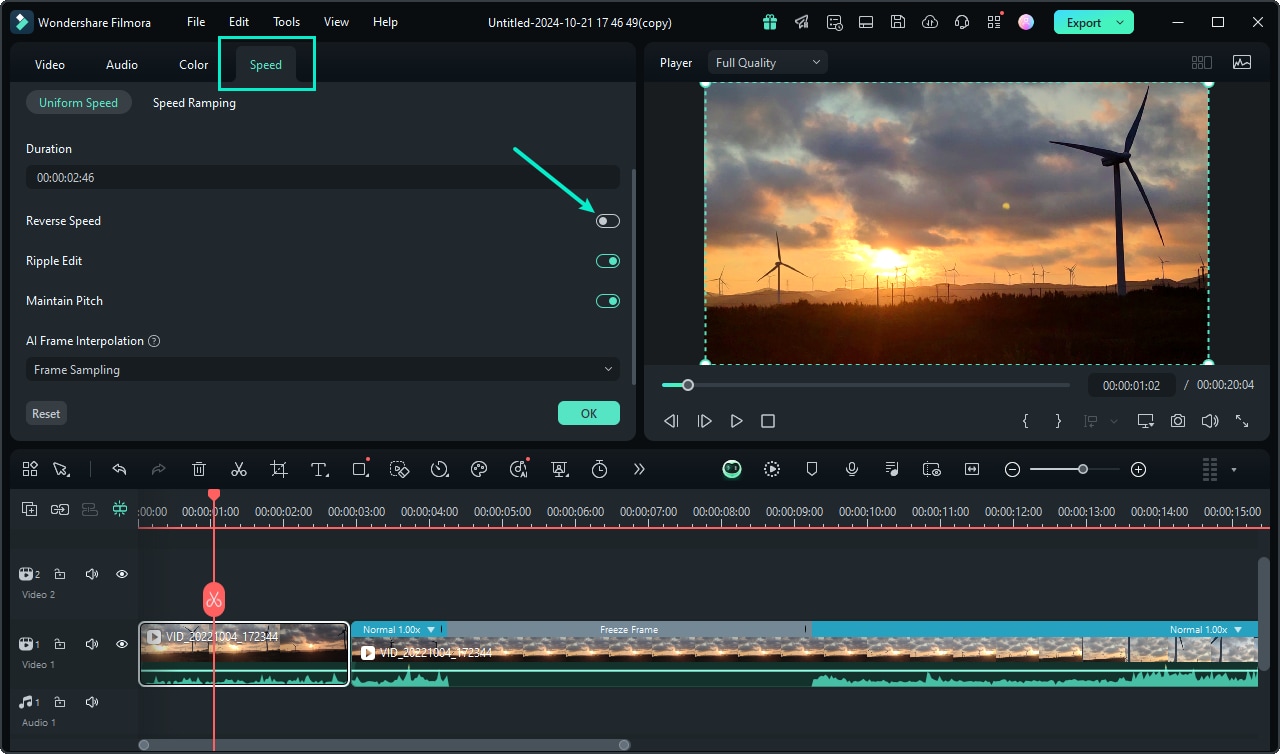
Wondershare Filmora is a great tool to get the effect you are looking for. Beyond the reverse video feature that you are interested in, Filmora can help you to cut, filter, and encode your videos with relative ease. It works with almost all kinds of video types as AVI, DVD, compatible-MPEG, MP4, and MOV, MKV etc. It is the most cost-effective video editor that provides you comprehensive editing features with smart AI tools, covering from the basic all the way to high-end editing features. Let's take a look at how you can use this software to create a reverse video effect:
- This software is available on Windows, Mac OS, iOS and Android devices
- It performs a one-step operation and provides fast results for reversal conversion.
- Enables you to crop, trim, cut, split and combine in a few clicks.
- Various filter and visual effects to touch up your video.
- Exclusive Action Cam Tool allows you to cut and merge large action cam footages within minutes
- Powerful AI tools such as AI Image to Video, Smart Short Clips, AI Speech to Text, etc.
Learn from the video tutorial below on how you can reverse video with several easy steps.

How To Reverse A Video in Filmora Mobile
If you don't have a computer, you can use your phone to put videos in reverse. You can do this with many apps, but it's best to start with something familiar: Wondershare Filmora. This is also the most straightforward way to do this, as playing videos in reverse is an essential function of the tool.
Check out how to reverse videos on your mobile device with the following steps:


Part 3: More Options to Reverse Video
1. Lightworks
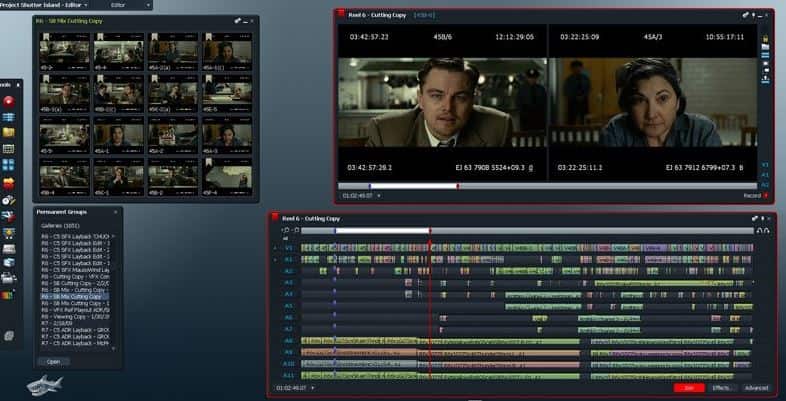
This product comes packed with a range of excellent features. Available for Windows, Linux, or Mac OS X, Lightworks can work with just about any file format you can imagine. Even more appealing, it makes importing, rendering, and exporting remarkably easy. Multi-cam editing and comprehensive I/O support. There is a free version of Lightworks that is available, but you are also welcome to purchase more elaborate versions of the software for varying amounts of money.
Features:
- It is a professional video editor that is used by the movie industry
- Raster and vector workflow switching
- You can use audio & video FX anytime
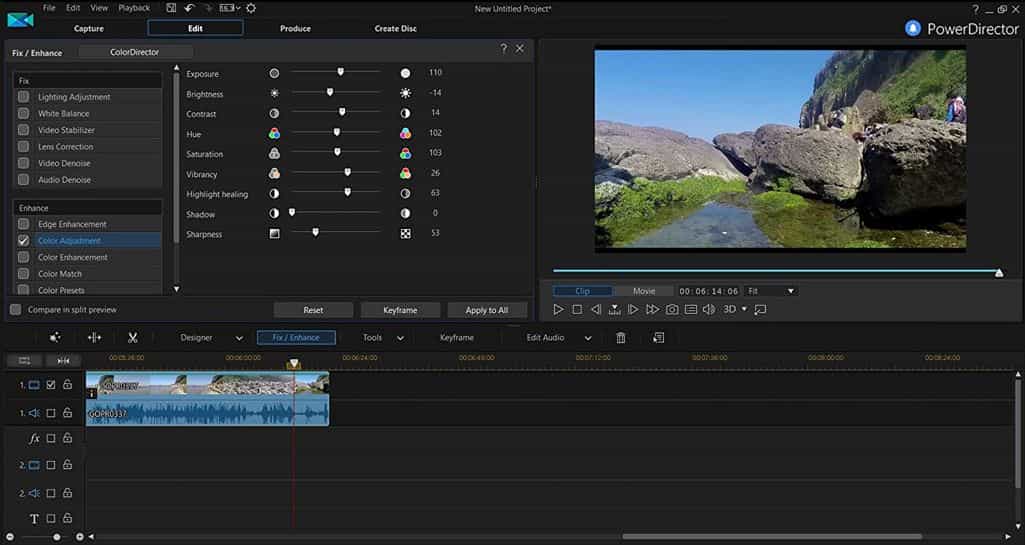
2. CyberLink PowerDirector
This is one of the most popular video editing software examples to be found anywhere. Although it only works with Windows, it is worth noting that PowerDirector 13 is ready to go to work with the all-new Windows 10. A free trial of PowerDirector 13 is indeed available, and you have the option to purchase the full version for just seventy bucks. You can definitely utilize a reverse video function here.
Features:
- You can freely explore a world of VR 360
- Supports HD Blu-ray Playback
You may also like: Best video reversing software >>
Conclusion
See, it is so easy to reverse a video only if you choose the right solution. Now, I think you have a better understanding of Wondershare Filmora. Try it out to find out more tips and tricks of reversing video in the video below!
FAQ
-
Does reversing a video affect its quality?
When you reverse a video in a high-quality editor like Filmora, the video quality is generally preserved. Filmora processes the frames without significant compression loss, ensuring your reversed clip looks as crisp as the original. -
Can I reverse only a part of my video clip in Filmora?
Yes! To reverse only a section, use Filmora's “Split” tool to isolate the desired part of the clip. Then select that segment and apply the reverse function as described in the guide. This is great for creating mixed-speed or creative effects. -
How do I reverse a video with audio?
When you reverse a video in Filmora, the accompanying audio track is reversed as well, producing a unique and mysterious sound effect. If you prefer the reversed video without audio, simply detach the audio from the clip on the timeline and delete it before exporting.
