
 100% Security Verified | No Subscription Required | No Malware


 ChatGPT
 Perplexity
 Gemini
 Claude
 Grok
Grok
Shooting cooking videos is easier than you think. Platforms like YouTube, TikTok, and Instagram have made it easy for anyone to share recipes and food ideas. But knowing how to shoot cooking videos that look great takes more than just a phone or camera.
You'll need to prepare the right tools, set up good angles, and plan your shots. This article shows you how to shoot a cooking video, from filming to editing with Filmora. Get ready to create videos that show your recipes and help you build your audience.

Part 1: Essential Tools and Editing Features for Cooking Videos
Before you shoot a cooking video, you should know that you need more than your camera and a pan. Good lighting helps, sure. But editing matters just as much when showing off your recipes. If you want your food to look as good on screen as it does on the plate, an easy-to-use video editing software like Wondershare Filmora can help.
Here's a quick look at what you'll need and how Filmora can make your life easier:
Color Correction and Filters
When your food looks good, your viewers stay hooked. Filmora has 40 color presets, which makes it easy to adjust your colors so your dishes look fresh and tasty. You can use color presets to match your style, such as cool for a clean, modern look or warm for a cozy vibe.
You can also fine-tune the colors yourself or use 3D LUTs for a more pro feel. The goal is simple: make your food stand out on screen.
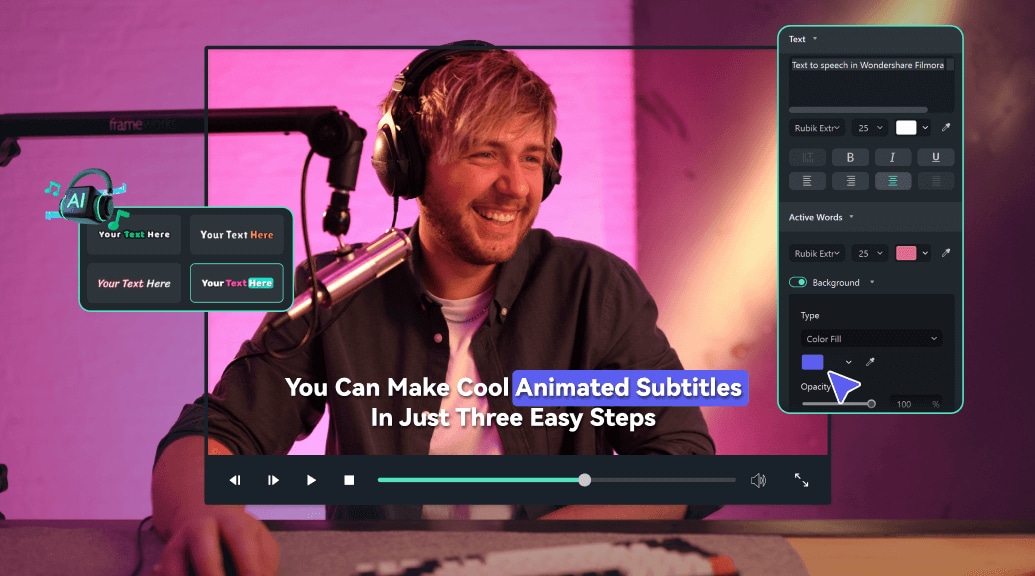
Text Overlays and Auto-Captions
Your audience wants to know how you're making the dish. Add text overlays to highlight key steps in your recipe. Upload your video, and Filmora's automatic caption feature will generate captions for you. You can change the animation, edit the text, and adjust the timing.
Using text overlays and auto-captions saves you plenty of time, especially when you're figuring out how to shoot food videos while keeping things fun and helpful.
Voiceover and Text-to-Speech
Good visuals are important, but your audio also matters. However, you don't always need to buy an expensive mic or go to a recording studio. Filmora gives you 48 AI human-like voices in 33 languages, and you can also clone your voice for a consistent sound across your cooking videos.
The text-to-speech AI tool can help when you don't want to record your voice. Type out your steps, and it'll read them out for you.
Stickers and Templates
Want to add "Subscribe" buttons, arrows, or a fun step-by-step graphic? Filmora has plenty of creative assets, including over 40,000 stickers and more than 3,000 templates. You can change the colors, size, and position. It's a quick way to make your video stand out without adding clutter.
So, if you're learning how to shoot cooking videos that feel polished and eye-catching, these tools will help. The next section lists things you need to film your cooking content.
Part 2: How To Shoot Cooking a Video Step-by-Step
Now, how do you record a cooking video that will translate your love for food? If you're a beginner, here's a step-by-step process to shoot cooking videos with a phone or camera:
01of 05Choose a Recipe and Plan Your Shots
Decide on a recipe and list the steps you want to show. For example, chop onions, fry garlic, and plate the dish. Then, chop all veggies and measure out your ingredients, like one cup of rice or two tablespoons of soy sauce. Place them in small bowls that are within reach. It keeps your workspace neat and saves time while filming.
02of 05Set Up Your Light
Position your cooking area near a window. Natural light works best. Try filming between 9 AM and 3 PM. If it's too harsh, place a white cloth over the window to diffuse it. No window? Use a ring light or lamp with a white shirt over it.
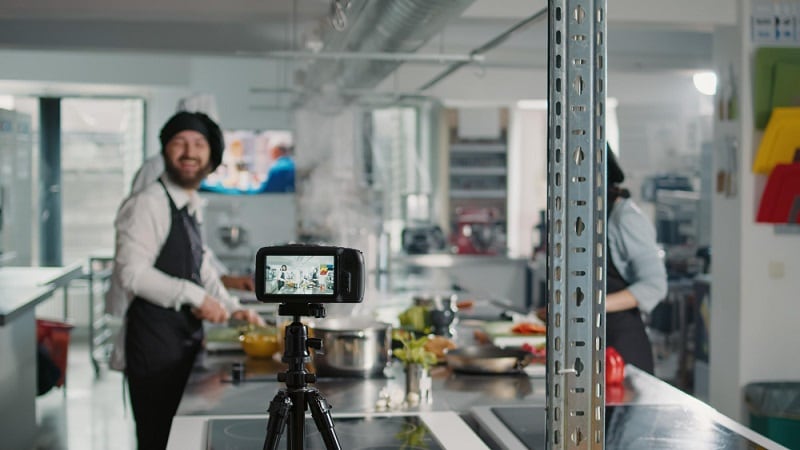
03of 05Mount Phone or Camera
Use a tripod or phone holder. Hold your phone steady with a tripod that extends to at least 4 feet. It is how to shoot cooking videos with a phone without shaky clips. No tripod? Stack books, rest your phone on them, and ensure it's steady.
04of 05Test Audio
Record a 10-second clip while talking to the camera, then play it back. Can you hear yourself clearly? If not, move closer to the phone or use a mic. The background sounds like a fan can ruin audio, so turn them off. Alternatively, you can use the AI Audio Denoise tool in Filmora to remove the background noise in your videos.
05of 05Record Cooking Steps
Show one step at a time, like pouring one tablespoon of oil or adding two cloves of garlic. Talk naturally as you cook, and don't rush. It's okay to pause between steps, so it's easier to edit later.
Part 3: How To Shoot Food Videos That Look Good (Angles to Use)
Angles can make or break your cooking video. You don't need a fancy setup to make your food look good, but you need to learn the right angles.
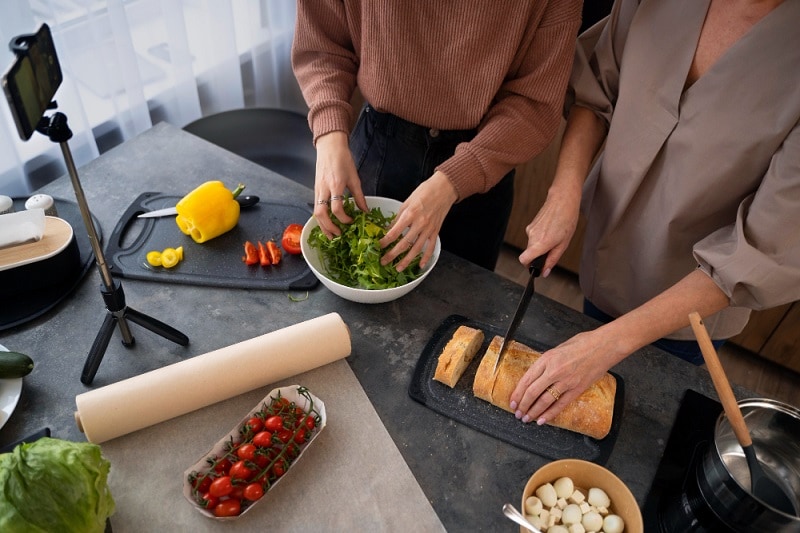
Top-down
Top-down shots are your go-to for most of the cooking steps. It is where your phone or camera points straight down at the food. Try this camera angle when you chop veggies, mix ingredients, or pour sauces.
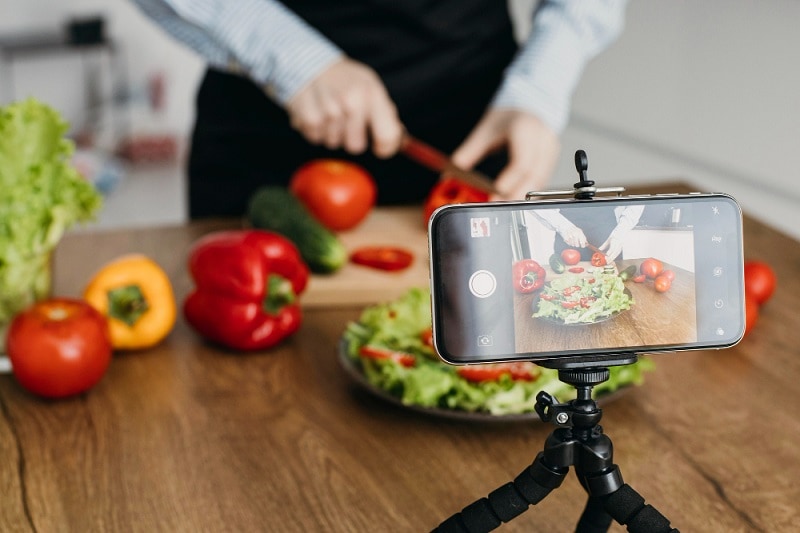
Close-up
Close-ups are best for details, like bubbling oil or when adding the final sprinkle of herbs. These shots make your dish feel real and mouth-watering. Get 3 to 5 seconds of each close-up, so you have options later.
Wide Shots
Wide shots show the bigger picture, including your whole counter, the tools, and your vibe in the kitchen. A wide shot helps tell the story of the dish from start to finish.
Tips for Smooth Filming of Cooking Video
Here are five tips to help you shoot a cooking video that flows well:
- Stick to 5-10 second shots: Too long, and it drags, but too short, and it feels rushed. Aim for 5-7 seconds when stirring and 7-10 seconds when plating.
- Shoot in 1080p or 4K at 30 fps: This gives you good quality without taking up too much storage.
- Keep your phone at least 1-2 feet away from the food: This gives space for your hands and tools to move without blocking the frame.
- Use two camera angles when you can: Try using three or more cameras for different angles. You can shoot a cooking video from above, from the side, and from behind. After filming, sync the clips in Filmora using the multi-cam feature.
- Use grid lines: Turn on your camera's grid. Use it to align your ingredients and tools on the intersections. It keeps your shot balanced.
- Hold each shot steady for 3-5 seconds before moving: Don't rush. Let the viewer see what's happening.
- Power and storage check: Charge your device above 80 percent and free at least 2 GB of space. You won't lose a great take to a low battery or full memory.
Part 4: How To Edit Cooking Videos With Filmora
Shooting a cooking video is only part of the work. What your viewers see in the final video depends just as much on what happens after you click recording stop. Here's how Filmora helps you turn basic clips into engaging content.
 secure download

Enhance Your Food Shots With Color Correction and Filters
Color correction is a video editing technique after shooting cooking videos. It helps you highlight the beauty of your dish and keeps the focus on your food.
01of 03Open Color Settings
Click the cooking video once added and open the Color tab. Look for the HSL tab on the right panel.
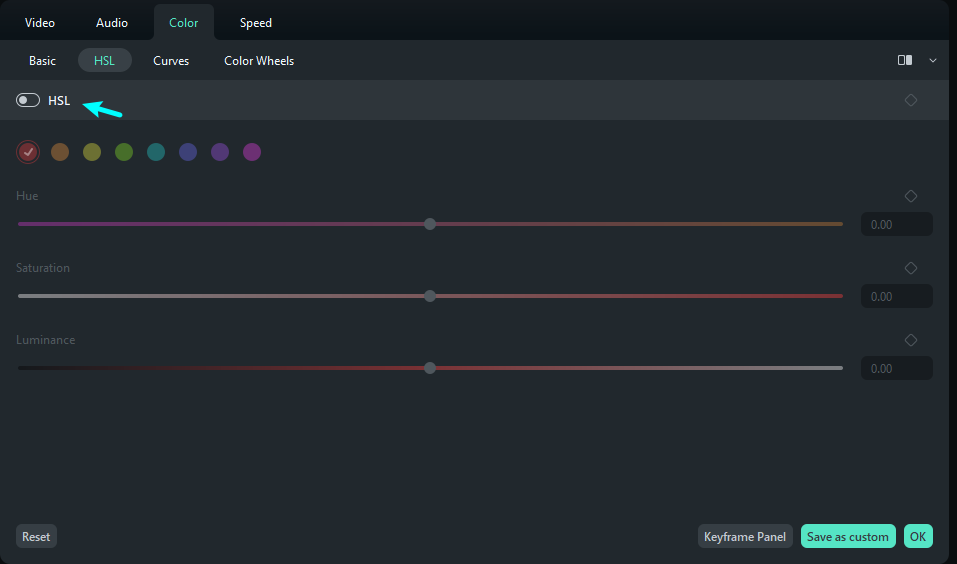
02of 03Adjust Color Values
Enable HSL. Adjust the Hue, Saturation, and Luminance using the sliders. For example, boost Saturation by +20 for a richer color. Set Hue by +10 to make greens look fresher. Play with Luminance until your dish has the color you like.
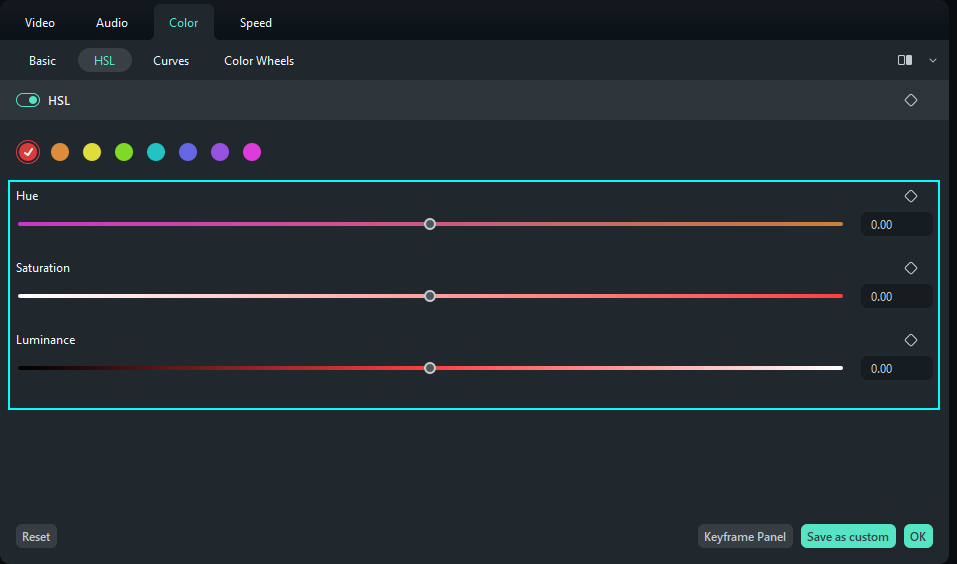
03of 03Save Your Preset
Repeat for other colors to make your food look bright but still natural. Click Save as Custom so you can reuse the settings for the next video.
Add Captions and Text Overlays for Cooking Instructions
You want your audience to follow your recipe. One way to help them better understand your content is by adding captions. Filmora's Auto Caption feature can save you a lot of time.
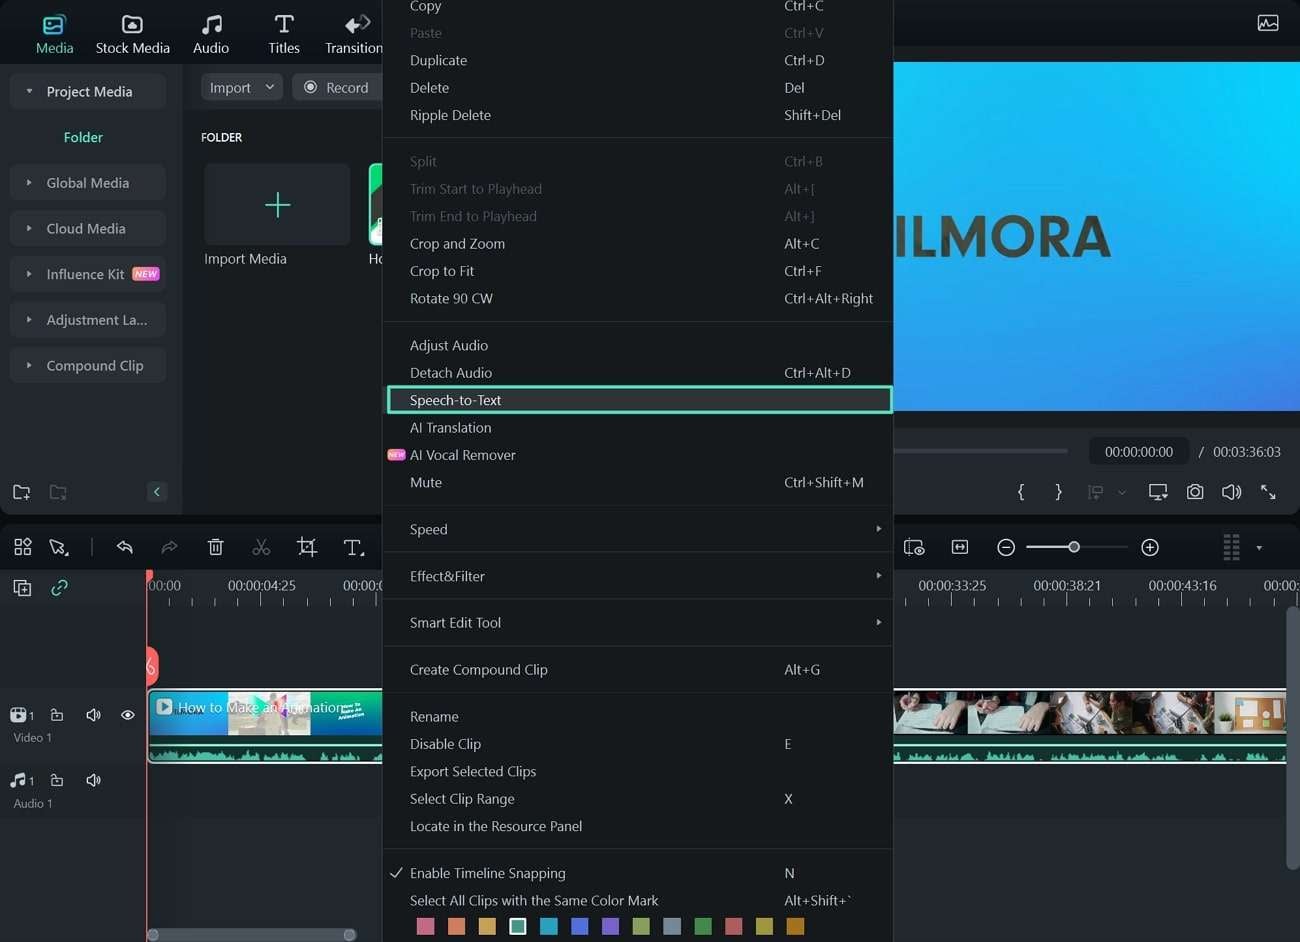
01of 03Generate Auto Captions
Right-click the cooking video in the timeline, and from the menu, choose Speech-to-Text.
02of 03Enable Active Words
On the settings pop-up window, enable the option for "Add automatic active words".
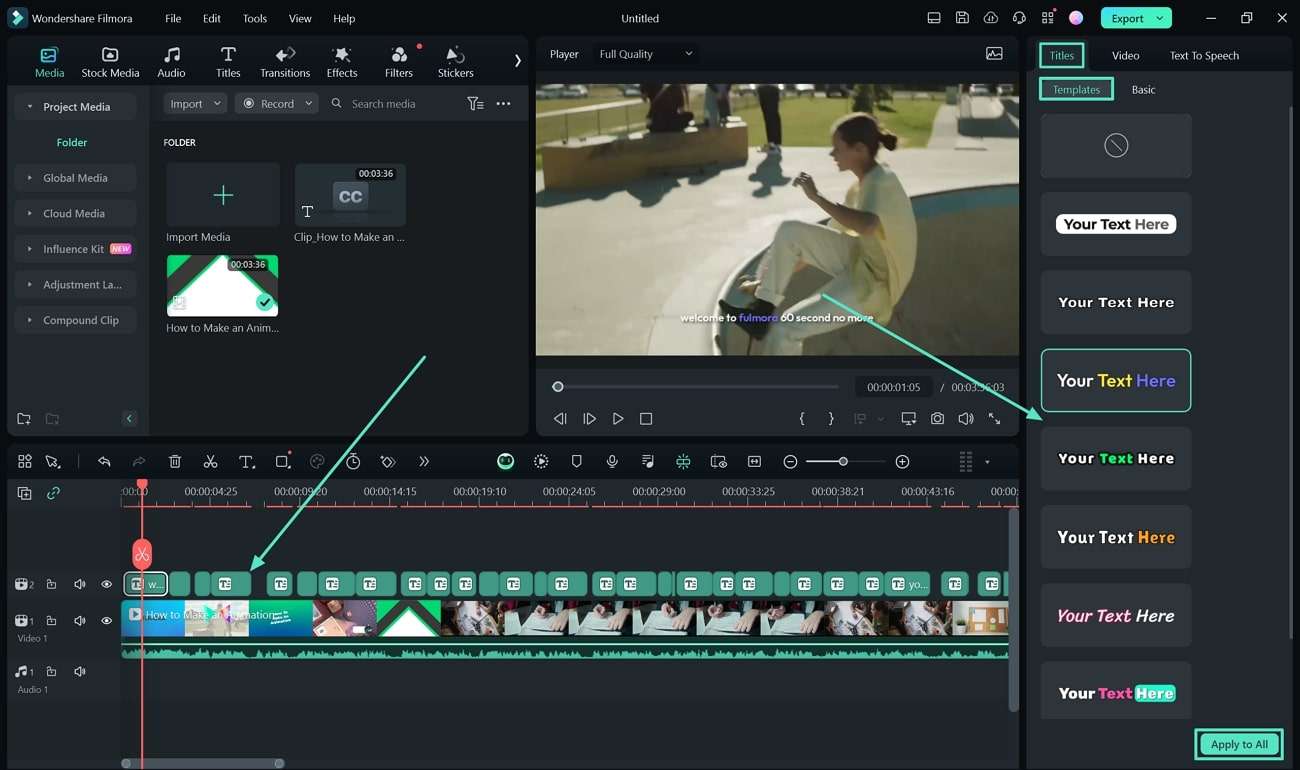
03of 03Customize Caption Style
Once the speech is transcribed, you'll see the text appear in the timeline. To change, go to the Titles tab and browse the Templates section. Pick one that matches the vibe of your cooking video.
Narrate Recipes With Voiceover or Text-to-Speech
Do you want to talk less in your videos? You can. Filmora includes a text-to-speech AI tool that reads your recipe for the video. It is useful when you want to shoot a cooking video without talking much.
01of 03Access Text-to-Speech Tool
Go to the Audio tab at the top, then find Text-to-Speech on the left menu.
02of 03Enter Script and Select Voice
Enter the script, then select the language and AI voice you want. Filmora gives you options for natural-sounding AI voices.
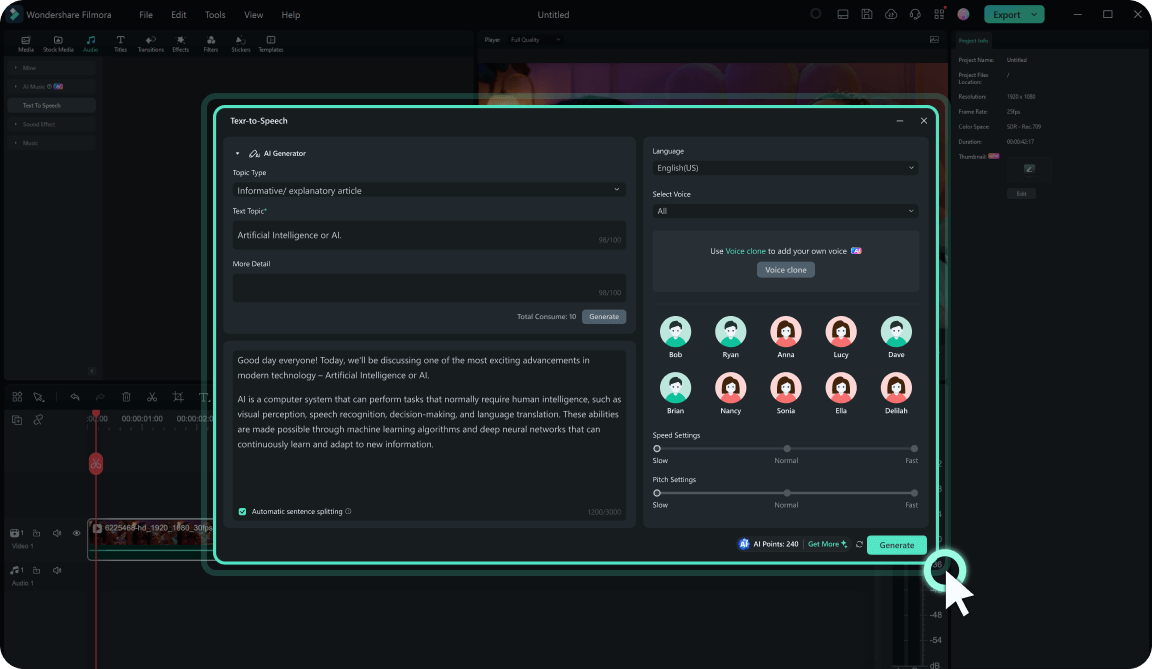
03of 03Generate and Adjust
Click Generate and wait a few seconds. The AI voiceover will show up in your timeline. Play it back and adjust the timing if you need to.
Tip: You can also try the AI voice cloning feature. It saves your voice audio so you can reuse it in the next cooking video you'll shoot.
Make Cooking Video Fun With Stickers
Want to entice your audience to like your cooking video or subscribe to your YouTube channel? Stickers in Filmora can help add life to your content, and they're simple to use. You can highlight the final shot of your dish or add small effects to match your branding and vibe.
01of 03Browse Sticker Library
Go to the Stickers tab at the top right.
02of 03Add Sticker to Timeline
Browse the stickers, then drag and drop the one you like to the editing timeline. It could be a fun icon, text bubble, or an animated social media sticker.
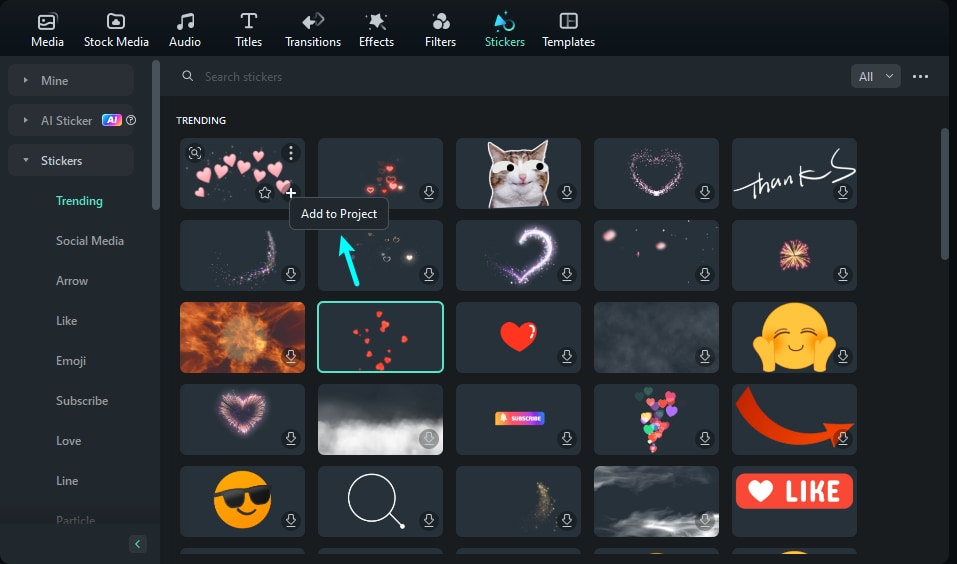
03of 03Customize Sticker
Adjust the size, speed, and color of the sticker on the cooking video.
Conclusion
Hopefully, you now know how to shoot a cooking video, although it is a skill you can build over time. It takes practice and a few good tips.
Remember the four keys: good video editing software like Filmora, following the step-by-step guide above, and good angles. Vloggers, content creators, and home cooks can follow each step to make dishes look tasty on screen. Try these tips and see your recipes shine online or on social media.
secure download 