

 TL;DR:
Wondershare Filmora creates before-and-after videos using AI Image-to-Video templates for single-photo transformations, standard layouts for existing media, and an OpenAI Sora 2 integration that generates complete visual transitions from text prompts.
● AI Image-to-Video templates automatically generate the "after" transformation from one uploaded photo for niches like fitness or anime, whereas standard templates require users to supply both before and after media to utilize the pre-built timing and transitions.
● Generating transformations with the Sora 2 model requires the latest Filmora version and demands structured prompts that explicitly describe the starting visual, the specific transition phrasing, the final contrast, and a consistent camera angle.
● To execute a seamless comparison, editors must apply color correction to balance lighting between the distinct shots, utilize clean split transitions to clarify the switch, and add subtle keyframe motion to the final clip to emphasize the change.
Ask AI for a summary
 ChatGPT
 Perplexity
 Gemini
 Claude
 Grok
Grok
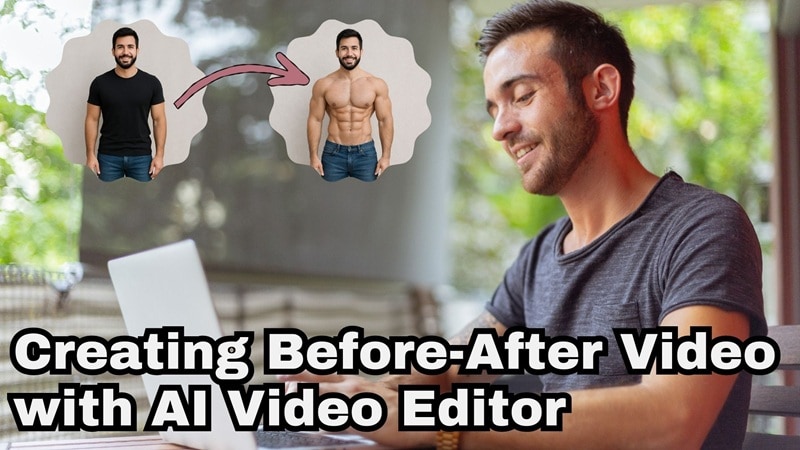
Before-and-after videos are fun to watch, surprising, and incredibly satisfying. Whether it's a makeover, a glow-up, or an art reveal, these clips keep blowing up across TikTok, YouTube, and Instagram.
That said, not everyone knows what type of before-and-after video to make, how to edit one, or how to get smooth results fast. But don't worry, that's why we're here to help! We'll guide you through mastering everything about before-and-after video editing, starting with the most popular transformation styles to creating them instantly. Let's get creative!
Part 1. Explore the Most Popular Before-and-After Video Templates
Before-and-after videos come in all kinds of styles, and making one does not have to be complicated. With a reliable before-and-after video maker like Wondershare Filmora, you can create a before-after video in just a few clicks.
That's because Filmora comes with a wide range of before-and-after video templates, so it is easy to find one that matches your vibe or the kind of content you want to make. So, let's take a look at the two main template-based approaches you can use in Filmora!
1. AI Before-and-After Templates (Image-to-Video)
Filmora has an advanced AI Image-to-Video feature, which allows you to turn a single photo into a full AI before-and-after transformation automatically. And inside the feature, there's plenty of before-after video template across different niches, so all you have to do is simply;
- Access the Image-to-Video feature.
- Choose a template that you like.
- Upload your photo and generate an AI video transformation.
Among all the templates, here are some that you can use for your before-and-after content;
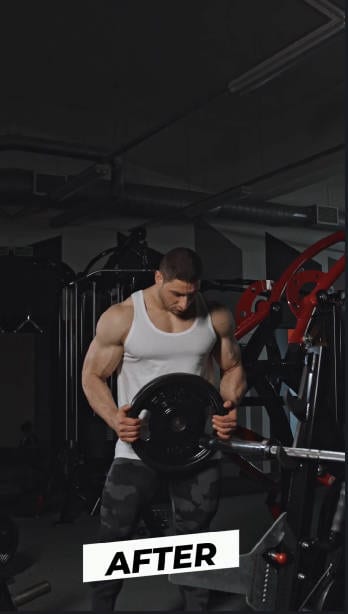
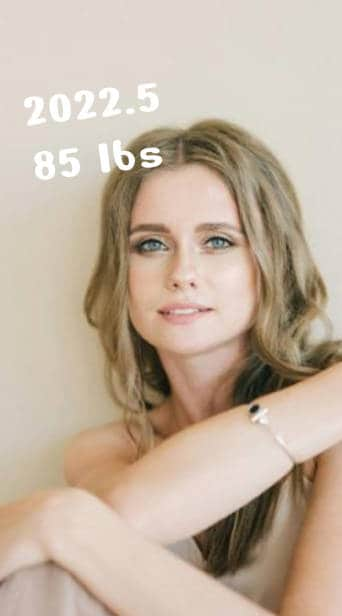
1. Body Transformation

You can show fitness progress, weight loss, muscle growth, posture improvements, or even small lifestyle changes that add up over time. With Filmora's Chiseled Muscles template, it is easy to turn these changes into a clean and satisfying before-and-after video that people actually enjoy watching.
2. Make-up Before and After

Another AI before-and-after video idea you can try is a themed transformation, where the look changes not only the makeup but the whole vibe. For example, you can use Filmora's Glacial Beauty Transformation template to turn a simple portrait into an icy, crystal-inspired look with cool tones and a frosty finish.
3. Younger vs Present-Day Self

This idea puts a fun twist on nostalgia. Instead of digging up an old photo, you just upload a current picture of yourself and let AI do the rest. Filmora's Cover Transform Kid template reimagines how you might have looked as a kid, which makes this kind of before-after video great for glow-up and throwback style content.
4. AI Art Before and After
AI art before-and-after videos are one of those trends you never get tired of watching. You take a regular photo and suddenly it turns into anime, a comic style character, or something straight out of a fantasy world. Using Filmora templates like Hot Blooded Anime Comic makes that switch feel quick and exciting, and the reveal always lands.
2. Quick Before-and-After Templates (Standard Templates)
Aside from AI-generated transformations in the Image to Video feature, Filmora also offers standard before-and-after video templates. These templates already include transitions, text placeholders, and timing, so you only need to upload your before-and-after images or clips.


These templates work well for:
- Gym and fitness transformations.
- Childhood vs now comparisons.
- Beauty and fashion change.
- Room or lifestyle glow-ups.
Since everything is already laid out for you, these before-and-after video templates save a lot of time and help your video look clean and put together without extra effort.
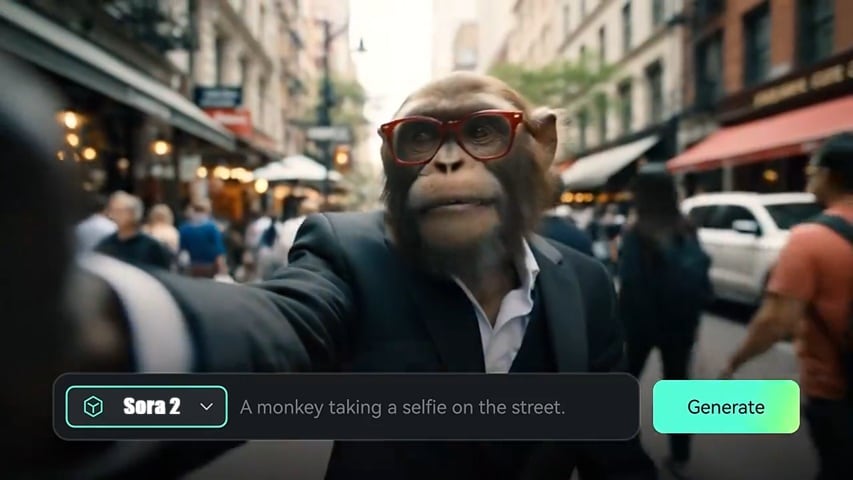
Part 2. Create Before-and-After Videos Using AI Text-to-Video (Sora 2 Model)
If you want more creative freedom and don't want to rely on existing photos, Filmora's AI Text-to-Video opens up a whole new approach for creating your before-and-after video. Powered by the Sora 2 model, this feature allows you to generate both the "before" and "after" scenes entirely from a written prompt.
How to Make a Before-and-After Video with AI Text-to-Video
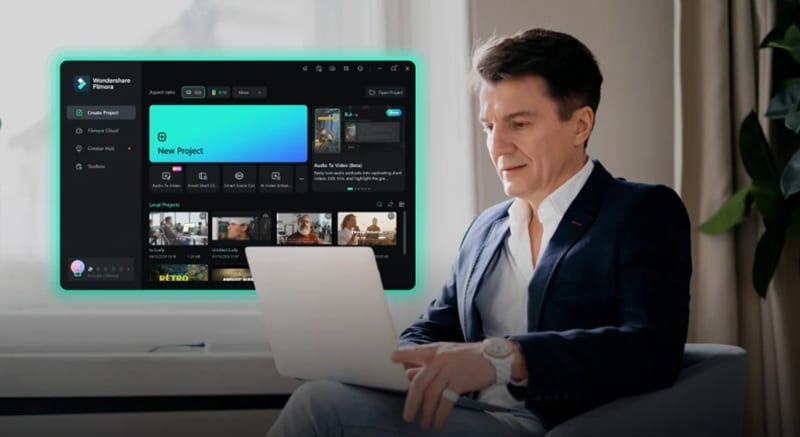
Make sure you've installed Filmora to the latest version. Then, launch the software and navigate to Toolbox > Text to Video.

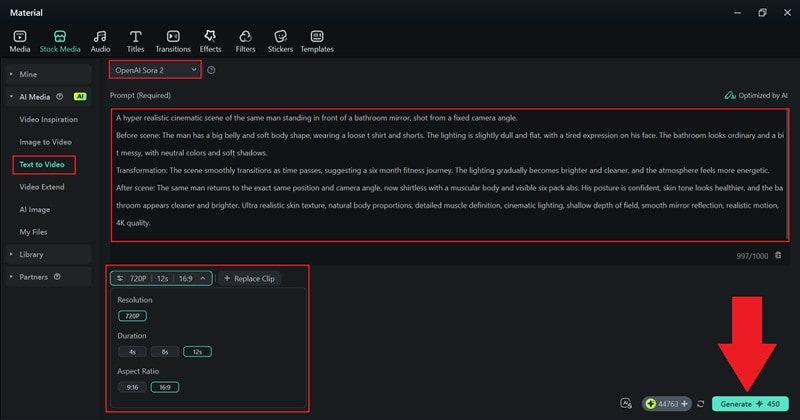
Switch the model to OpenAI Sora 2, and write your prompt in the text box. Describe the scene in clear detail and click "Generate" to let Filmora create the video.
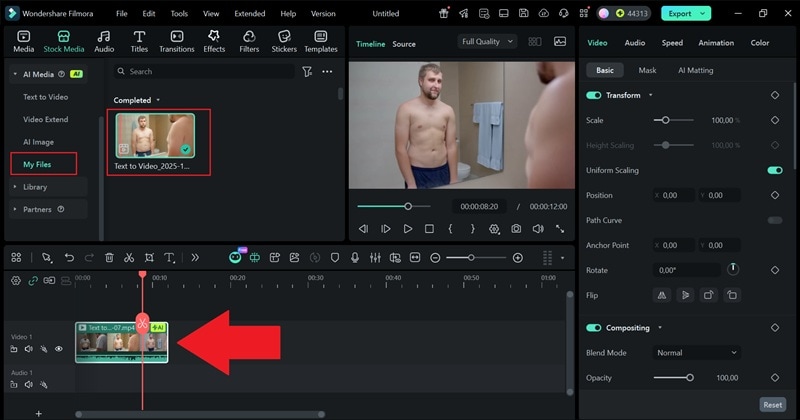
Once Filmora finishes the generation, the video will show up in the "My Files" panel. Drag the clip onto the timeline and see how it looks. If you want to make adjustments, use Filmora's filters, effects, AI tools, and other editing options to polish the scene.
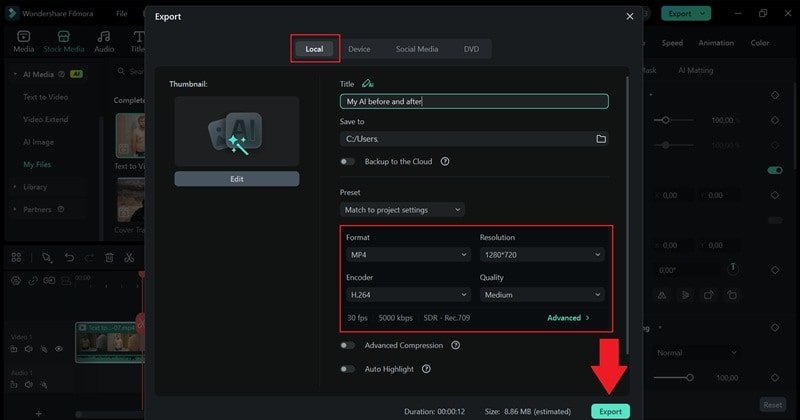
Click "Export" in the top right corner. Choose the resolution, format, and destination folder, then click "Export" again to complete the process.
In just four simple steps, you can create an AI before-and-after video that looks impressive! Check out the result below and see how the transformation comes together.
How to Write a Strong Before-and-After Prompt
When you use the text-to-video method, you can create almost any AI before-and-after video you can imagine. But while the freedom is great, the results really depend on how clear your prompt is, because a vague prompt can lead to a video that feels off.

To get clean and convincing results, your prompt needs structure. Here are the key points to follow:
- Describe the "Before" State: Paint a clear picture of the starting point. Mention where the scene takes place, how the lighting looks, the mood, and what the subject looks like at the beginning.
- Describe the Transformation Process: Make it obvious that a transformation is happening by using words like "transforms into" or "transitions to". This helps the AI understand that the scene should evolve over time.
- Describe the "After" State: Show a strong contrast by explaining how things look once the transformation is complete. The bigger the difference, the more satisfying the before-and-after video feels.
- Maintain a Consistent Perspective: Keep the same camera angle and framing so the before-and-after comparison feels clear and intentional.
- Highlight Visual Contrast Elements: Emphasize changes in color, lighting, cleanliness, expression, or atmosphere to make the transformation obvious.
Part 3. Pro Editing Tips to Make Your Before-After Video Look Stunning
At this point, you already know how easy it is to create an AI before-and-after video with Filmora. You can go the quick route with ready-made templates or get more hands-on by using prompts for full creative control. Either way works great.
But if you want your before-and-after video to really stand out, a little extra editing can make a big difference. With a few smart tweaks inside Filmora, your before-and-after video editing can feel smoother, cleaner, and way more satisfying to watch.
Below are five tips we often use, along with how Filmora can help at each step.
1. Use a Clean Split Transition
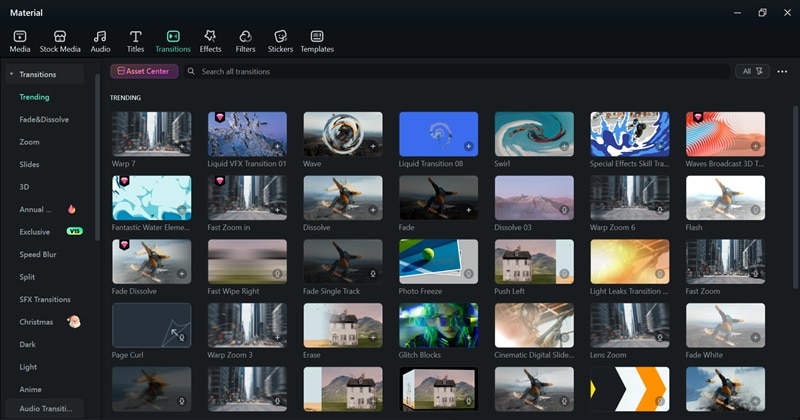
When the change is clear, the transformation feels easier to follow and way more satisfying to watch. Simple wipes, slides, or split-screen effects help the viewer instantly understand what is changing. Luckily, Filmora has a solid collection of transitions in its media library, so you can find one that fits your style without overdoing it.
2. Add Subtle Motion
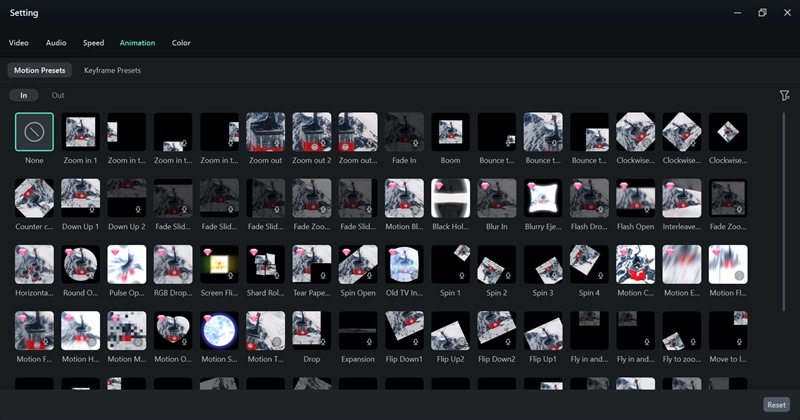
When the after part has a gentle zoom or slight camera motion, it naturally draws attention to the result without stealing the spotlight. It keeps the viewer focused on the transformation instead of making the video feel flat. With Filmora, you can easily add these small motions using built-in animation and keyframe tools, which helps your before-and-after video editing look smoother and more polished.
3. Keep Text Simple and Readable
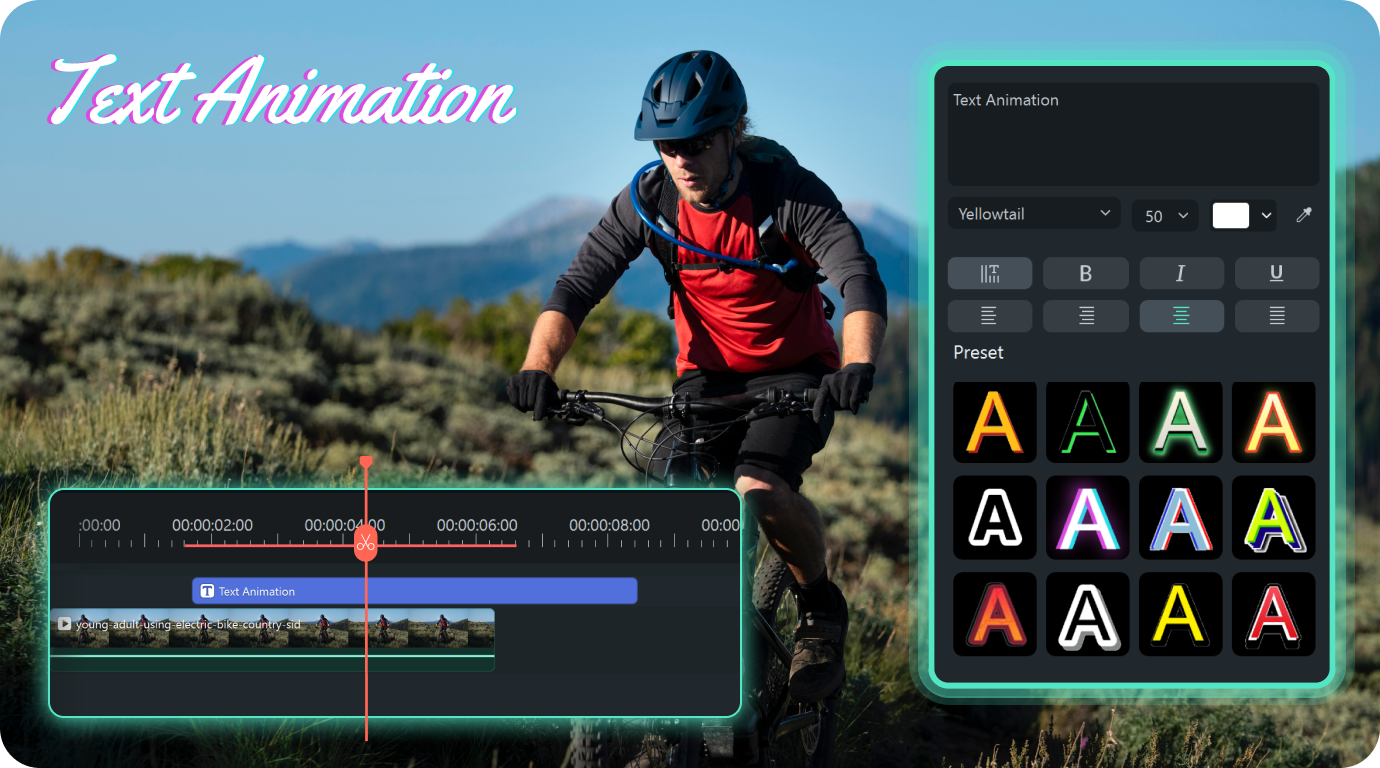
In a before-and-after video, less text always works better. Simple labels like "Before" and "After" make the change clear without distracting from the visuals. Filmora has clean text styles you can use right away, and if you want a little movement, you can add a small text animation or use text path to keep things fun but still easy to follow.
4. Match the Colors
Color makes a big difference in how a before-and-after video feels. If the lighting or tone is way off between the two shots, the transformation can look awkward instead of smooth. To solve this, feel free to use Filmora's color correction tools to help you balance brightness and tones so both sides feel connected, which makes your before-and-after video editing look cleaner and more natural.
5. Choose Music that Matches the Transformation
Music really shapes how your video feels. The right track can make a transformation feel more powerful, more fun, or even a little emotional. Thankfully, Filmora has a solid collection of royalty-free music you can use right away. And if you want something more personal, you can create your own track with the AI Music Generator to match the mood of your before-and-after video.
Conclusion
Before-and-after video content is one of those trends that never really gets old because people love seeing real change happen right in front of them. With Filmora, you can create AI before-and-after videos in a way that feels simple but still looks impressive, whether you use ready-made templates or generate scenes from text using Sora 2.
The AI Image to Video feature helps you get instant results, while the AI Text to Video tool gives you more creative freedom for custom ideas. Combine those options with Filmora's tools for before-and-after video editing, and you have everything you need to turn simple ideas into transformations people actually enjoy watching.
