Keyframe Animation for Beginners and Pros
 4.7
(15746
reviews)
4.7
(15746
reviews)
Keyframe
Basics
What Is Keyframing
Keyframe Example
Changes You Can Make With Filmora Keyframes
- Video: Position, Scale, Rotation, Opacity, Mask, Color, etc.
- Audio: Volume, Fade in/out, Pitch, Equalizer, etc.
- Others: Text & Titles, Effects, Stickers, Split-screen, etc.

Keyframe Interpolation
Both Temporal and Spatial Interpolations
Are Supported in Filmora Keyframe
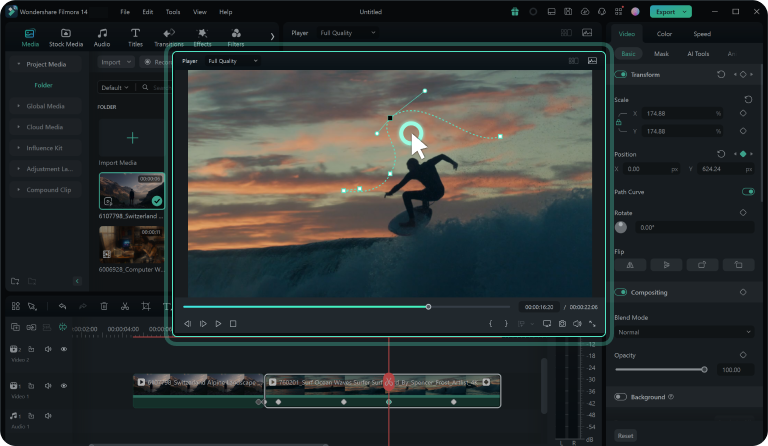
In video editing and animation, spatial and temporal interpolation define an object's movement between two keyframes. While both control different aspects of motion, depending on what you're trying to do, Filmora can calculate values between two points and determine whether you want to create a spatial or a temporal interpolation.
Keyframe Types
Understanding the Five Keyframe Types in Filmora
Now that we have a clear (or at least semi-clear) understanding of keyframe interpolation, let's look at the different types of keyframes available in Filmora.
How To Use Keyframes in Filmora
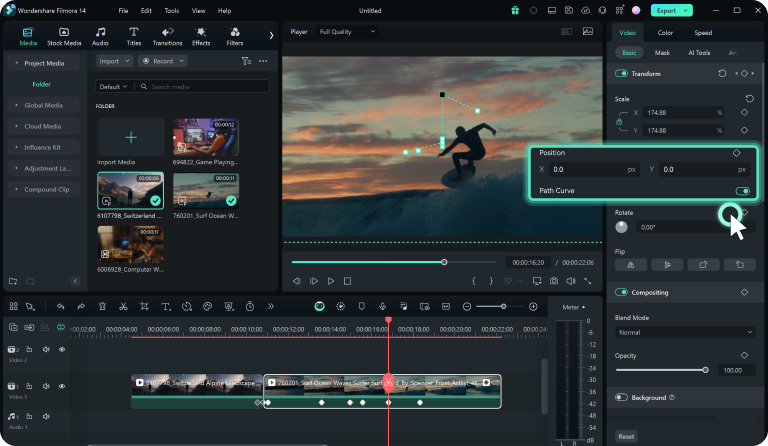
Creating Keyframe Animation in Filmora is seamless, thanks to the video editing app's remarkable ease of use. You can follow the steps below to try spatial interpolation in Filmora or find detailed instructions by checking the full Keyframing in Filmora guide.
Why Choose Filmora for Keyframing
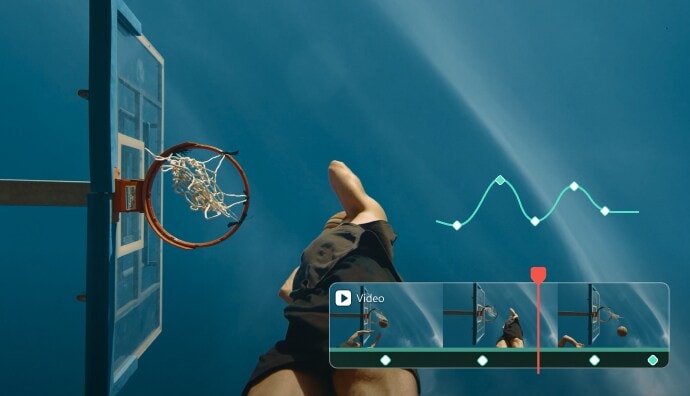
Visual Keyframe Editing
Visual Keyframe Editing

Multiple Parameter Adjustments
Multiple Parameter Adjustments

Preset Animation Effects
Preset Animation Effects
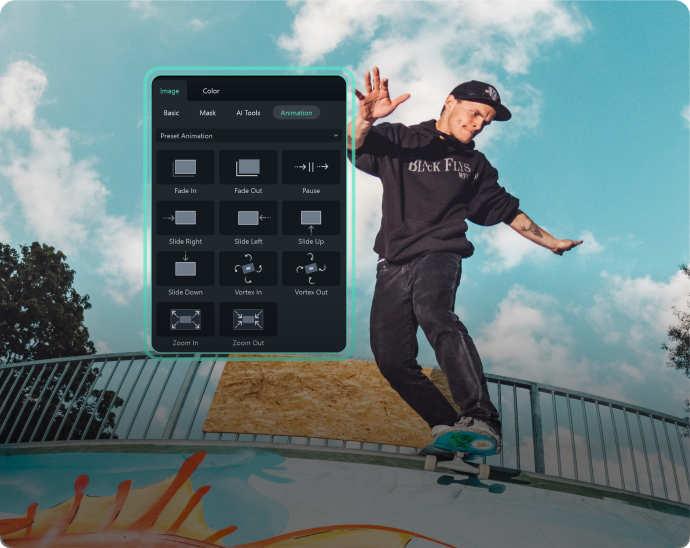
Tap Into the Massive Potential of Keyframe Effects
Not only are keyframes a fundamental aspect of the video editing experience, but they're also exceptionally robust and have a vast potential for creating unique and exciting audio and video effects. Here are a few video tutorials that can serve as inspiration for your next editing project.
Master 3 Amazing Keyframing Tips
From mastering the iconic Dolly zoom effect to maintaining complete focus on your face regardless of movement to making photos come to life, these three great keyframing techniques are perfect for beginners and experienced video editors.
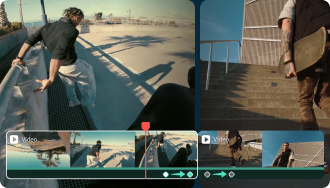
Create Transitions With Keyframes
Add VFX Effects with Keyframes
Using the Keyframe Panel in Filmora
Learn More Tips & Tricks About Keyframing


Frequently Asked Questions
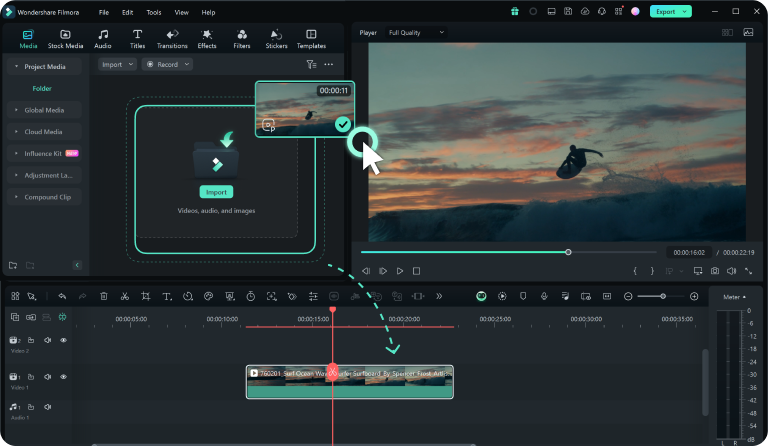
1. Launch Filmora and import media files.
2. Add the clip to the Timeline and find a spot to add a keyframe.
3. Place the play head at the spot. Then, tap the Keyframe button or hit ALT + Left Click.
1. Locate the keyframe you want to remove.
2. Once you see the blue Diamond button, click on it to delete a keyframe.
3. You can also choose the Delete Keyframe option by right-clicking on a keyframe in the Timeline.
1. Right-click on the keyframe in the Timeline that you want to copy.
2. Select the Copy Keyframe option.
3. Move the Playhead, right-click the Timeline > Key Frame > Paste Keyframe.
4. You can paste the keyframe as many times as you like.
What Our Customers Say
Tom
Kevin
Lily
Anya
Discover More Powerful Video Editing Features