Becoming a YouTuber is more popular than ever, and many aspiring creators are searching for clear guidance on how to become a YouTuber and make money. This guide is designed to help you start your journey. You'll learn essential skills, the right tools (like Filmora), and proven strategies to build a successful YouTube channel. From finding your niche to understanding monetization and how to become a full time youtuber, we'll cover everything you need to know.
In this article
Part 1. How Much Do YouTubers Make? A Deep Dive into Earnings
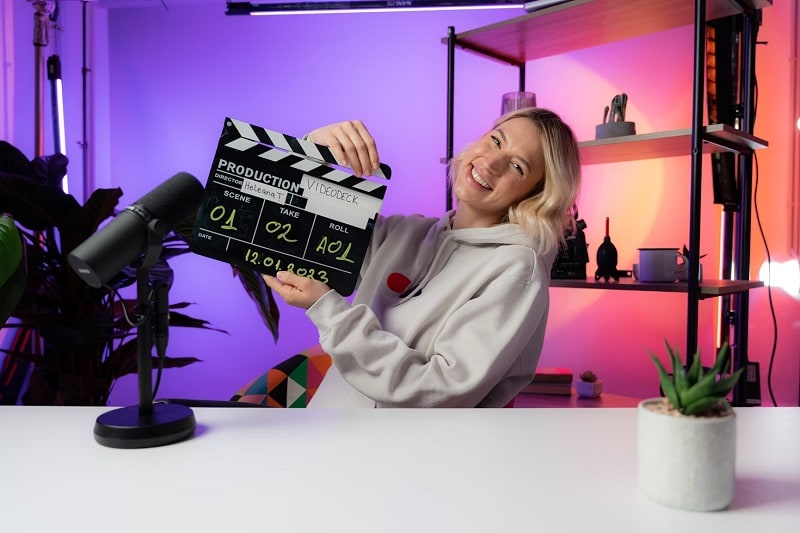
YouTube gives creators many ways to make money, from ad revenue to brand deals. While top channels earn huge amounts, even smaller ones can see a decent payoff over time. Still, it is not a get-rich-quick scheme.
You must meet certain rules, stay consistent, and build trust with your viewers. If you are ready to work hard and learn new skills, YouTube can become both a creative outlet and a steady income source.
How to Earn Money from YouTube
To start earning money on YouTube, you must meet the YouTube Partner Program (YPP) requirements. These include:
- At least 1,000 subscribers on your channel
- At least 4,000 valid public watch hours in the past 12 months
- An AdSense account on your channel
- Adherence to YouTube's policies and community guidelines
Once you fulfill these standards, you can monetize your videos through ads, channel memberships, and more. But how much money does a YouTuber make?
The answer varies based on your niche, viewer engagement, content type, and audience size. Some creators might earn a few dollars each month, while others reach six or seven figures every year.
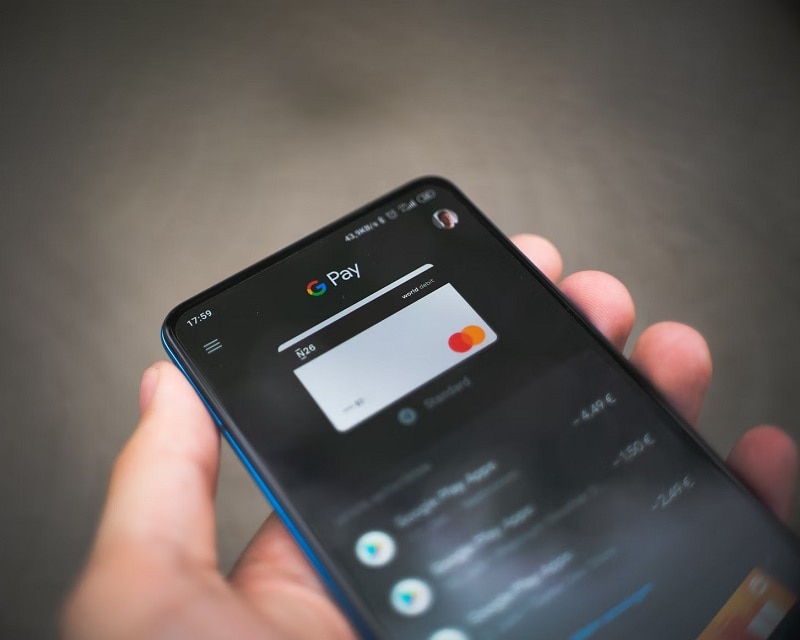
Earning from Ad Revenue and Brand Deals
Earning money on YouTube from ad revenue also depends on factors like where your viewers live and how they interact with your content. On average, YouTubers may earn $2 to $5 per 1,000 views through ads. This figure is known as CPM (cost per mille), and it can shift due to changes in viewer behavior or market conditions.
Many YouTubers partner with brands in addition to ads. These sponsorships can include sponsored videos, product reviews, or affiliate links. Some creators also sell their merchandise or offer paid live sessions to expand their income streams. Yet, success demands patience.
YouTuber Income Case Study
To better understand how much a YouTuber can make, let’s look at potential income streams based on subscriber count. These numbers are estimates and may vary depending on niche, audience engagement, and geography:
| Channel Size | Ad Revenue (CPM $2-$5) | Brand Deals | Merchandise | Memberships | Total Monthly Range |
| 10,000 Subscribers | $50 – $200 | $200 – $500 | $50 – $150 | $0 – $100 | $300 – $950 |
| 100,000 Subscribers | $500 – $2,000 | $1,000 – $5,000 | $500 – $1,500 | $200 – $800 | $2,200 – $9,300 |
| 1 Million Subscribers | $5,000 – $20,000 | $10,000 – $50,000+ | $5,000 – $15,000 | $2,000 – $8,000 | $22,000 – $90,000+ |
This example shows that while ad revenue is important, sponsorships and merchandise often play a bigger role as channels grow.
Part 2. 7 Essential Skills Every Successful YouTuber Needs
Many top YouTubers earn impressive sums through ads and sponsorships to prove that you can turn a hobby into a real source of income. Yet, you do not need fancy equipment or top-level contacts to begin your journey to becoming a YouTuber.
Success on YouTube often comes from honing key skills that keep viewers interested and inspire them to stay loyal. These skills help you stay creative, stand out from the crowd, and adapt to constant changes on the platform.
Creative Thinking
Creative thinking starts with a spark of originality. You may gain ideas from personal stories, trending topics, or past interests. The goal is to present them in new, exciting ways. Experiment with different styles, settings, or video formats. Stay open to feedback since your audience can guide you toward the right path.

Solid Content Research
If you want to know how to be a successful YouTuber, you must have solid research skills. Do not rely on guesswork. Your credibility matters whether you cover how-to tutorials, in-depth reviews, or hot news topics. Search for facts and cross-check sources. This boosts trust among viewers and makes them return to your channel for accurate, interesting details.

Platform Proficiency
Those wondering how to be a successful YouTuber need to know how to leverage YouTube's features. This includes:
- Understanding the algorithm that decides recommendations
- Learning how to optimize writing
- Knowing when to upload for a bigger impact
Data on viewer behavior, watch time, and engagement is key to shaping future content. Analyzing metrics lets you see what works best and make informed choices. Interacting with the community is also vital. Reply to comments, run polls, and share updates. These tactics keep fans engaged and help your channel thrive.

Part 3. How to Become a YouTuber & Grow Your Channel from Scratch
To become a successful YouTuber who earns money from the platform, you need to understand YouTube's creative and business sides. Anyone can post videos, but true success requires planning, persistence, and a keen eye on what people want to watch.
Pick a subject you love and one that offers real value or entertainment to an audience. Then, produce videos that stand out in both quality and style. In the next sections, we will outline key steps to becoming a YouTuber for beginners to get started.
1. Find Your Niche
Choose a topic you love and a market that has active viewers. Research similar channels to see what they offer and note any gaps. When you understand your audience, you can tailor content to fill their needs or solve their problems. Genuine interest and thorough research help you connect with people in a lasting way.

2. Create Quality Content
"Quality" does not always mean fancy cameras. Clear audio, steady visuals, and a purposeful message matter most. Tailor each video to your unique voice. Add helpful details or a personal spin to keep it fresh. Over time, this approach encourages a loyal audience.

3. Invest in Equipment and Software
While top-tier gear can help, it is far from the only factor. Editing software, however, is more crucial. To recommend a good YouTube video editor, Wondershare Filmora is an excellent option. This tool can cater to beginners with its intuitive tools, yet it also provides enough advanced features to satisfy more experienced creators.
Some of the features that you can enjoy in creating YouTube content with Filmora are:
- Advanced Editing Tools: Enjoy advanced features such as Chroma Key, Motion Tracking, and Multicam Editing to enhance your editing capabilities.
- AI Features: Leverage AI-driven options like Auto Reframe, scene detection, and text-based editing to streamline your editing process.
- Creative Assets: The app allows you to access a vast library of royalty-free music, videos, images, video effects, filters, and more to perfect your YouTube videos.
- Video Templates: Use pre-designed templates that are perfect for quick edits and consistent formatting.
- Social Content Planner: Schedule your video posts directly through Filmora to maintain a consistent online presence and engage with your audience at optimal times.
- Video Data Analysis: Track, monitor, and analyze your video performance with built-in analytics tools, allowing you to optimize your content strategy.
Filmora is available on desktop and mobile apps. You can try it for free to explore its features. You'll unlock many additional benefits once you decide to invest in it.
- Superb video stabilization with low distortion.
- Vast video/audio effects and creative assets.
- Powerful AI for effortless content creation.
- Intuitive, professional yet beginner-friendly.
- Works on Mac, Windows, iOS, and Android.

4. Engage with Your Audience
There's one simple trick for beginners to become successful YouTubers: respond to comments. Doing so makes your viewers feel heard. If they know you care, they are more likely to subscribe and share. A steady posting schedule also builds trust. Try Filmora Scheduler to plan uploads and keep your channel active.

5. Optimize SEO for Discoverability
Use specific keywords in titles, tags, and video descriptions. Tools like Filmora AI Copywriting can help you craft text that ranks better. It suggests keyword-rich text that blends natural language with search-friendly terms. This way, your content can reach the right viewers more effectively. Good SEO ensures more people find your channel, boosting views and subscriptions.

6. Make Eye-catching Video Titles and Thumbnails
Thumbnails need to grab attention in a split second. The titles should be concise yet inviting. Consider using AI Thumbnail to create designs that stand out and match your video's theme. This feature suggests layouts that highlight the focal point of your video or theme. It can also help ensure consistency across your thumbnails, giving your channel a clean, professional look.

7. Analyze and Adapt
Check YouTube Analytics to see which patterns in watch time and engagement perform best. Stay open to viewer feedback, as it helps you refine your plan over time. If something is not working, tweak your strategy. Adapting keeps your content fresh and relevant.

By blending your passion with well-researched ideas and user-friendly tools like Filmora, you can thrive on YouTube. Remember to stay consistent, engage viewers, and track your progress through analytics. Either to teach, entertain, or inspire, a thoughtful approach will pay off. In time, your channel can become both a creative outlet and a reliable source of income.
Part 4. How Filmora Helps YouTubers Go Full-Time
Many creators dream of turning YouTube into their full-time career. But success requires consistent, high-quality content and efficient workflows. Here’s how Filmora supports YouTubers in achieving this goal:
- Case Study: Lifestyle Vlogger – A creator with 50K subscribers reduced editing time by 40% using Filmora’s Auto-Reframe feature, making it easier to publish 3 videos per week consistently.
- Case Study: Gaming YouTuber – By using Green Screen and Split Screen, this gamer created more dynamic content that increased watch time by 25%.
- Case Study: Educational Channel – Leveraging Filmora’s AI Captioning and Text-Based Editing, an educator was able to reach international audiences and attract sponsorship deals.
These examples highlight how Filmora’s balance of advanced tools and user-friendly design can help creators transition from part-time hobbyists to full-time YouTubers.
Conclusion
Learning how to become a successful YouTuber who makes money requires a mix of creativity, skill, and patience. Start by picking a niche you enjoy, and then produce videos that offer real value. Invest in tools like Filmora that can streamline your process, from editing to scheduling and AI features.
Listen to feedback, study analytics, and refine your approach based on what works. Aim for both clarity and consistency in everything you do. In time, you can build a loyal fan base that supports your growth. Keep learning, stay true to your passion, and success will follow through steady effort and adaptability!
FAQ: Tips for Aspiring YouTubers
-
How long does it take to become a successful YouTuber?
It varies. Some channels grow quickly within months, while others take years. Consistency and niche selection are key factors. -
What’s the best niche for beginners?
Choose something you are passionate about. Popular beginner-friendly niches include gaming, tutorials, vlogs, and reaction videos. -
How much money do small YouTubers make?
Smaller YouTubers with around 10K subscribers may earn a few hundred dollars per month through ads and brand deals. -
Do I need expensive equipment to start?
No. A smartphone and free tools like Filmora’s trial version are enough to get started. You can upgrade your gear as your channel grows. -
How does Filmora help beginners?
Filmora offers AI editing, easy templates, and professional effects without the steep learning curve—making it ideal for new creators.


 100% Security Verified | No Subscription Required | No Malware


