

Creators often work in ordinary rooms with a plain wall, a basic camera, and enough space to move. What gives their videos a polished look is green screen software. It removes the green or blue backdrop and replaces it with any scene you want. This technique, called chroma keying, has been used for movies for a long time, but now anyone can use it.
Gamers can hide clutter, teachers can blend in with the lesson, and small brands can produce studio-style clips without having to rent a studio using chroma key software. It’s simple tech with a big visual impact.
Through our list, you’ll find easy green screen editing software with chroma key tools that blend backgrounds smoothly, handle lighting better, and run well on most devices.
How We Test Green Screen Software
A lot of green screen software promises clean results and perfect keying, but once you start using it, you quickly see that not all of them deliver. So to figure out which tools actually work well, we tested each one under the same setup.
- Keying Accuracy: The extent to which the chroma key green screen software can identify and eliminate colors for background removal without leaving a green outline, noise, or bugs.
- Live Preview: You can see the changes as you make them and before you apply them to contrast, brightness, and shadows.
- Layer Blending: Smooth handling of multiple layers, masks, and overlays.
- Rendering Speed: How efficiently the video editing software with chroma key exports projects on standard CPUs and GPUs.
- Creative Tools: Availability of filters, AI enhancements, and background templates for visual polish.
Our Top 3 Picks at a Glance
After all tests, three tools consistently stood out for overall performance and reliability.

Comparison Table - Top 10 Green Screen / Chroma Key Tools
| Tool | Best For | Pricing | Key Features | Standout Strength |
| Wondershare Filmora | Everyday creators, teachers, small teams | Free trial; paid plans from an annual license or perpetual license | One-click chroma key, professional parameter controls, and offer the customized color picker | Easiest balance of green screen software precision and beginner-friendly workflow |
| Adobe Premiere Pro | Agencies, studio editors, advanced freelancers | Subscription (Adobe Creative Cloud); single-app plans from US$22.99/mo (annual, billed monthly) | Ultra Key effect, advanced spill suppression, multi-camera timelines, deep Adobe ecosystem integration | Most control for complex chroma key video software and VFX-heavy projects |
| Movavi Video Editor | New editors, marketing teams, trainers | Free trial; annual license from US$54.95/yr, bundle & perpetual options available | Simple chroma key panel, quick templates, intro/outro presets, export presets for social | Fastest path from raw footage to polished green screen editing software results |
| Final Cut Pro | Mac users needing fast, cinematic edits | One-time purchase US$299.99 on macOS; 90-day free trial available | Automatic keyer, advanced color grading, magnetic timeline, optimized for Apple Silicon | Best blend of speed and cinematic quality for Mac-based green screen workflows |
| HitFilm Express (HitFilm Free) | Students and independent filmmakers on a budget | Core editor available as a free version; optional paid upgrades/add-on packs | Built-in chroma key, 2D/3D compositing, VFX library, support for complex timelines | One of the strongest free options for VFX-driven chroma key work |
| iMovie | Beginners and casual Apple users | 100% free on macOS, iOS, and iPadOS | Basic green screen effect, drag-and-drop editing, templates, titles, and built-in music | Easiest entry-level green screen editor for Apple users at no cost |
| CyberLink PowerDirector | Vloggers and semi-pro video editors | Free trial; PowerDirector 365 subscription from US$34.99/yr, or one-time PowerDirector 2026 license | Multiple chroma key modes, AI motion tracking and stabilization, fast GPU-assisted rendering | Strong manual control and fast exports in a mid-range price bracket |
| WeVideo | Educators and remote teams | Free tier; paid plans (Power, Unlimited, Professional, Business) from US$9.99/mo | Cloud-based editor, green screen, templates, LMS and cloud storage integration, team collaboration tools | Flexible online green screen platform tailored to classrooms and collaborative teams |
| Kapwing | Social-media creators and marketing teams | Free plan with limits; Pro from US$16/mo billed annually, Business from US$50/mo billed annually | Browser-based editor, automatic background removal, auto-subtitles, social-ready canvas presets | Fastest for repurposing clips and creating platform-ready green screen content entirely online |
| Lightworks | Filmmakers and advanced students | Free version available; paid Create/Pro plans (monthly/annual) from US$49.99/mo | Professional timeline trimming, multicam support, chroma key, export up to 4K (paid tiers) | Long-standing pro-grade editor that offers serious tools plus a capable free tier |
Each performs consistently across lighting conditions, making them strong benchmarks for anyone comparing green screen editing software options.
Top 10 Best Green Screen Software
Below are the tools that scored highest for accuracy, speed, and ease of use. Each works well for different types of creators, whether you are a first-time editor or a full-scale production team.
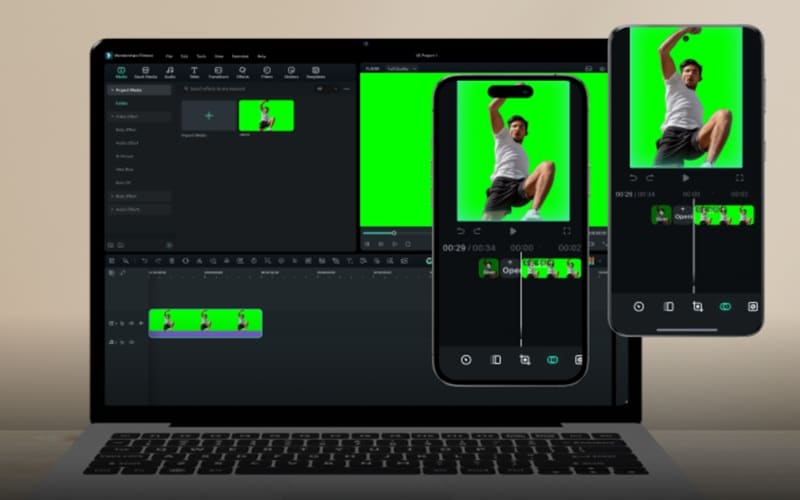
1. Wondershare Filmora
Filmora combines advanced features with an intuitive design. The included chroma key editing feature does the rest, removing the green or blue background with just a few clicks and adjusting the edge feathering, drop-shadow, and more. You can stack titles, nest LUTs, and leverage AI audio cleaning all in the same timeline.
- Intuitive interface; short learning curve.
- Accurate green screen editing software results even in uneven light.
- Includes templates, filters, and sound packs.
- Exports in the free trial include a watermark.
- Some effects require additional downloads.
Windows / macOS / Android / iOS
YouTubers, educators, and marketing teams.
Wondershare Filmora has a 4.7/5 rating on the Apple Store, where people like that it's so easy to use and runs smoothly even on older systems.
On Capterra, it gets 4.5/5 stars for its clear interface and useful AI tools, but some users have said watermarks are a downside to the free plan.
Among all video editing software green screen options, Filmora balances power and accessibility. It's reliable for both hobby and semi-professional work.
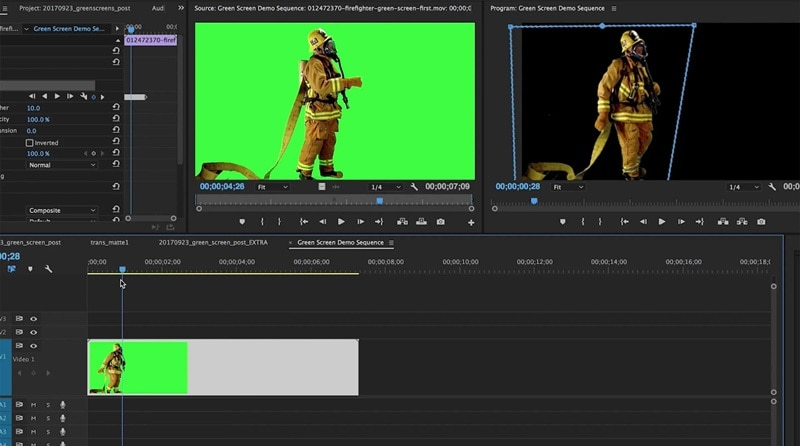
2. Adobe Premiere Pro
A standard in professional studios, Premiere Pro combines precise control with deep color keying tools. The Ultra Key effect handles even uneven lighting, while GPU acceleration ensures smooth 4K playback. It's ideal chroma key software for advanced editors managing multi-camera footage.
- Precise control of spill suppression and edge transparency.
- Integration with After Effects and Photoshop.
- Supports multi-camera timelines.
- Subscription-only pricing.
- Demands higher-end hardware.
Windows / macOS
Professional editors and production houses
Adobe Premiere Pro has a 4.5 out of 5 rating on G2. People like how easily it works with Creative Cloud, especially for big projects. Some say it runs best on a stronger computer, but it is still one of the most trusted chroma key video software options out there.
On Capterra, it has a 4.7 out of 5. Users enjoy the easy timeline and the solid editing tools, though a few mention it can feel slow on older devices.
If you're a pro-image or film company, we suggest Premiere Pro – the best chroma key video editing software with remarkable power, stability, and third-party plug-ins.
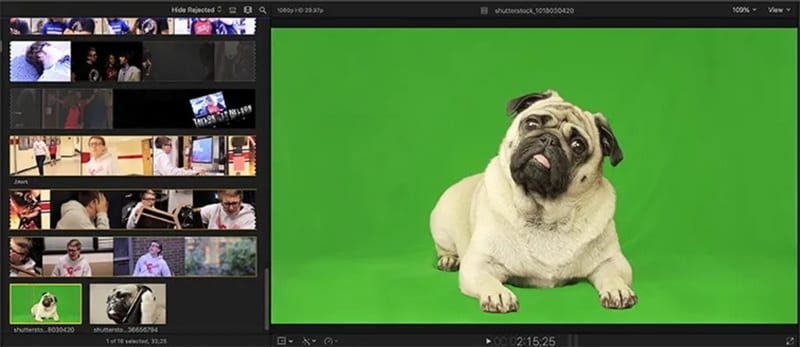
3. Final Cut Pro
Final Cut Pro remains the go-to green screen software for Mac users seeking fast, cinematic editing. Its automatic keyer detects backgrounds instantly, while Apple Silicon support gives unmatched speed. You get professional precision wrapped in an intuitive interface.
- Exceptional rendering speed on Apple Silicon.
- Built-in color-grading and stabilization tools.
- Simple drag-and-drop chroma key software workflow.
- macOS-only.
- One-time purchase cost is high for casual users.
macOS / iPadOS
Apple ecosystem users and creators needing fast renders
Final Cut Pro carries a 4.7/5 rating on Capterra, with users calling it "an editor's dream" for its speed and steady stream of updates. Its tight integration with the Apple ecosystem is a major plus, though some wish it were available outside macOS.
On G2, it holds a 4.4/5 rating, where users appreciate its simplicity and fast storyline editing workflow.
It's the best green screen editing software for Mac users seeking a balance between speed and cinematic quality.
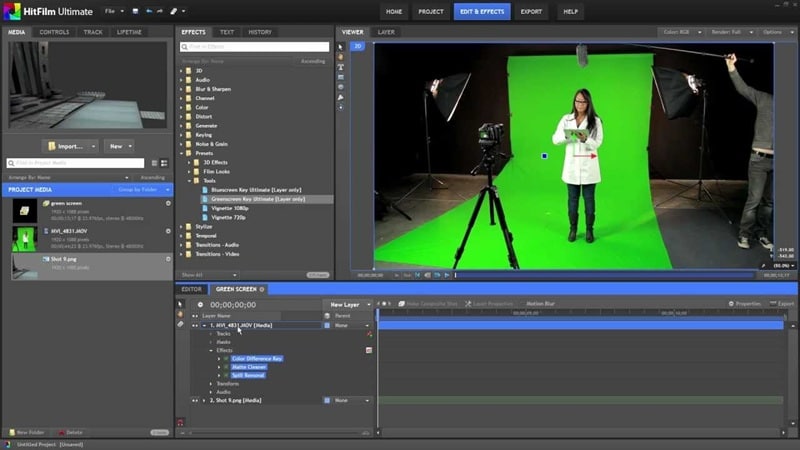
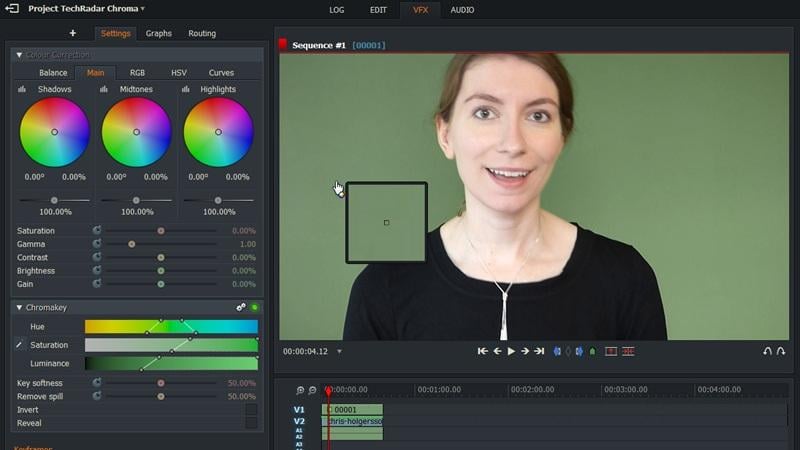
4. HitFilm Express
HitFilm Express offers full-scale video compositing and VFX inside a free package. Its integrated chroma key editing software handles background removal and color correction easily, while 3D layers and effects give indie filmmakers a studio-grade experience without cost.
- The free version includes core green screen software tools.
- Supports particle and lighting effects.
- Optional paid add-ons for advanced filters.
- Requires registration and activation.
- Heavy GPU use on older machines.
Windows / macOS
Students and independent filmmakers on a budget
The rating for HitFilm Express is 4.5/5 from TechRadar, whose personnel praise the pro-quality effects and tools for free along with powerful tutorial support and thoughtful upgrade paths to more advanced offerings.
It boasts a 4.3/5 score on Capterra, with users loving the sound effects and green screen precision, though some report performance dips in older systems.
It's among the best free chroma key software options for users who want creative control without upfront cost.
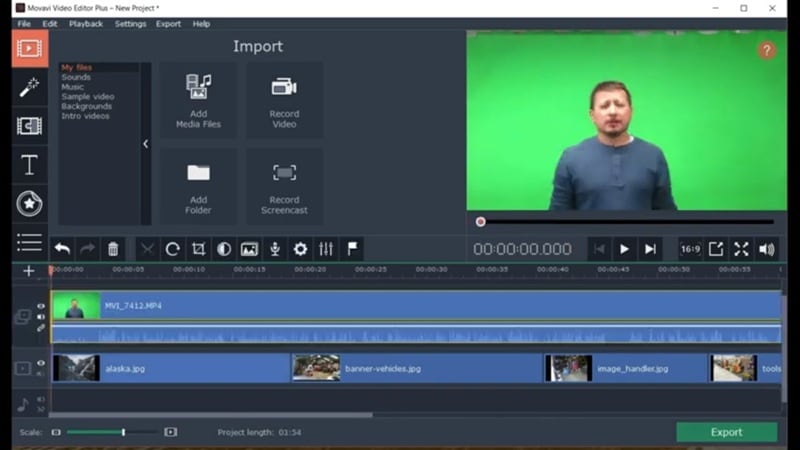
5. Movavi Video Editor
Simple yet capable, Movavi Video Editor streamlines the chroma key green screen software workflow with one-click background removal and intuitive templates. Perfect for YouTubers or educators, it balances fast rendering with reliable export quality.
- Step-by-step tutorials for beginners.
- Built-in templates for intros and transitions.
- consistent export quality.
- Limited multi-track editing.
- Some premium effects locked behind add-ons.
Windows / macOS / Android / iOS
Content creators and educators needing fast results
Movavi Video Editor has a 4.7/5 rating on G2, with users noting the clean interface, quick exports, and beginner-friendly tools you'd expect from pro-level software.
It has an average rating of 4.8/5 on Capterra, where users rave about the user-friendly drag-and-drop interface and time-saving templates for easy video creation.
Movavi is versatile green screen software for videos, ideal for short-form creators who value speed over deep customization.
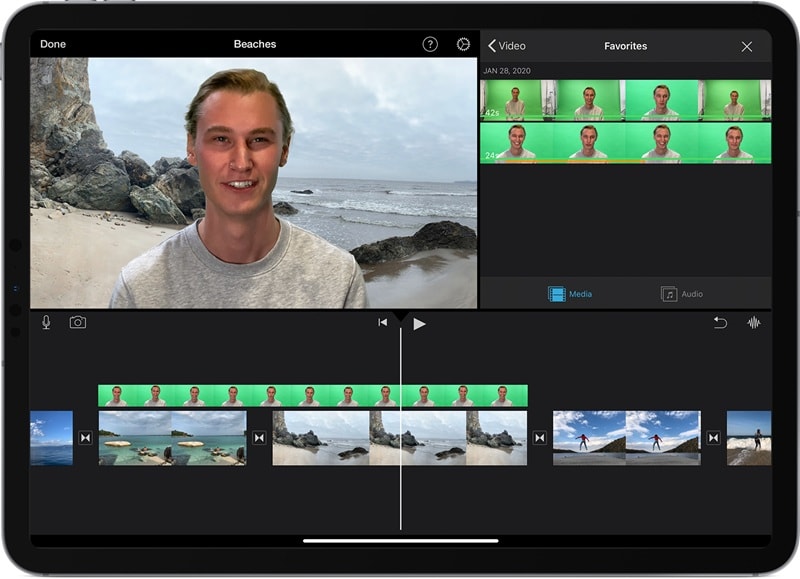
6. iMovie
Apple's free green screen video editing software makes it easy to edit videos for mere mortals. With chroma key effects and drag-and-drop media, as well as simple transitions, iMovie makes you focus on storytelling rather than your footage.
- 100% free and pre-installed on Mac devices.
- Clean, guided editing environment.
- Seamless transition to Final Cut Pro.
- Lacks advanced effects and tracking.
- Limited export settings.
macOS / iOS / iPadOS
Beginners and casual video editors
iMovie boasts a 4.3/5 star rating on G2, with users enjoying its intuitive drag-and-drop workflow process and refined templates, as well as the ease of syncing across Apple devices.
It has a 4.5/5 rating on Capterra, where reviewers praise its ease of use and seamless integration with iMovie, while saying it is limited in terms of advanced editing features.
It's a free green screen editing software option that keeps things simple and consistent for Apple users.
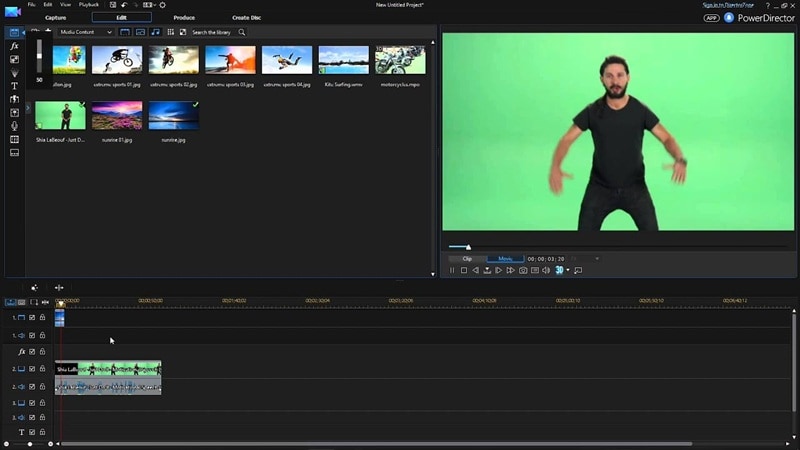
7. CyberLink PowerDirector
PowerDirector unites creative control and fast editing, including multiple chroma key video software modes to use, and realistic previews. AI motion tracking and stabilizers make it easy for vloggers and semi pros to keep their footage polished, even when the system is not exactly trapping.
- Excellent balance of price and power.
- AI motion tracking and mask tools.
- Frequent updates for new codecs.
- Interfaces can feel cluttered.
- Occasional stability drops on older GPUs.
Windows / macOS / Android / iOS
Vloggers and semi-pro video editors
PCMag gives CyberLink PowerDirector a 4.3/5 rating, calling it fast, robust and user-friendly. Reviewers also praise its powerful rendering and convenient AI effects, but some also mention the interface can get a little crowded for new users.
On Capterra, PowerDirector holds a 4.4/5 score. Users appreciate its easy learning curve, reliable performance, and range of editing features. Some point out that a few advanced tools require an upgrade, and the layout may take time to get comfortable with.
Among video editing software with chroma key, PowerDirector gives editors detailed manual control while keeping exports fast.
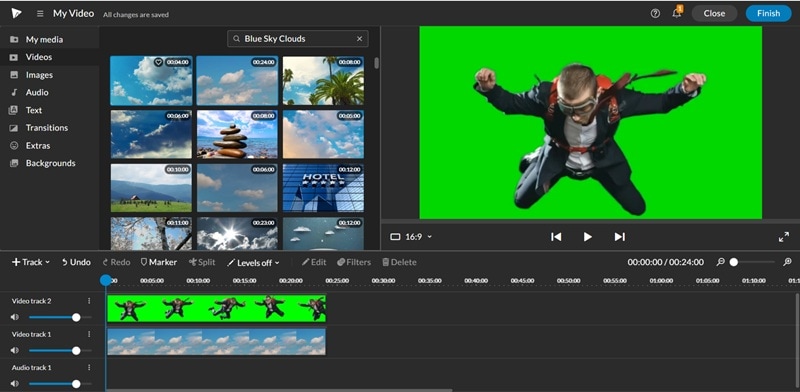
8. WeVideo
WeVideo is cloud-based green screen computer software built for collaboration. It runs smoothly on browsers, with online rendering that handles the heavy lifting. Teams, teachers, and students love its simplicity and remote access flexibility.
- No installation needed.
- Collaboration features for classrooms and teams.
- Good integration with Google Drive and Dropbox.
- Free plan limits resolution and storage.
- Internet required for every session.
Online (Web / Cloud)
Educators and teams working remotely
With a 4.6/5 score on G2, users love its straightforward interface, the ability to export high resolution videos and team features that make editing feel effortless.
On Capterra, it sits at 4.6/5, and reviewers call the platform easy to use and praise its sleek cloud sharing features, but some note that the free version's export quality leaves something to be desired.
If you need software for green screen video editing in a shared environment, WeVideo is lightweight and easy to manage.
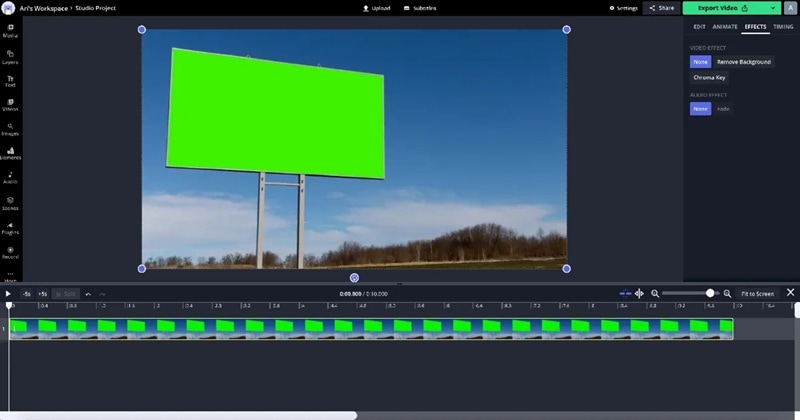
9. Kapwing
Kapwing makes online editing fast through browser-based AI that removes backgrounds automatically. This free green screen video software is great for social media teams who want quick, professional-looking results without desktop installs.
- Quick edits directly in a browser.
- Supports auto-subtitles and resizing for social formats.
- Team collaboration tools.
- Limited export quality on a free tier.
- Requires strong internet for preview rendering.
Online / Web
Social-media creators and marketing teams
Kapwing gets a 4.0/5 on G2, and users report the site's user-friendly browser-based editor, AI transcript tools and ability to repurpose media for fast projects as advantages.
On Capterra, it has a 4.4/5 rating with users lauding its extensive creative options and rapid content building, though some report difficulties with billing and subscription issues.
Kapwing is ideal for quick projects and short campaigns. It's practical free video editing software with a chroma key built right into your browser.
10. Lightworks
A veteran among green screen editing software, Lightworks brings professional power to creators who prefer hands-on control. Its precise timeline trimming, matte adjustment, and export flexibility make it ideal for advanced users on a budget.
- Precise timeline trimming.
- 4K support even in a free plan.
- Flexible export options.
- Interface feels dated to some users.
- Limited audio effects in free version.
Windows / macOS / Linux
Filmmakers and advanced students
TechRadar gives it a 4 out of 5. People like the strong editing features, the pro effects, and the easy exports.
On Capterra, it has a 4.2 out of 5. Users enjoy that it is free and lets them upload straight to YouTube, though some say the interface takes time to learn.
For editors who want professional results without monthly fees, Lightworks remains one of the best free green screen software options on the market.
Extra Tips for Perfect Chroma Editing
Even the best chroma key software can’t fix poor footage. A few simple setup choices make a major difference in how smooth and realistic your final video looks.

- Keep the lighting even: Even lighting helps any chroma key software read the backdrop cleanly. Soft, diffused lights prevent shadows that confuse green screen editing software, making edges smoother and reducing flicker.
- Use a solid, wrinkle-free backdrop: Wrinkles create darker patches that throw off chroma key green screen software. A tight, crease-free surface gives the editor a consistent color to remove.
- Avoid colors that blend with your screen: If your clothing blends into the screen, your chroma key software will key it out. Choose contrasting shades so the subject remains clearly defined during keying.
- Use AI tools to polish the result: After the initial key, use AI tools to refine the result. Filmora’s AI Denoise and Shake Stabilizer help sharpen edges, smooth motion, and give your green screen computer software output a clean, professional finish.
How to Choose the Right Green Screen Software
Different creators need different tools. The best green screen software for a YouTuber might not fit a teacher, and what works for a film student might be overkill for a casual user.
- For Beginners: Tools like Filmora or Movavi offer automatic keying, simple presets, and clean timelines. It is ideal video editing software with chroma key for quick background removal.
- For Professionals: High-end editors need chroma key editing software with detailed matte controls, masking, and spill suppression. Adobe Premiere Pro and Final Cut Pro remain top picks for advanced compositing.
- For Educators and Streamers: Live creators should use live chroma key software with real-time preview and overlay tools. OBS Studio and PowerDirector work smoothly for lessons, demos, and gameplay.
- For Mobile Users: Apps like CapCut or FilmoraGo act as mobile-friendly green screen editing software, automatically separating subjects using AI for fast social-ready clips.
Conclusion
This guide covered a wide range of green screen editing software, from pro editors built for complex composites to simpler platforms designed for quick, everyday work. Either option has its own advantages: speed, accuracy, a schedule that works for you or a layout that won’t oppress your goals. The real takeaway is that the best results come from software that works with your flow, not against it.
Among the tools reviewed, Filmora hits that balance with ease. It offers quick setup, dependable chroma key results, and a workflow that stays responsive even when deadlines get tight. It keeps the process simple without losing polish, making it the tool many creators end up relying on without thinking twice.
