
 100% Security Verified | No Subscription Required | No Malware


 ChatGPT
 Perplexity
 Gemini
 Claude
 Grok
Grok
Audio production is a complicated field. When you get deep into the subject matter, you realize that it has a lot to do with understanding the physics of sound. You also have to have a firm grasp of the tech industry that manufactures gadgets and instruments and follow trends. Lastly, you need to keep track of audio editing software updates and recommendations.
But what if you are making videos? Audio is an integral part of every video, so you need to master it along with your video editing skills. You need a good tool for that, and Adobe’s Premiere Pro is currently a popular choice. It is a great option for video and audio editing, but it does have a steep learning curve and an interface that takes some getting used to.
Let’s jump in and see how to add audio crossfade in Premiere Pro.
In this article
A Step-by-Step Guide to Crossfade Audio in Premiere Pro
The first thing you need to do is open Premiere Pro on your preferred device and add at least two audio files to the timeline. You can also add video files with audio.
It’s actually very easy.
Step 1: Hold the Shift button and click on both audio tracks to select them.
Step 2: Then, hold Ctrl + Shift + D if you are doing this on a Windows PC or Cmd + Shift + D if you are using an Apple Device.
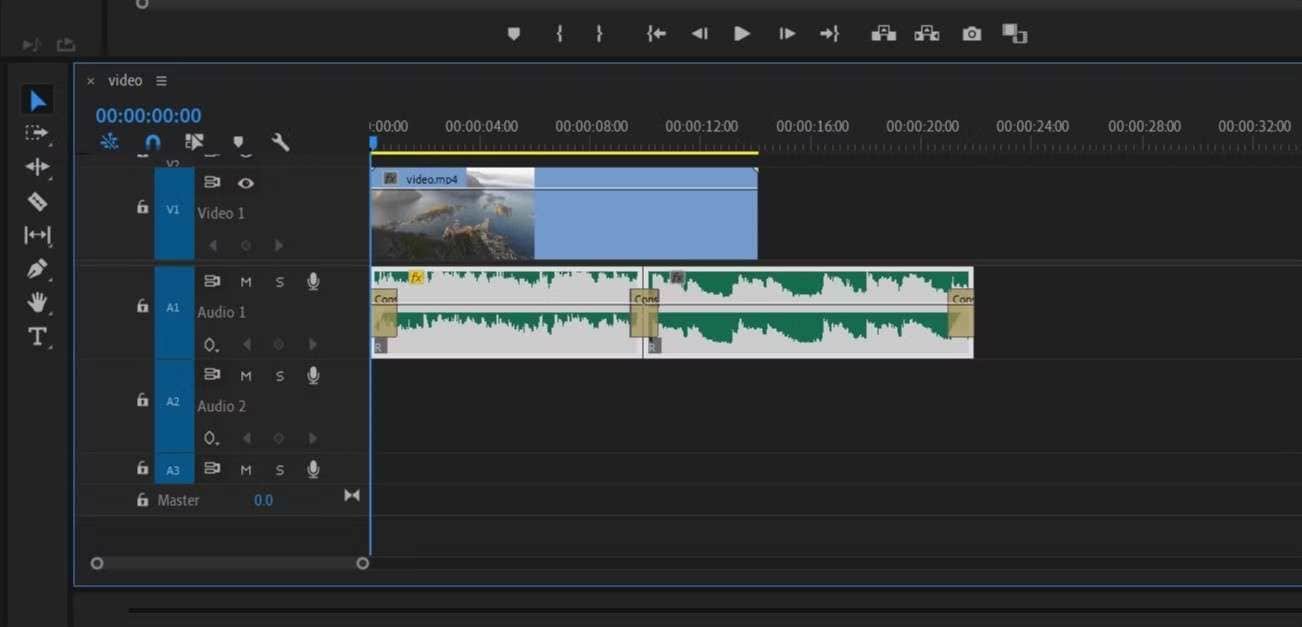
As you will notice, Premiere Pro will add the crossfade effect to the beginning and end of all selected audio clips. You can then hover over the beginning and end of each effect in the timeline and click and drag to a position where you want the effect to begin or end.
This is easy, sure, but if you want to excel in video and audio editing quickly, you need an easier tool. Don’t worry, because we have something for you.
There’s an Easier Way - Wondershare Filmora

 secure download

Wondershare Filmora offers just about everything you can find in Premiere Pro. The only difference is the interface, and that’s where Filmora dominates. As soon as you open the program, you will notice that every feature is clearly represented and accessible. Search bars are everywhere, and you can find exactly what you’re looking for in seconds.
If you are having issues, the Filmora Copilot feature can help. It actually serves two functions. First, it guides you through the program and familiarizes you with the features. Second, it can perform tasks for you instead of you. So, for instance, instead of manually applying the audio crossfade effect between two audio files, you can ask the Copilot to do it for you. Here’s how.
Step 1: Download Filmora on your preferred device.
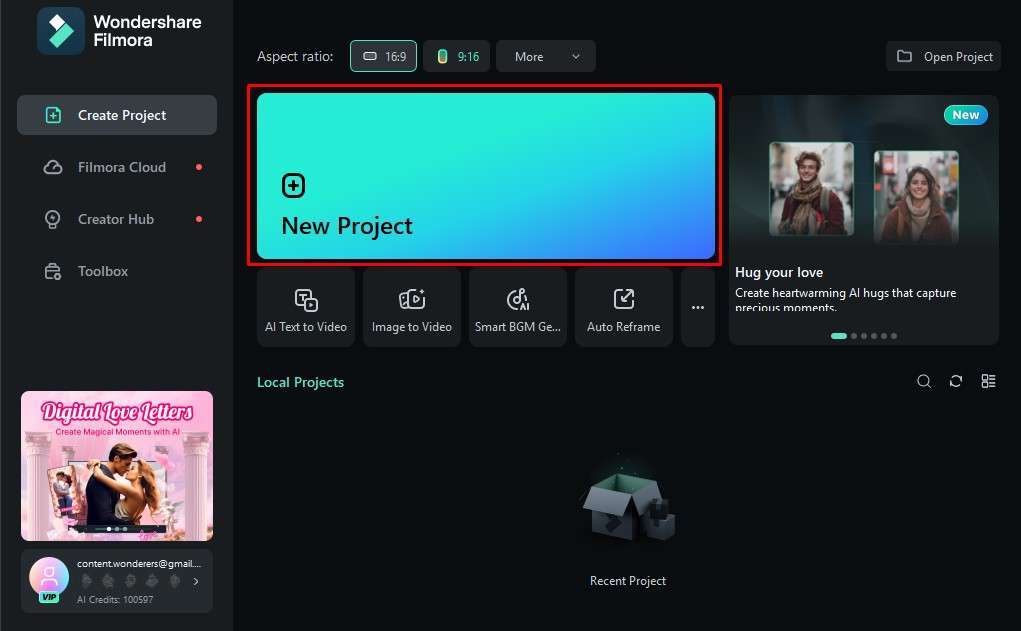
Step 2: Create a New Project.
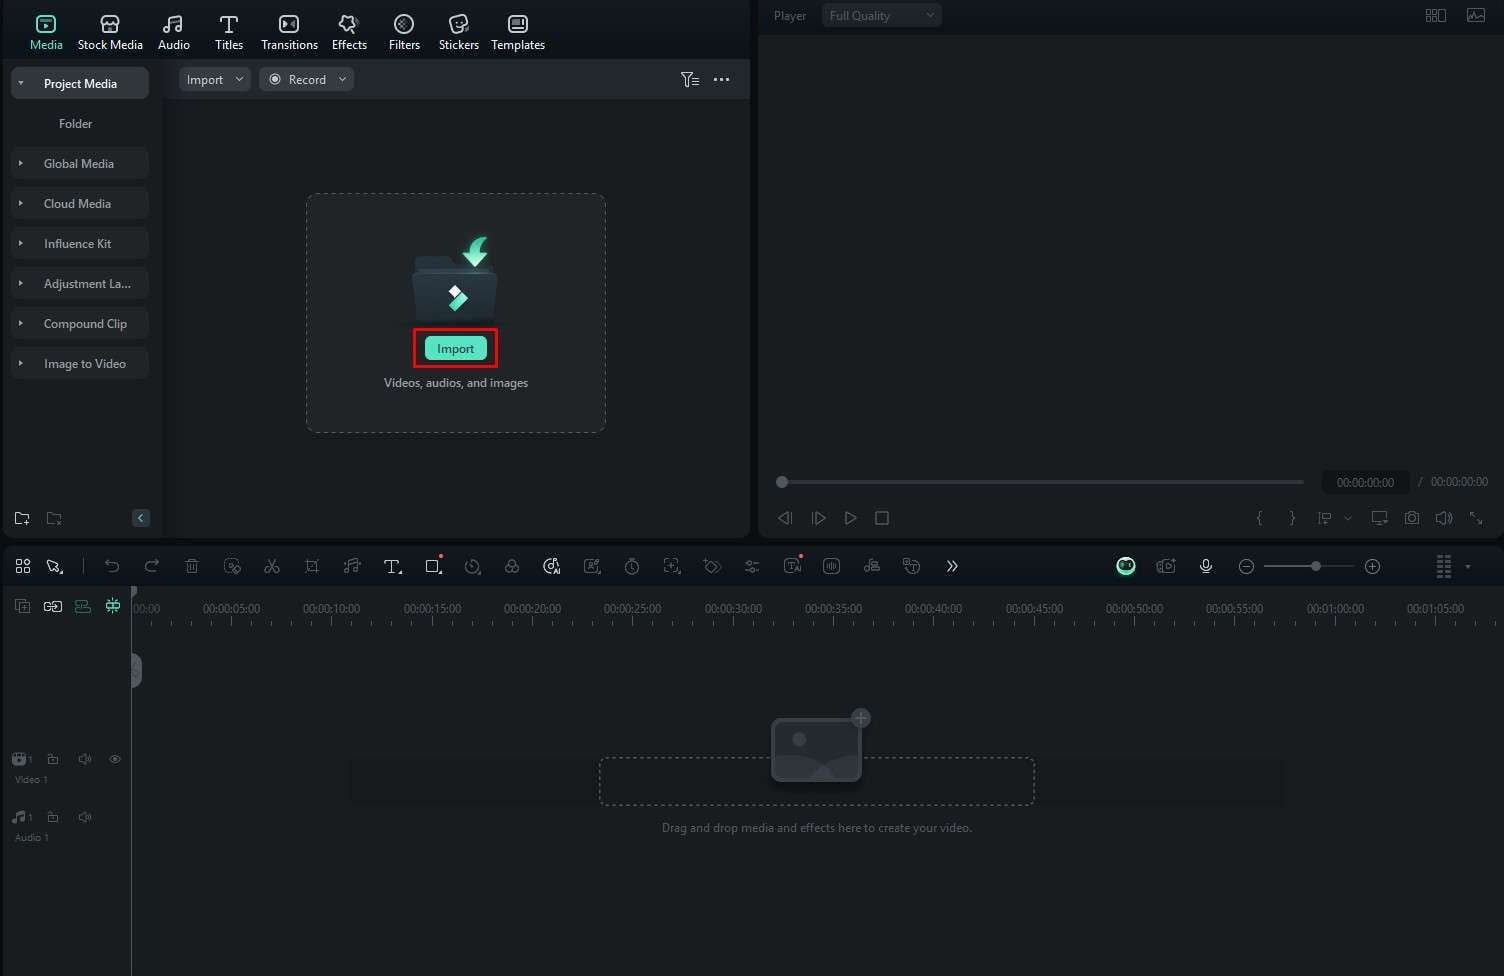
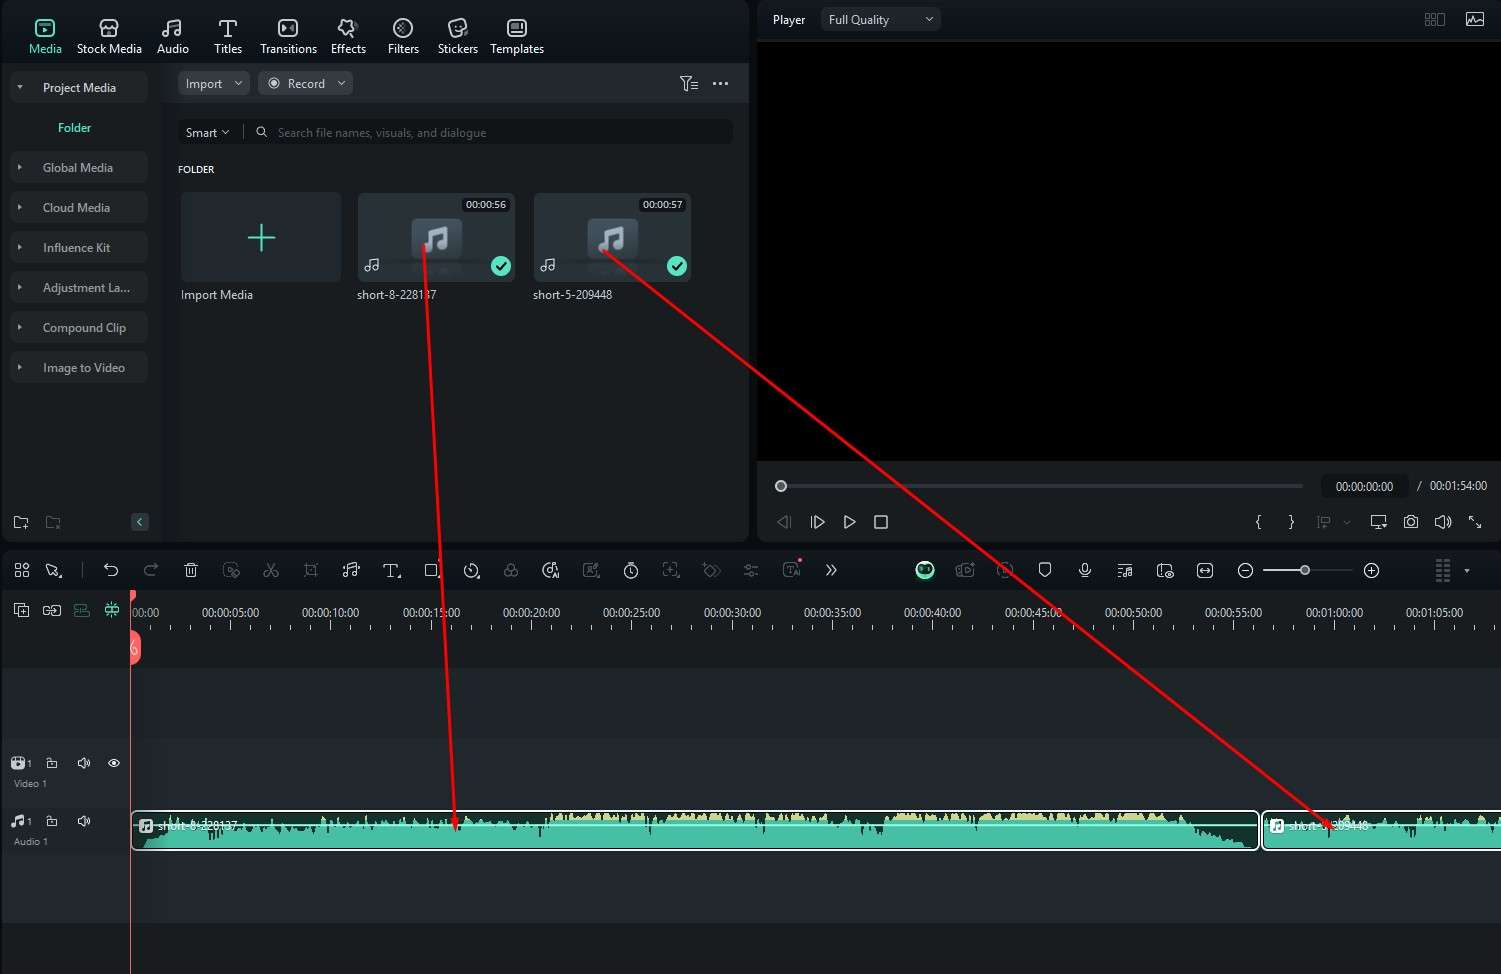
Step 3: Click on Import and select two media files that have sound.
Step 4: Drag the two media files to the timeline so that they have the same audio track.
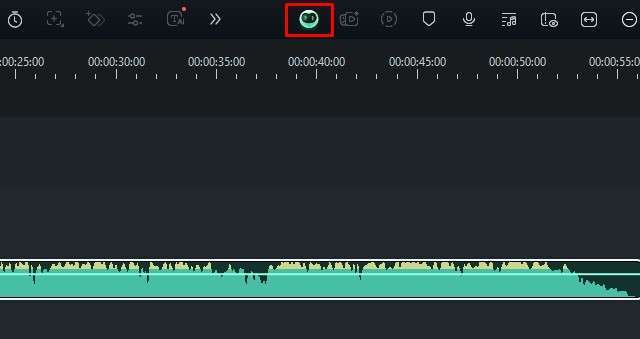
Step 5: Click on the Filmora Copilot button in the timeline.
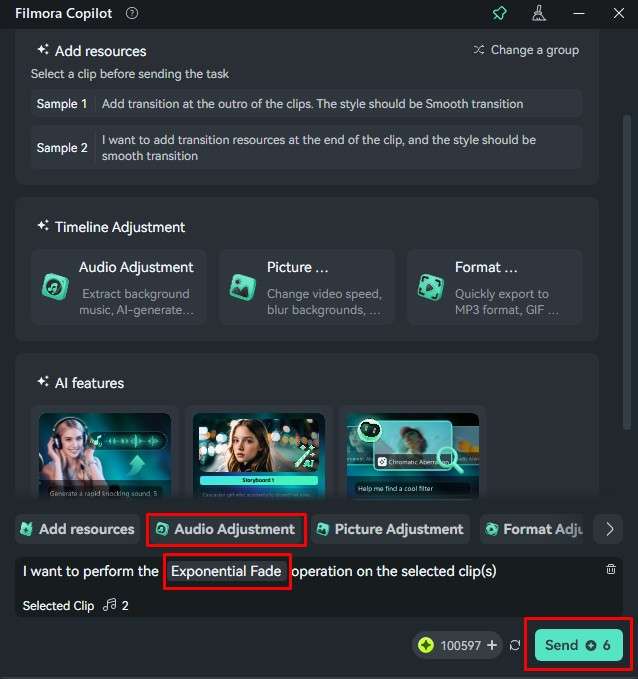
Step 6: Click on Audio Adjustment and type Exponential Fade in the action box. Then click on Send.
This is just one of many things you can do with this feature. Nevertheless, if you want to know how to do it manually, see the following section. The AI feature might not perform the action correctly. Nevertheless, you can use it for many other things.
A Step-by-Step Guide to Crossfade Audio in Filmora
If you want to manually add audio crossfade in Filmora, which does give you more customization options and better control, you only need to follow this simple, two-step process.
secure download
Step 1: Click on Transitions.
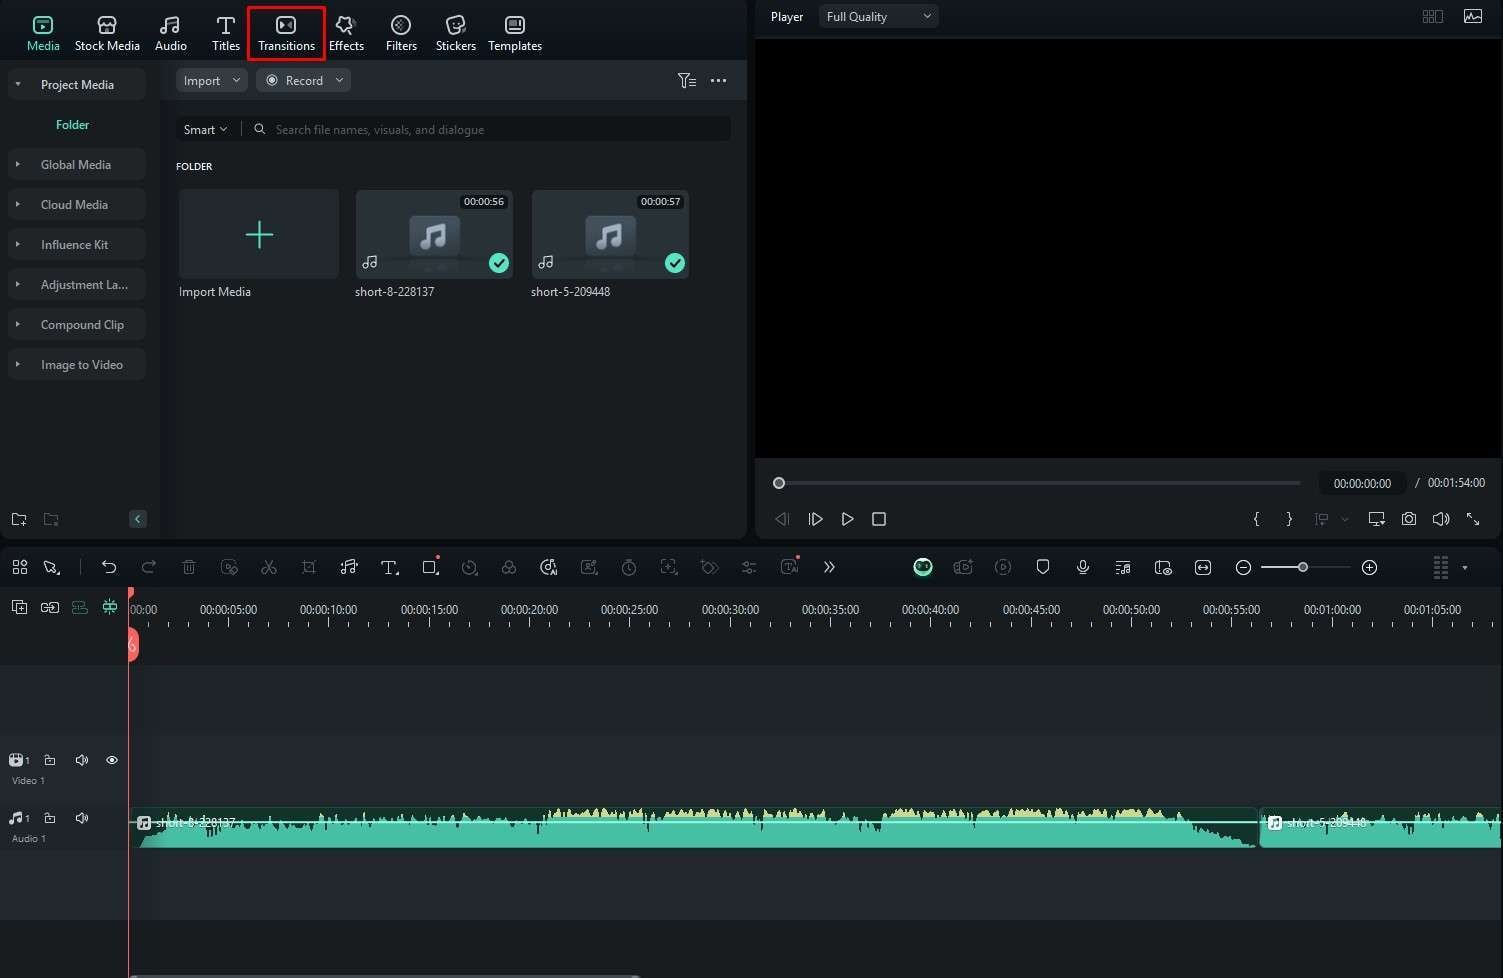
Step 2: Under Audio Transitions, locate the Exponential Fade effect, and drag it between two audio clips.
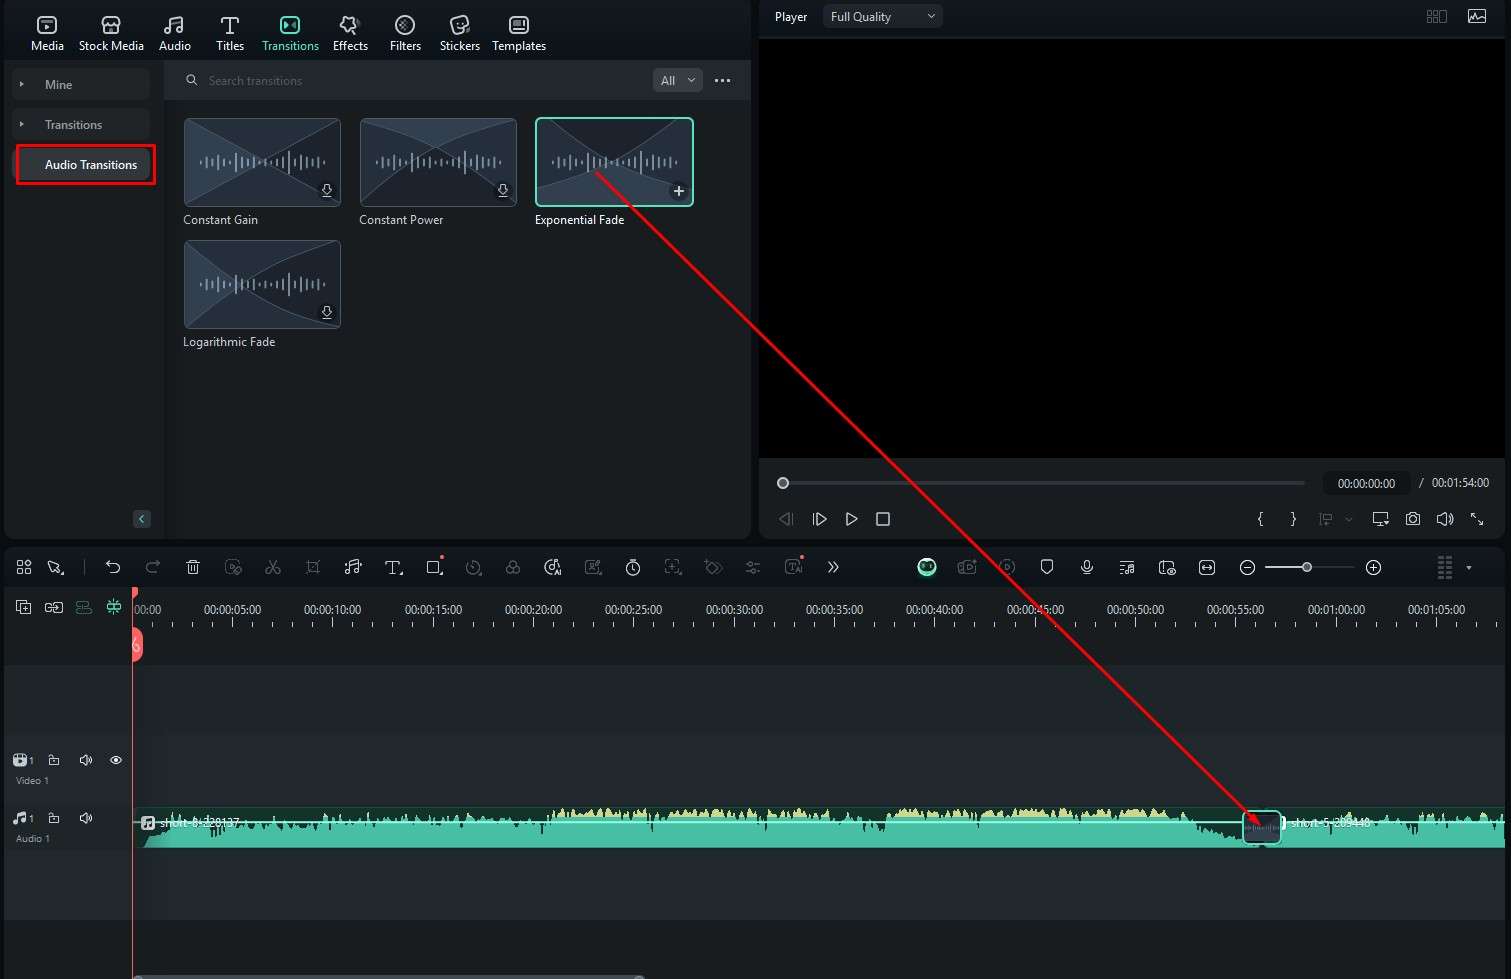
You are done. Just like with Premiere Pro, by hovering over the beginning or the end of the effect, you can modify its duration. Unlike Premiere Pro, Filmora offers several unique AI features that will speed up your audio editing process. Let’s see some of them in action.
Improve Sound with Filmora’s AI Features
Most of Filmora’s AI features involve video and image editing and manipulation, but several top-notch AI features related to audio editing are also present. We will present three of them and give you how-to steps.
AI Sound Effect
In the Audio tab, click on AI Sound Effect, type a prompt, and click on Generate.
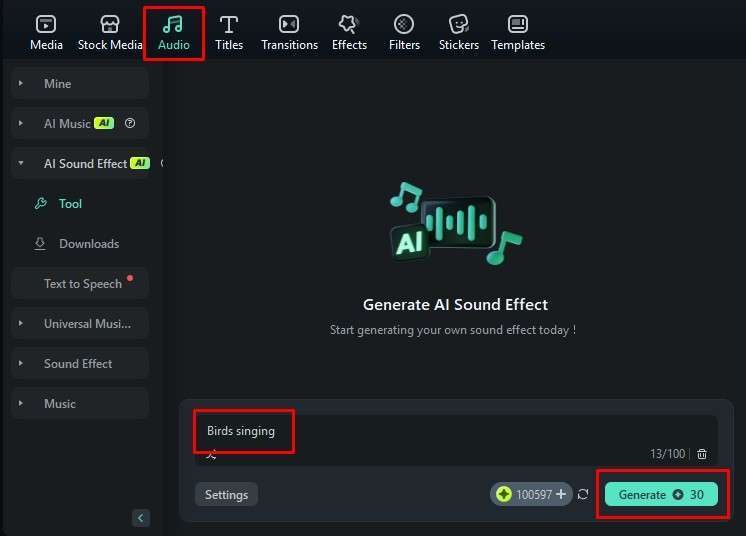
Filmora will generate a few options for you to consider.
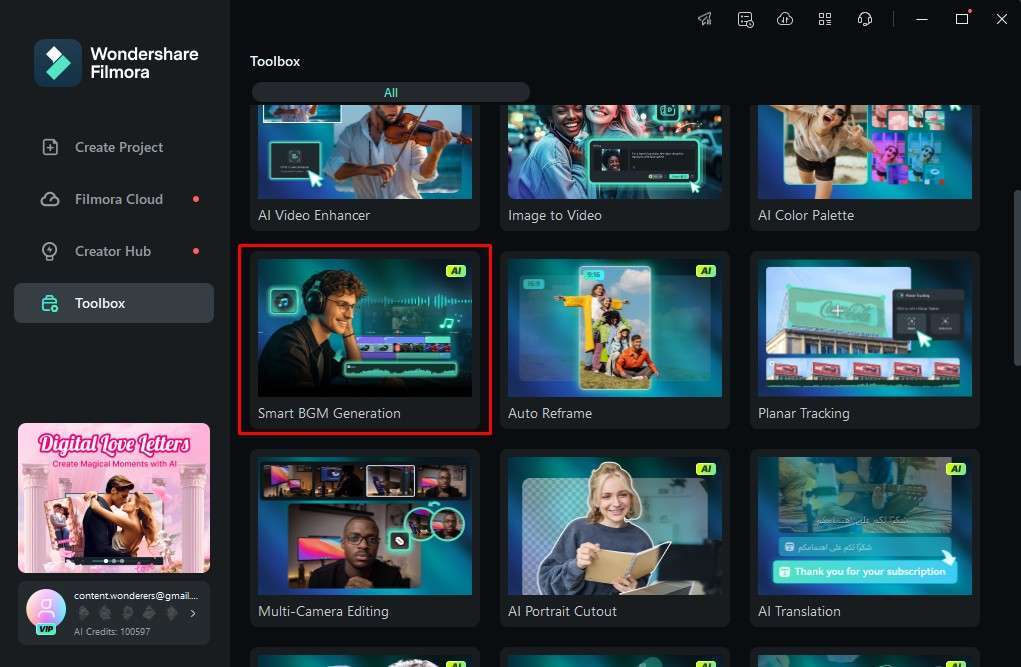
Smart BGM Generation
If you have a silent video, or if you have a video with someone talking, adding background music, finding the right track, and mixing it all in is a process. Filmora offers an AI tool that will automatically generate background music depending on the scene. Here’s how it works.
Step 1: From your Toolbox at the welcome screen, locate Smart BGM Generation and click there. Then, you need to upload a media file.
Step 2: Now, just click on Start and wait for a short period.
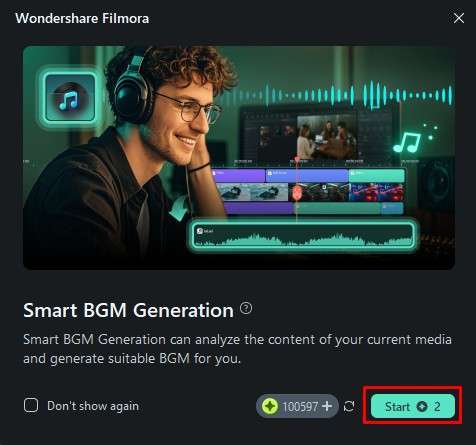
You can then continue to edit the audio to your liking.
AI Voice Enhancer
Every audio editor knows how difficult it is to manipulate badly recorded audio. Imagine working with footage of a person speaking, but all the hustle and bustle is interfering with the sound of the speaker’s voice. Filmora can help with that in a jiffy.
On the right, you can click on Audio and activate the AI Voice Enhancer feature.
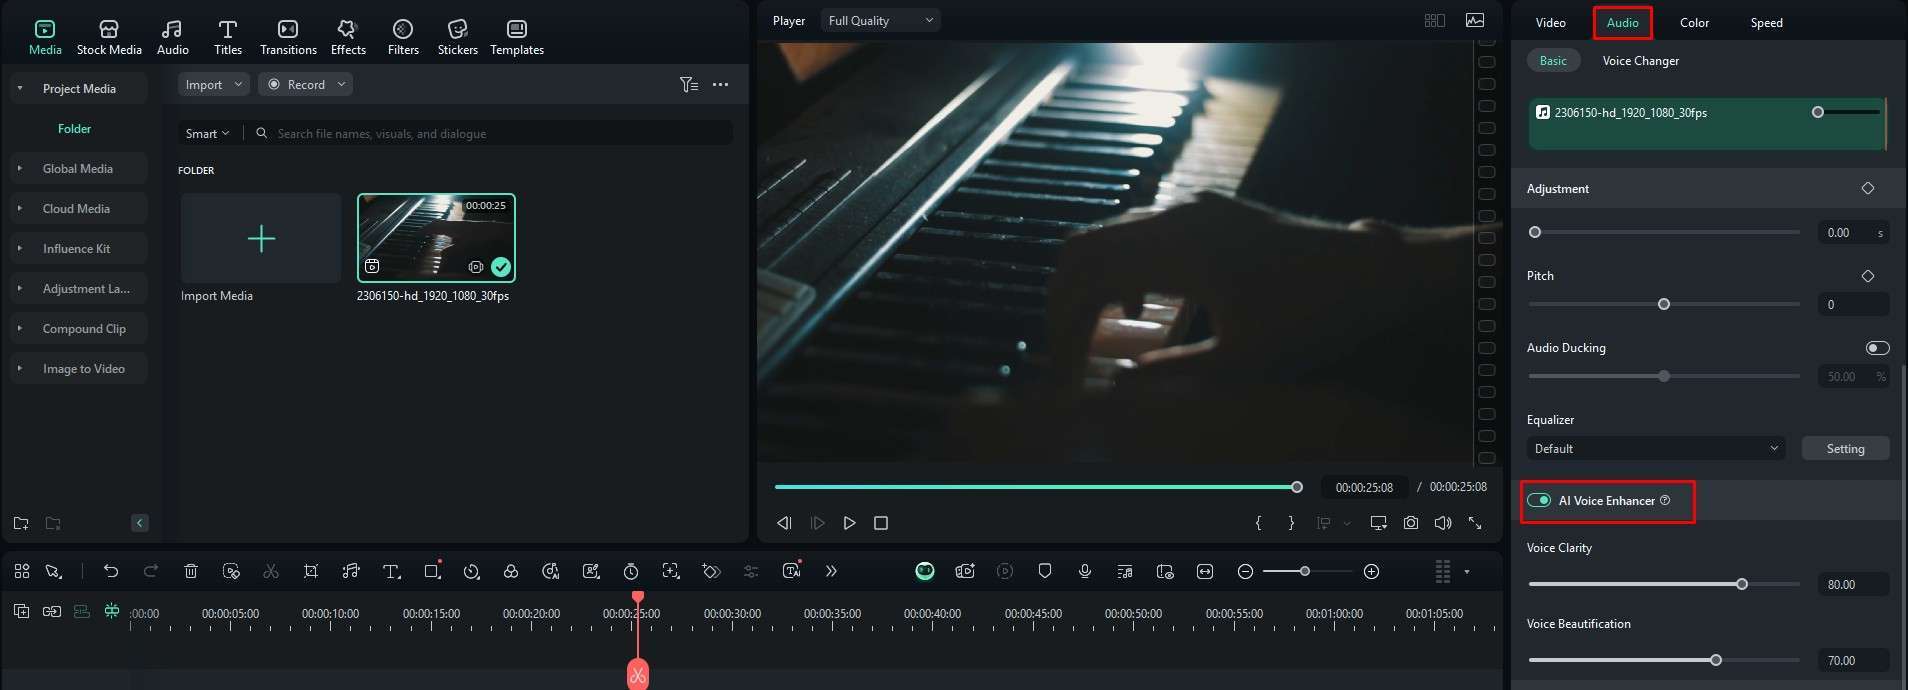
You can proceed to adjust the parameters to your liking.
Learn Video Editing Fast with Filmora

Before we part ways, you can also learn a little bit more about Filmora’s video editing features. As a competitor to Premiere Pro, Filmora is equipped with all the basic and advanced features you can think of. From easily cutting, trimming, panning, and zooming to something more complex like multi-clip editing, Filmora offers a comprehensive set of features that are easy to master.
There are many AI features, so where do we begin?
- Image to Video: Filmora offers an AI feature that allows you to make still images move and perform actions. For example, you can make the people in the image hug, kiss, or even start a fight. It’s very fun.
- Text to Video: Filmora has a feature that allows you to simply type in a piece of text, and it will generate a video project based on your prompt. You can then continue to edit these files and tweak them to bring your idea to life.
- AI Object Remover: If you have unwanted objects in your video, you can use this tool to select and remove those objects from the video for the entire duration. This is a very neat and helpful trick that can save a lot of time.
There are many more AI features, but you can explore them after you download Filmora.
Conclusion
Premiere Pro is an excellent program, but by the time you master it, you will already know how to do everything in Filmora. The main focus of this piece of software is user-friendliness. It is specifically designed to be easy to use. With that in mind, you can begin your first video editing project, and if you want to apply the audio crossfade transition, you know how to do it.
