

Leaving your audio as just an audio file can be dull and boring. No visuals. No movement. Nothing to hold your audience's attention.
So, one way to make your music, podcast, or beat feel more alive is by adding an After Effects audio visualizer that reacts to the audio like a heartbeat. After Effects has been the industry standard for motion graphics for years, and the sheer level of customization makes it a good option to create an audio visualizer that looks exactly the way you want it to.
Below, we've laid out multiple ways to pull it off, each with easy-to-follow steps.
Part 1. What Is an After Effects Audio Visualizer?
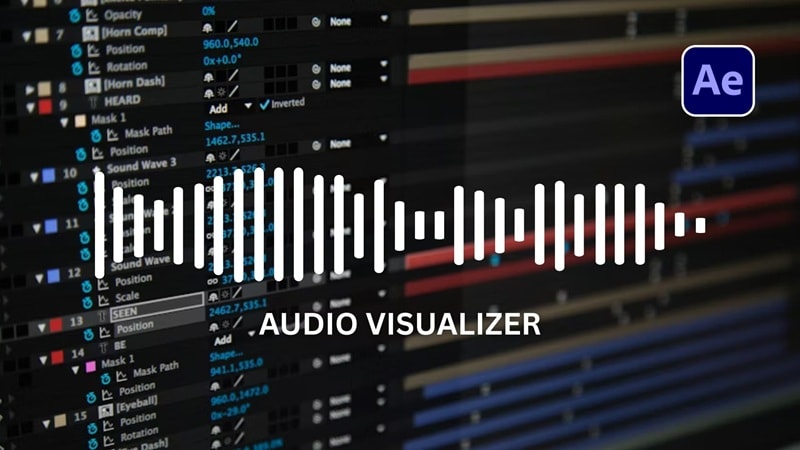
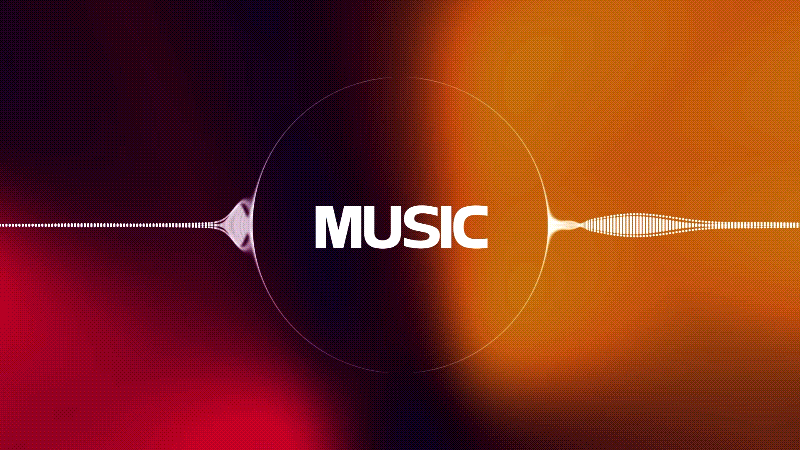
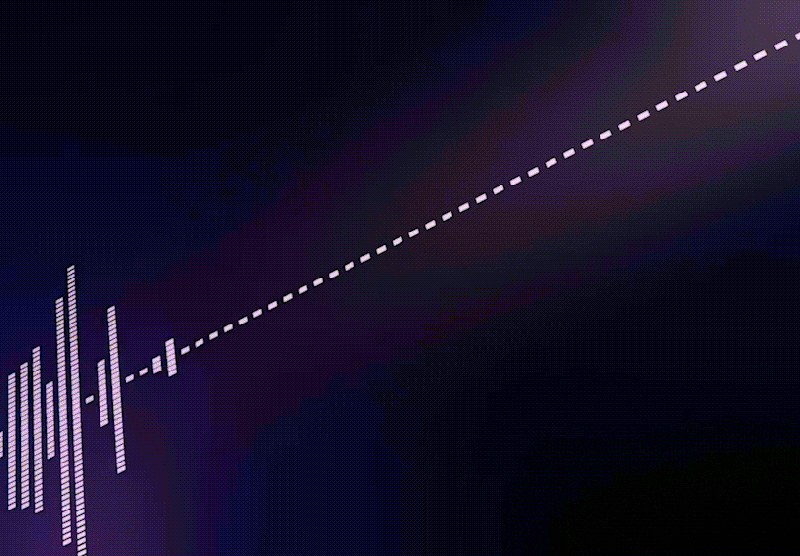
An audio visualizer is a graphic that moves in sync with a sound file. They're those bars, dots, or rings that bounce along to the beat you see on YouTube music channels or podcasts.
When the audio frequency is high, the visuals will usually spike, stretch, or pulse outward. When the sound drops, they settle back down. It reacts to your audio in real time, which is what makes it very satisfying to watch.
There are different types of audio visualizers:
- Audio Waveforms: the curvy lines that stretch and shrink with the volume and frequencies.
- Bars: includes bars that shoot up and down with every beat, and make your track feel pumped.
- Analog Lines: wavy, flowing lines inspired by old-school oscilloscopes that dance, twist, and ripple with the sound in real time.
- Dots: tiny dots or particles that scatter, cluster, and explode with the beat.
- Circle: a spinning central circle or ring that expands, pulses, or lights up with the rhythm. It creates a hypnotic, focused energy that pulls viewers right in.

To create these audio visualisers in After Effects, there are a few different methods we are going to cover here:
- Using built-in Audio Spectrum effects (no external tools or additional software)
- Using audio visualizer templates (fast and highly varied, but may involve extra costs)
- Using plug-ins (advanced controls)
For those who don't want to manage the complexity of After Effects, we also recommend using video editing software alternatives like Wondershare Filmora, which provides an all-in-one solution that is easier and faster, featuring built-in, customizable audio spectrum templates.
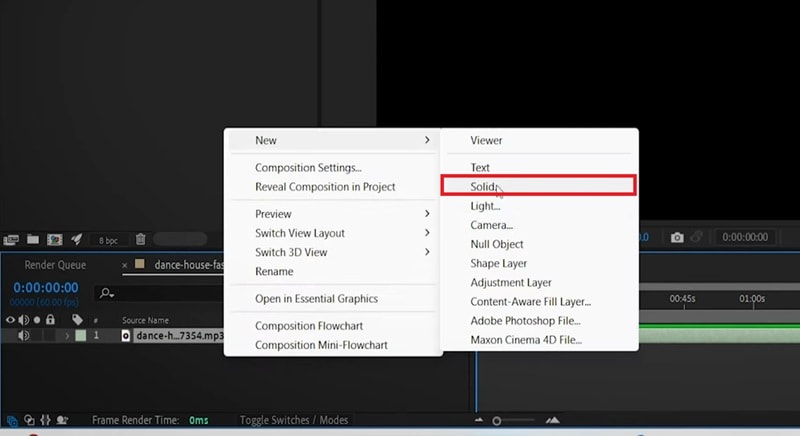
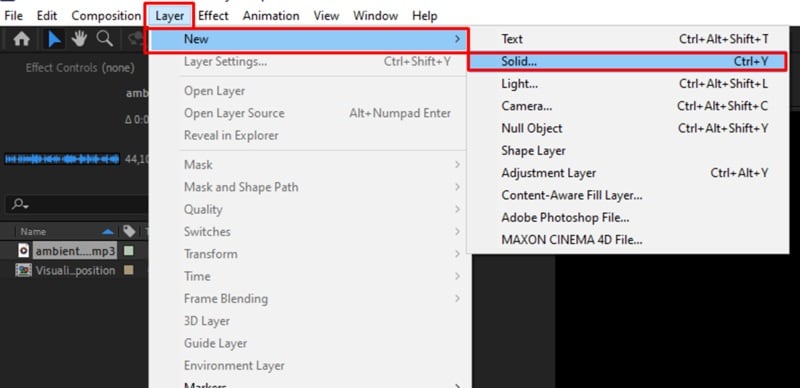
Part 2. How to Make an Audio Visualizer in After Effects Using Audio Effects
After Effects has a built-in effect called Audio Spectrum, which is the most straightforward way to create a reactive audio visualizer without the need for plugins. It reads the frequency data from your audio file and translates it directly into movement.
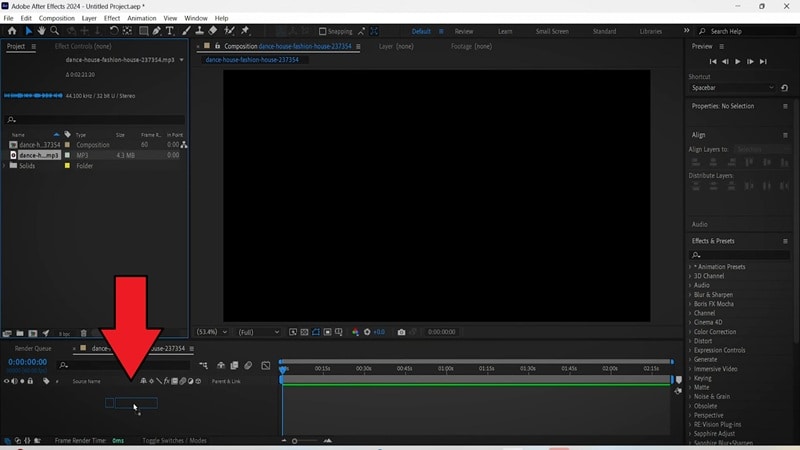
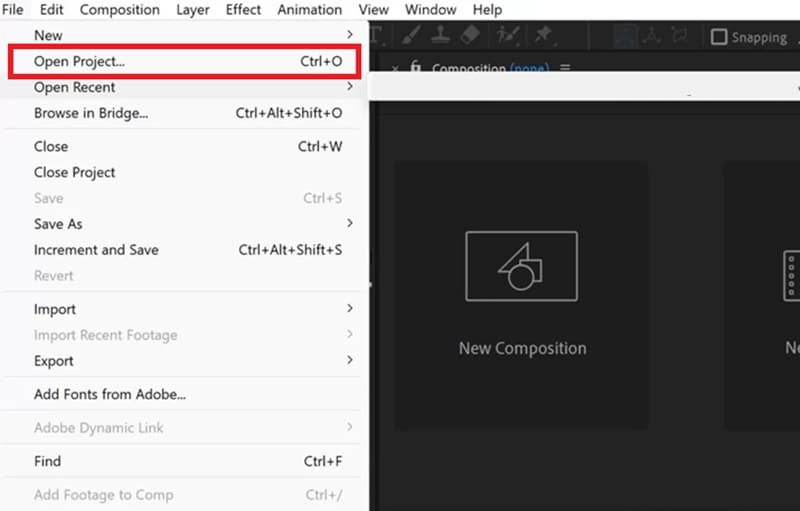
For this tutorial, we'll be using After Effects 2024, but the steps shouldn't be too different if you're on an older or newer version. This feature is accessible through the Effects & Presets panel inside After Effects. Follow the step-by-step here for more details.
How to Make Audio Waveform in Efter Effects
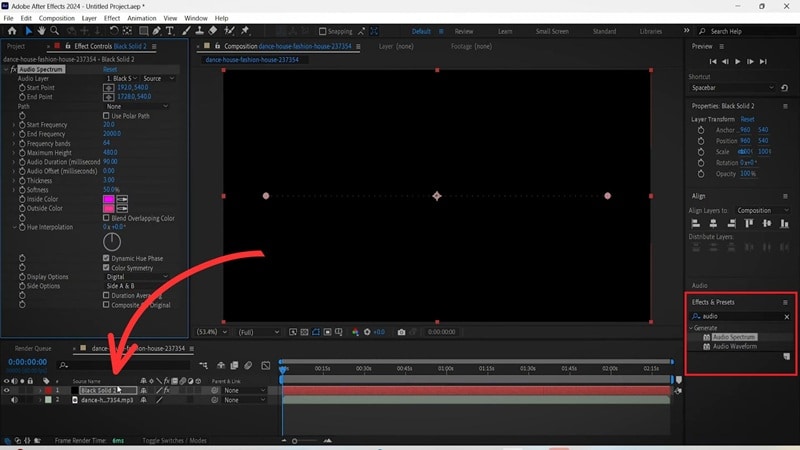

- Maximum Height: Controls how tall the visualizer gets. Increase this to make the bars jump higher.
- Frequency Bands: Adjusts how many bars or points are displayed. More bands means more detail.
- Thickness & Softness: Controls the weight of each bar. Softness adds a blur to the edges.
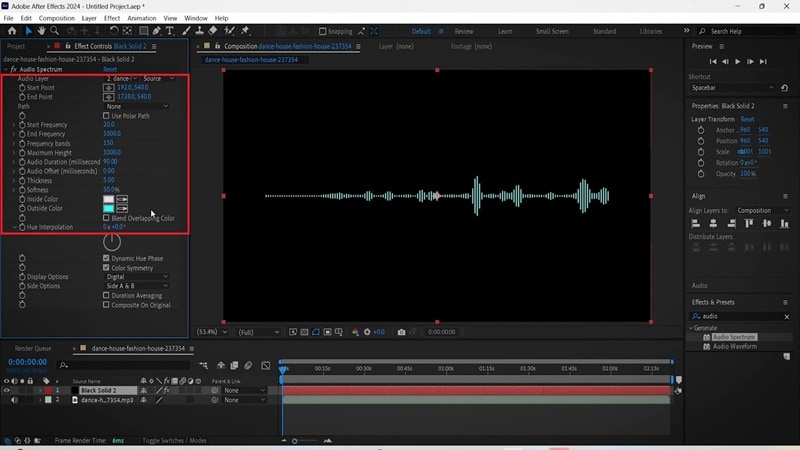
After that, you can add a background image or video to the bottom of the composition timeline so the visualizer sits on top of it.
Part 3. How to Make After Effects Audio Visualizer with Templates (Fast)
Another quick way to create an audio visualizer in After Effects is by using templates. These templates are usually more varied in styles compared to built-in effects like Audio Spectrum, but the downside is that high-quality designs may require extra cost, since some of them are paid, especially for the high-quality ones.
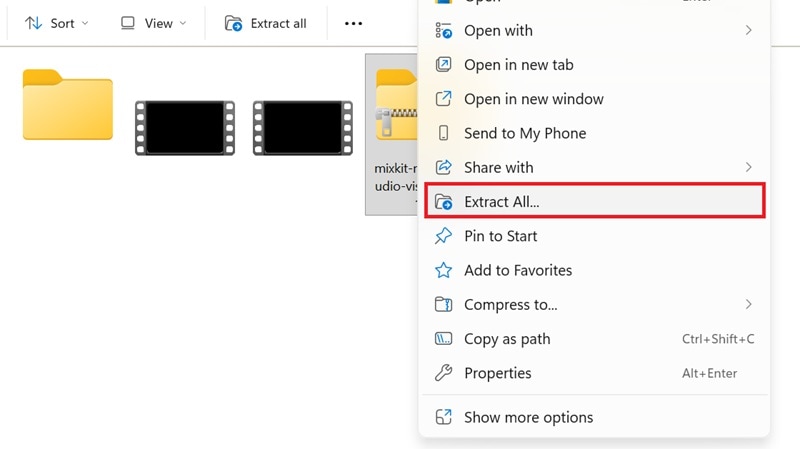
Download Audio Visualizer After Effects Templates
To prevent you from navigating back and forth between different sites, you can refer to the curated list below to download and install After Effects audio spectrum templates.
1. Mixkit
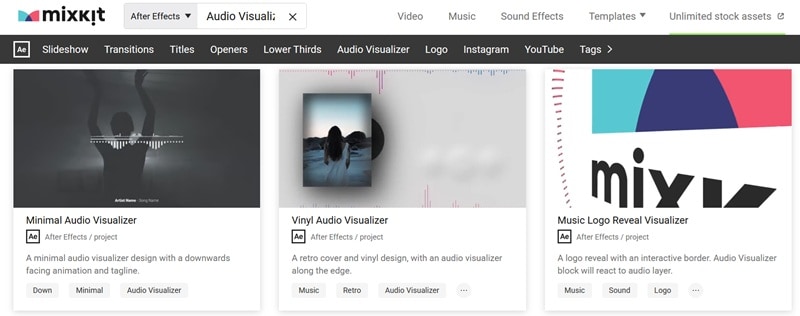
Mixkit offers several free audio visualizer After Effects templates, all ready to drop into your next video project under the Mixkit License. You don't have to create an account and sign in to download it. They are safe to use in your YouTube videos, music videos, online marketing ads, and even commercial projects.
2. Envato Elements
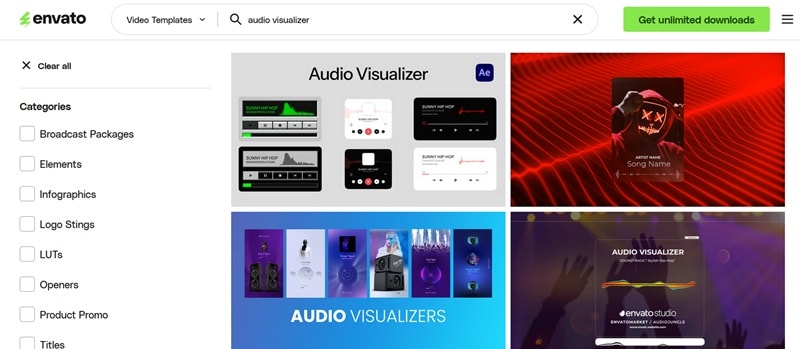
You can also find a great selection of After Effects audio visualizer templates on Envato Elements, a creative subscription service designed for designers and video editors who need high-quality assets. A single subscription starts at $8.99/month, and every template you download under a valid Envato subscription comes with a lifetime commercial license.
3. Storyblock
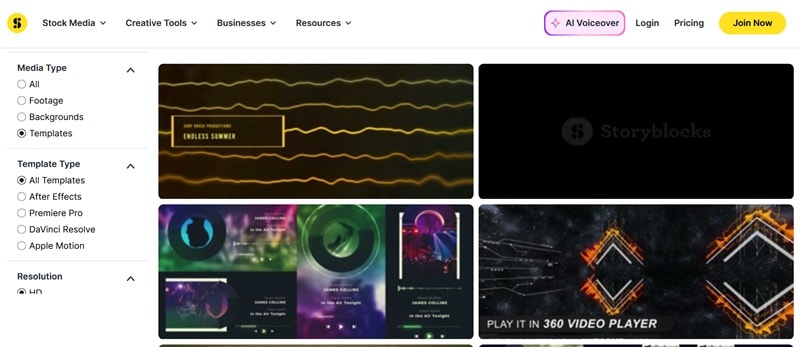
Storyblocks can also be another option if you want unlimited After Effects music visualizer template downloads across their entire library within a single subscription model. Its cost starts at $21 per month (billed annually), which is a bit higher compared to some other platforms. But for creators who frequently need stock assets, Storyblock is still worth considering.
How to Use After Effects Audio Visualizer Templates
Once you've picked and downloaded a template, the rest is pretty straightforward. Check out and follow how to use the templates in After Effects to create an audio visualizer.
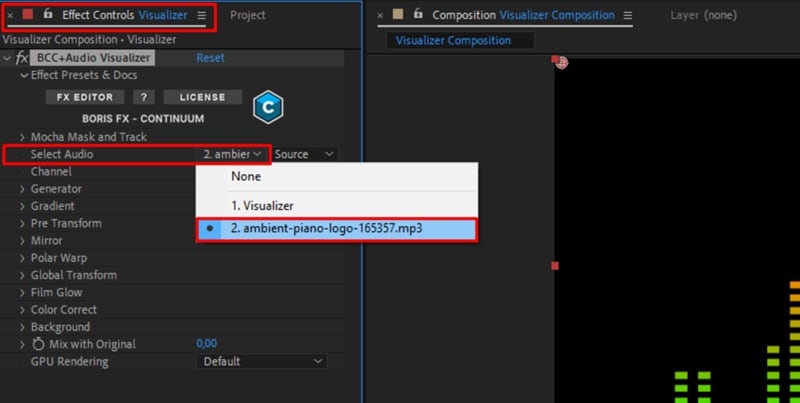
Part 4. How to Create Audio Visualizer in After Effects With Plug-ins
Besides templates, plug-ins are also practical to create an audio visualizer in After Effects. They work as editable effects directly inside your composition, giving you more advanced controls and a wider range of visual styles than what After Effects' built-in effects can offer.
One of the most popular options for this is Boris FX Continuum, a plugin that comes with a dedicated audio visualizer tool, 70+ ready-to-use presets, and smart beat-matching that automatically syncs the visuals to your audio.
To get started, download and install the Continuum plugin from the Boris FX website. A free trial is available, while the full version costs $48/month ($27.08/month, billed annually) or $1,095 for a perpetual license. Once installed, it will show up inside After Effects automatically. Then, follow the steps below.
How to Make an Audio Visualizer in After Effects
To customize the visualizer, either adjust settings manually or start from a preset. To browse the preset library:
- Click FX Editor
- Choose the style you like
- Hit Apply to return to After Effects
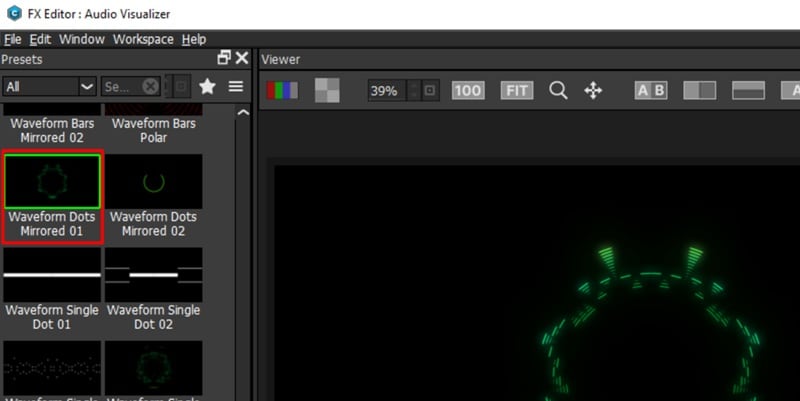
From there, you can fine-tune the color and shape to your liking.
Part 5. Easier Alternative: Create an Audio Visualizer Without After Effects
While After Effects offers unparalleled control, it isn't always the most efficient choice for every project, nor is it the only option for creating an audio visualizer.
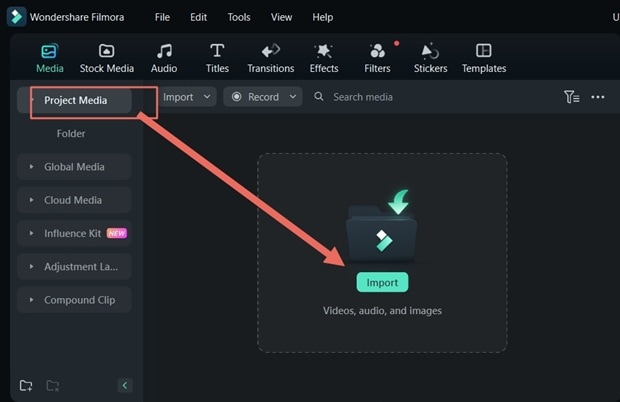
If you are short on time or budget to invest in premium templates and complex software, we recommend using Wondershare Filmora, as it offers a much more straightforward approach to producing high-quality visuals for your audio.
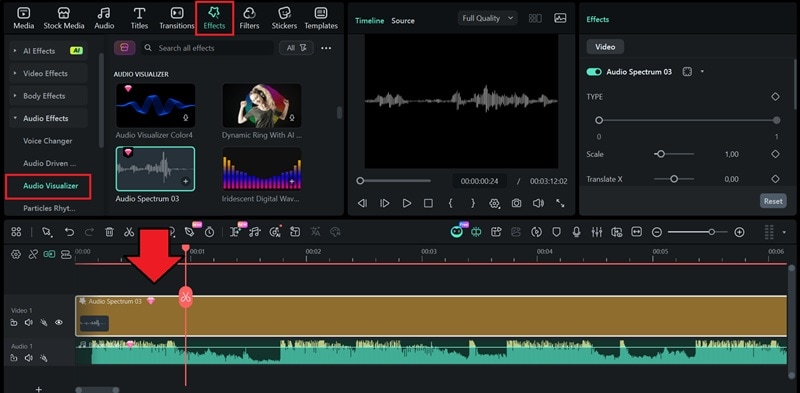
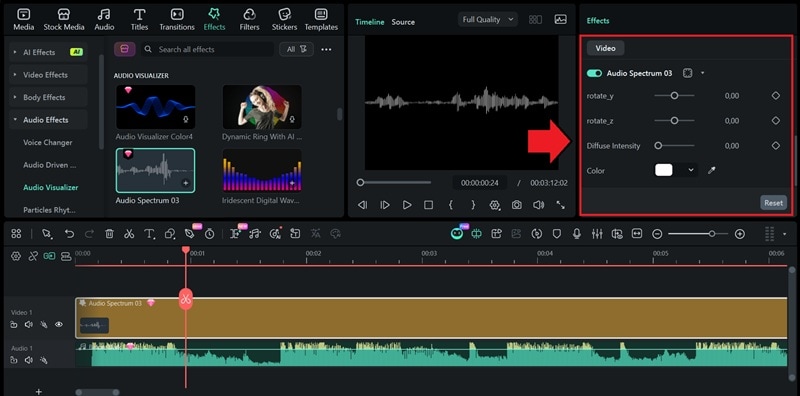
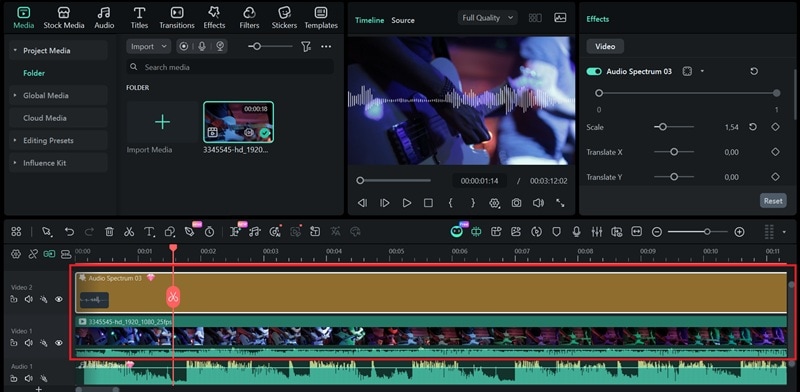
Filmora is designed for creators who need professional results without the steep learning curve or heavy rendering demands typically associated with advanced motion graphics. This tool includes Audio Visualizer as one of its built-in effects that work like audio visualizer in After Effects.
Why Use Filmora for Audio Visualizers?
- Built-in audio visualizer presets: Explore many unique audio visualizer styles, including particles, line waves, and circular rings, and customize them.
- No complicated setup: You won't have to deal with complex expressions, linking layers, or manual frequency mapping.
- Faster workflow for social media with direct sharing: Optimized for creators, where you can quickly adjust your project to different formats and export directly to your favorite platforms.
- Easier for beginners to navigate: Filmora has an intuitive interface that puts all your creative tools in one place.
- Automatic Audio Sync: The software's AI-driven engine "listens" to your music and automatically synchronizes every pulse and peak to the rhythm of your track in real-time.
How to Make an Audio Visualizer in Filmora
Stretch or trim it so it lines up with your audio from start to finish.
Filmora vs After Effects Audio Visualizer
How does Filmora stack up against After Effects when it comes to creating an audio visualizer? Both tools can get the job done, but they serve very different types of users.
| Filmora | After Effects | |
| Difficulty Level | ★★ | ★★★★ |
| Methods | Built-in customizable Audio Visualizer effects | Built-in Audio Spectrum effect, third-party templates, and plug-ins like Boris FX Continuum. |
| Customization Depth | Highly customizable | Highly customizable |
| Templates | Comes with a built-in library of audio visualizer | Available through third-party platforms |
| Output Quality | Up to 8K resolution | Up to 8K resolution |
| Best for | Beginners to intermediate users | Professional users |
|
Show More
Show Less
|
||
Conclusion
Creating an audio visualizer in After Effects is achievable through multiple approaches. You can choose whichever method feels right for you and follow the steps to start creating a visualizer that looks and moves exactly the way you want it to for your own project.
Even if you find After Effects too technical or time-consuming for your workflow, Filmora can be your next best option. It offers built-in audio visualizer presets, automatic audio sync, and a beginner-friendly interface that gets you to the finish line faster, without sacrificing quality.
