Shotcut video editor is a popular free, open-source tool, but its outdated UI and steep learning curve often lead users to seek a powerful alternative. This comprehensive Shotcut review compares it with top contenders like Wondershare Filmora, highlighting why Filmora stands out as the best choice for both beginners and pros seeking modern, AI-powered video editing.
Part 1. Shotcut Review (Free & Open-Source)
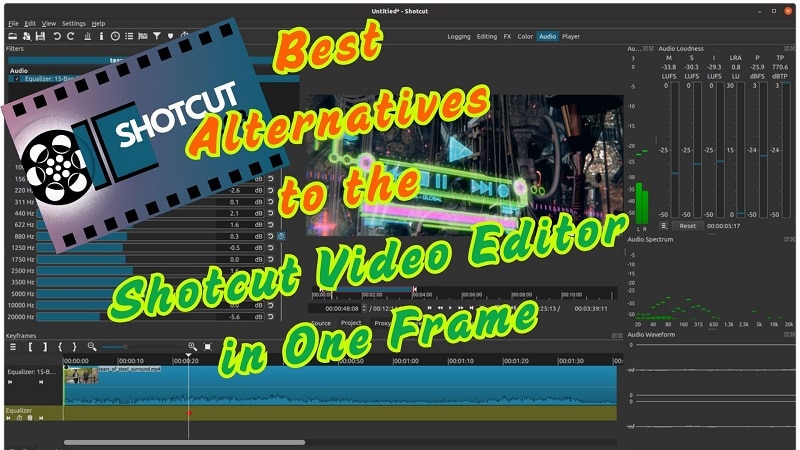
For those who haven't tried Shotcut before, you can expect a straightforward video editor with surprisingly advanced tools for a free program. It supports many different formats, features direct timeline editing, and is excellent for both beginners and more experienced users.It suits budget-conscious creators on Windows, Mac, or Linux.
Every day, people mostly use it for creating YouTube videos, tutorials, family clips, and mixed-format projects. Shotcut is a practical video editor for personal and semi-professional use.
- No watermarks and completely free to use and edit
- Operates across all systems: Windows, macOS, and Linux
- Edits directly on the timeline without importing files
- Supports wide formats, including 4K and raw
- Built-in filters, color grading, and chroma key included
- Interface changes by mode can be confusing
- No built-in templates or media assets
- Some UI elements vanish on smaller screens.
- Manual track creation slows the workflow.
- Filters and effects are not organized
- Flexible Interface: Panels can be rearranged for a custom editing layout.
- Audio Tracks: Voiceovers, audio, and sound effects can also be added and edited.
- Built-in effects: Provides filters, color grading as well as chroma key.
- Snap Tool: Snapping enables the precise alignment of clips with the timeline.
- Unified Filter Panel: All adjustments and effects are contained in a single menu.
- Keyframing: Make animations for changes made to audio or video over time.
- Transitions: Drag clips over each other to automatically create transitions.
- TechRadar: 4/5 stars: Shotcut gets high marks for its adaptability and broad format support, although new users may find the UI confusing.
- PCMag: 3.5/5 stars: After praising the powerful editing capabilities and 4K capability, it pointed out the lack of polish and the antiquated UI.
- Capterra: 4.5/5 stars: Users appreciate the free and feature-rich version; however, others find the layout and workflow to be unintuitive
Yes. Shotcut is a free, open-source video editor with no export watermark. You can donate to support development, but there's no paid tier.
Our Top 3 Shotcut Video Alternatives Picks
Part 2. Shotcut vs Filmora and More: Side-by-Side Comparison
Shotcut is a great deal, but there are other options as well. These top options are definitely worth exploring if you want better visual quality, built-in assets, or just more intuitive features.
| Editor | OS Support | Pricing | Ratings | Best For |
| Shotcut | Win/Mac/Linux | Free | 4.2 | Free non-linear editing |
| Filmora | Win/Mac/Android/iOS | Free trial, Paid | 4.6 | Beginners to pros, AI editing |
| Movavi | Win/Mac | Paid | 4.4 | Fast rendering, VFX lovers |
| Kdenlive | Win/Mac/Linux | Free | 4.2 | Open-source community |
| Camtasia | Win/Mac | Paid | 4.5 | Tutorial & screen recording |
| OpenShot | Win/Mac/Linux | Free | 4.0 | Entry-level editing |
| VideoPad | Windows | Free/Paid | 4.0 | Beginners and casual users |
|
Show more
Show less
|
||||
Part 3. Best Shotcut Alternatives (Free & Paid)
1. Wondershare Filmora – Best for Beginners with Powerful Features
Shotcut video editor may be suitable for basic use, but it lacks the tools needed for detailed and professional editing. Its interface can slow down the workflow, and users often find it challenging to manage complex edits. In contrast, Filmora blends advanced features with a simple interface. With drag-and-drop ease and AI tools like text-to-video, auto beat sync, and voice cloning, it's a modern upgrade from the Shotcut video editor for PC.
- Great for beginners and non-professionals
- Offers impressive visual effects and filters
- Good for creative projects, including music videos
- Allows detailed export and compression settings
- Easy to learn with a clean user interface
- The free version has a watermark
- Requires payment for full AI use
- Easy-to-use interface, suitable for beginners
- Built-in screen and webcam recording
- 10,000+ transitions, effects, filters, and overlays
- Access to a stock media library
- Broad format compatibility for video, audio, and images
- AI text-based editing, AI portrait cutout, and AI music and voice generator are all part of a bundle of AI technologies.
- Capterra: 4.5/5 (560+ reviews) – Filmora is a well-known application that is easy to use and has a lot of editing features. This makes it a fantastic platform for beginners to start.
- G2: 4.4/5 (500+ reviews) – Reviewers have claimed that the interface is user friendly, and that it comes with invaluable effects and its price is very reasonable.
Filmora delivers everything Shotcut editing software lacks: ease, templates, and automation. This software is ideal for individuals involved in YouTube, marketing, and freelance work.
2. Movavi
As a beginner or advanced user, you will find Movavi Video Editor powerful and also simple to use. The software enables fast editing, including trimming, joining, and applying effects to enhance videos. You can try it for free or pay once for full lifetime access. It's built for speed and ease, helping users finish projects in minutes.
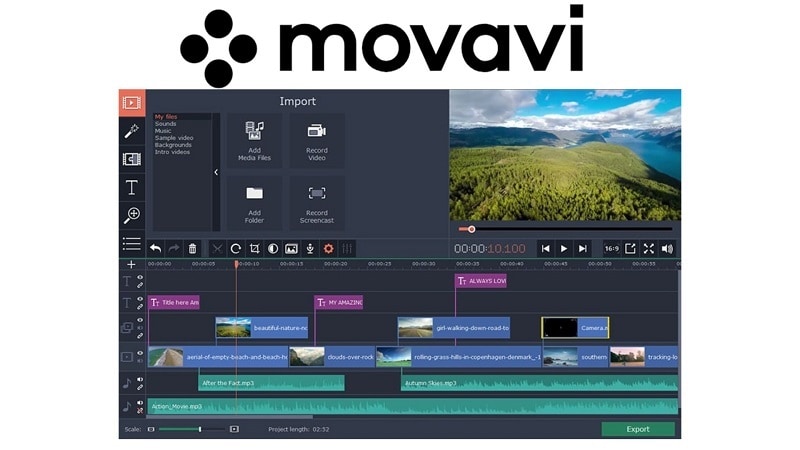
- Clean transitions enhanced with sound
- Rich built-in content: filters, effects, music, and stickers
- Picture-in-picture and motion tracking tools for layered edits
- Includes stock backgrounds and video clips
- One-time license cost is budget-friendly
- No pre-trim or advanced trim options
- The trial version lasts 7 days and has limited features
- Simple, clean interface
- Chroma key for background editing
- Background rendering for faster exports
- Supports major formats and 14+ languages
- PCMag rating: 4/5 stars- Praises its fast performance, stylish interface, and effects library. Receiving feedback for missing multicam editing features, as well as advanced editing controls.
- G2 Rating: 4.5/5- Recognized for self-explanatory ease of use, included assets, and overall cost. A few users mention that advanced trimming and fine control are missing.
More flexible and modern than Shotcut software review, especially if you want speed without sacrificing quality.
3. Kdenlive
Kdenlive is a free video editor that came out in 2003. It is based on KDE and Qt frameworks and is available for Linux, Windows and macOS, albeit with a less updated version for macOS. It is for both professionals and beginners, as it has tools for simple edits as well as for business purposes. It has commercial-grade editing tools and allows you to customize your workspace. It provides complete workspace customization and supports many formats.

- Works on Linux, Windows, and macOS
- Offers a wide range of editing tools
- The interface can be customized to user needs
- Updated regularly with new features
- Can feel complex for first-time users
- May crash at times during editing
- Customizable layout for personal workflow
- Multi-track editing for complex timelines
- Advanced color correction tools
- Supports many file formats and codecs
- Flexible editing for basic and advanced users
- Trustpilot: 2.8/5 (3 reviews) – Some users report issues with the functionality, as well as encountering bugs. Sparse assistance and a more difficult learning curve are frequent issues.
- AlternativeTo: 4.1/5 (100+ votes) – A notable benefit, as noted by many users, is that the application is open-source, customizable, and cross-platform, all of which are positive traits. Some report performance issues on non-Linux systems.
- SourceForge: 5.0/5 (25 reviews) – Highly praised for its feature set, flexibility, and being a top choice among Linux users.
If you want a free tool like Shotcut editing software review, but with smoother controls and better updates, go for Kdenlive.
4. Camtasia
Camtasia is great for capturing screens and editing videos, and is especially useful for making tutorials, training materials, and even videos for presentations. It boasts HD quality output, uses green screen technology, and exports videos in H.264 format which reduces file size without sacrificing quality. Sharing videos on YouTube or Screencast is also very convenient.
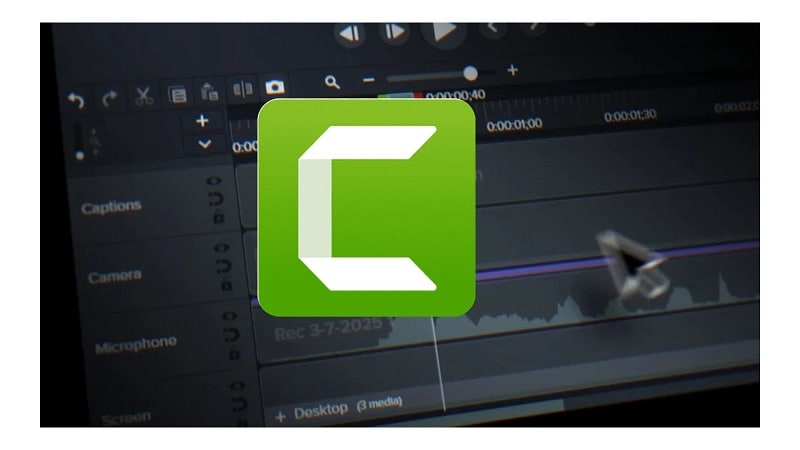
- Let's you record the screen and webcam at the same time
- Exports videos in high quality with good compression
- Easy to use, ideal for beginners and non-editors
- Video exports can take a long time
- The interface may feel crowded for first-time users
- Records screen and webcam with built-in tools
- HD video support with compact file sizes
- Chroma key for background removal
- Add video, images, and annotations in one timeline
- Interface overlays and graphic elements included.
- SoftwareSuggest: 4.6/5 (12 reviews) – Users find Camtasia's screen recording and editing capabilities smooth and effective, particularly for creating training videos.
- G2: 4.5/5 (1,566 reviews) – While it captures the market as an easy-to-use solution for beginners and tutorials, some users do mention slow rendering during export.
- Software Advice: 4.5/5 (443 reviews) – Known for its reliability in corporate and educational settings, but reviewers note the interface could be more intuitive.
It significantly outperforms Shotcut video editor in creating educational content.
5. OpenShot
OpenShot is an online video editor that is free and open sourced. It also allows you to edit movies with your videos, photos and audio. You are also able to upload subtitles, add transitions, and export your projects through YouTube, Vimeo, and many other platforms. This tool is great for any sort of editing that needs to be done.
- 100% free and open-source
- Regular updates improve stability and features
- Supports DVD export and device-friendly formats
- Offers tools like chroma key, transitions, and effects
- Can be slower than other editors
- Some users report bugs and crashes
- Compatible with audio and video formats
- Functions on Windows, macOS, and Linux
- Includes cut, trim, resize, snap, and rotate tools
- Offers transitions, titles, and animated effects
- Keyframe support for custom animations
- G2: 4.4/5 (24 reviews) – OpenShot is loved for its no-cost availability, easy to use for beginners, and has some crucial features such as transitions and trimming.
- Capterra: 4.3/5 (174 reviews) – Due to its simplistic design as well as being available on all platforms, it is further praised. As some reviewers have noted, there appear to be performance issues on larger projects.
OpenShot is a free, open-source editor with essential features and wide format support, ideal for basic to mid-level video projects.
6. VideoPad
VideoPad Video Editor is an example of well-made free video editing software that almost anyone can download, install, and start using. You don't need years of technical experience or advanced understanding of video editing programs to use this best free video editing software, as it has been built from the ground up to be highly accessible and beginner-friendly.

- Rapid processing times
- Beginner-friendly interface
- Lots of useful tools and effects
- Works with most video formats
- Lacking in terms of advanced features
- 50+ effects and transitions
- Support for 60+ formats
- 3D and 360 video editing
- Burn to disc or export to device
- Built-in audio editing
- TechRadar: 3.5/5 – Described as an entry-level editor with decent format support and basic tools, it is seen as a lightweight option. The simplicity noted by most reviewers ends up being a serious shortcoming when dealing with advanced features.
- G2: 4.1/5 (33 reviews) – Users like its intuitive layout and ease of use for basic editing tasks. However, some point out limited high-end features and occasional performance lags.
VideoPad is easy to use and perfect for basic video editing tasks. It's a lightweight option for users who want quick results without complex tools.
Conclusion
This comparison began with a close look at the Shotcut video editor, its strengths, and where it falls short. From missing templates to limited automation, it's clear why users often explore alternatives.
Editors like Filmora offer more than effects. They are efficient, flexible, and let you be creative. If you read the Shotcut editing software review and want to find smoother workflows or more modern features, Filmora can seem like an upgrade.
You don't need to trade control for simplicity or time for output. When tools work with you, not against you, editing becomes less of a task and more of a craft.
FAQ
-
Is Shotcut completely free?
Yes. Shotcut is a free, open-source video editor and does not add export watermarks. You can donate to support development, but there's no paid tier. -
Filmora vs Shotcut: which is easier?
Filmora is easier for beginners thanks to guided UI, templates, and built-in assets. Shotcut offers flexible panels and deep control, but it requires more setup and has a steeper learning curve. -
Does Shotcut have templates or stock assets?
No. Shotcut doesn't include a template or stock marketplace. Filmora bundles effects, titles, and stock media you can use out of the box. -
What's the quickest Filmora alternative to Shotcut on Windows?
For speed and simplicity, try Filmora (templates + AI). If you want a free open-source option, choose Kdenlive; it's powerful but slightly more complex than Filmora. -
Is there a cost for Filmora's AI tools?
Yes. Advanced AI features in Filmora require a paid plan. The free plan works for testing but exports include a watermark. -
Shotcut vs VideoPad: which is better for basic edits?
VideoPad is lightweight and very simple for quick cuts and trims. Shotcut is completely free and more flexible, but it can feel less streamlined for first-time users.


