


When sharing videos on YouTube, protecting personal privacy and sensitive information is crucial. YouTube Studio offers online editing features that allow users to directly blur faces in Youtube videos. Video editing software like Filmora provides more advanced face-blurring technology to ensure the security and compliance of video content. Both tools effectively help content creators address privacy issues in videos before publishing. If you're interested, please keep reading!
In this article

Part1. How To Blur Faces in YouTube Studio
YouTube Studio offers an online editing feature that allows users to trim, cut, and blur videos directly in the cloud. Specifically, the blur function in YouTube Studio can obscure faces or objects in the video. Users can choose to blur faces or customize regions to protect privacy information in the video. This feature is particularly useful for scenarios where you need to hide facial identities or sensitive information. The operation is simple: users just need to click the "Face Blur" button, select the area to be blurred, and YouTube will automatically apply the blur effect.
Here is a step-by-step demonstration of the process, which you can follow along with.
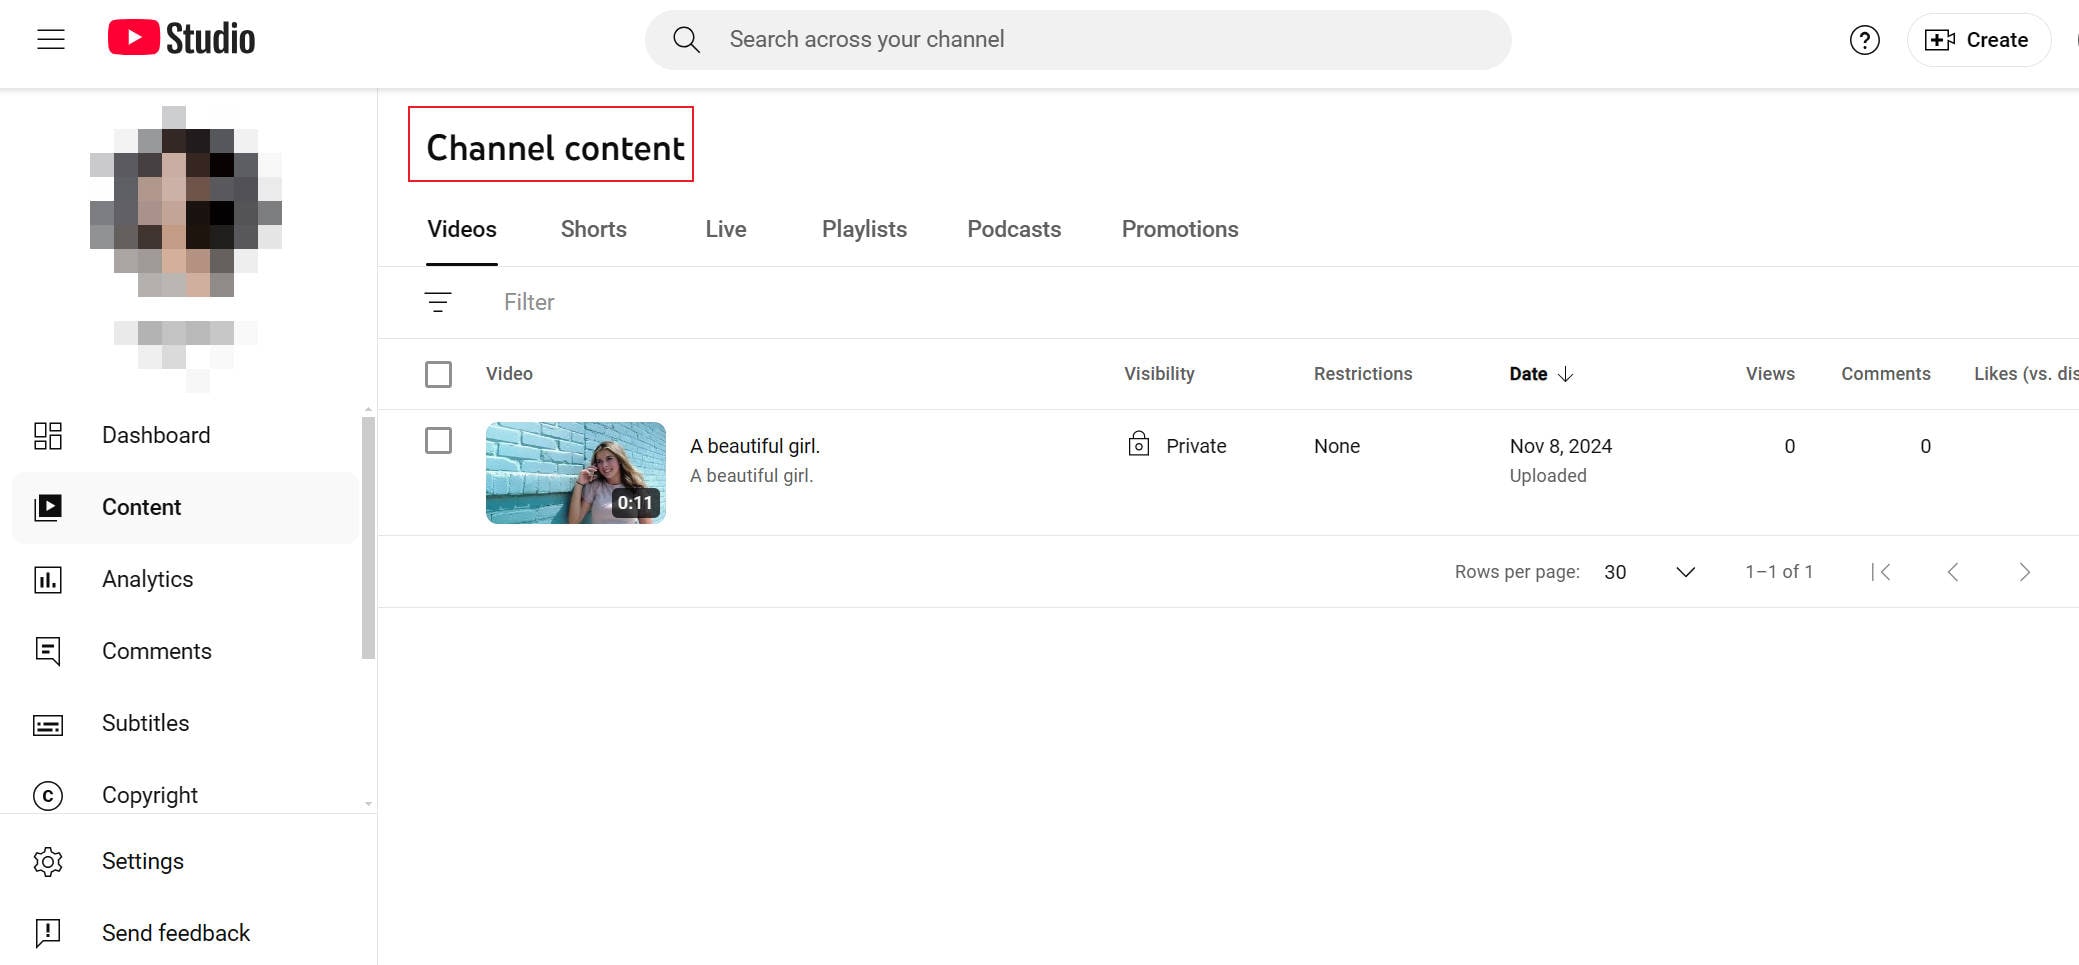
Step1Go to Channel Content
After you have uploaded the video, you will find the corresponding video that needs editing in the drafts.
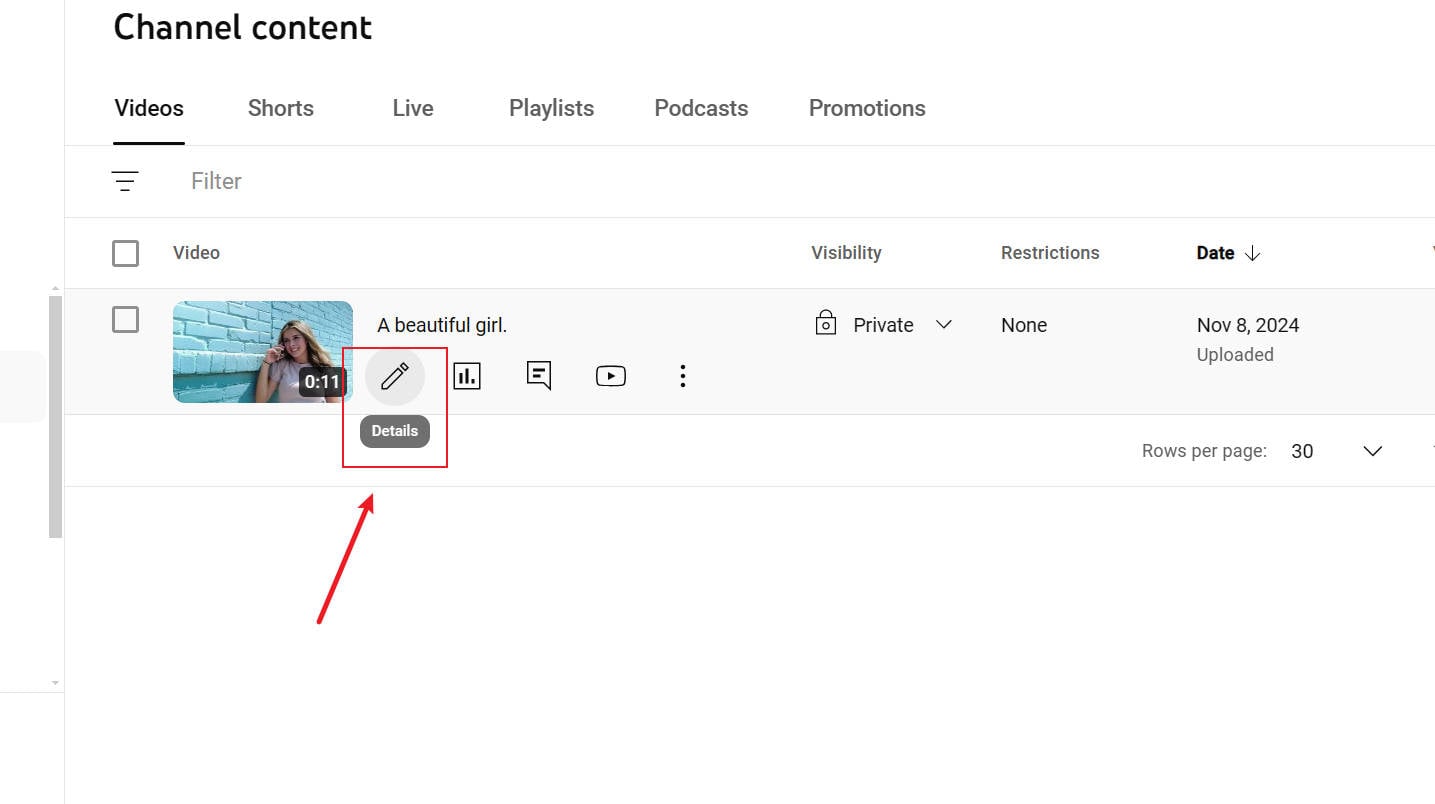
Step2Click on "Details" to enter the video customization section
Click on "Details" to the right of the video, then enter the video backend details page.
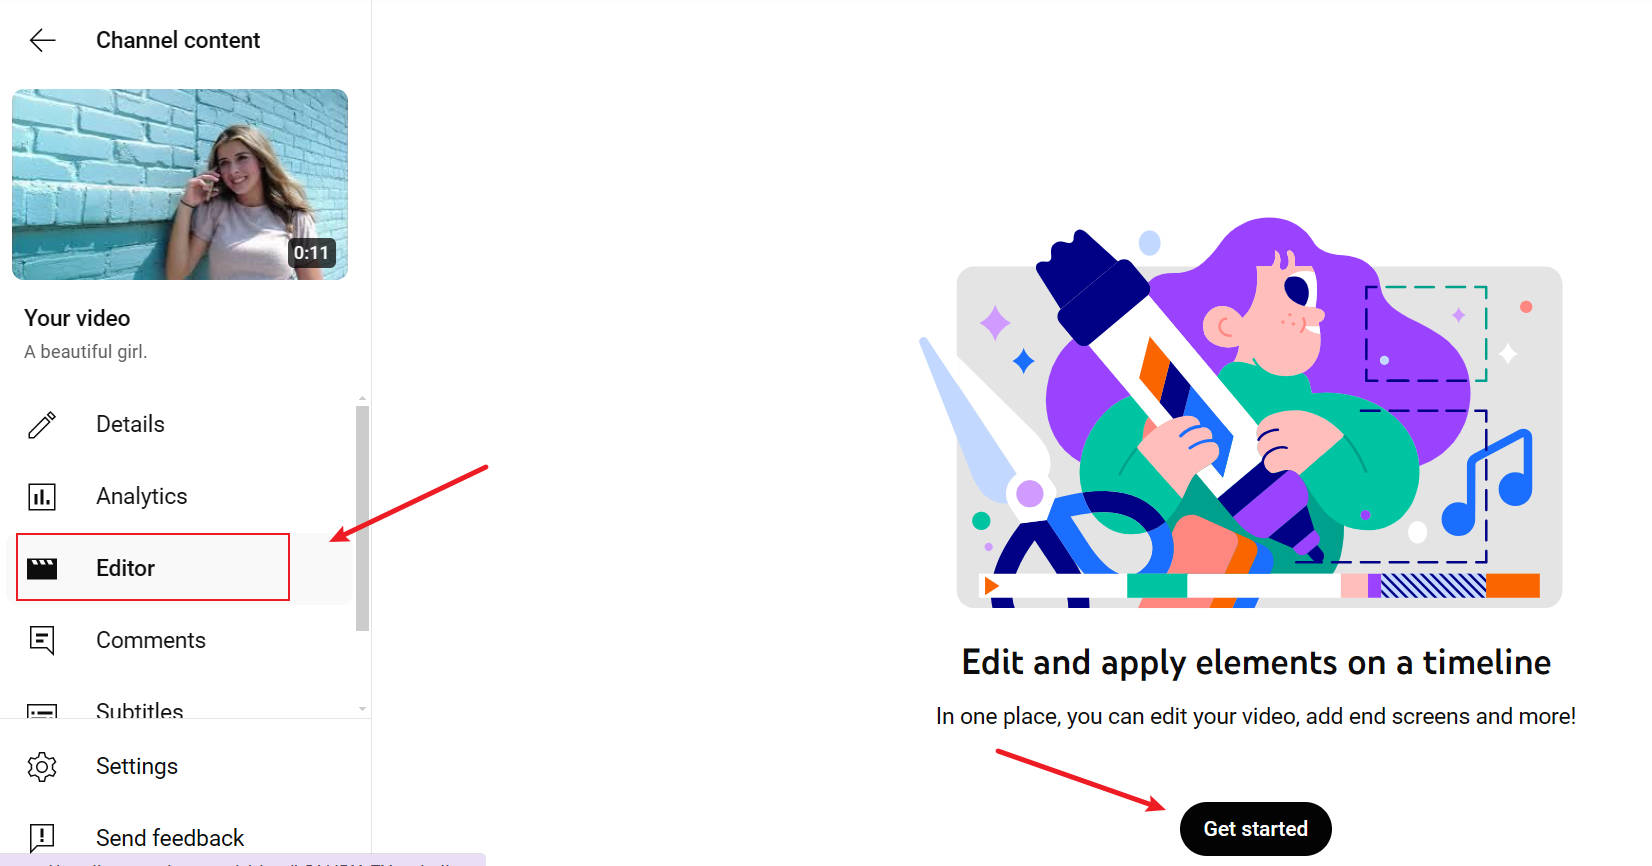
Step3Click on "Editor" to enter the blurring section
In the "Details" window, you will see many options on the left for customizing the page. You can view video data and edit subtitles, among other things. If you need to apply a blur effect, you should click on "Editor."
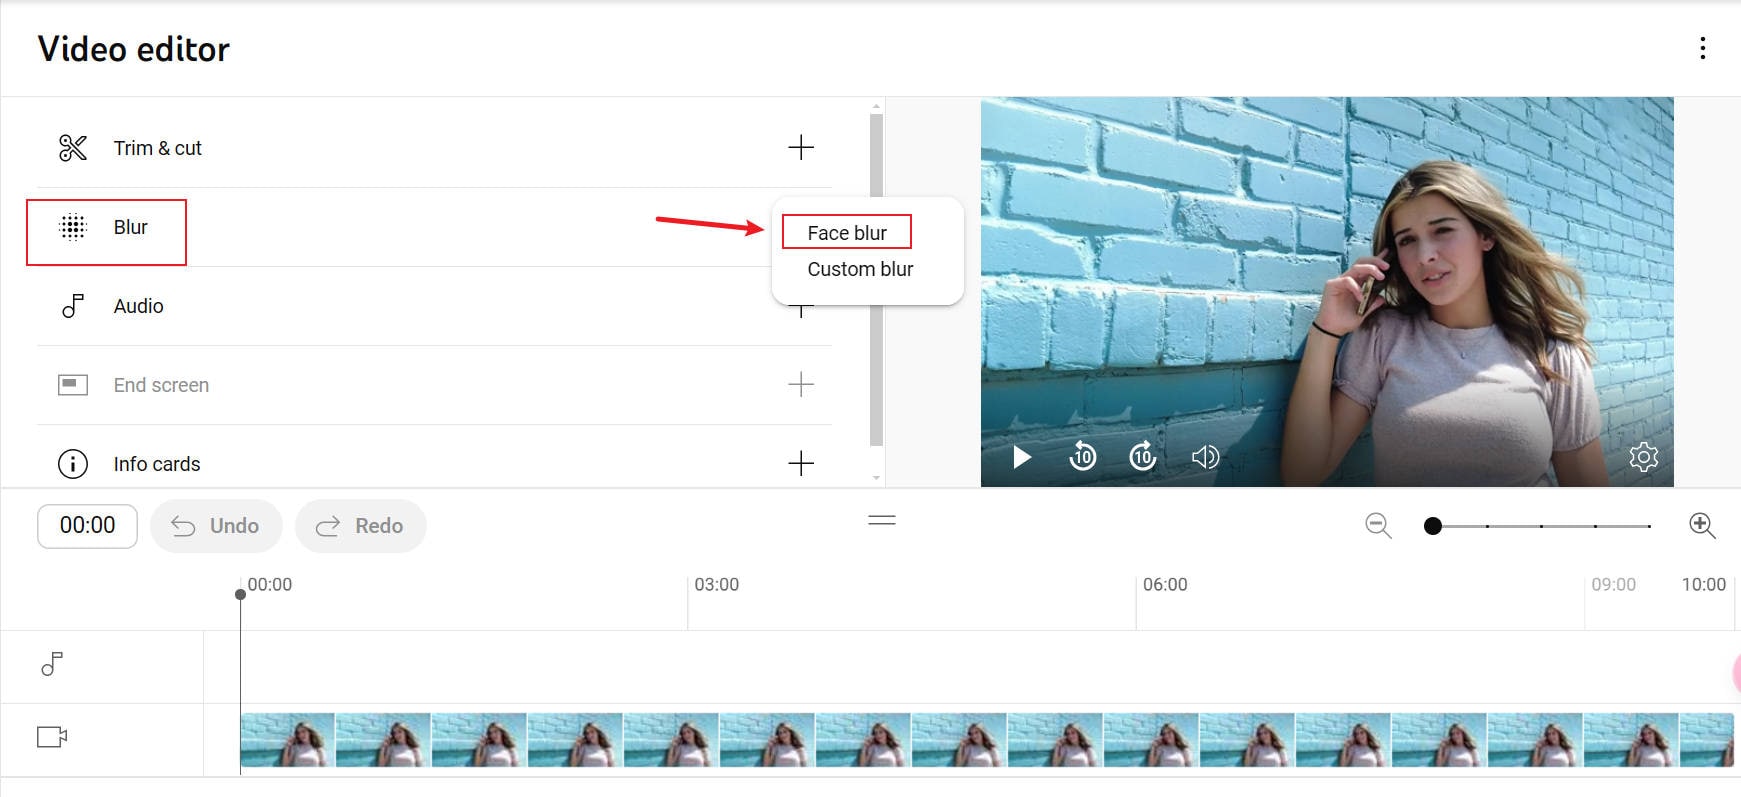
Step4Click the "Blur" button
After clicking the "Blur" button, you'll see options to choose "Blur Faces" or "Custom Blur." Make your selection based on your needs.
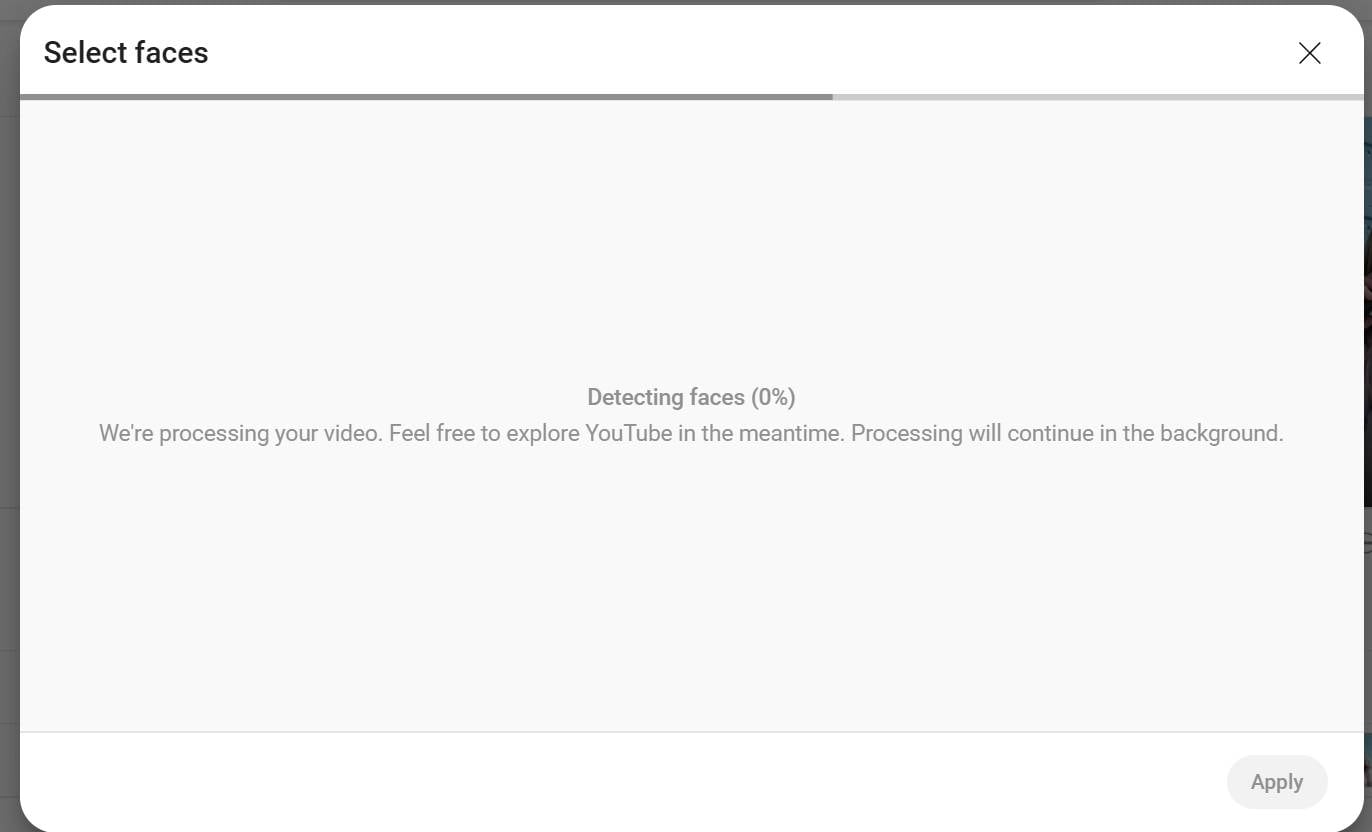
Step5Wait for the system to recognize faces
After you select "Blur Faces," the system will perform face detection. Once the capture is complete, you can proceed to the next step.
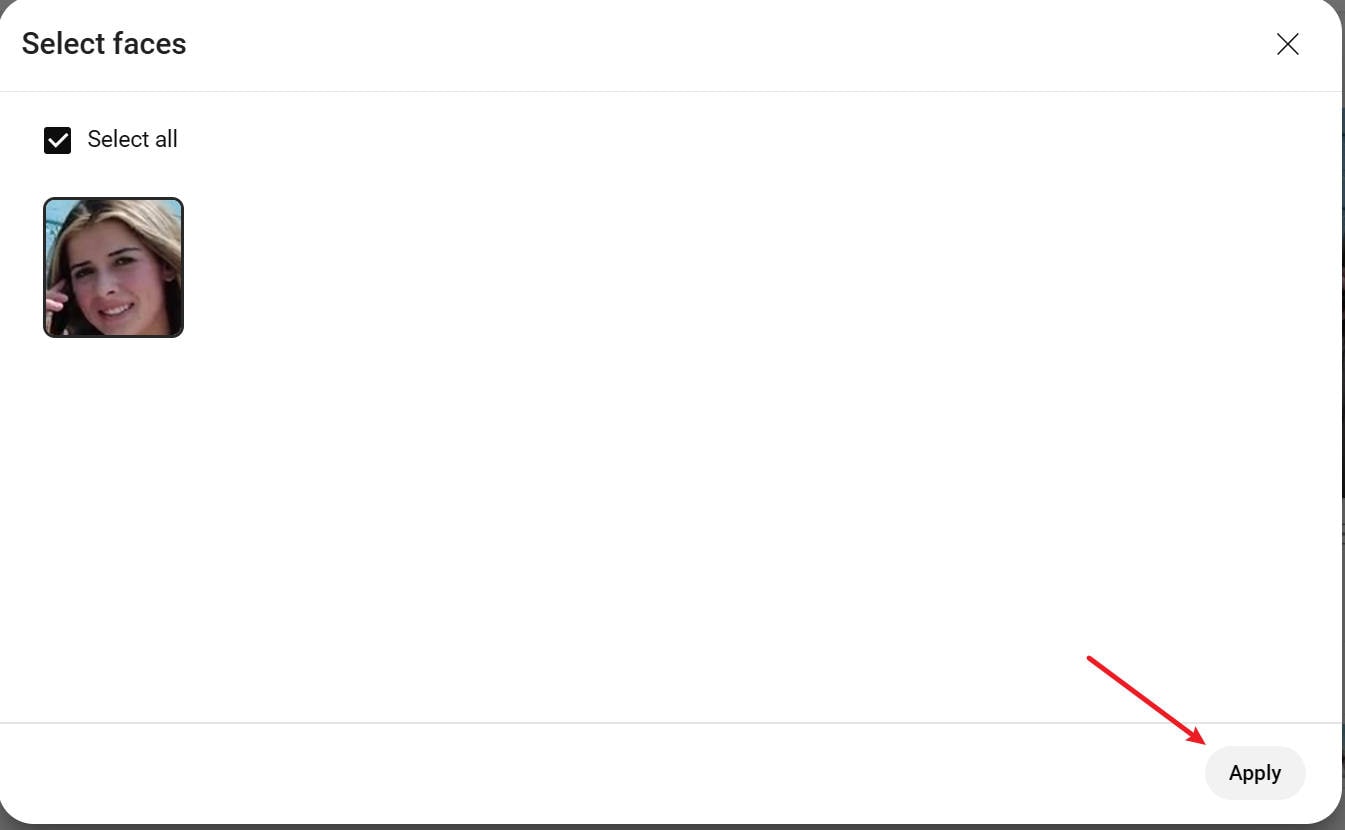
Step6Apply recognition results
After the face detection is complete, you can select the face you want to blur in the video. Because this sample video involves only one face, there is only one option in the image.
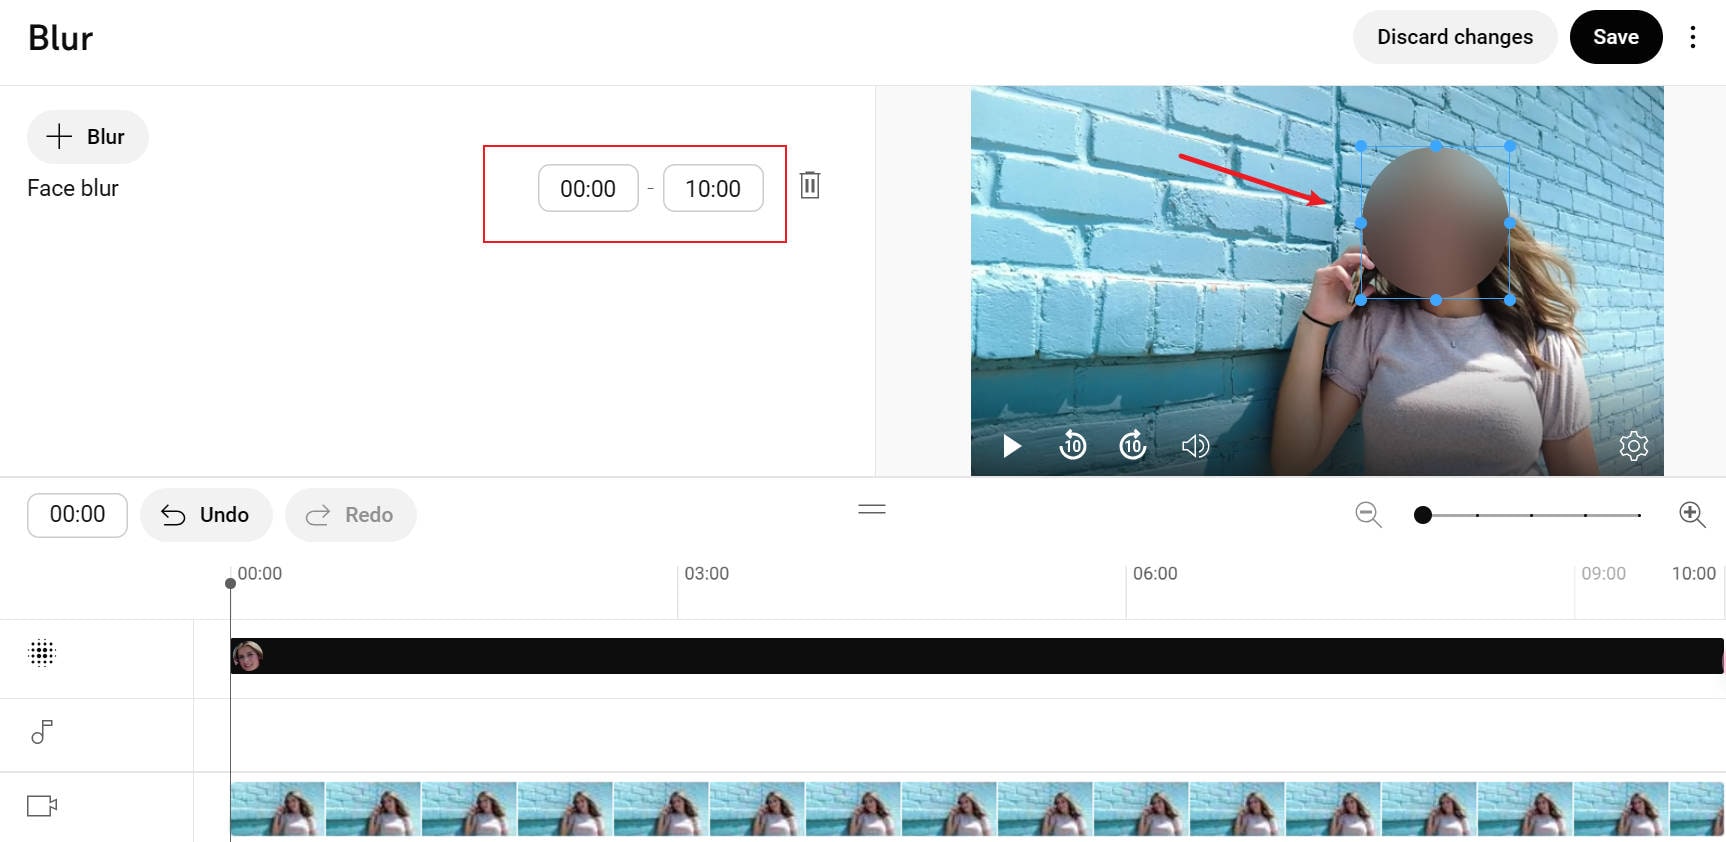
Step7Customize blur results
After the face detection is complete, you can select the face you want to blur in the video. Because this sample video involves only one face, there is only one option in the image.
If you want to see more detailed instructions, you can also watch the explanatory video below.
Part2. Best Alternative Way To Blur Face in Videos With Wondershare
Do you want a creative solution to blur the faces in your videos? No need to worry, as Wondershare Filmora brings an intuitive and easy-to-use interface that allows you to blur the faces with few clicks. It's one of the most reliable platforms that you can come across to edit and modify your videos. It also offers preset templates and an Instant Mode that can help you create a video from scratch efficiently. Also, it provides fast rendering speed so that you can see your final results instantly.
3 Methods To Blur Faces Using Filmora
There are three major and easy ways to blur faces in videos using a desktop app. These methods include using the AI face mosaic, the face-off effect, and motion tracking. In this section, you will discover how to blur people’s faces in videos using both methods.
How To blur faces using the AI Mosaic feature
AI Face Mosaic is a new feature available in Filmora version 14 and above. It helps users quickly apply mosaic coverings to sensitive individuals who should not appear on screen, especially in scenes with multiple people. Let's take a look at the steps to use this feature.
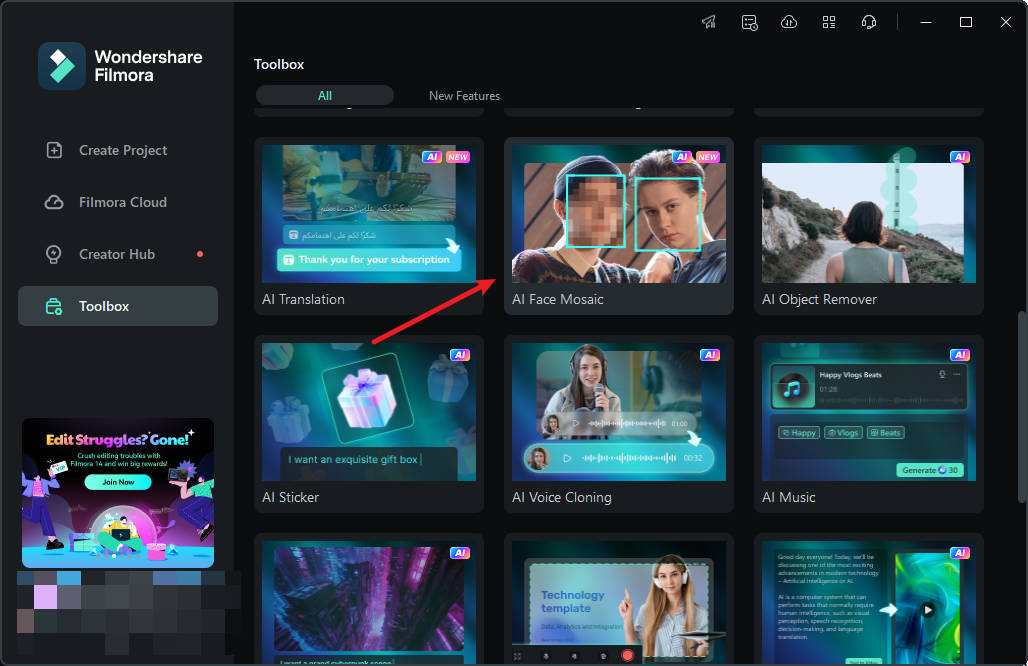
Step 1: Launch Filmora on your PC and go to "More" or select the three dots at the end of the editing options.
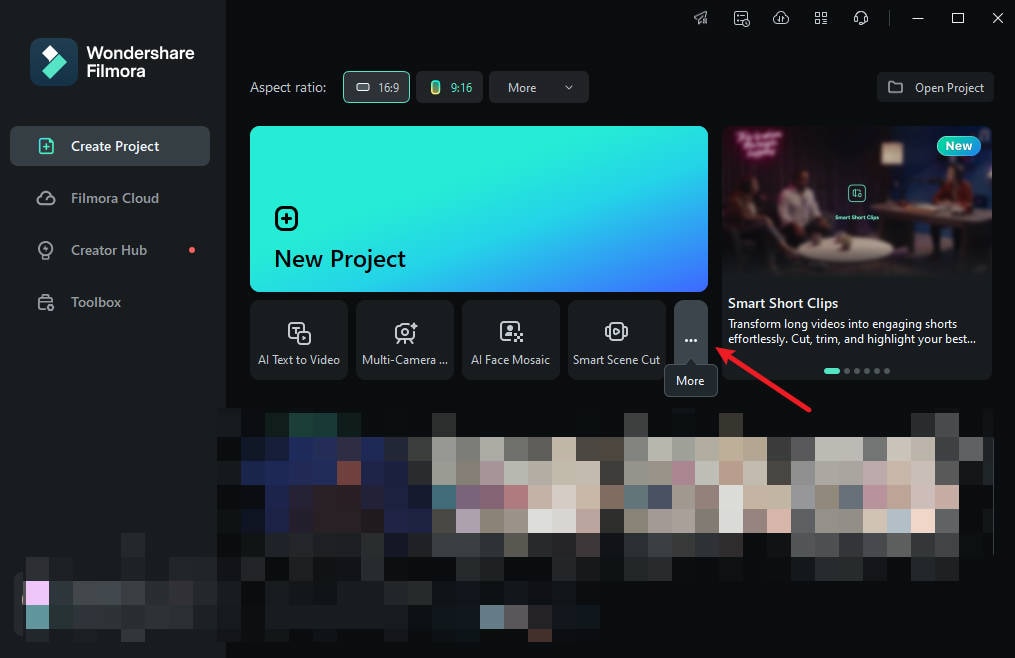
Step 2: Click on "AI Face Mosaic". Then, import your media for editing.
Step 3: Filmora will automatically analyze the video to apply the blurring effect to faces throughout the footage. Once the analysis is done, each face will have the mosaic effect.

Step 4: To choose a face to remove the mosaic effect, deselect it from the right-hand panel.
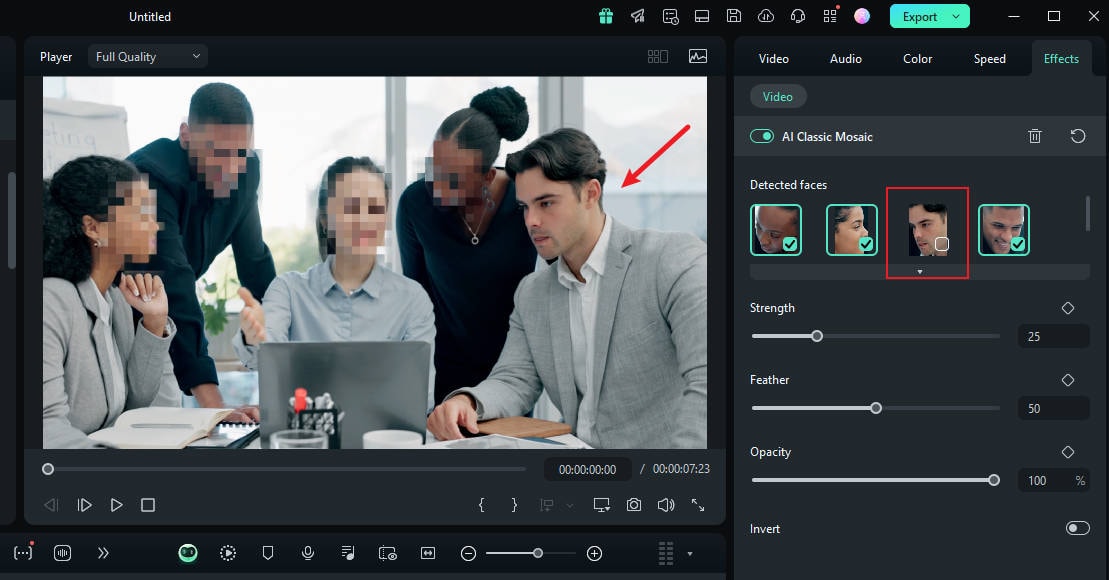
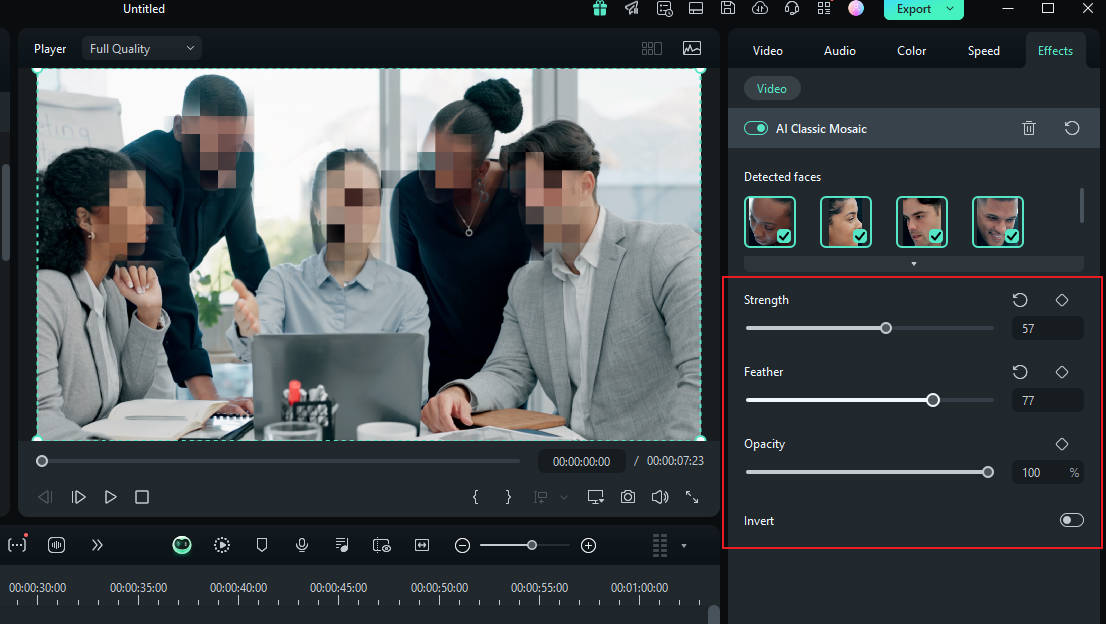
Step 5: You can also use the grader to adjust the strength, feather, and opacity of the blur.
Step 6: You can also invert the mosaic by clicking "Invert". This makes everything else, except the faces, have the mosaic effect.
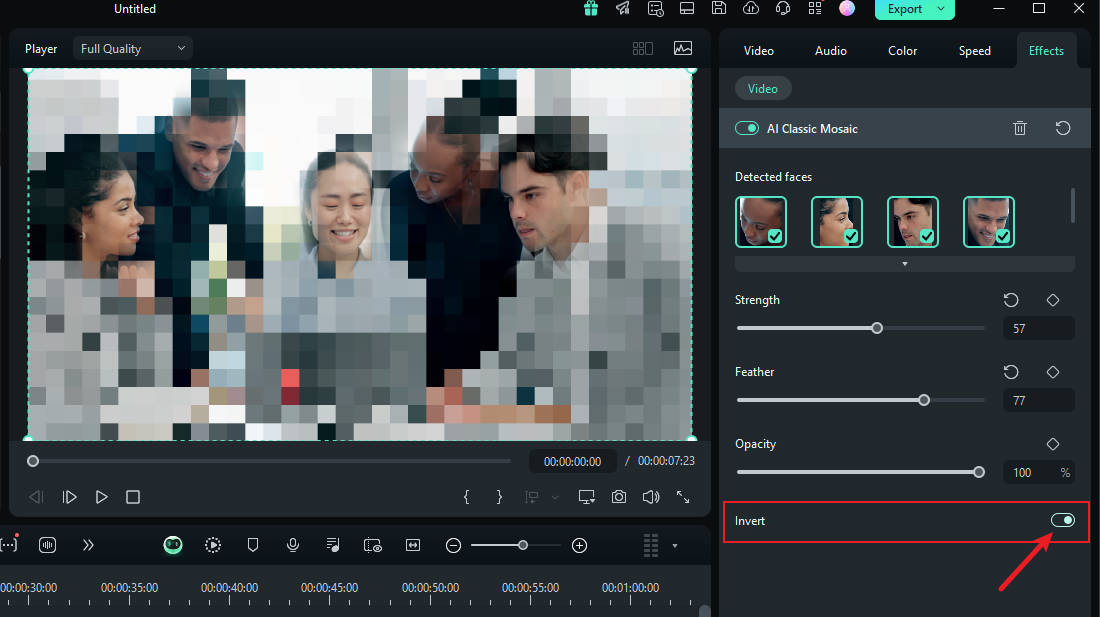
And that's it! Once you're done, preview your video and export it.
Step 7: When you click "Export," Filmora supports direct upload to your personal YouTube channel. You can define the video's thumbnail, title, and description, among other details.

Step 8: Wait for the upload to complete, and then you will see the video appear on your channel. Similarly, you can edit the video further in Studio.

How To Blur Faces Using the Face-off Effect
Another quick and easy way to blur faces in Filmora is by using effects from the editing suite. You only need to select the face blur effect to add a mosaic to a person's face. Here is how to blur someone’s face in a video using Face-off:
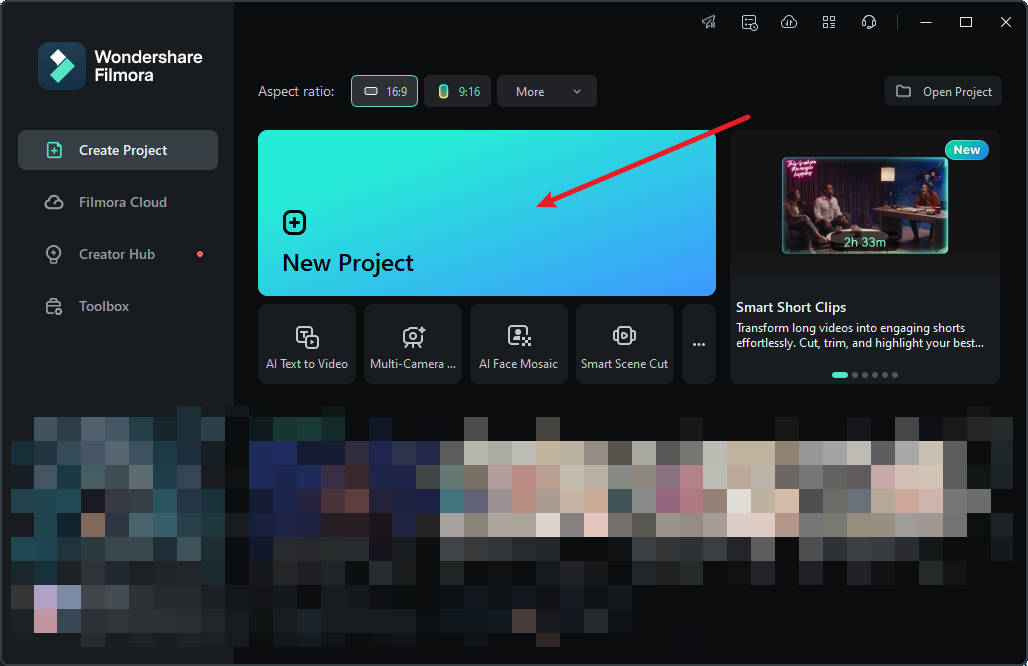
Step 1: Launch Filmora on your PC and click on "New Project".
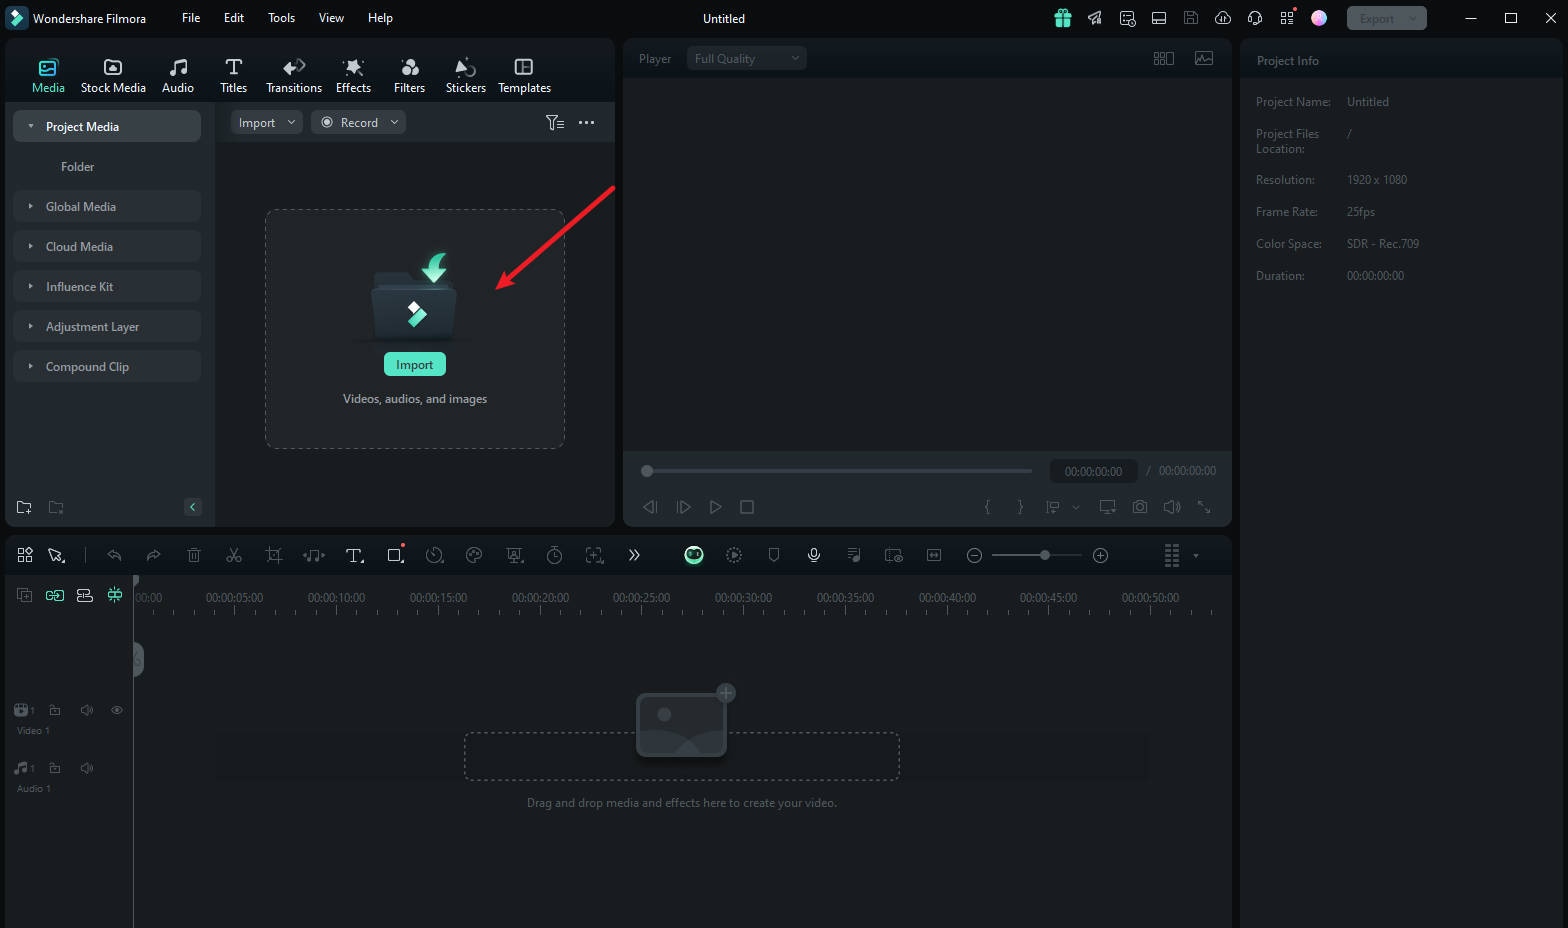
Step 2: To import your media, drag and drop it into the editing suite or click "Import".
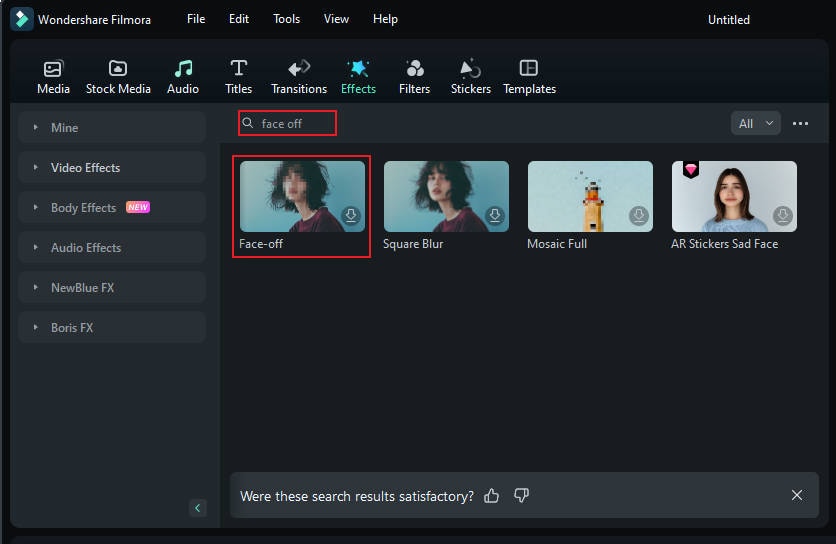
Step 3: Tap "Effects" from the main menu at the top of the suite.

Step 4: If you don't see the Face-off effect on the first effects page, search "Face-off" in the search bar.
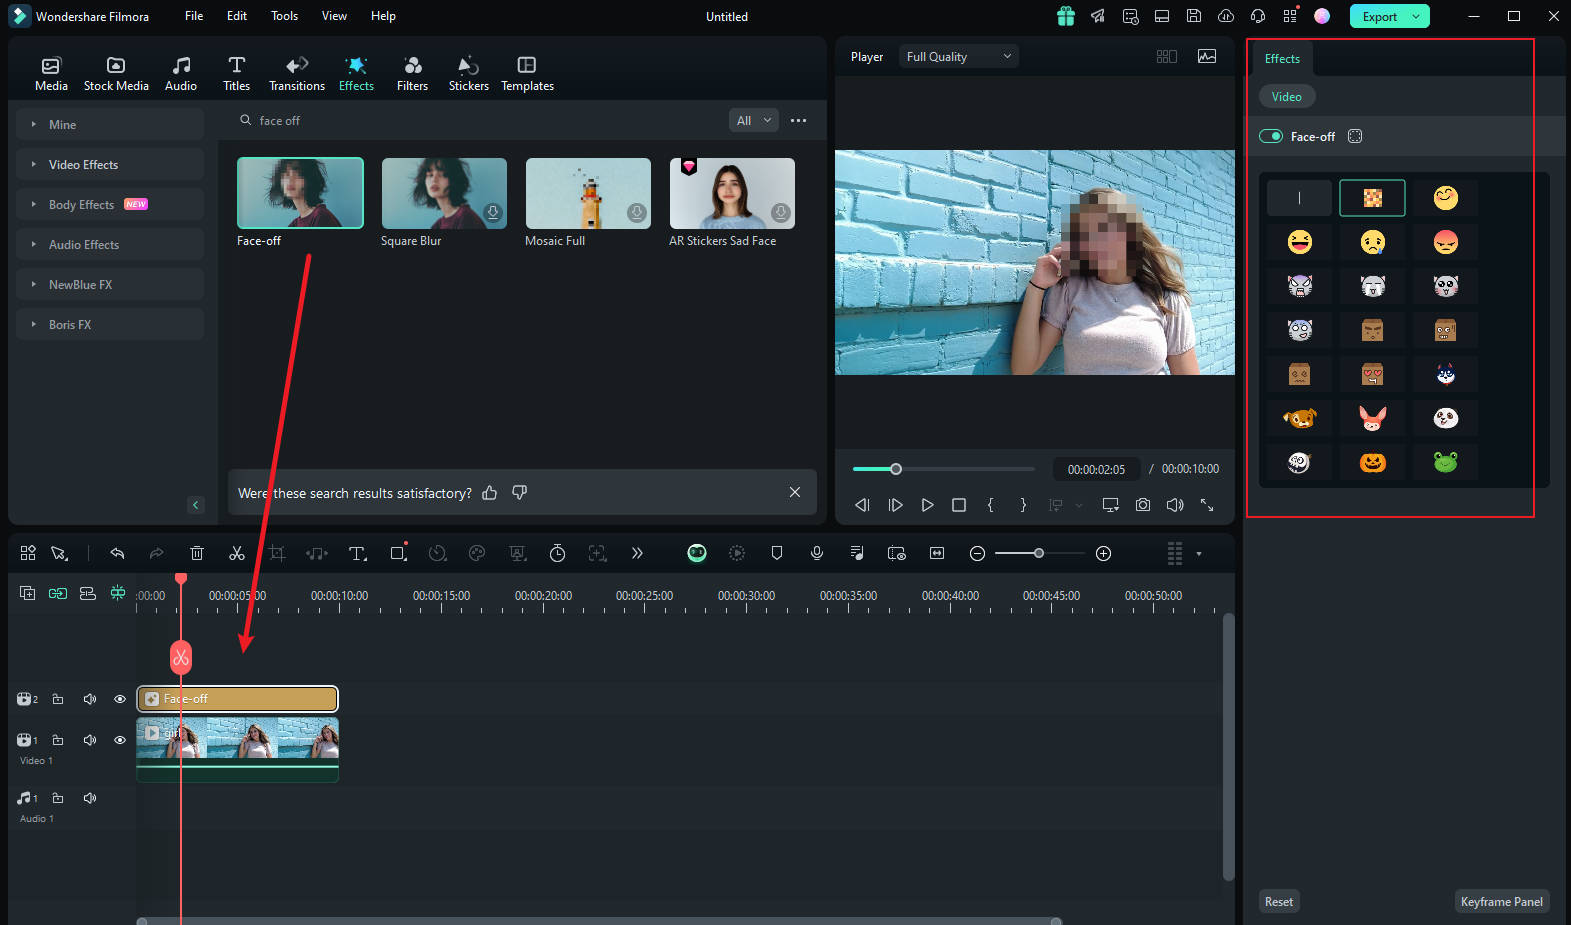
Step 5: Click on the "Face-off effect" to download it. Then, drag and drop it onto your media in the timeline. Next, preview the video to ensure the blur is in the right spot throughout it and export it.
How To Blur Faces Using the Motion Tracking
If you want to apply a mosaic to a moving person's face, the motion tracking feature in Filmora is your best choice. Let's take a look at how this feature can be used to mosaic a face.
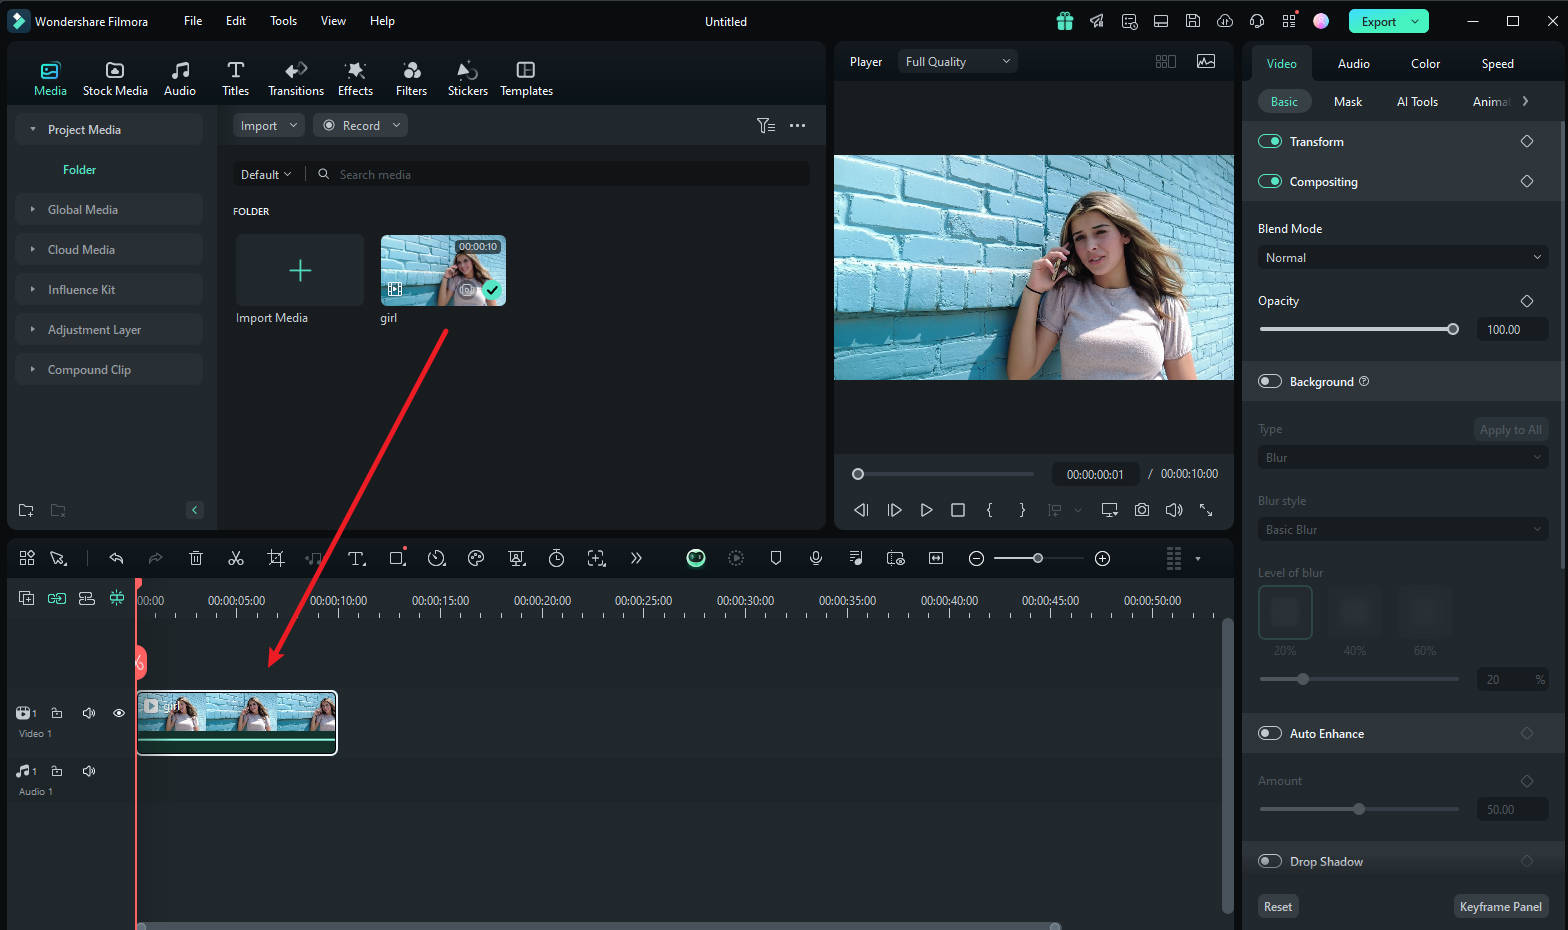
Step1 Import the Video and Drag It to the Timeline
Once you are done launching Filmora, select "Create New Project". Afterward, import and drop the video into the timeline.
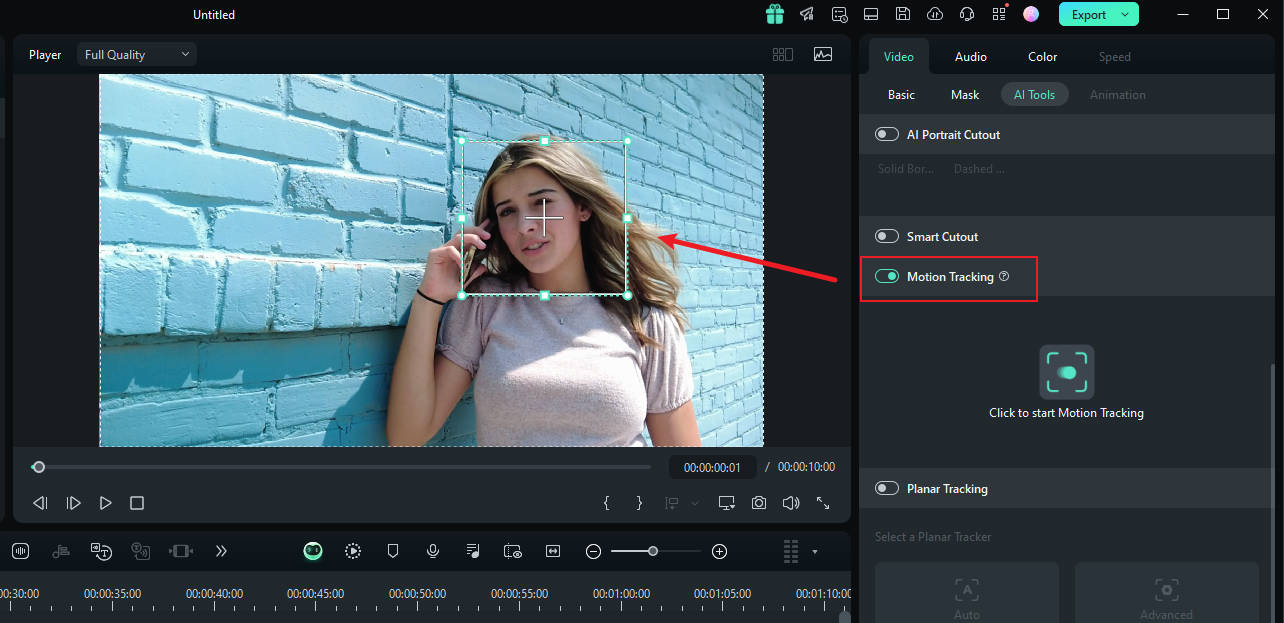
Step2 Adjust the Motion Tracking Space
Now place the play head at the start and proceed with the "Motion Tracking" tool, and adjust the motion tracking space from your preview window.
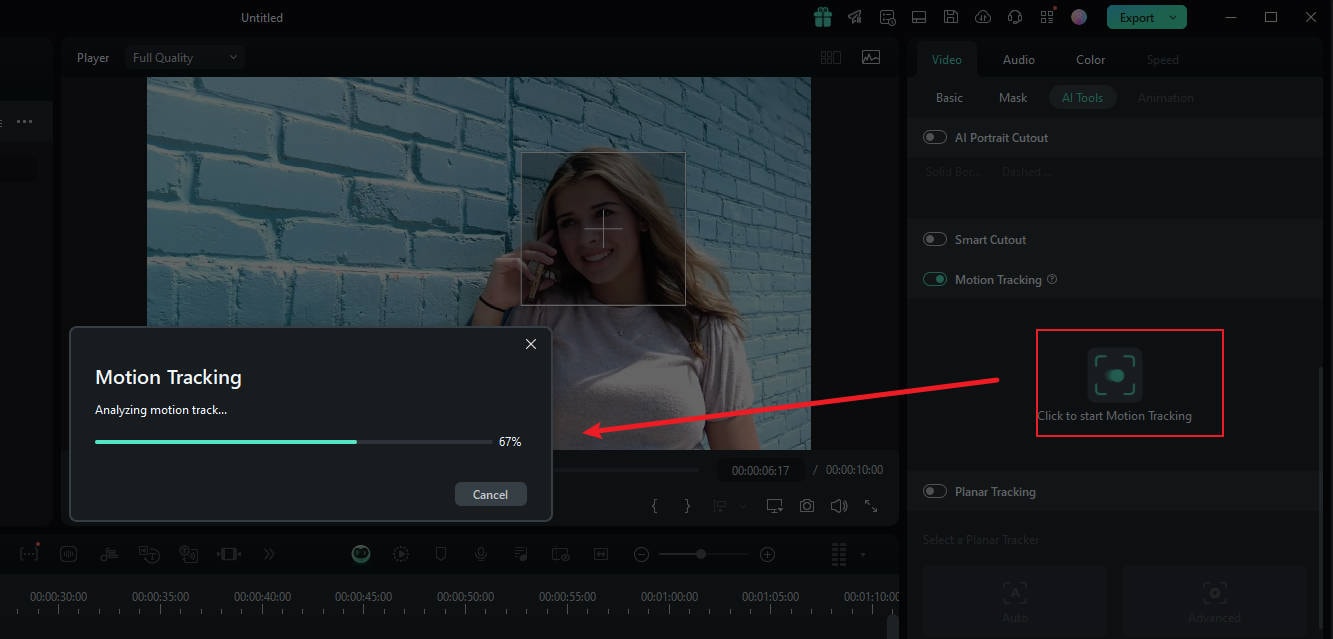
Step3 Start the Motion Tracking Process
Once done, hit the "Start Tracking" button. Within a few minutes, you will be able to finish this process.
Step4 Customize the Blur Settings
Now, click the video on the timeline. In the pane on the right, under the "link element" option, you can select the overlay element you want, such as an image or mosaic.
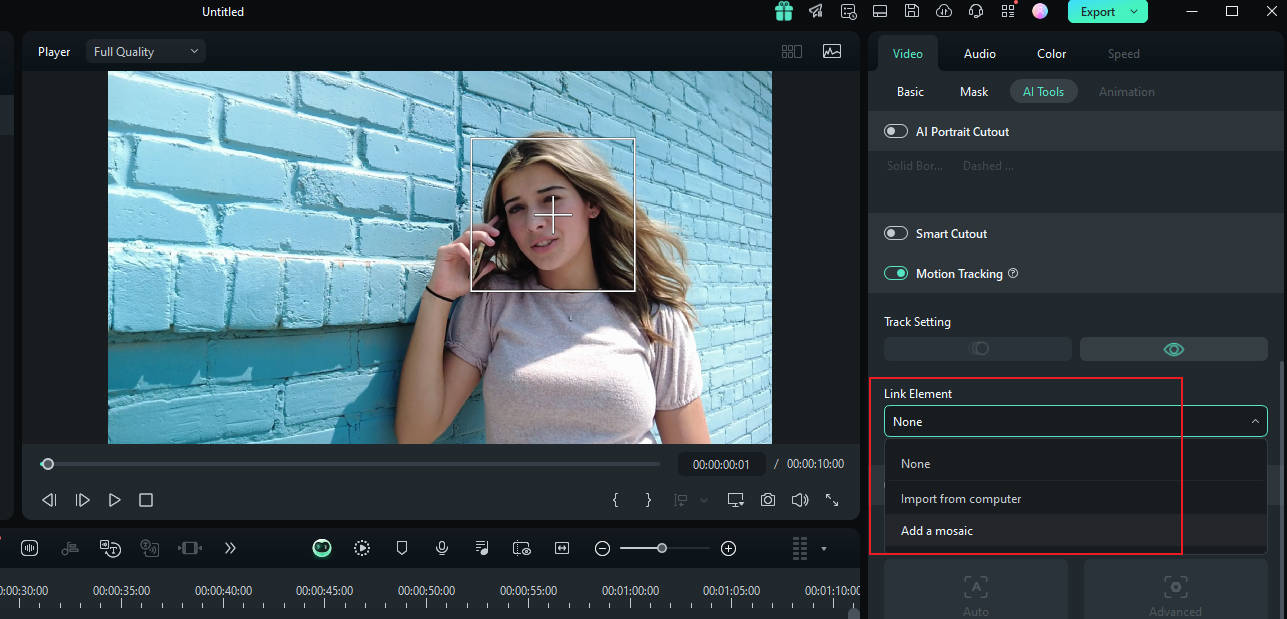
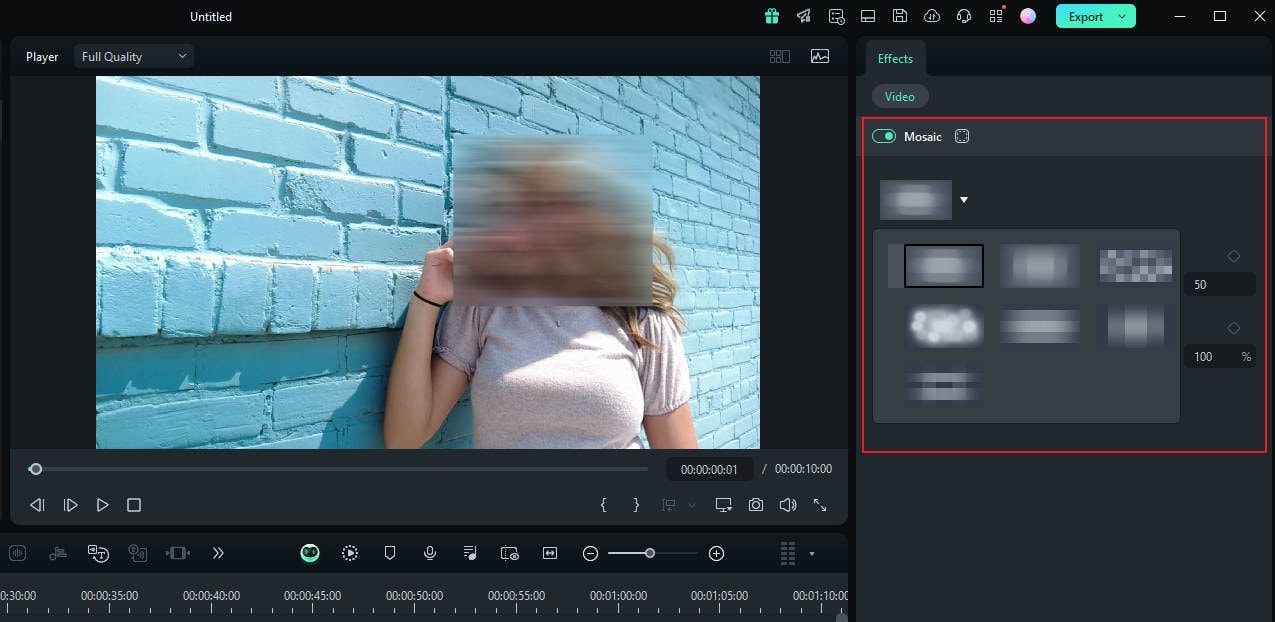
Step5 Choose Mosaic in Motion Tracking
If you choose the mosaic, a mosaic will appear over the person's face. Also, you can change the blur amount and blur opacity. Afterward, adjust the blurred space on your preview window. Once confirmed, you can export the video.
Bonus Part: Use Planar Tracking to Make Your Blurring More Creative
From the introduction above, you can see that Filmora offers various ways to help you blur faces. Starting from Filmora V14, Planar Tracking feature has been introduced, which can track and overlay planes. You can replace a plane in the video with a target image or paste advertisements, not limited to mosaic forms, adding more interest to the video. You can check the explanatory video below.
Conclusion
Now you should have learned how to blur faces in YouTube videos. This article introduced online editing with YouTube Studio and using the third-party tool Filmora to edit and directly upload to your YouTube channel. Learning how to blur faces in YouTube videos is crucial for protecting privacy. From now on, you can add more protection to your videos.
