AI Audio Denoise:
Effortlessly Remove Background Noise From Audio
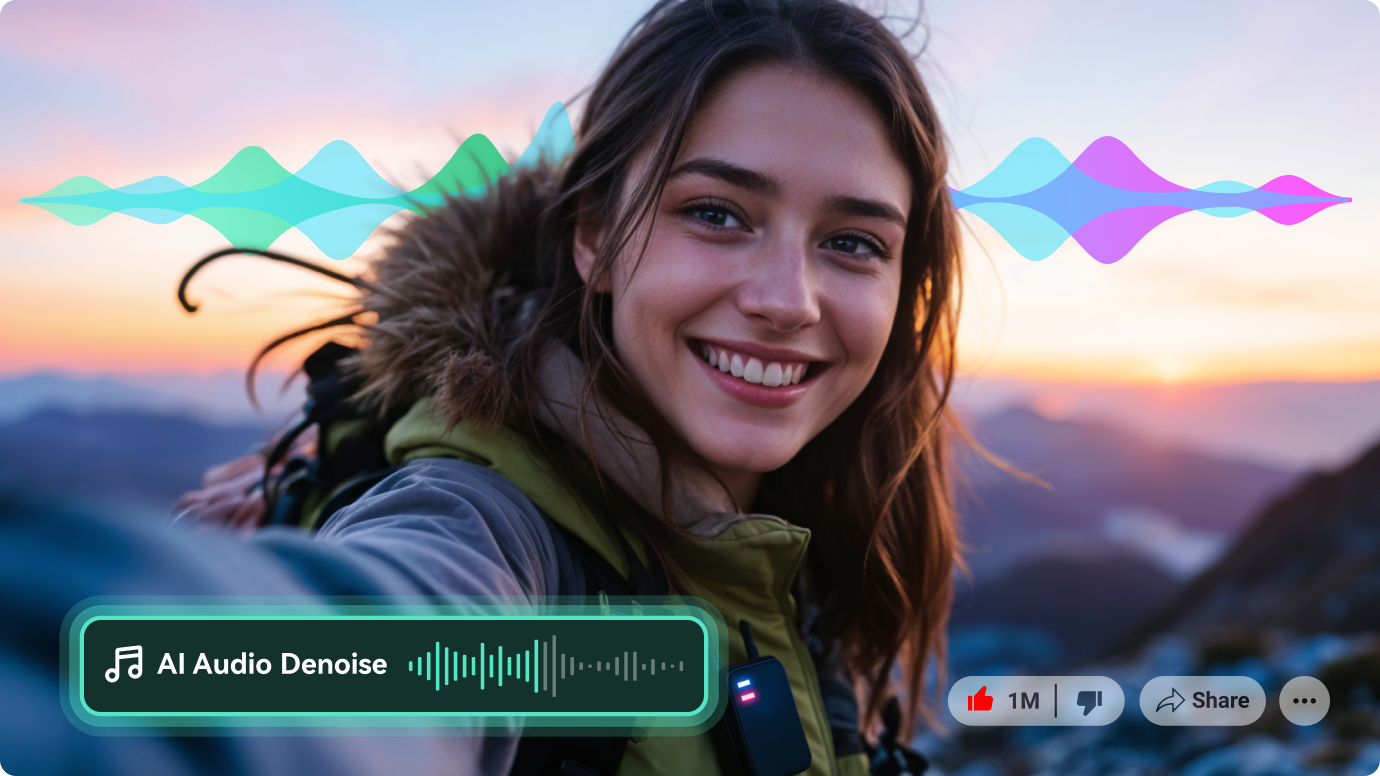
Instantly remove background noise from audio with AI for a crisp and clear sound. Perfect for podcasts, dialogue, narration, voiceovers, and video refinement.
 4.8
(15746 reviews)
4.8
(15746 reviews)
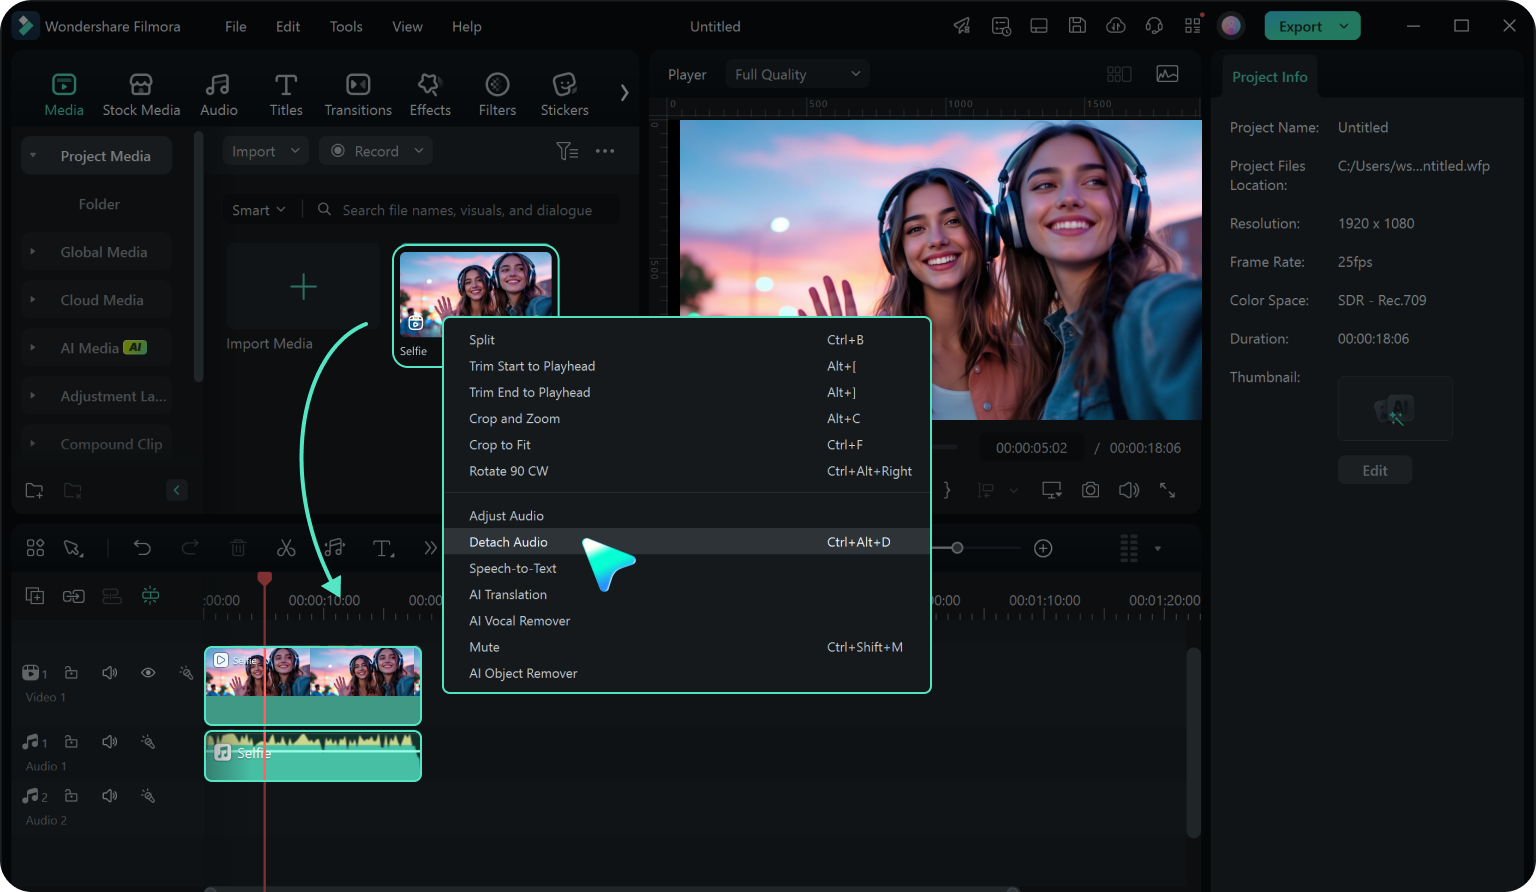
Clean Background Noise From Audio With the Background Noise Removal
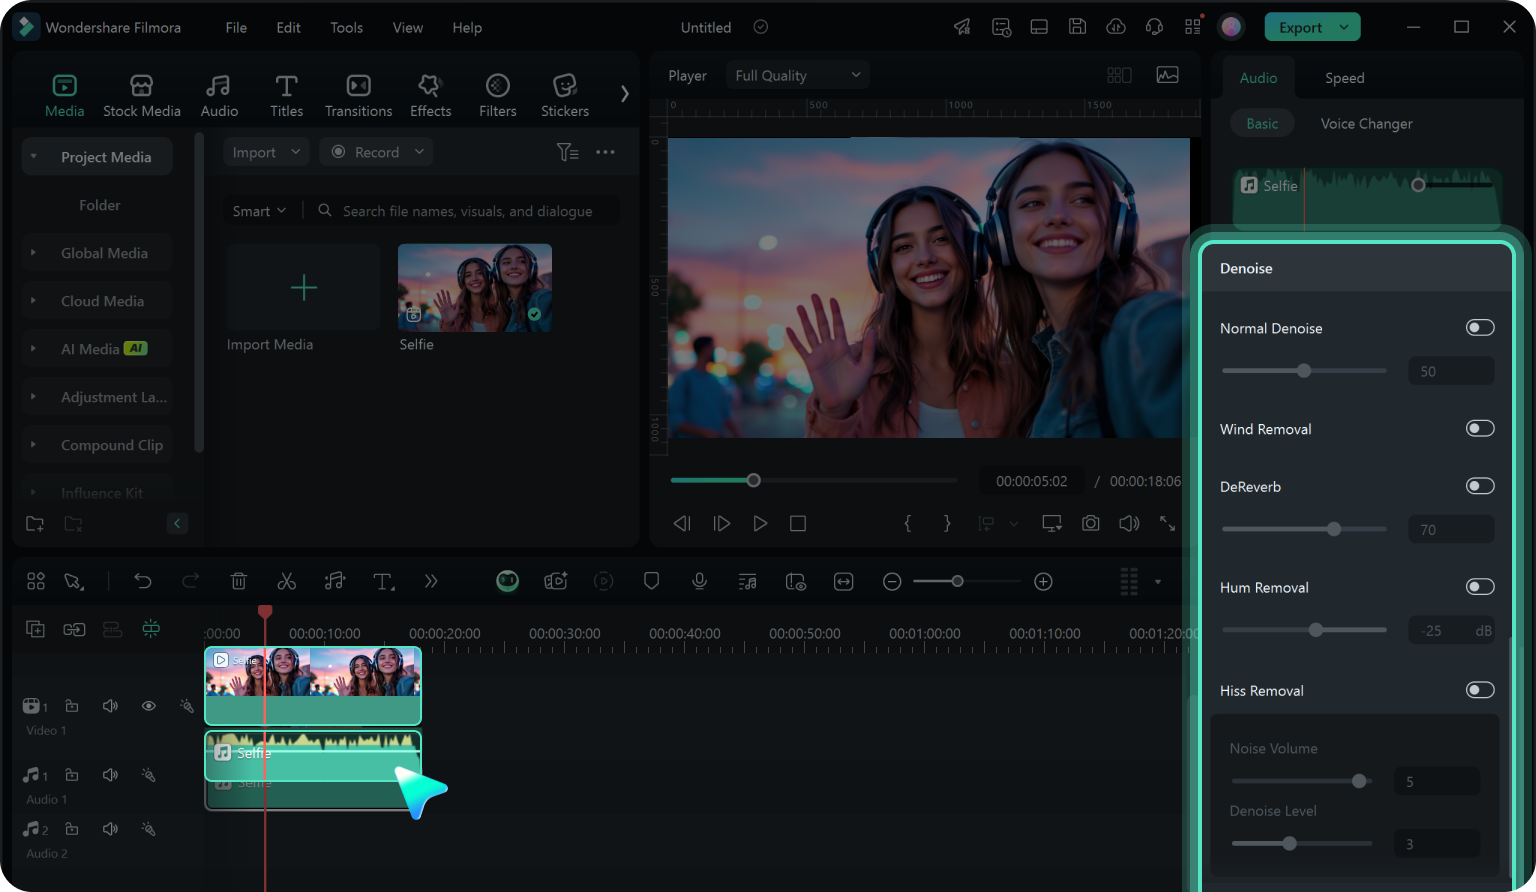
Accurately Remove Noise Based on Source of Noise
-
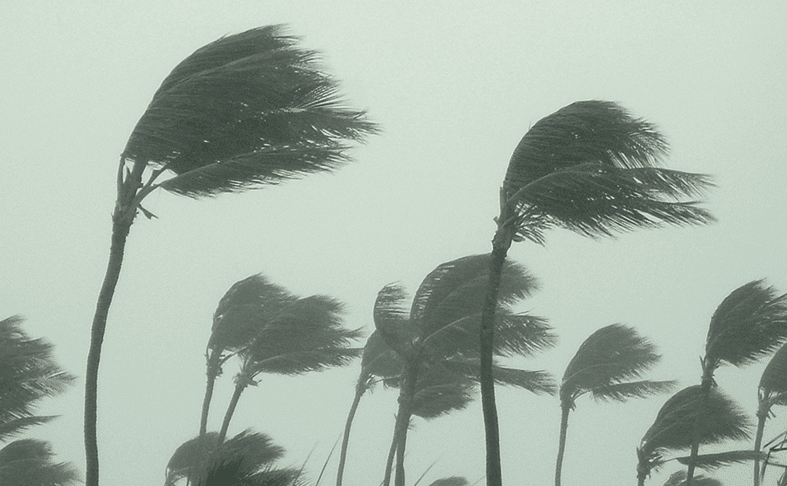
Wind Removal: Eliminate wind noise from outdoor recordings.
-
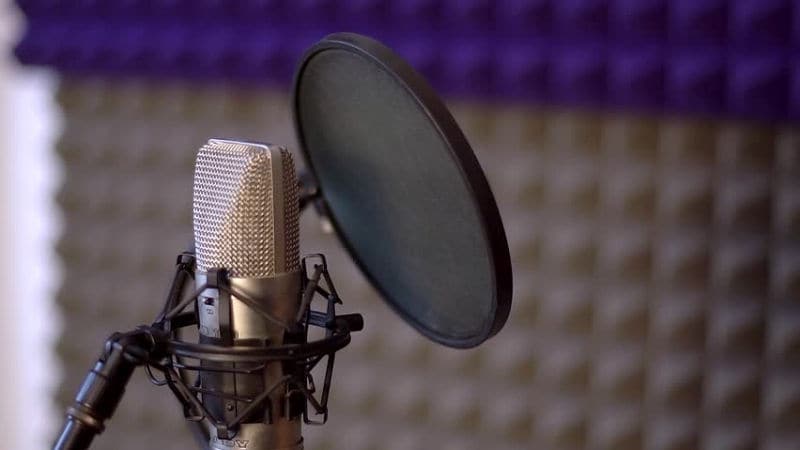
Hum Removal: Remove low-frequency buzzing sound caused by electrical interference from power lines or poorly wired buildings.
-
Hiss Removal: Get rid of hissing sounds caused by recording devices or audio transmission interference.
-
Reduce Reverb: Reduce reverb and improve voice clarity in echo-prone spaces, such as empty halls.
Studio-Quality Sound. Crisp Audio, Untouched by Compression
-
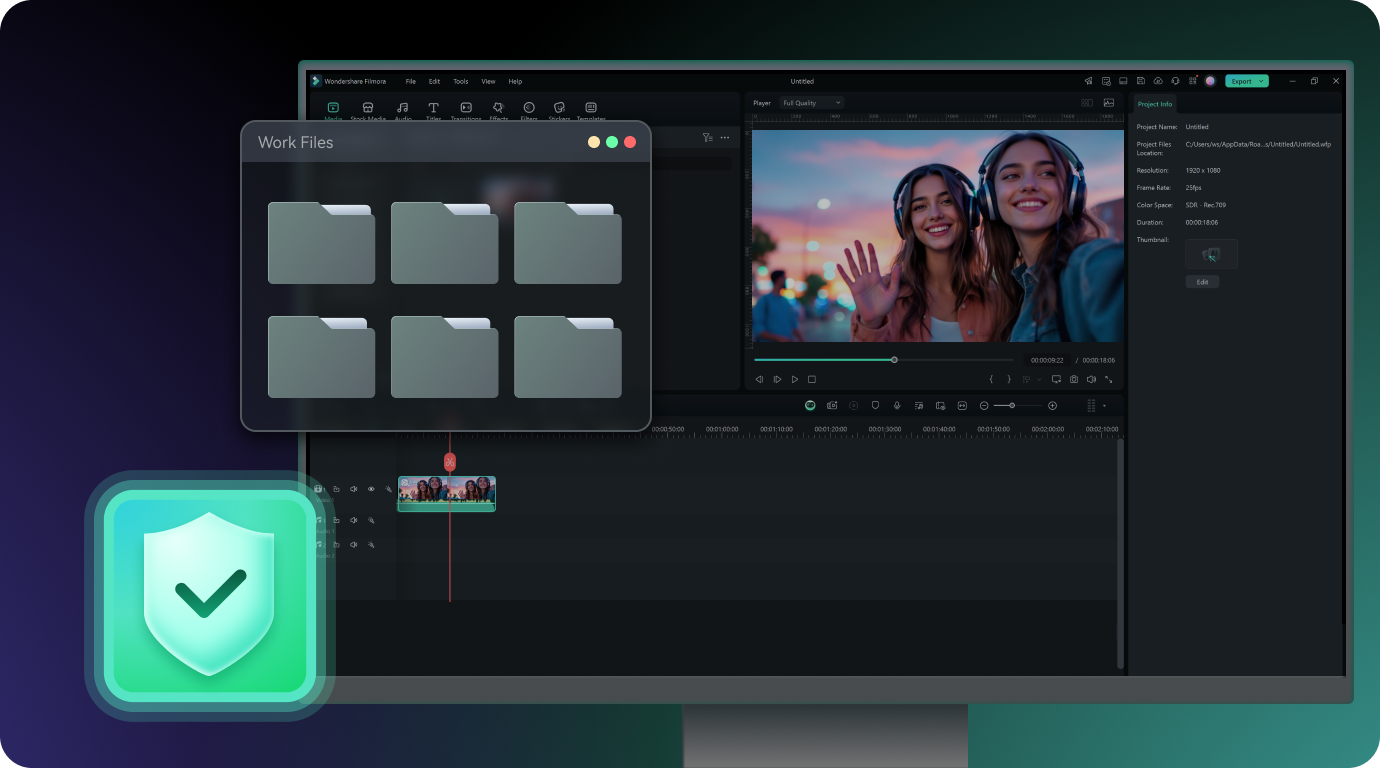
No compression loss: Local processing in video editors preserves original audio quality, unlike online tools that may compress files during upload/download.
-
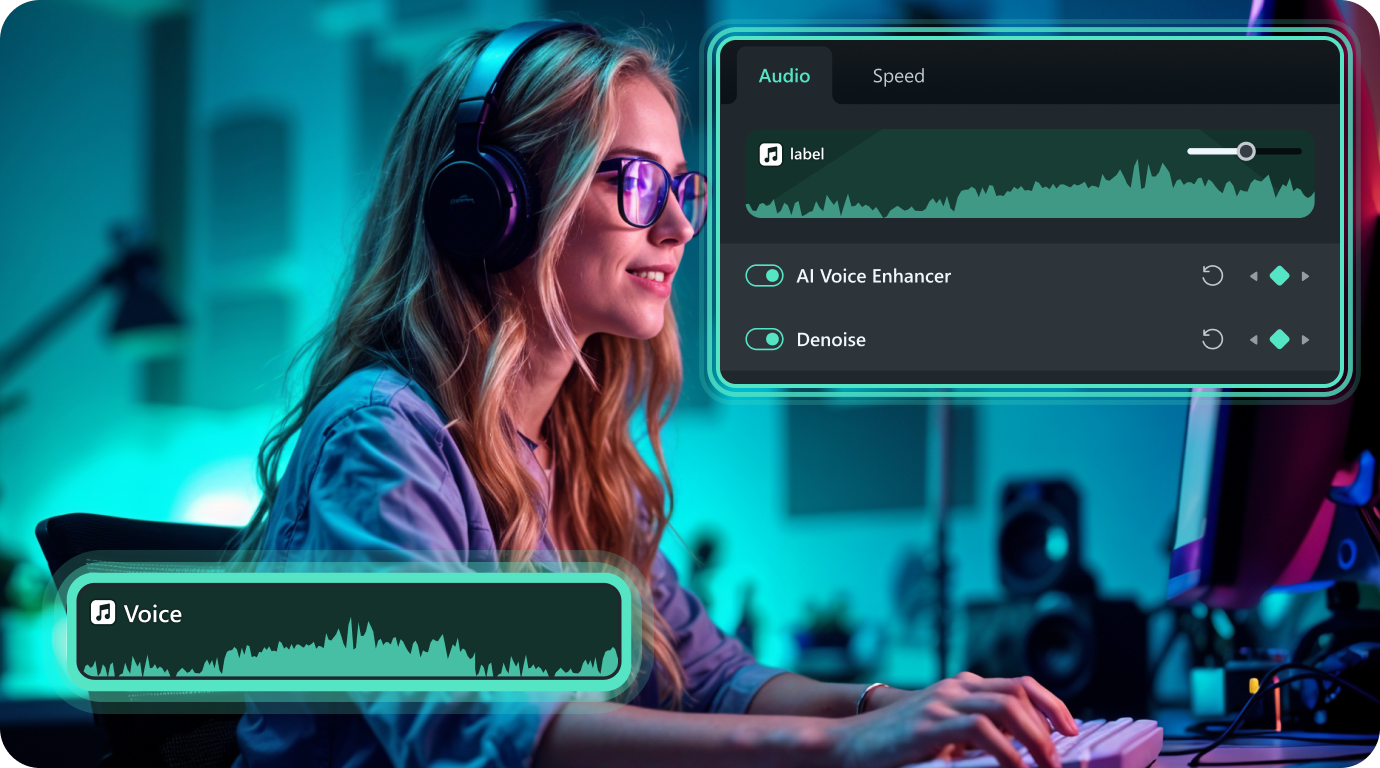
Enchance Speech Clarity: With AI Voice Enhancement on, it will enhance the clarity and intelligibility of speech, making voices sound crisper and more articulate, even in less-than-ideal recording conditions.
-
Multi-track adjustments: Fine-tune denoised audio alongside music, sound effects, or dialogue adjustments for balanced output.

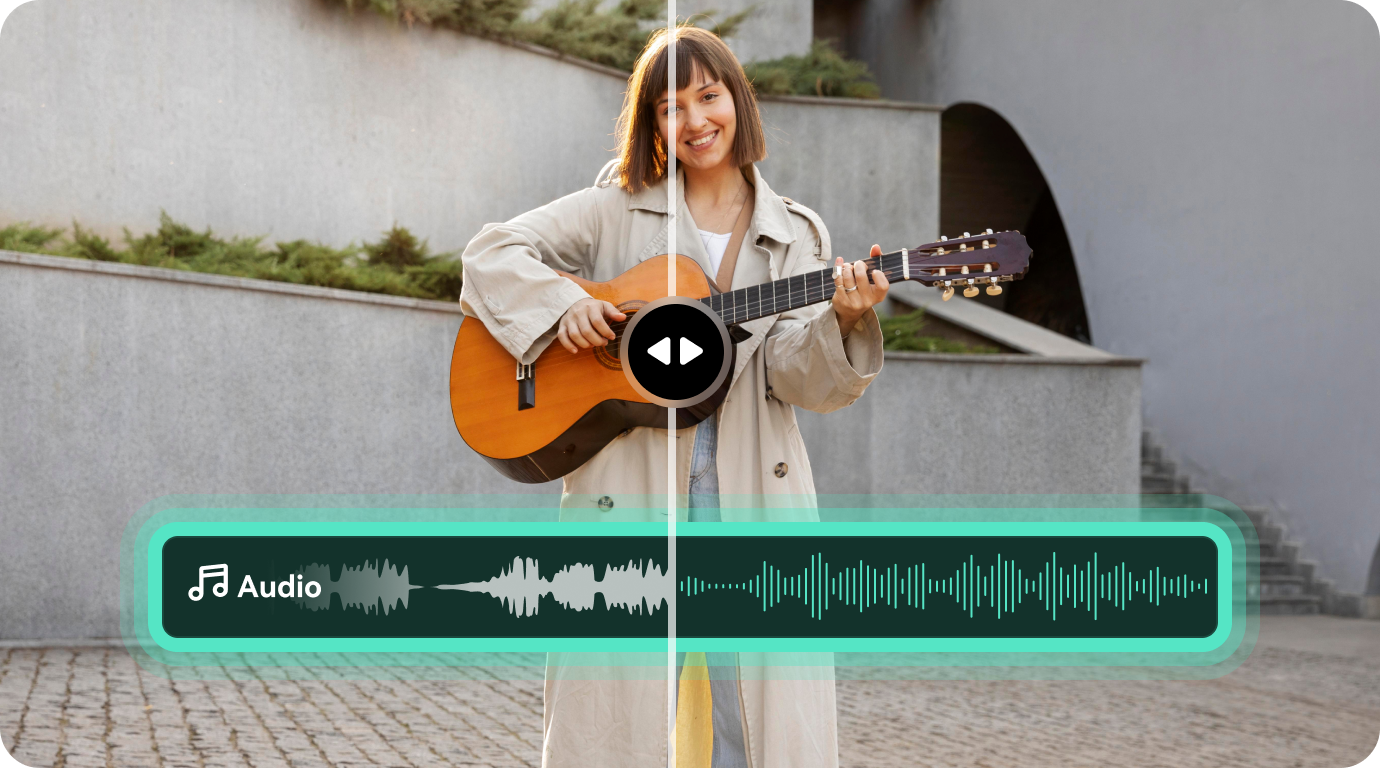
All-in-One Workflow. Edit Video and Audio, Perfectly in Sync
Enhanced Privacy & Security, Your Data Stays Yours
When To Use Background Voice Remover?
Filmora's AI Audio Denoise feature offers a variety of practical use cases to improve audio quality in different situations, no matter whether you’re recording interviews, tutorials, vlogs, or podcasts.
Vlogging and YouTube Videos
When you're capturing the world in real time, every word matters. Whether it's the rush of wind during a scenic hike or the bustling noise of city streets, Filmora's AI Audio Denoise lets your voice rise above the chaos. Elevate your storytelling by reducing distractions so your audience can focus on the moment, uninterrupted.

Podcasts and Voiceovers

Interviews and Online Meetings

Event Recordings
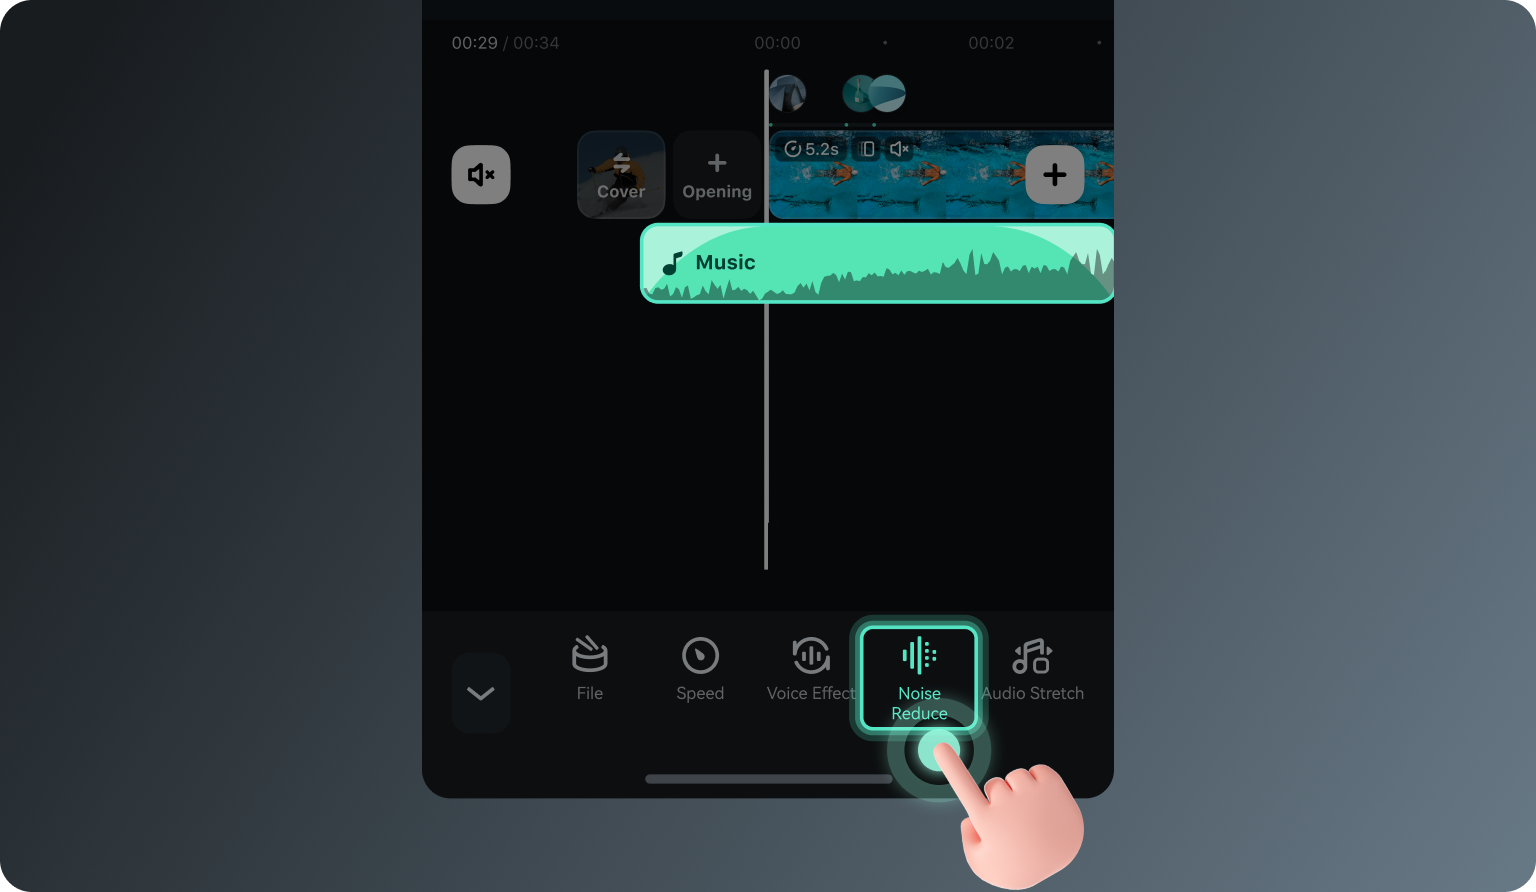
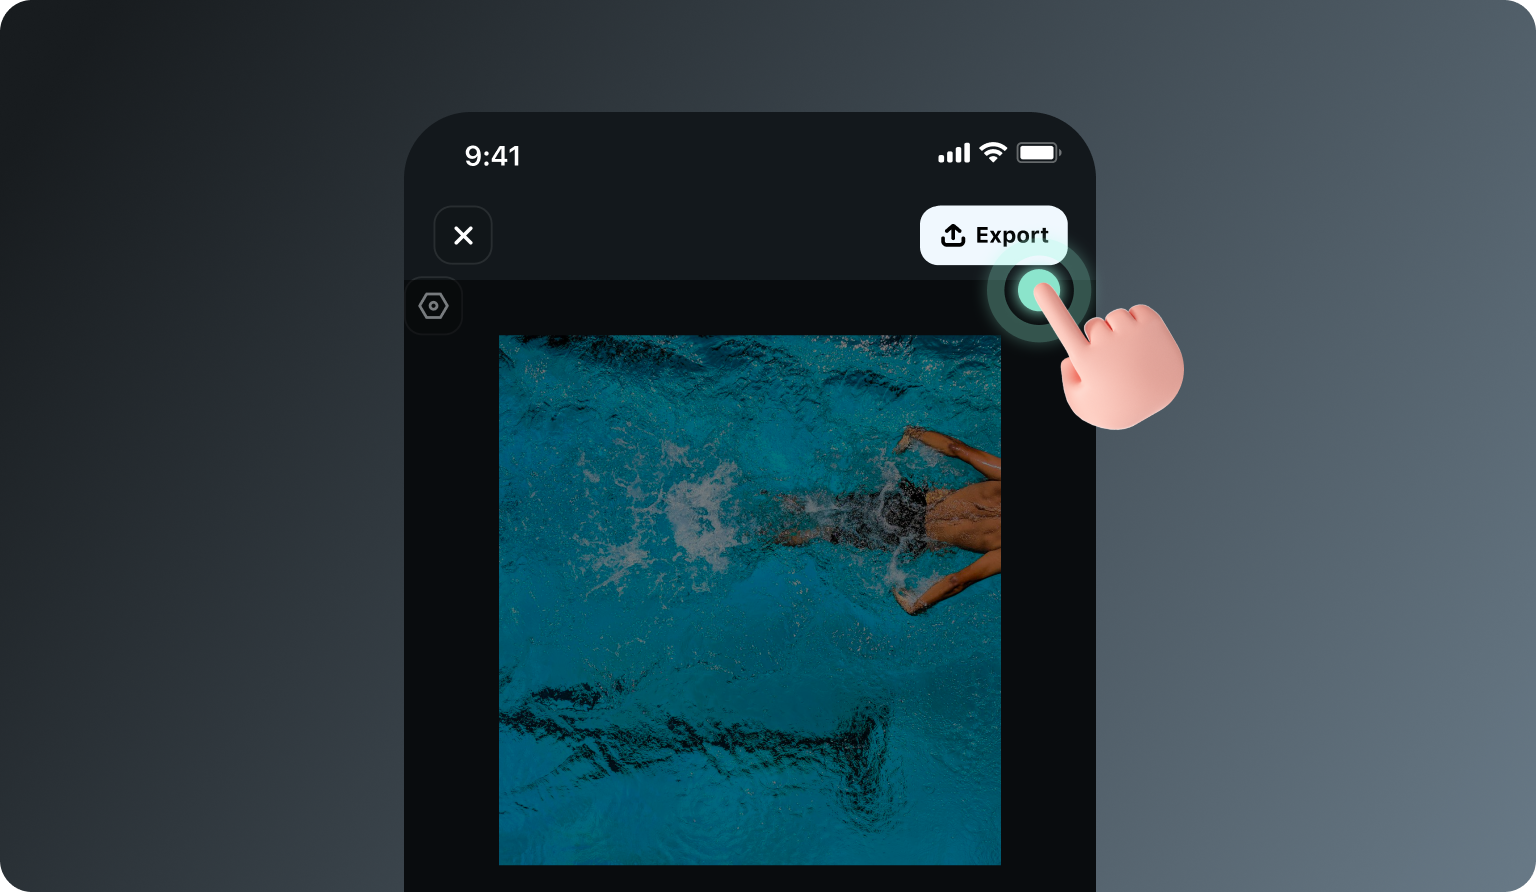
How to Clean Noise from Audio?
More Tips About Reducing Background Noise in Audio


FAQs on Removing Noise From Audio
What Our Customers Say About Us

Emily R.

John S.

Sarah K.

Mark L.
Discover More Powerful AI Functions


A video editor for all creators.