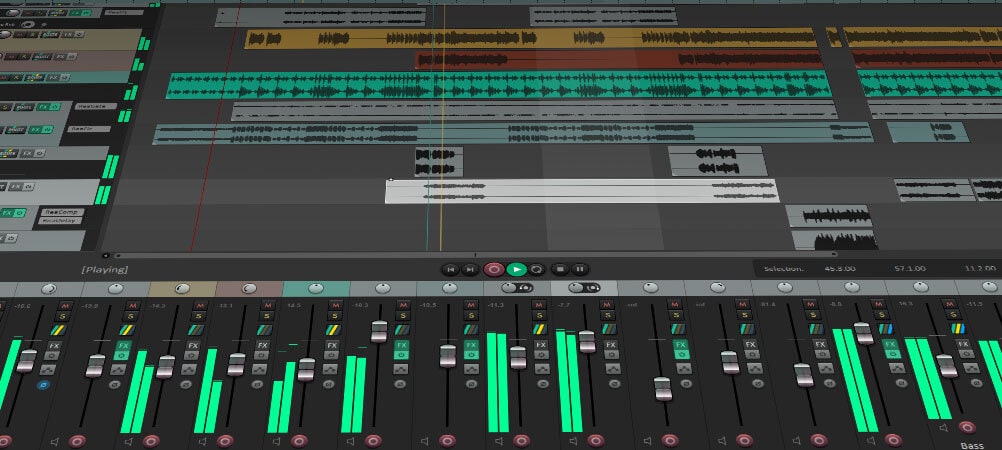
REAPER recording software is one of the most efficient and flexible DAWs available today. It's fast, lightweight, highly customizable, and works across Windows, Mac, and Linux. With support for unlimited tracks, VST plugins, and real-time editing, it's a favorite among audio pros and indie creators. But with newer, easier tools offering all-in-one audio and video editing, is REAPER still the right choice?
This REAPER software review covers what it can do, who it's best for, where it falls short, and how it compares to modern alternatives.
How We Test
To deliver an accurate REAPER review, we tested the latest version (REAPER v6.82) across three major platforms: Windows, macOS (Intel and Apple Silicon M1/M2), and Linux. Our evaluation focused on real-world audio production tasks that matter to both beginners and professionals using a DAW (Digital Audio Workstation).
- Multitrack Recording: Handled 24 simultaneous audio inputs with stable latency—ideal for professional sessions.
- MIDI Sequencing: Its piano roll allowed flexible MIDI editing, quantization, and precise instrument routing.
- Plugin Support: Heavy VSTs like Kontakt, FabFilter, and Valhalla ran smoothly, with no crashes or lag.
- Real-Time Automation: Volume, pan, and FX automation worked reliably even during complex playback.
- DAW Comparison: REAPER excels in customization and efficiency, though it's less intuitive than beginner-focused tools—especially those combining video and audio editing like Filmora.
Part 1. What Is REAPER Recording Software?
REAPER recording software is a professional digital audio workstation (DAW) developed by Cockos Inc. since 2005. Known for its speed, stability, and affordability, it's built for recording, editing, mixing, and mastering both audio and MIDI. Unlike many DAWs, REAPER offers deep customization, making it a favorite among sound engineers, musicians, and podcasters.
- Lightweight: Installation size under 15MB with fast startup.
- Multi-track Recording: Unlimited audio and MIDI tracks.
- Plugin Support: Compatible with VST, AU, DX, and JSFX plugins.
- Customizable Interface: Full theme support, macros, and scripting (Lua, Python, EEL).
- Cleaner UI tweaks for readability and accessibility
- Expanded MIDI routing / channel mapping improvements
- Native Apple Silicon (M1/M2/M3) builds for better performance on modern Macs
- Improved Linux builds and more community UI themes
- Ongoing refinements to scripting APIs and track envelopes
- 60-day fully functional trial (no feature limits during eval)
- Discounted license: $60 (personal, small business, education, revenue cap applies)
- Commercial license: $225 (full commercial / high-revenue use)
Part 2. Features and Usability
REAPER isn't flashy, but it's fast, stable, and built for control. This REAPER DAW review focuses on how it handles real workflows, not just what it claims on paper.
System Requirements
REAPER is incredibly light on system resources. You don't need a high-end setup to run it smoothly, just enough to handle your plugins and track count.
- Windows: XP to Windows 11 (32- and 64-bit supported)
- macOS: Version 10.5 or later, including full native support for Apple Silicon (M1, M2, M3)
- Linux: x86_64 builds available (experimental, but actively developed)
No extra DRM, no cloud requirement; just a clean install that works across platforms.
Part 3. User Experience
When reviewing any REAPER audio recording software, performance alone isn't enough; how it feels in actual use matters just as much. Here's what using the REAPER recording program is really like from a user's point of view.
Hands-On Experience
Setting up REAPER recording software is fast. The installer is under 20MB, with no bloated content or forced sign-ins. Launch time is nearly instant on both SSD and HDD systems.
The layout is clean but feels plain at first. New users might find it unintuitive; there are no guided popups or beginner templates. Instead, REAPER expects you to explore and build your own workflow. That's powerful, but not plug-and-play.
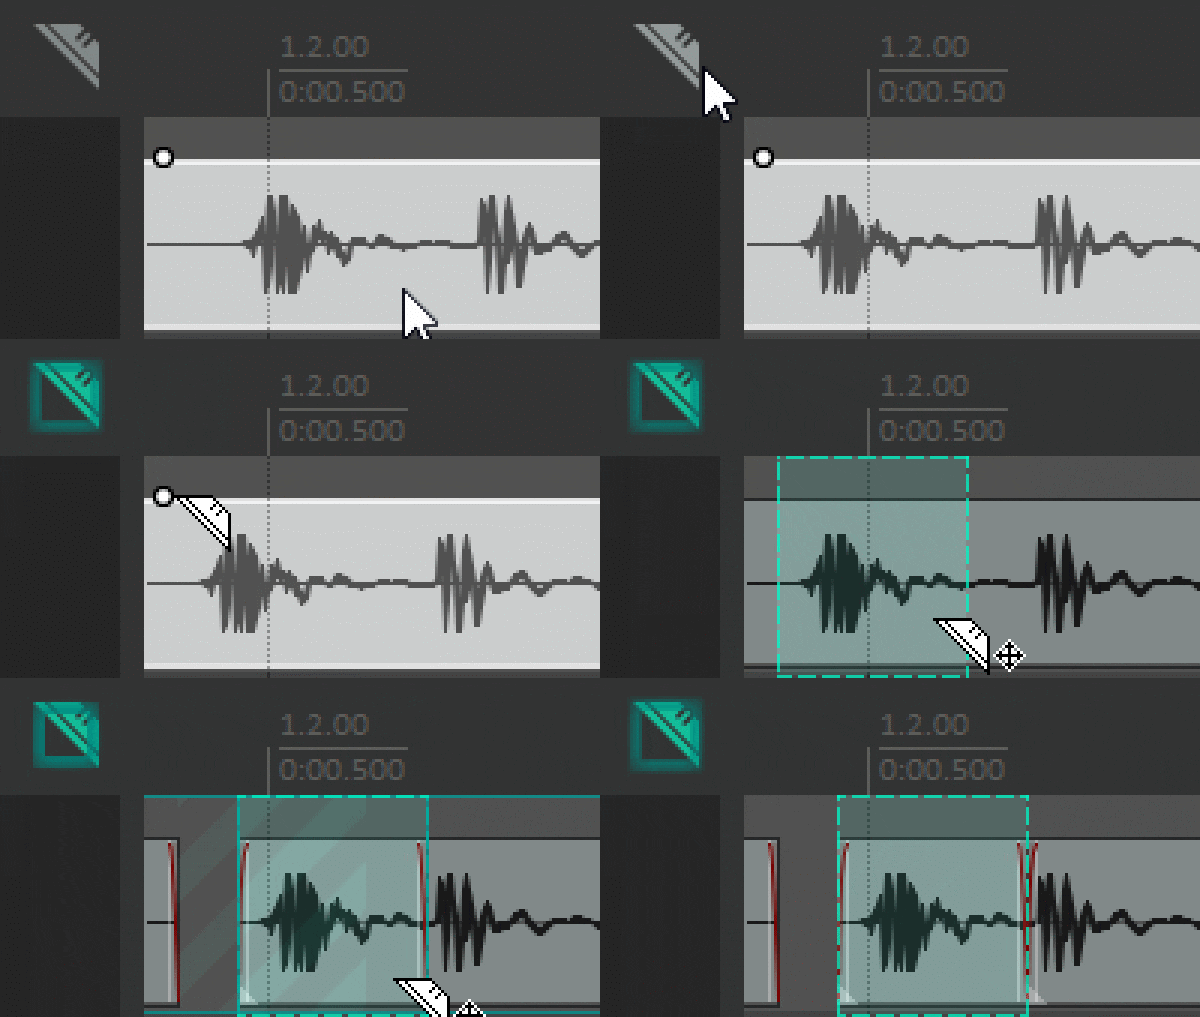
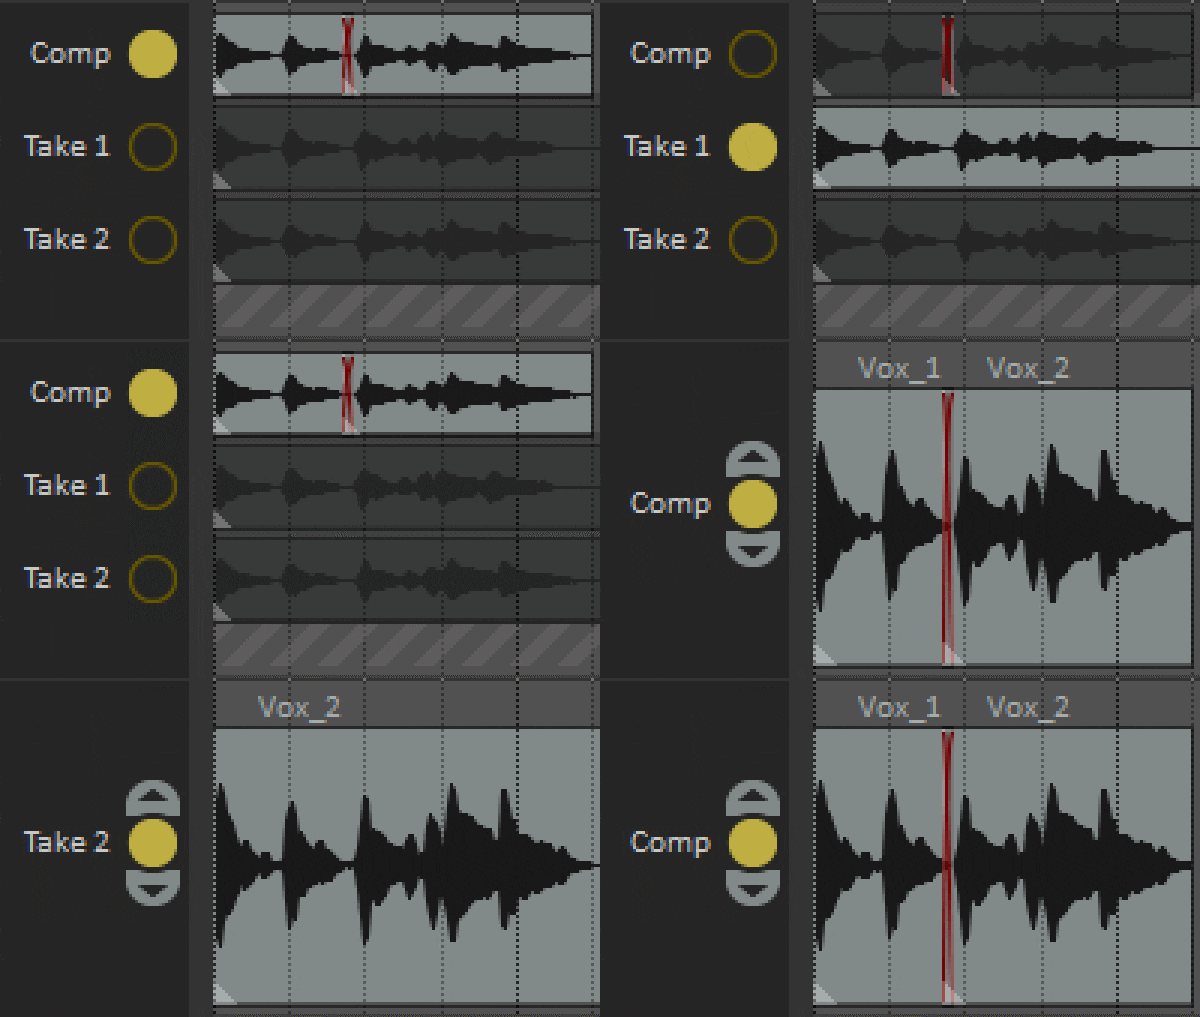
Once you get used to it, navigation becomes fast. You can right-click almost anything, customize menus, and save workspaces. In testing, we built a multitrack session with live drums, guitar DI, MIDI synths, and vocals. REAPER handled it all smoothly with no crashes or audio dropouts.
Virtual instruments load quickly, and MIDI editing is responsive. Still, compared to other DAWs or hybrid editors like Filmora, REAPER has a steeper curve for beginners.
Performance Testing
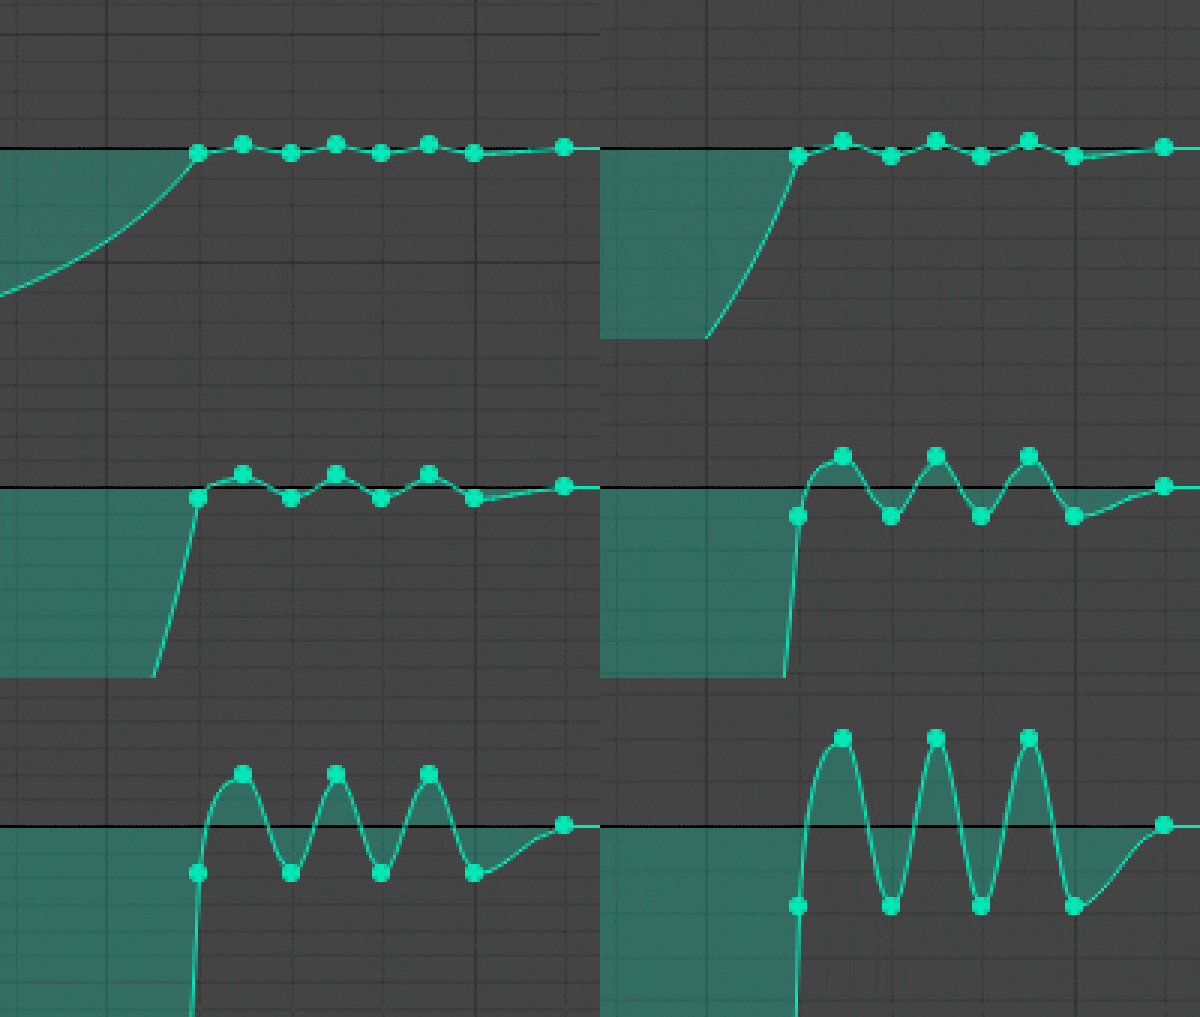
REAPER excels at efficiency. Here's what we saw:
- RAM/CPU Usage: Startup uses under 300MB of RAM. A full project with 20 tracks, plugins, and automation stayed under 40% CPU on a mid-range machine (Intel i5, 16GB RAM).
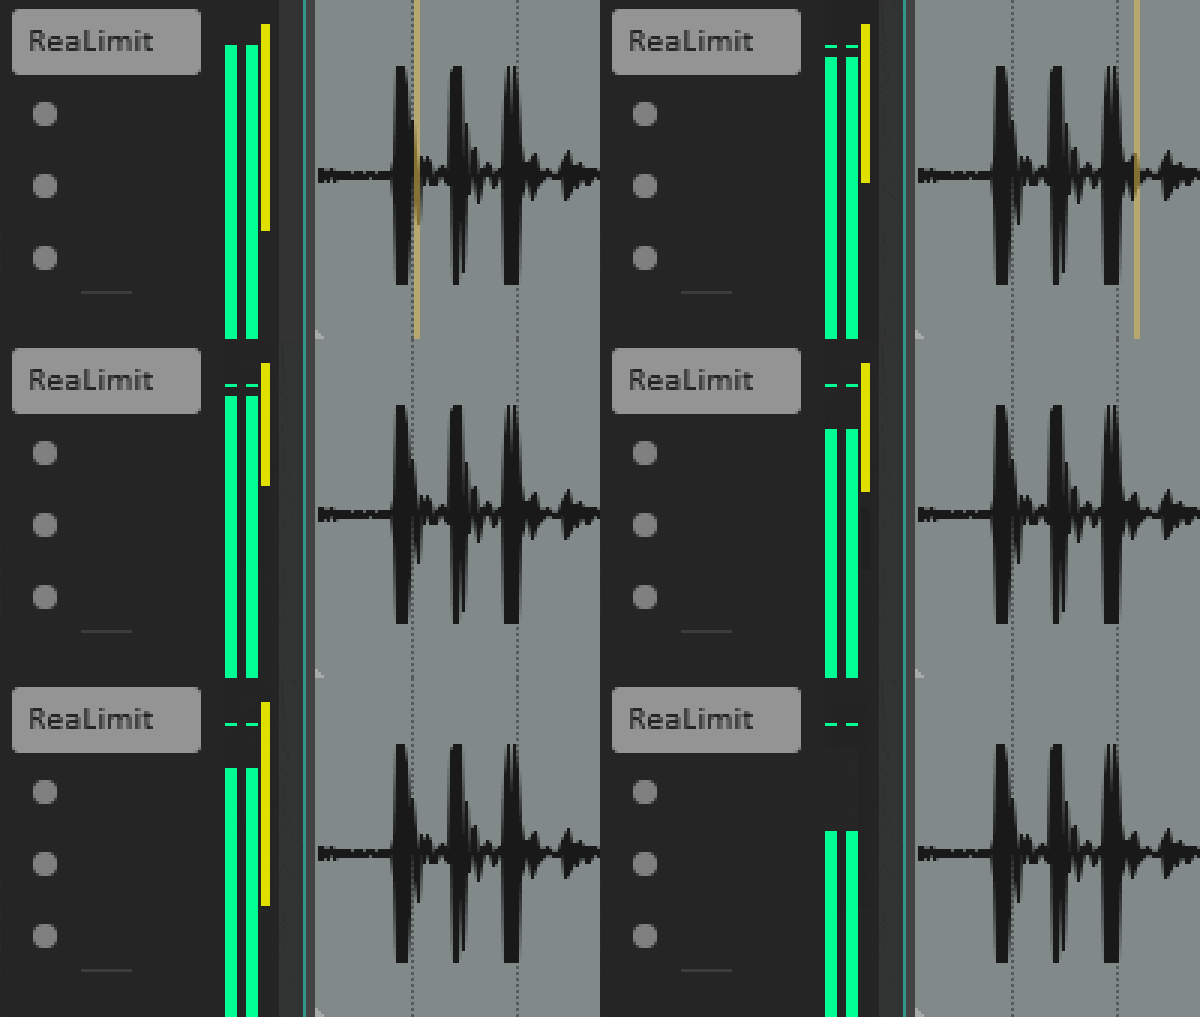
- Plugin Handling: Even heavy VSTs like Kontakt and FabFilter ran stably. REAPER also lets you run plugins in separate processes to avoid crashes.
- Rendering Speed: Exporting a 5-minute mixdown (24-bit WAV + MP3) took under 20 seconds. That's faster than many DAWs in the same category.
- Cross-OS Stability: No performance issues on macOS (Intel & M1), Windows 11, or Linux Mint. Interface responsiveness and plugin behavior stayed consistent.
For anyone comparing tools in a REAPER DAW review or checking system demands for REAPER audio recording software, this level of performance is a major selling point, especially for lower-spec systems.
Part 4. Pros and Cons
REAPER stands out in the DAW market for its speed, flexibility, and unbeatable price, but it's not perfect. Here's a clear breakdown of what this REAPER recording software does well and where it falls short, especially when compared to beginner-friendly platforms.
- Affordable pricing
- Deep customization with scripting and macros
- Excellent performance efficiency, even on mid-range systems
- Multi-platform support (Windows, macOS, and Linux via WINE)
- Steep learning curve for beginners
- Limited built-in instruments or loop libraries
- No integrated video editing capabilities
- Interface may feel outdated to some users
If you're looking for raw control and power, REAPER delivers. But if you want quick edits, drag-and-drop assets, or built-in visual tools, other platforms may be a better fit, especially for creators who need video and audio in one place.
Part 5. Who This Product is For
REAPER recording software isn't made for everyone, but for the right user, it's one of the best tools available. This section breaks down exactly who benefits most from using this REAPER recording program, based on our hands-on testing and user feedback.
Recommended Use Cases
- Music producers who already know their way around a DAW and want full control over signal flow, automation, and plugin chains
- Podcast creators and voiceover artists who need clean multitrack editing, flexible routing, and non-destructive workflows
- Hobbyists who want a serious tool without paying for bloated features or subscription fees
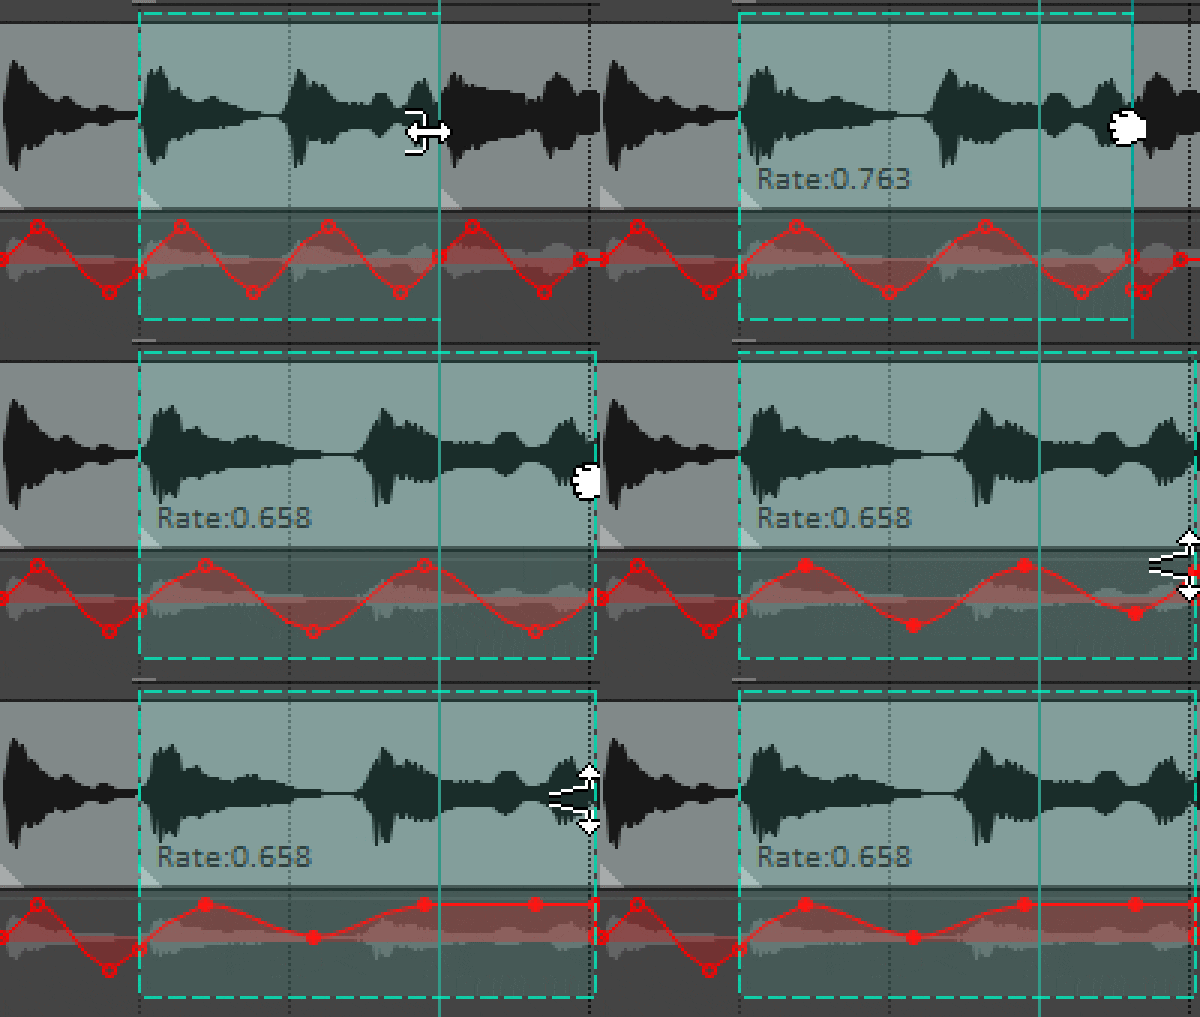
Target Users
- Audio engineers working in studio or live environments, especially those who value efficiency and customization
- Independent musicians recording at home with limited hardware but high expectations
- Sound designers who rely on precise editing, automation, and plugin support
If you're new to digital audio or want fast, visual editing with guided tools, REAPER may feel overwhelming. Tools designed for creators who need smooth audio and video editing offer a more approachable entry point. But if you're comfortable learning and want pro-level depth, REAPER audio recording software delivers unmatched value.
Part 6. Better Alternatives to REAPER
If you're not working strictly with audio or you prefer an easier, more visual editing experience, Wondershare Filmora is the best alternative to REAPER. While REAPER excels at deep audio control, Filmora is built for creators who want to combine video and sound with less complexity.
Wondershare Filmora (Best for Audio + Video Integration)
Filmora is an intuitive editing software designed for creators who want a smoother, all-in-one workflow for video and audio. With recent AI-powered tools, it's a great choice for content creators, educators, and marketers.
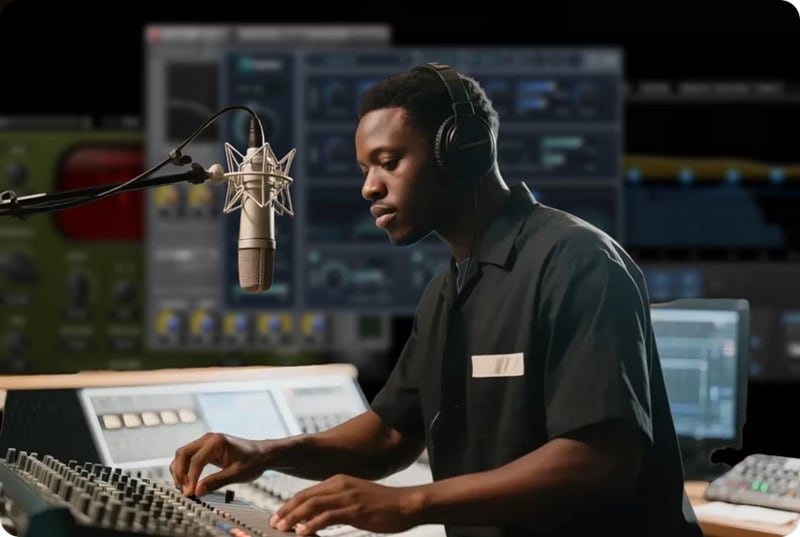
- Beginner-friendly with modern UI
- Powerful audio + video combo workflow
- AI-assisted features save editing time
- Not suited for advanced MIDI work
- Less scripting flexibility
- AI Audio Denoise & Speech-to-Text: Remove background noise and auto-generate subtitles from voice recordings. It is ideal for clean dialogue and faster captioning.
- Smart BGM Generator: Instantly create background music that matches your video's tone and timing with AI-generated soundtracks.
- Audio Ducking: Automatically lowers background music when voice is detected; no manual adjustments needed.
- Waveform Editing: Edit audio visually with fade, trim, and sync tools using a simple waveform view.
- Instant Mode & Templates: Auto-edit videos with drag-and-drop templates for intros, promos, and social posts; fast and beginner-friendly.
- VST Plugin Support: Expand your editing capabilities by using third-party audio plugins for effects, mastering, and sound shaping.
For more details, please visit the purchase page where various pricing plans are available.
Among the reviewers, Filmora holds a solid rating with users praising its simple drag-and-drop timeline, clean interface, and beginner-friendly design. Editors like how easy it is to apply effects, use templates, and work with AI tools; no steep learning curve required.
Reviewers also note its fast rendering speeds, regular feature updates, and good balance of power and simplicity. Many call it a budget-friendly alternative to high-end editors, especially with lifetime license options. It's a top pick for YouTube, social media, and even pro-level projects.
Filmora is a top pick for creators who need a fast, simplified workflow that combines video and audio editing without a steep learning curve. It strikes the right balance between ease of use and powerful features, making it ideal for YouTube videos, TikTok videos, tutorials, video podcasts, and short films.
While REAPER recording software is excellent for audio-only precision and full control, it lacks built-in tools for visual editing. Filmora stands out when your project requires both sound and visuals in one place. Its templates, AI tools, and modern interface help you create high-quality content quickly and easily.
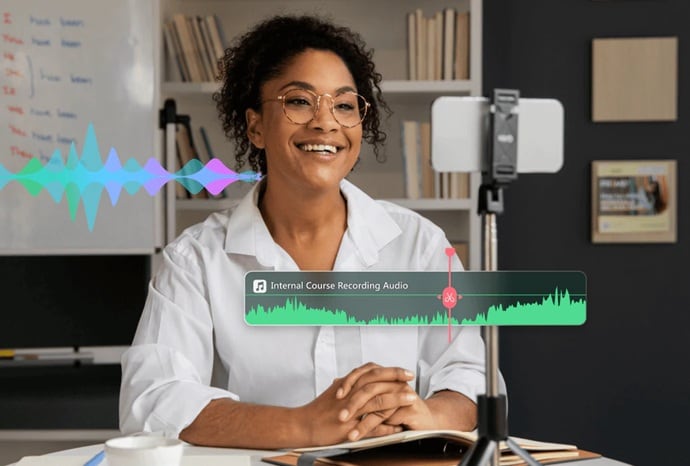
In any balanced REAPER software review, Filmora is the better choice for creators working beyond audio production. It is the smarter, faster option when content creation is the priority.
Conclusion
REAPER recording software is a powerful, efficient DAW built for users who need full control over audio production. It's lightweight, affordable, and highly customizable, but it's not the most beginner-friendly option and lacks video editing tools. For creators focused solely on audio, REAPER is a strong choice.
However, if your workflow involves both video and sound, Filmora offers a faster, easier solution with smart AI tools and built-in templates. In the end, choose REAPER for audio precision, or Filmora for a complete, content-friendly editing experience without the extra complexity.
FAQs About Reaper
-
Is REAPER completely free?
REAPER offers a 60-day free trial with full features. After that, a license is required: $60 for personal use or $225 for commercial use. -
Can REAPER be used on Linux?
Yes. REAPER has native Linux builds (x86_64), though some VST plugins may need Wine for compatibility. -
Can REAPER handle video editing?
Only basic video editing is supported. You can cut, sync, and render video, but it lacks the advanced features of dedicated video editors. -
Is Filmora a full DAW?
No. Filmora is a video editor with strong audio tools, but it doesn't support MIDI or multitrack audio recording like a full DAW.


