


I'd like to learn more about the most effective ways to capture a webcam recording of my PowerPoint presentation. Can anyone tell me how to record myself presenting a PowerPoint?
Yes, we can!
PPT presentations are powerful communication tools that convey information in an engaging way. Whether you're an entrepreneur, a professional educator, or a social media marketer, a polished and visually stunning webcam recording of your PPT presentation can help you connect with the target audience to ensure they understand your message.
Today, we'll show you the top three methods to record a PowerPoint presentation with a webcam. In addition, we'll recommend the best video editor for polishing your PowerPoint recordings to perfection.
Table of Content
How To Video Record Yourself Presenting a PowerPoint in PowerPoint
PowerPoint has a built-in video recording function you can use to record yourself giving a PowerPoint presentation. The PPT video recorder also lets you add voiceover narration to your PowerPoint presentation video.
The recording function in PowerPoint is easy to use and requires no specific technical skill. It will convert the PPT presentation into a small-sized video file for easier saving and sharing.
Here's what you'll need to use the PPT internal recording tool to capture a PowerPoint recording with a webcam:
- A top-grade webcam;
- An external microphone
- MS PowerPoint.
Once you have it all up and ready, follow the steps below to learn how to record yourself in PowerPoint with a webcam.
- Open PowerPoint on your computer;
- Open the slide presentation you wish to capture;
- Navigate to the Record tab and click the Record button (you can record from the current slide or the beginning);

- In the PowerPoint screen recording window, select your webcam and microphone;
- Click the red RECORD button to start recording;
- Click the red Stop button to end your PPT webcam recording;

- Navigate back to the Record tab and click Export to Video to save your PowerPoint webcam recording.

How To Record Yourself Presenting a PowerPoint in Clipchamp
Clipchamp is a built-in screen recorder and video editor for Windows. The app can capture a microphone, system audio, webcam, and computer screen simultaneously, making it an ideal tool for recording and editing your PowerPoint webcam recordings.
Thanks to its intuitive user interface and transparent features, Clipchamp empowers you to adjust the webcam recording and editing settings according to your specific presentation requirements.
With Clipchamp, you can configure the webcam recording settings, such as presentation size (16:9 aspect ratio is the recording standard), to enhance and optimize audio/video quality and create professional PPT presentation recordings.
Here's how to use Clipchamp to record yourself presenting a PowerPoint in Windows.
- Get the Clipchamp app from the Microsoft Store;
- Open the app and select the Record & Create tab;
- Select Screen and Camera;
- Enable microphone and webcam;
- Click the Rec button to select the screen recording area (entire screen, window, tab);

- Once you capture your presentation, click Export to save the recording on your computer.

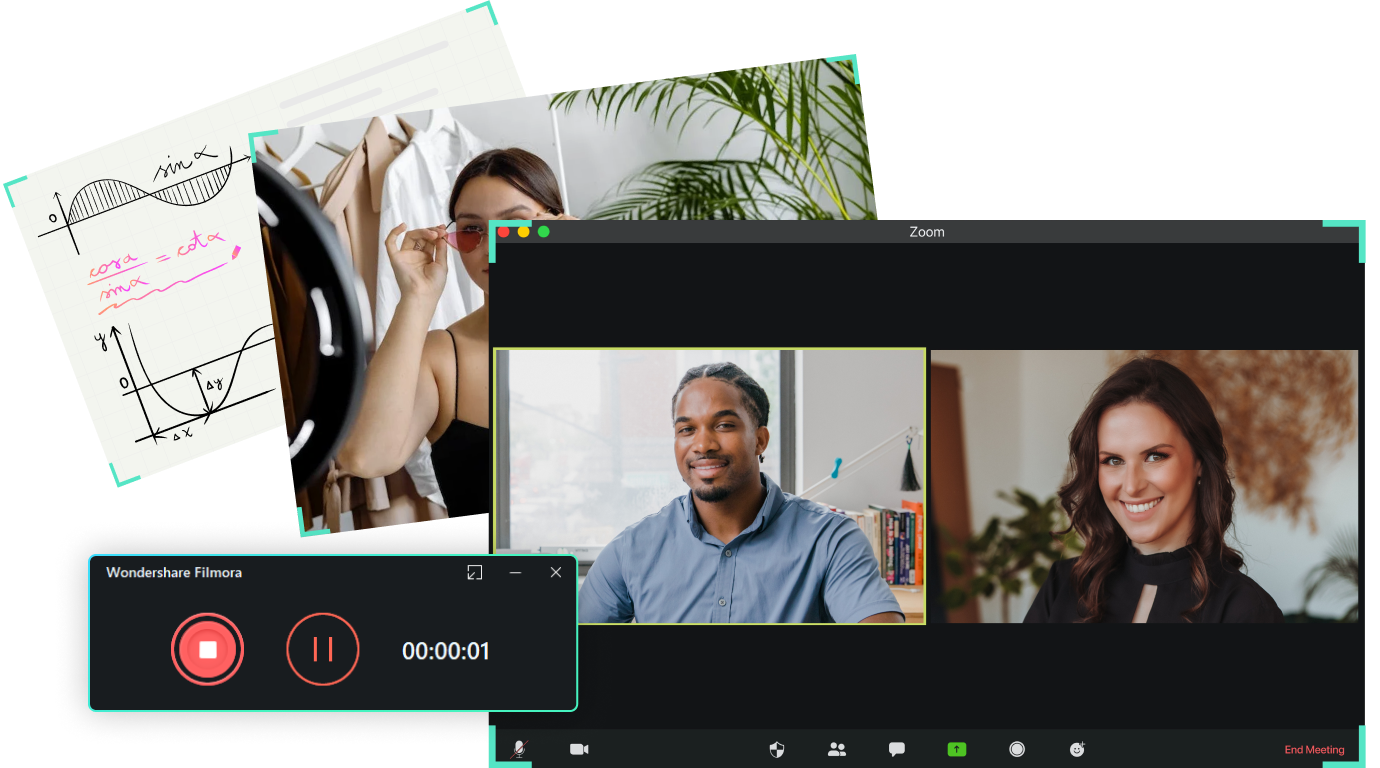
How To Record Yourself Presenting a PowerPoint in Filmora Screen Recorder
Wondershare Filmora is one of the best, most reliable PowerPoint presentation recorders and editors for Windows and Mac on the web. The tool lets you capture the microphone, system audio, webcam, and screen presentation simultaneously, giving you multiple editing, exporting, and sharing options in the process.
Aside from capturing PowerPoint presentation videos with audio, Filmora allows you to enhance your PPT recordings using AI-enabled editing tools like auto-subtitles, annotations, text-to-speech, video templates, and more.
In addition, you can use the Show Mouse Clicks option to show custom-colored mouse clicks and keystrokes while giving your PPT presentation to guide your viewers through your content and make it more attention-grabbing.
Finally, Filmora allows you to export your PPT webcam recordings in a preferred video resolution and frame rate and share your video on online streaming and social media platforms directly.
Download and install Filmora on your computer, then follow the steps below to record yourself giving a PowerPoint presentation.
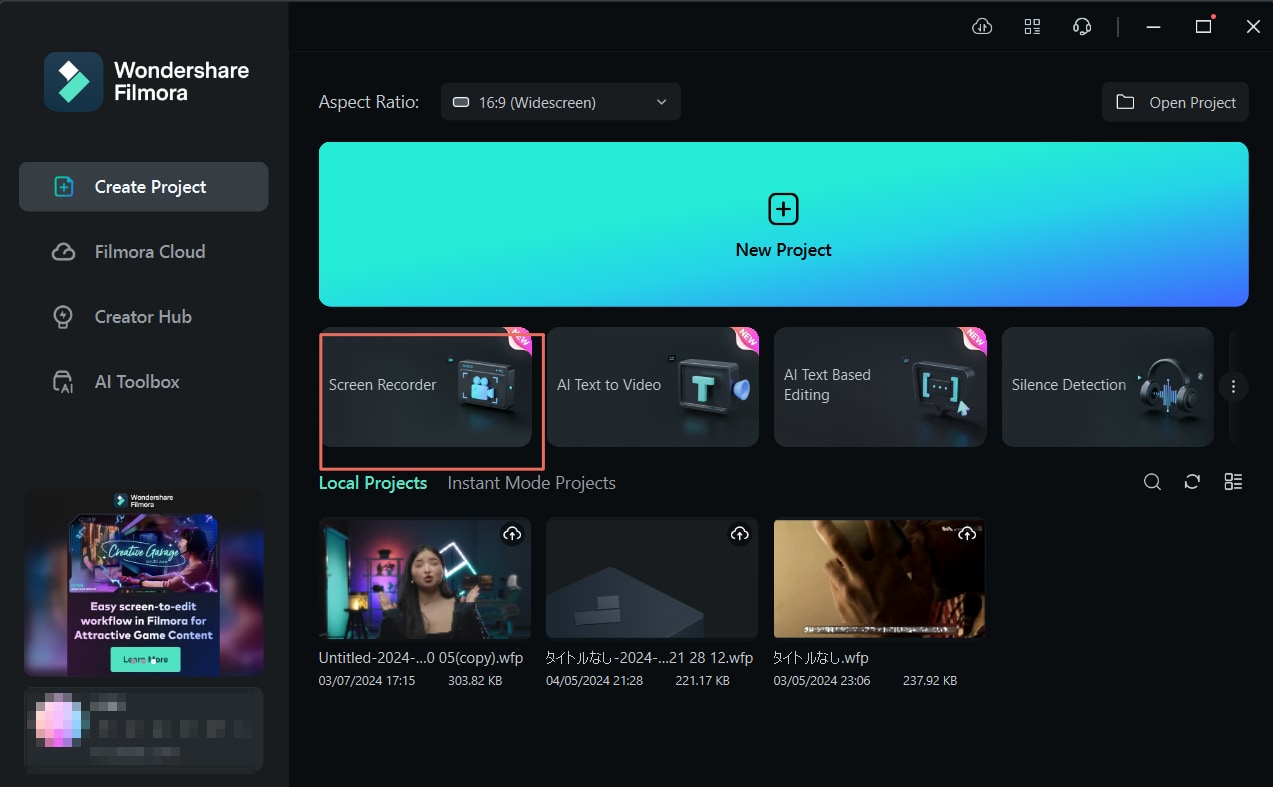
- Launch Filmora and navigate to the main menu;
- Select Create Project > Screen Recorder;
- Customize the PowerPoint screen recording area;
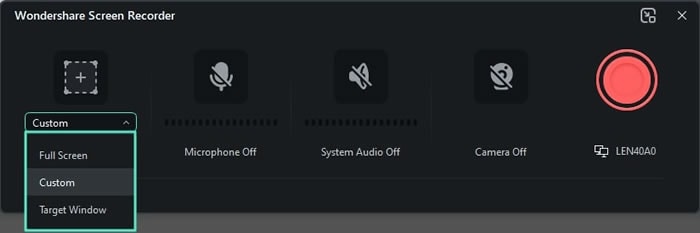
- Enable your webcam, system audio, and microphone recording to add webcam and audio to your PPT presentation recording;
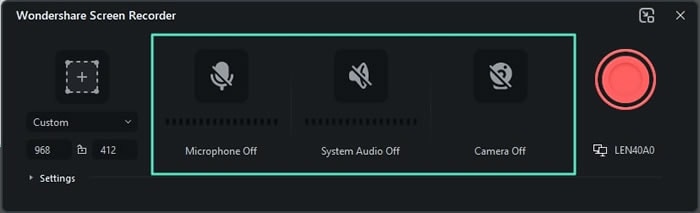
- Click the Settings tab under the Screen Area recording menu, adjust the frame rate and test your microphone and webcam before recording;
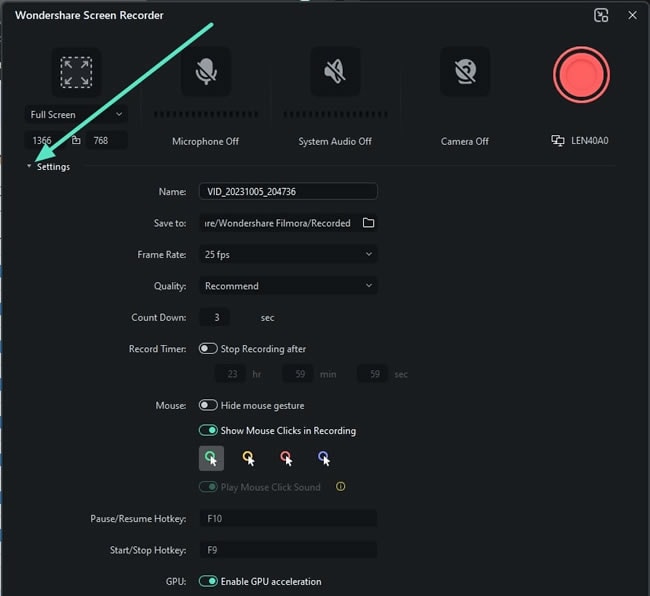
- Stylize the webcam window to match your recording preferences;
- Now, open PowerPoint and start your presentation;
- Make the PPT presentation your target recording window;
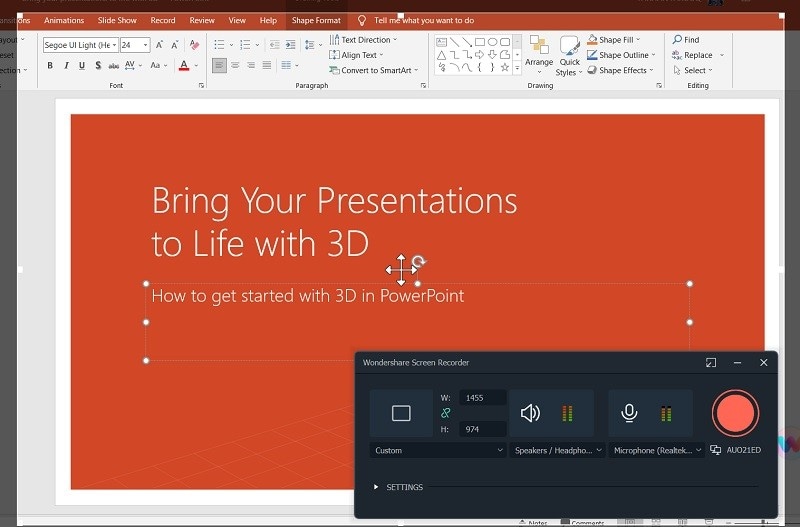
- Click the red REC button to start recording yourself presenting a PowerPoint presentation;
- When you complete your presentation, click the red Stop button or hit F10 to stop recording and save your PPT video on your computer.
How To Edit Your PowerPoint Recording in Filmora
If you wish to edit and polish your PowerPoint presentation recording with webcam, Wondershare Filmora is the right tool to use. Filmora is the most reliable AI-powered webcam video editor for perfecting your PowerPoint video presentations on Mac and Windows devices.
Thanks to its powerful AI editing tools like auto-subtitles, voice changer, silence detection, AI text-based editing, AI thumbnail creator, and more, Filmora empowers you to edit your PowerPoint recordings professionally even if you are a beginner.
With Filmora, you can apply tons of visual effects, experiment with different video templates, remove background noise, create a matching soundtrack for your PowerPoint presentation using an extensive royalty-free music library, cut unwanted video parts, and so much more. Here are some editing features you can try.
- Launch Filmora and navigate to the main menu;
- Navigate to Media > Project Media > File > Import Media > Import Media files;
- Select the PowerPoint webcam recording you wish to edit and import it into Filmora;

- Play and preview the recording to identify the areas you may wish to trim;
- Right-click the recording and select Split to create a removable video scene;
- Right-click the scene and select Delete to remove the scene;
- Right-click the video again and select Detach Audio if you wish to edit the original audio;

- Select other editing features if you wish to add special effects, intro/credit scenes, texts, transitions, and more;
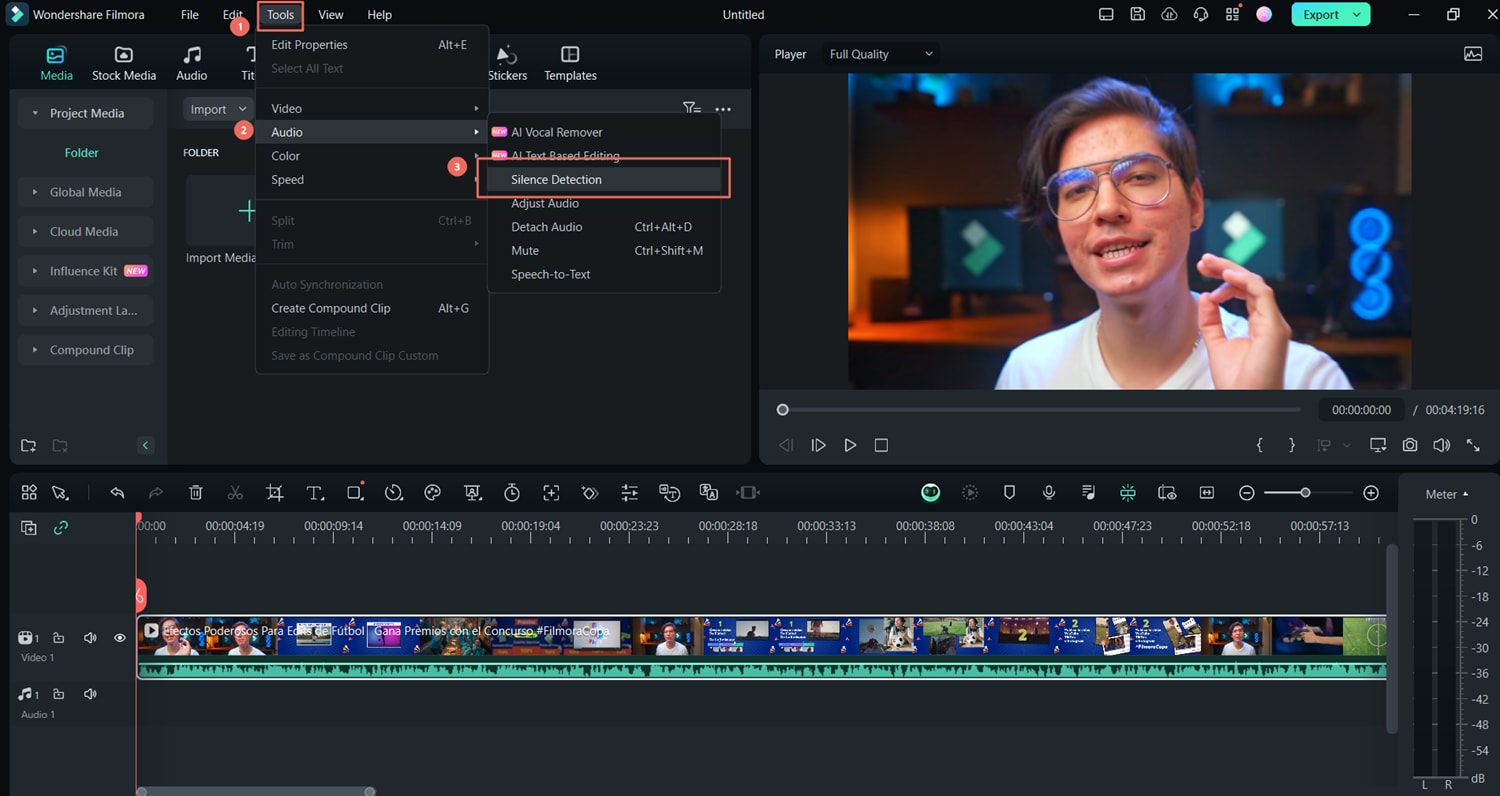
- Go to Media and select Tools > Audio > Silence Detection to detect and remove silence moments in the recording automatically;
- Navigate to Tools > Audio > AI Text-Based Editing to transcribe the PPT presentation recording to text and edit it like editing a document to remove unnecessary filler words and make your content more concise;

- Select Speech-to-Text to generate multilingual subtitles automatically for your presentation and add animated effects;

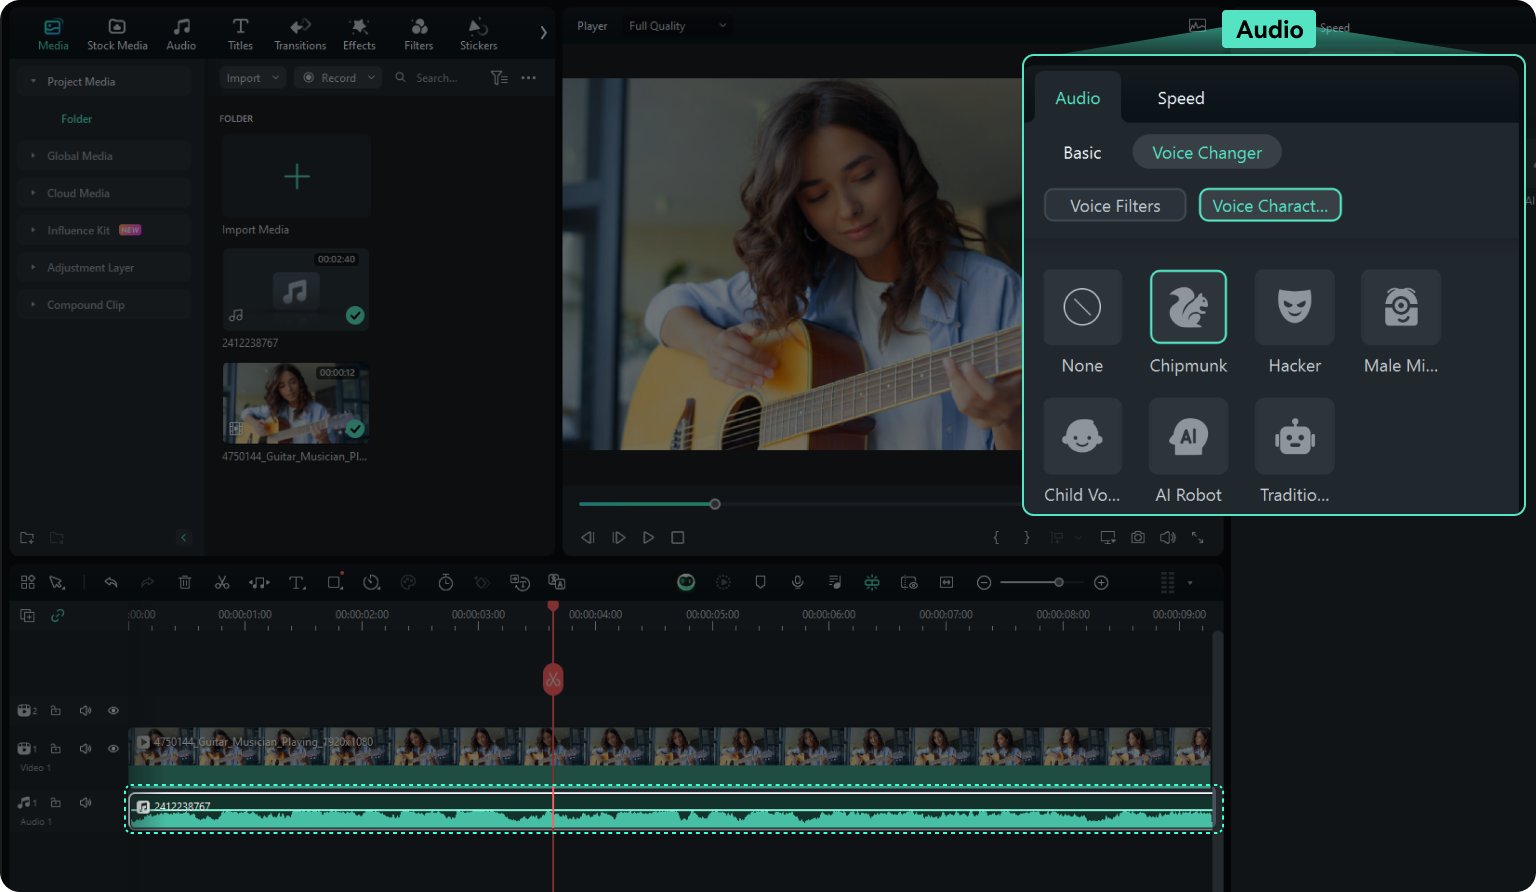
- Go to the Audio panel and select Voice Changer, then use the available Voice Filters and Voice Characters to choose a more professional voice if you don't wish to use your own voice;
- Emphasize important points and highlight key takeaways using other editing tools and creative assets, such as annotations, zoom in/out, etc.;
- Finally, navigate to Export > Edit > AI thumbnail Creator and select a video template to create an attention-grabbing thumbnail for your PPT presentation video;

- Click Export and select the preferred video format, then click Export again to save your PowerPoint webcam recording on your computer;

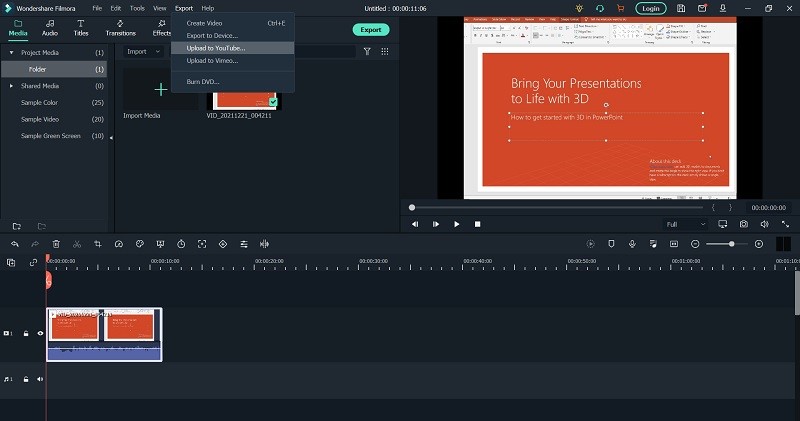
- Alternatively, select Upload to YouTube to upload your PPT presentation recording to YouTube directly.
Tips for Recording Yourself Giving a PowerPoint Presentation
Here are a few tips to help you set up your PowerPoint presentation webcam recordings and make your videos better:
- If you're using PowerPoint's built-in recording feature, select your webcam as the default video source;
- Connect an external microphone to capture crystal-clear audio for your voiceover;
- Test your microphone and check the camera angle before you start recording a presentation;
- Use a reliable PowerPoint webcam recorder like DemoCreator to ensure you capture top-grade quality presentation video;
- Use professional-grade PowerPoint video editor like Filmora to trim away mistakes and remove unnecessary audio/video segments of your PPT presentation recording;
- Make your PPT webcam recordings more accessible using Filmora's auto-caption feature to create timestamps;
- Enhance your PPT webcam recording message with annotation stickers, text animations, and other visual effects;
- Practice your script before you start recording a PowerPoint webcam video to improve your clarity and pick the right pace for your presentation;
- Use slide notes to make your presentation more memorable and scannable;
- Ensure even lighting and a clear background to help your viewers focus on your content.
Conclusion
The quality of your presentation increases when you record yourself. DemoCreator allows you to empower your PowerPoint presentations with immersive video content. Thanks to that, you can increase the value of your PPT presentation, making the viewing experience more enjoyable and understandable for the target audience.
Recording yourself while delivering a PPT presentation is an effective way to ensure your viewers understand the message you wish to convey. Since a webcam recording includes your face, it makes it easier for your audience to connect with you and the information you're presenting.
You can make your PowerPoint webcam presentations more exciting and engaging using Filmora's powerful editing software, ensuring you create high-grade, shareable video content that you can distribute across online platforms according to your professional needs.
FAQs
-
Can I make a PowerPoint recording with a webcam?
Yes, you can. Connect the webcam to your computer and use PowerPoint's built-in Record function to record yourself giving a PPT presentation. -
What is the best software for recording a PowerPoint presentation with a webcam?
Wondershare DemoCreator is the best PowerPoint webcam recorder for capturing yourself presenting a PPT presentation. The DemoCreator PPT webcam recorder empowers you to capture top-quality custom-tailored computer camera videos and export your recordings in multiple video formats.Thanks to that, you can repurpose your videos, convert them to other formats, tap into direct share options for streamlined distribution, and more. -
How do I record myself presenting a PowerPoint for free?
The easiest way to video record yourself presenting a PowerPoint for free is to use the built-in Record option in PowerPoint:- Open PowerPoint and select the Record tab;
- Enable your webcam;
- Customize the shape of the webcam window;
- Select your microphone to add a voiceover;
- Click the red REC button to start recording;
- Export and save your video.
