

 ChatGPT
 Perplexity
 Gemini
 Claude
 Grok
Grok
In the world of video editing, CapCut has emerged as a favorite among creators for its user-friendly interface and powerful features. However, as you dive into creating stunning videos, it’s crucial to know how to save CapCut projects effectively. This article will guide you through various methods to back up your projects, ensuring that your hard work is never lost.
In this article
Part 1: How to Use Dr.Fone to Back Up Your CapCut Projects? [For iPhone]
Wondershare Dr.Fone is a powerful tool that allows you to efficiently back up your CapCut projects from your iPhone. By using Dr.Fone, you can create a secure copy of your CapCut projects directly from your iPhone device to your computer. This ensures that even if you face issues with the CapCut app or changes in policy, your projects remain safe and editable in other software.
Step1Connect Your Device
Use a USB cable to connect your iPhone to your computer and Open the Dr.Fone.
Step2Start the Backup Process
Select "My Device" from the main interface. Find "More" and then click "Start Backup."

Step3Access Your CapCut Projects
Once the backup is complete, navigate to "CapCut Projects." Here, you will find all your CapCut project files.

Open any folder, and you will see specific data, such as audio and video.

Step4Export the CapCut Projects
Select all the projects you want to keep or check specific ones and click on the "Export" button to save the selected projects to your computer. Once the export is finished, you can click "Open Folder" to view the path where the backup is saved.

Part 2: How to Back Up CapCut Projects Using CapCut Presets? [For Desktop]
Using CapCut's built-in preset feature is an effective way to back up your projects on the desktop version of CapCut. This method allows you to save your compound clips as presets, which can easily be accessed later. By saving your work in this way, you not only ensure that your projects are preserved but also make it convenient to reuse and modify them in the future.
Step1Create a Compound Clip
Open the CapCut tool on your computer and create a compound clip by clicking "Create compound clip."

Step2Save the Compound Clip as a Preset
Right-click on the compound clip you created and click "Save Preset."

This action will save your compound clip as a preset for future use.
Step3Locate Your Presets
To find your saved presets, navigate to "Media" > "Yours" > "Your Presets" in CapCut. Here, you can view all the presets you’ve saved.

Step4Check the Preset Save Path
To see where your presets are stored on your computer, click on "Settings" on the CapCut homepage. This will provide you with the file path for easy access.

Bonus Tip: The Best Alternative to CapCut for Video Editing
While CapCut is an excellent video editing app, you might be looking for a more robust alternative that offers enhanced features and capabilities. Here’s a detailed look at why Filmora stands out in the video editing landscape:


1. Extensive Asset Library
Filmora features an impressive library of over 2.9 million assets, which includes:
- 13,000+ Effects & Filters: Enhance your videos with a variety of visual effects and filters to match your creative vision.
- 39,000+ Titles: Choose from a vast selection of customizable titles to add professional-looking text overlays to your videos.
- 300,000+ Music Tracks: Access a diverse range of royalty-free music tracks to complement your video content.
- 1,500,000+ Stock Media: Utilize high-quality stock videos and images to enrich your projects and make them more visually appealing.
- 200+ Thumbnail Templates: Create eye-catching thumbnails that attract viewers to your videos effortlessly.
- 8,400+ Transitions: Smoothly transition between clips with a wide array of transition effects, enhancing the flow of your video.
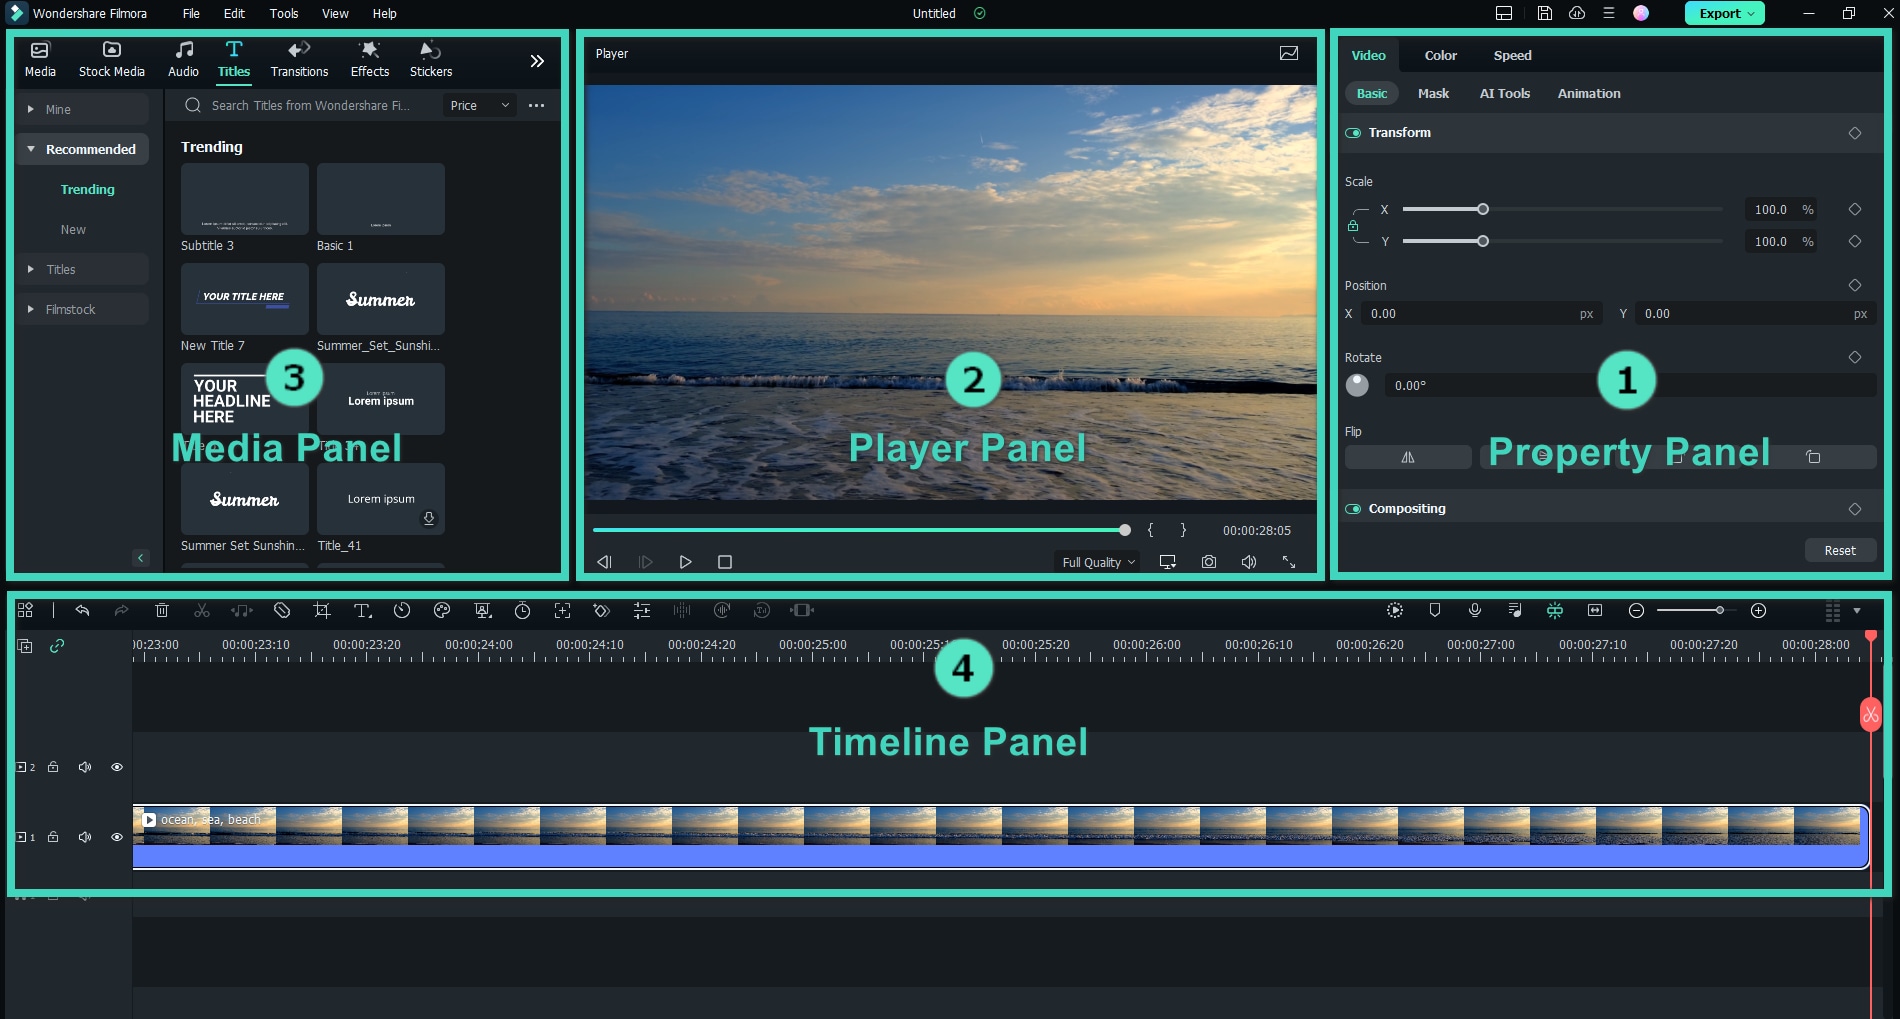
2. User-Friendly Interface
Filmora is designed with an intuitive interface that makes it easy for both beginners and experienced editors to navigate. The drag-and-drop functionality simplifies the editing process, allowing you to focus on creativity rather than technicalities.
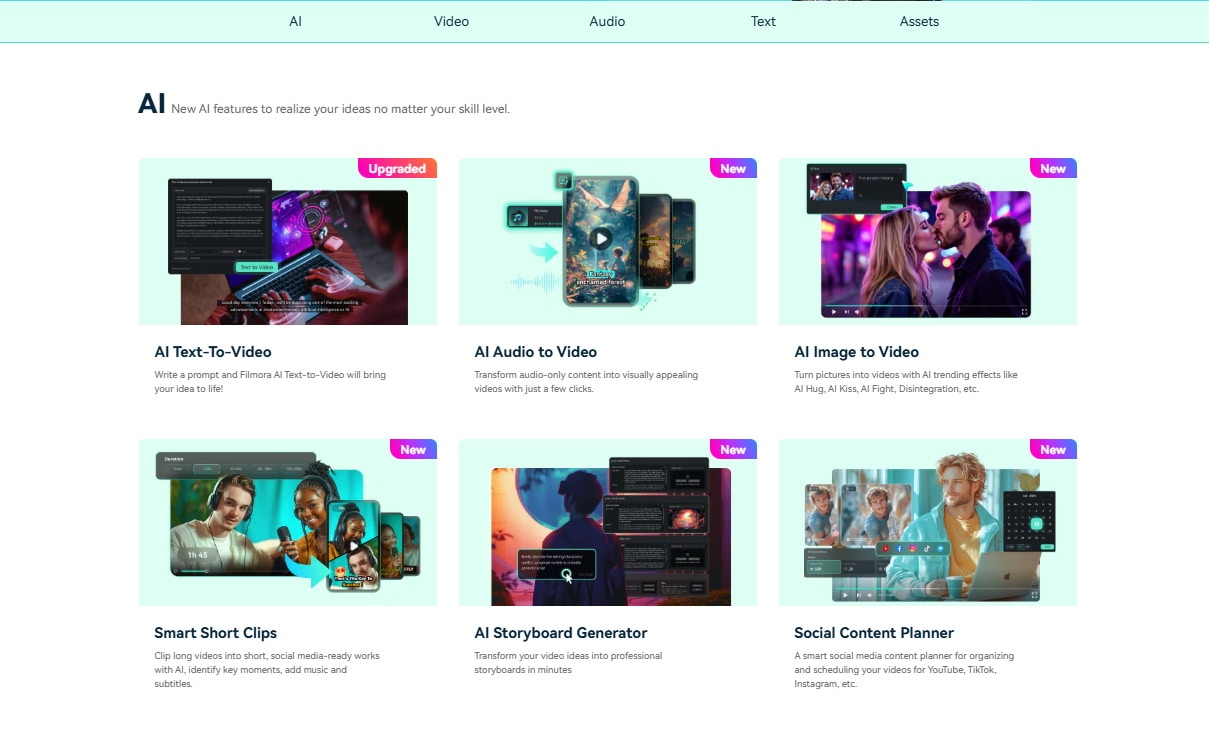
3. Advanced Editing Features
Filmora provides a range of advanced editing tools that cater to various needs:
- Motion Tracking: Easily track and follow moving objects in your videos, allowing for dynamic effects and animations.
- Color Grading: Adjust colors and tones for a professional look, giving your videos a polished and cinematic feel.
- Green Screen: Utilize chroma key technology for stunning visual effects, enabling you to replace backgrounds effortlessly.
- .......
4. Audio Editing Capabilities
In addition to video editing, Filmora provides robust audio editing tools. You can easily add music tracks, sound effects, and voiceovers to your projects. The audio mixing features allow for precise adjustments, ensuring that your audio complements your video perfectly.
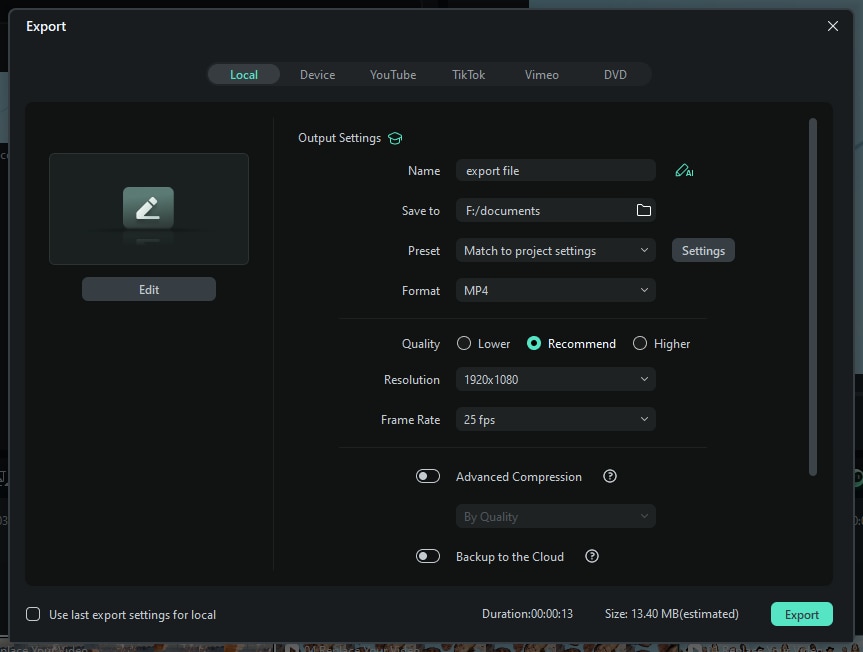
5. Multiple Export Options
Filmora supports a wide range of export formats and resolutions, making it easy to save your projects in the desired quality. Whether you want to export for social media, YouTube, or high-definition playback, Filmora provides the flexibility you need.
6. Regular Updates and New Features
Filmora frequently updates its software to introduce new features and improvements. This commitment to innovation ensures that you always have access to the latest tools and technologies in video editing.
7. Affordable Pricing
Compared to other professional editing software, Filmora offers competitive pricing options. With both subscription and one-time purchase plans available, you can choose the option that best fits your budget and editing needs.
Conclusion
Knowing how to save CapCut projects is essential for any video creator. By following the methods outlined in this guide, you can effectively back up your projects and ensure that your creative work is preserved. Remember, a little effort in backing up your projects goes a long way in protecting your creativity. Start implementing these strategies today and keep your CapCut projects safe!
