
 100% Security Verified | No Subscription Required | No Malware


 ChatGPT
 Perplexity
 Gemini
 Claude
 Grok
Grok
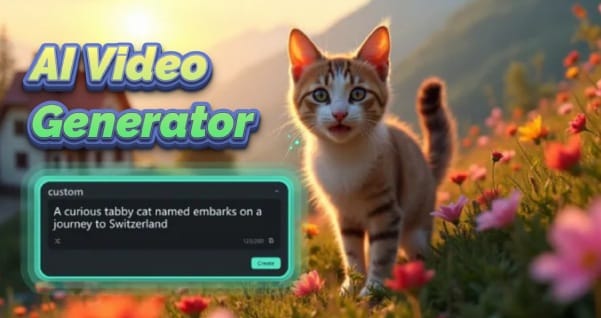
With the rise of AI tools, more creators are experimenting with new ways to generate visual content. One of the most popular models powering this shift is Stable Diffusion. It's a powerful model known for turning text into detailed images and now, videos.
Stable Diffusion isn't an app on its own. Instead, it works behind the scenes in platforms that turn your text into visuals or animations. For beginners, figuring out where to start and which tools to use can feel overwhelming.
But don't worry. This guide will walk you through how the Stable Diffusion AI video generator works. Plus, you'll also learn how to polish your results with a video editing tool. Let's get started!
Part 1. What Is Stable Diffusion and How It Powers AI Video Generation
Stable Diffusion is an AI model that generates visual content from written descriptions, also known as prompts It was developed through a collaboration between Stability AI, CompVis (LMU Munich), and Runway ML. It quickly became one of the most widely used tools for AI-generated visuals.
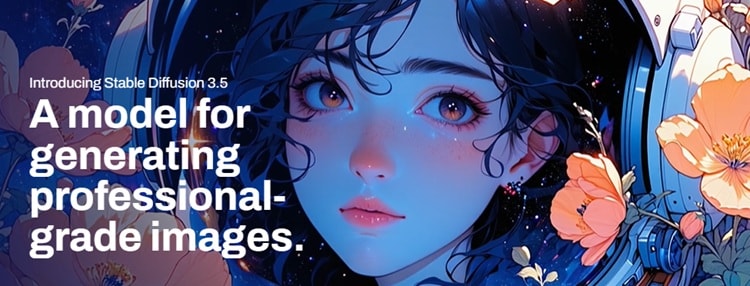
Originally, Stable Diffusion was designed to generate still images from text prompts. As the technology evolved, it expanded to support short video generation using add-on tools and models.
Some of these tools include animation plugins like AnimateDiff and specialized models like Stable Video Diffusion (SVD). These tools make it possible to create motion-based content from text or images.
Here's why Stable Diffusion models are a great option for beginners who want to create AI videos:
- Simple input, creative output – You describe a scene with words, and the tool turns it into a visual.
- Image-to-video capabilities – Many tools let you animate still images or generate short video clips.
- No advanced skills required – Some platforms offer beginner-friendly interfaces, while others give more control to experienced users.
- Flexible access options – You can use it online (through services like DreamStudio) or run it locally using tools like ComfyUI.
Not sure where to begin? Let's break down the most popular Stable Diffusion video options and show you how to generate your first AI video.
Part 2. How Stable Diffusion AI Video Generation Works
The Stable Diffusion AI video generator isn't a single tool, it refers to a group of tools powered by the Stable Diffusion model. These platforms use your text or image prompts to create short AI-generated videos with animated motion.
Different tools offer different ways to access Stable Diffusion video capabilities. Some run in your browser, while others require a local setup. Here are a few popular options to consider:
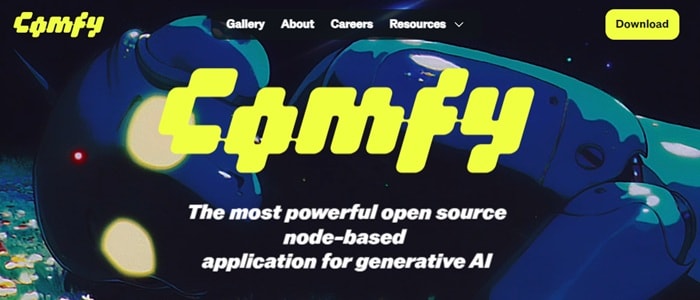
1. ComfyUI
ComfyUI is a visual interface for Stable Diffusion that lets you build workflows by connecting blocks (or “nodes”). You can add extensions like AnimateDiff or SVD to enable video generation. It's a bit technical at first but gets easier with practice.
Best for: Visual learners and users who want more customization.
How to use: Download ComfyUI, install plugins, and build your video generation flow.
2. Stable Video Diffusion (SVD)
SVD is a Stable Diffusion model released by Stability AI that turns a single image into a short video. It focuses on realism and motion smoothness. SVD isn't a tool by itself, you'll need to run it through a platform like ComfyUI or use it as part of a custom setup.
Best for: Turning still images into smooth, realistic video clips.
How to use: Run via ComfyUI with the right workflow or install through an extension.

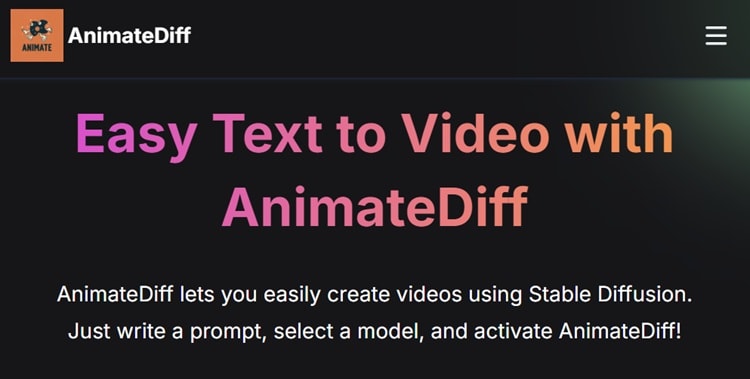
3. AnimateDiff
AnimateDiff is a plugin that adds motion to Stable Diffusion generations. It takes either a text prompt or an image and then adds frame-by-frame motion based on your settings. It's available as an extension and is popular for creating short, consistent animation clips.
Best for: Beginners who want simple motion with minimal setup.
How to use: Install on ComfyUI or A1111, then load your prompt and adjust a few settings.
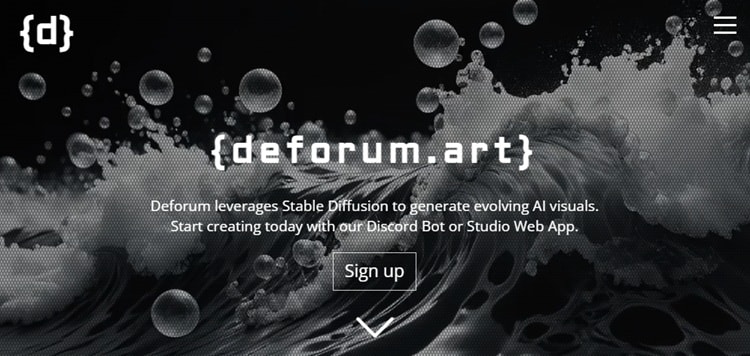
4. Deforum
Deforum is an animation tool that lets you create moving scenes by animating text prompts or images. It gives you control over camera motion, keyframes, and visual transitions, ideal for creating cinematic-style AI videos. You can use it locally or run it through Google Colab without needing complex installation.
Best for: Users who want more control over animation and visual style.
How to use: Open the official Deforum notebook in Google Colab, load your prompt, adjust the settings, and run it to generate frames.
How to Generate a Stable Diffusion AI Video (Step-by-Step)
Each tool has its own setup and interface, but the basic process of generating a video usually follows the same pattern. Once you've picked a Stable Diffusion AI video generator that fits your comfort level, follow these general steps:
- Step Choose a platform: Pick a tool that fits your setup. For example, use Deforum on Google Colab or install ComfyUI locally.
- Write a descriptive prompt: Example: “a futuristic city skyline at sunset, cinematic lighting, dramatic atmosphere.”
- Adjust your video settings: Set parameters like frame rate (FPS), motion strength, duration, and seed for randomness.
- Run the model: Start the video generation process. It may take a few minutes, depending on your hardware and settings.
- Export the video file: Once done, download your video for editing or sharing.
Tips for Better Output
- Use a high-quality image as your base when working with image-to-video tools.
- Keep your clips short (3–6 seconds) to maintain smoother, more coherent motion.
- Play around with settings like motion strength, noise levels, and prompts to find the best results.
Use a high-quality image as your base when working with image-to-video tools.
Keep your clips short (3–6 seconds) to maintain smoother, more coherent motion.
Play around with settings like motion strength, noise levels, and prompts to find the best results.
Part 3. Edit Stable Diffusion Videos with Wondershare Filmora
After completing your Stable Diffusion video generation, the next step is polishing your clips with a video editor. Wondershare Filmora is a powerful video editing tool where you can easily edit and enhance videos.
You can add music or sound effects, insert text overlays, apply filters and effects, or remove unwanted frames. Filmora gives you everything you need to edit a polished video, perfect for both beginners and casual creators.
 secure download


Key Features of Filmora for Editing Stable Diffusion Videos
Here's how Filmora can help improve the quality and presentation of your AI-generated video clips:
- Split, Trim, and Cut Video: Remove unwanted frames, shorten clip duration, or split scenes to improve pacing and clarity.
- Transitions and Video Effects: Add smooth transitions between scenes, apply stylized motion blur, or use glitch, VHS, or cinematic effects.
- Text and Title Templates: Choose from dozens of ready-made animated text styles. Use them for adding subtitles, scene labels, quotes, or opening titles.
- Audio Editing and Music Library: Add royalty-free background music or sound effects from Filmora’s built-in audio library. You can also adjust the volume, apply fade in/out effects, and apply voiceovers easily.
- Color Grading and LUTs: Fine-tune brightness, contrast, saturation, and tone. You can also apply built-in LUTs (Look-Up Tables) to match a film-like color grade or match your aesthetic.
- Advanced AI Tools: Use Filmora’s AI tools to enhance Stable Diffusion videos without advanced editing skills. Try features like Smart Cutout, Text-to-Speech, AI Subtitles, and Audio Stretch.
How to Edit Your Stable Diffusion Video in Filmora
Here's a detailed walkthrough on editing your AI-generated video with Filmora:
Step 1. Import Your Video Clip
Open Filmora on your computer and create a New Project.
secure download
In the editing workspace, head to Media > Project Media > Import.
Import the Stable Diffusion videos you've created. Then, drag and drop it to the timeline to start editing.

Step 2. Refine the Videos
Once you've imported your Stable Diffusion videos, it's time to tidy things up for smoother pacing.
Use the Scissors tool to split longer clips and remove any awkward or repetitive frames.
Then, trim the beginning or end of each segment to keep the flow tight and visually engaging.
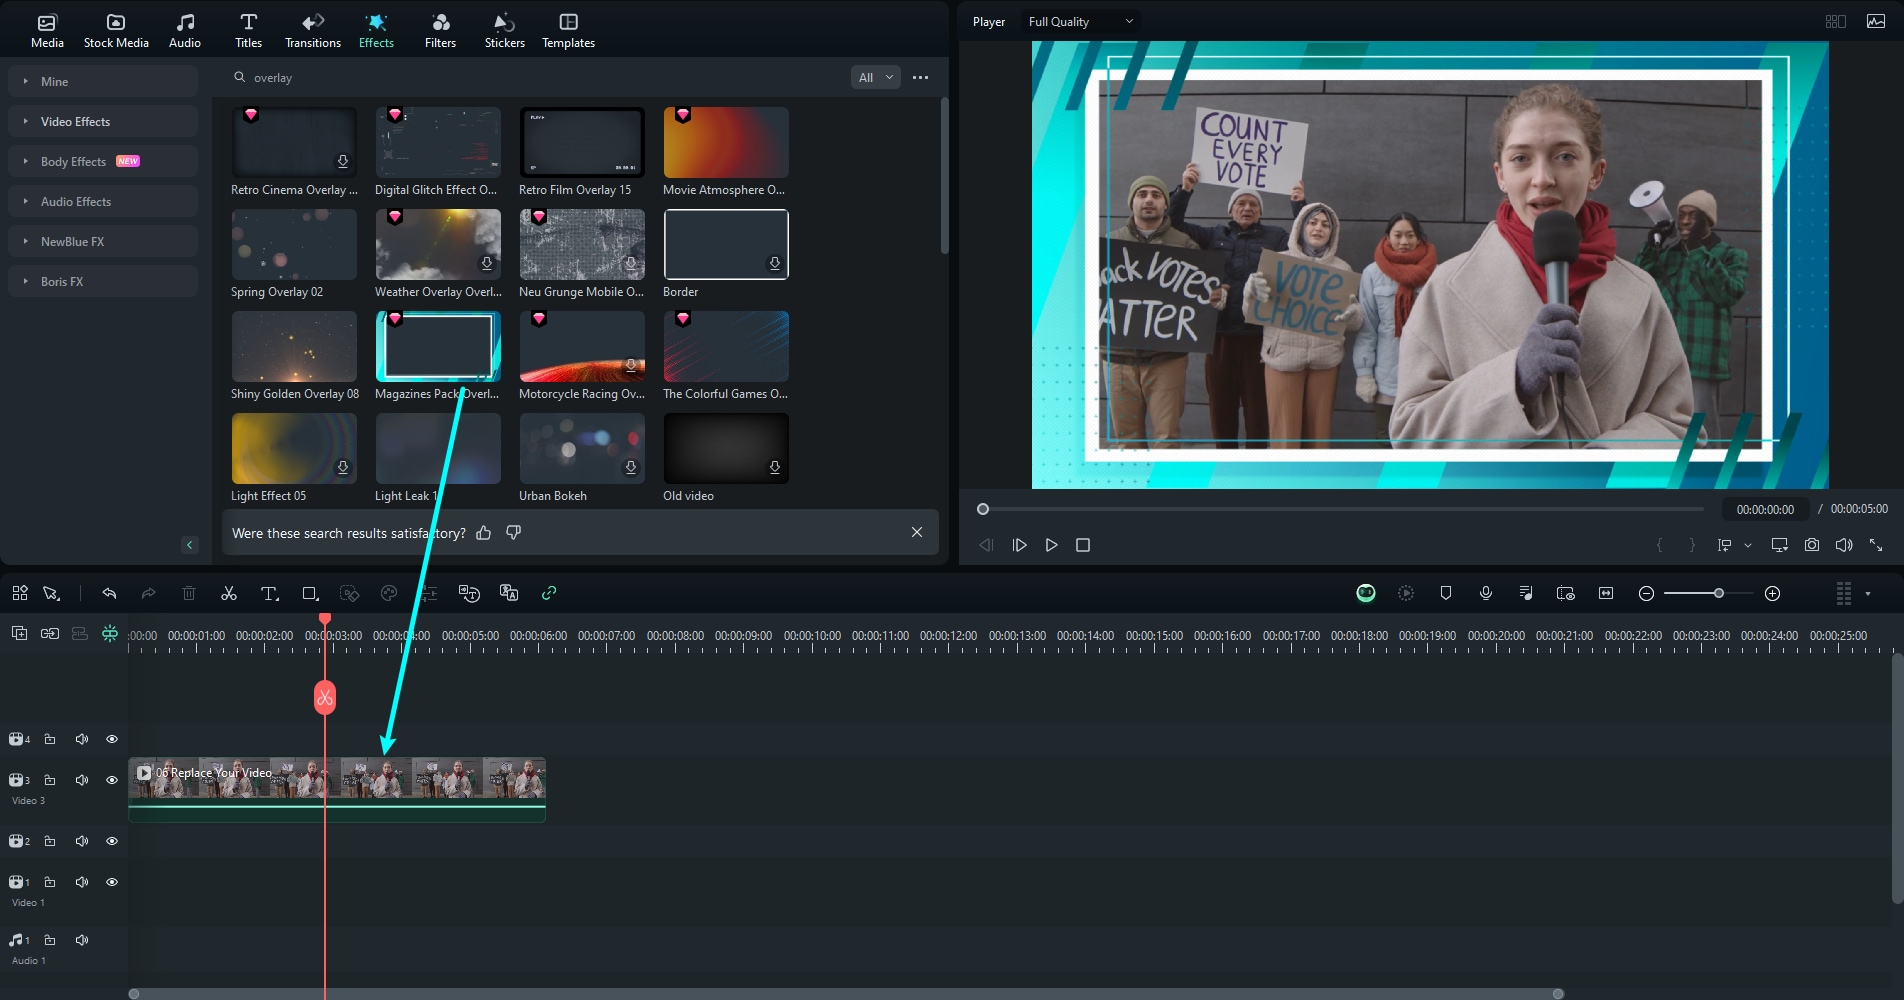
Step 3. Add Overlay Effects to Enhance the Visual Style
To give your Stable Diffusion video a more artistic look, you can layer visual effects using Filmora's overlay options.
Go to the Effects tab, choose an overlay you like, and drag it onto the timeline above your video clip. This action will apply the effect across the entire duration of the video.
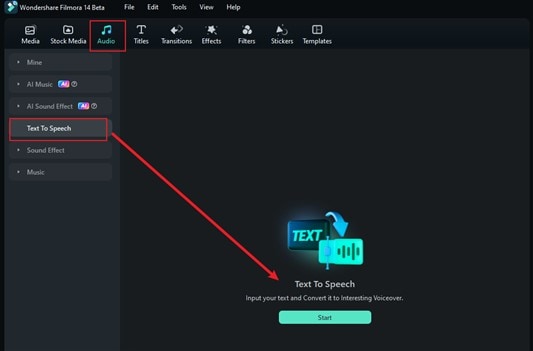
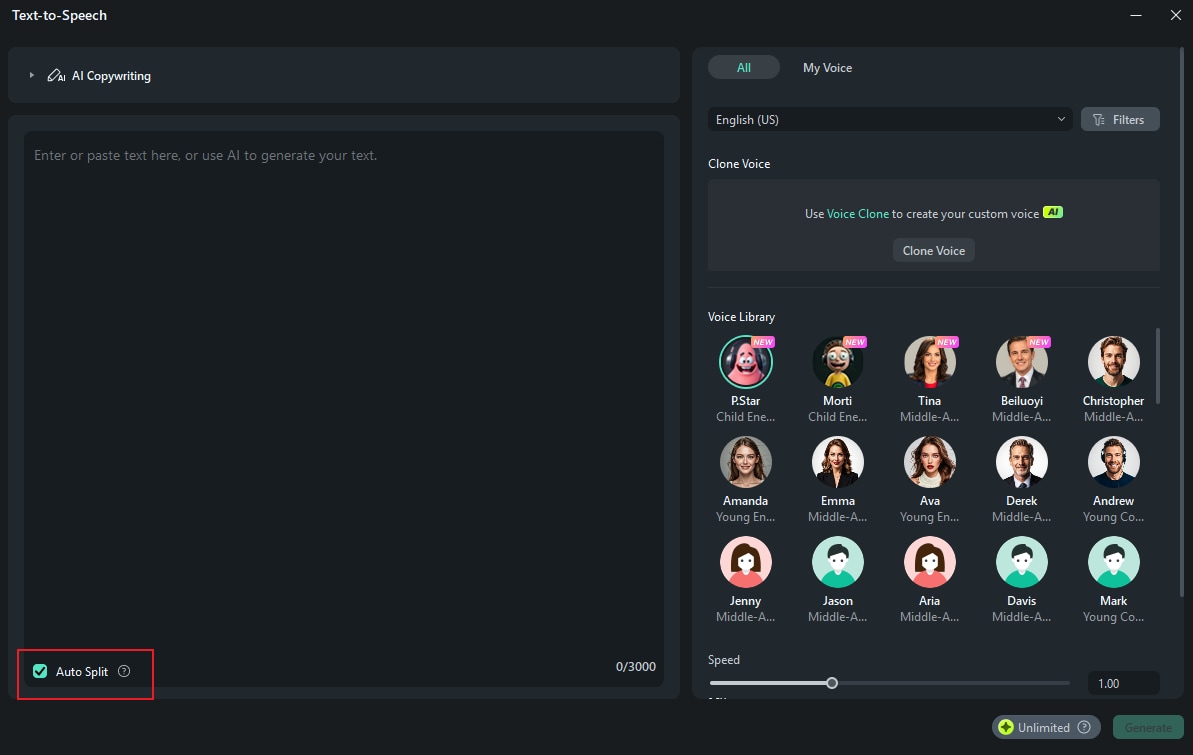
Step 4. Add Voiceover with Filmora's Text-to-Speech Tool
You can also add a voice over to your video without recording it yourself.
Go to Audio > Text to Speech, and click Start.
Type your script directly into the text box.
If you need help writing one, try the AI Copywriting tool to generate a quick intro or scene description.
Then, browse the Voice Library, choose a tone that matches your video style, and click Generate to create your audio.
Tip: For longer scripts, enable Auto Split to break your voice over into smaller segments for better pacing and flow.
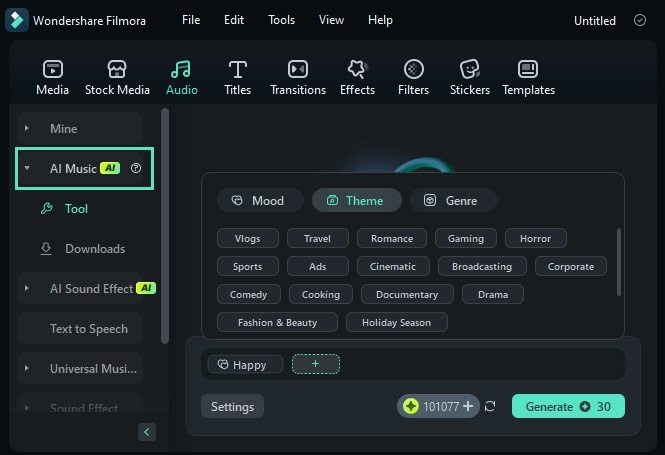
Step 5. Add Background Music with Filmora's AI Music Generator
In Filmora, you can create custom background music to give your Stable Diffusion video the right vibe.
Go to Audio > AI Music and click the plus (+) icon to open the music settings.
Choose the Mood, Genre, and Theme that best matches your video's tone.
Click Generate to create a track.
Once the music is ready, drag it into the timeline and place it below your video to sync it with your video.
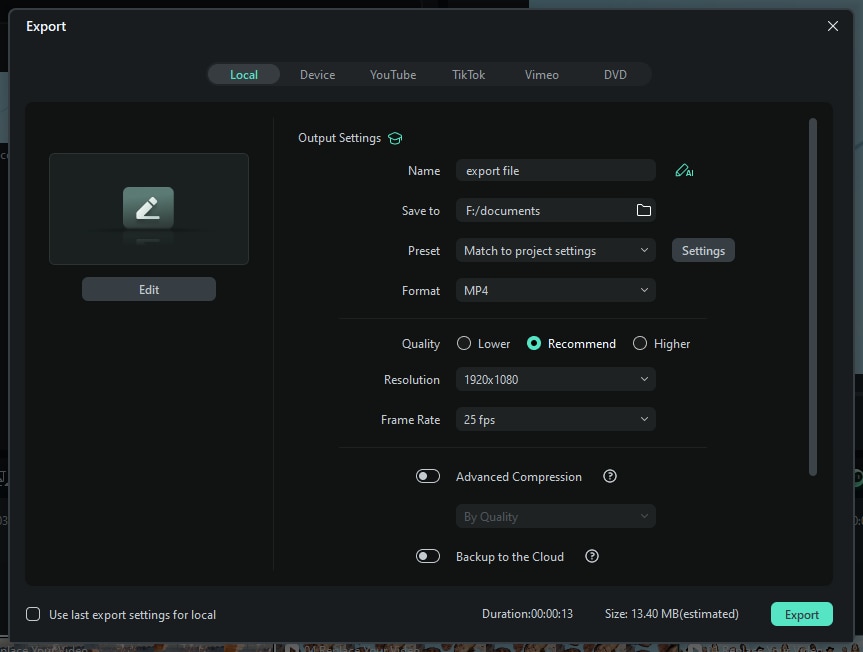
Step 6. Preview and Export Your AI Video
Before finalizing your project, play back the full video to check for any issues. Make any last adjustments as needed.
When you're ready to save, click Export > Local to save the video to your device.
Choose your video format, set the resolution, and name your file.
Then, click Export again to render and save your completed Stable Diffusion video.
Conclusion
Creating content with Stable Diffusion is a fun and creative way to turn simple prompts into visual stories. From generating images to short clips, this AI model continues to power new tools for video generation.
Using a Stable Diffusion AI video generator, you can create animated scenes with tools like AnimateDiff, SVD, or Deforum. Then, you can polish the results with Filmora's editing features. Add music, voiceovers, transitions, and overlay to improve the final presentation.
Try it out today and turn your Stable Diffusion videos into polished, shareable content.
FAQs
-
Can I run Stable Diffusion video generation on a regular laptop?
Yes, but it depends on the tool and your hardware. Some tools like Deforum can run on Google Colab (cloud-based), which is great for laptops with limited power. Local setups using ComfyUI may require a dedicated GPU for smooth performance. -
Is there a mobile app that uses Stable Diffusion for video?
As of now, most Stable Diffusion video tools are desktop- or web-based. There are a few mobile apps that use Stable Diffusion for image generation, but video generation still requires more power and is typically done on a PC or in the cloud. -
Can I add voiceovers or sound to Stable Diffusion videos directly?
No, Stable Diffusion video tools usually export silent clips. To add voiceovers, music, or sound effects, you'll need a video editor like Filmora. It lets you add narration, background music, and even AI-generated voiceovers. -
Are there copyright issues when using Stable Diffusion-generated content?
In most cases, content created using Stable Diffusion is yours to use. However, it's important to avoid generating content that mimics real people, copyrighted characters, or branded assets. Always check the terms of use for the platform or model you're using.
