

 TL;DR:
Creating a handwriting animation in recent versions of Adobe Premiere Pro requires importing MOGRT templates or using third-party plugins because the native Write-On tool is obsolete, making alternatives like Wondershare Filmora a faster choice for non-technical editors.
● Recreating the handwriting motion manually in Premiere Pro now requires intensive keyframing with Mask Paths or installing third-party plugins like Film Impact's Shape Flow, as the classic Shape Flow effect is no longer included by default.
● Wondershare Filmora provides built-in handwriting templates under its Titles tab, which is best suited for creators who need quick, ready-to-use text animations for vlogs or quotes without managing complex layers.
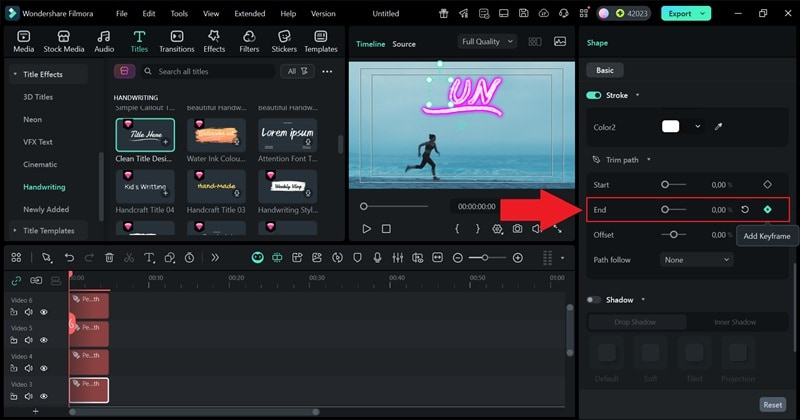
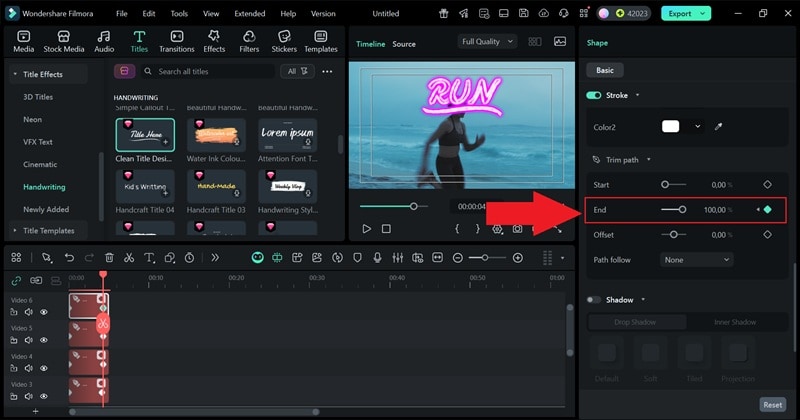
● For highly customized brand intros or signature tracing, Filmora's Pen Tool allows you to manually draw over text and animate the stroke using Trim Path keyframes from 0% to 100% without requiring external plugins.
Ask AI for a summary
 ChatGPT
 Perplexity
 Gemini
 Claude
 Grok
Grok
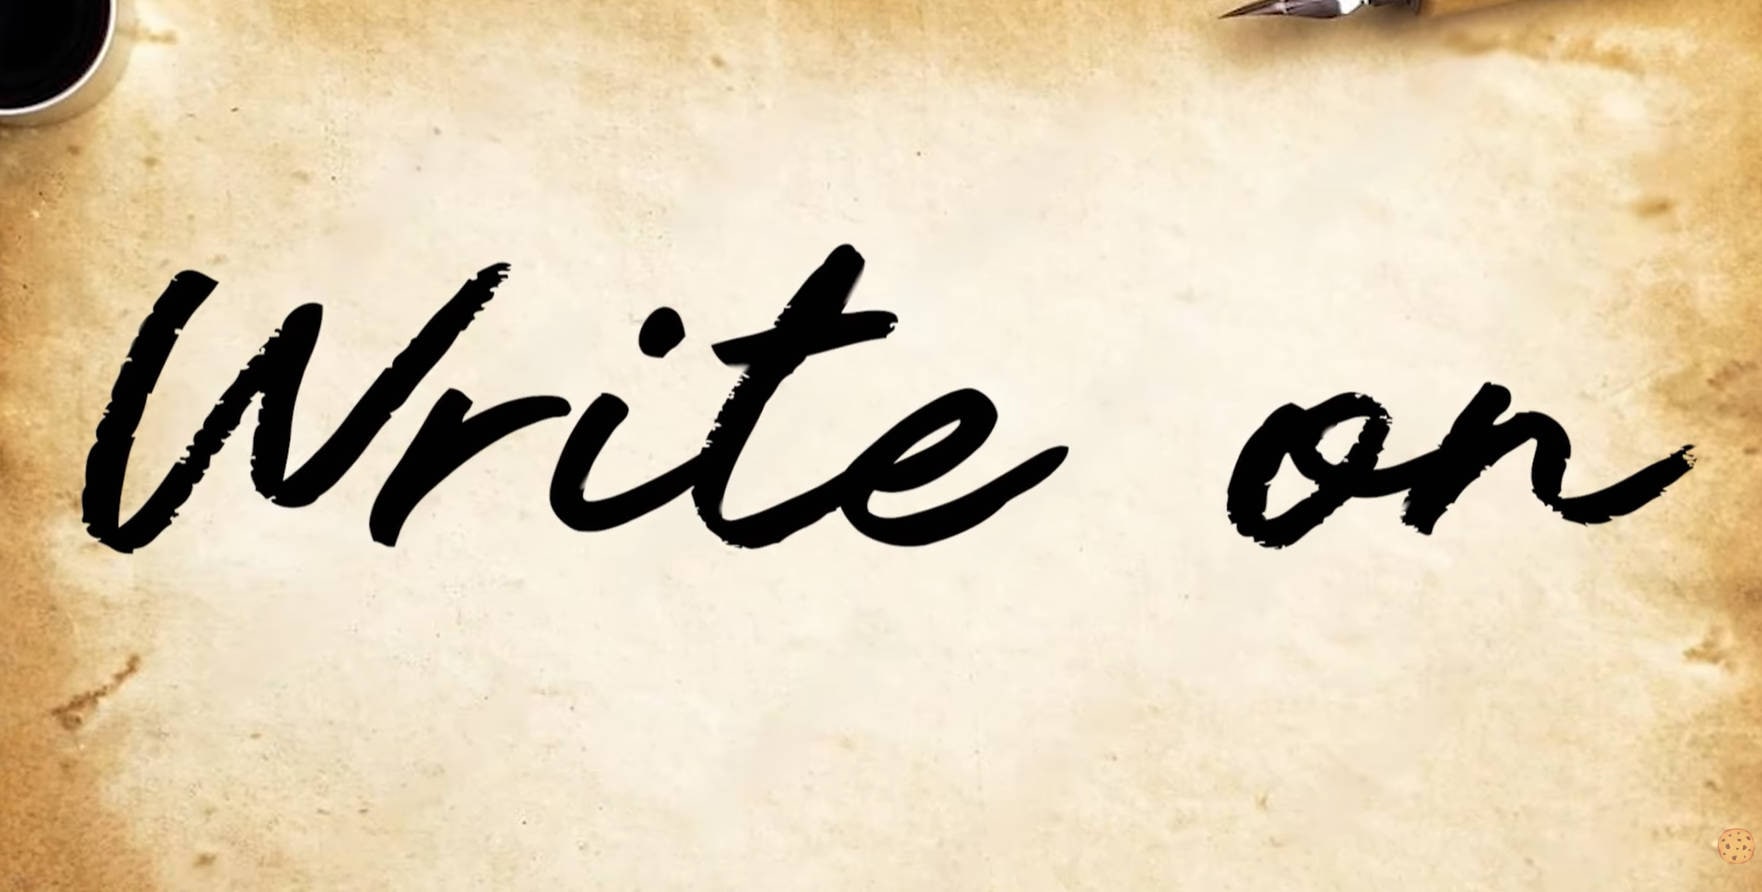
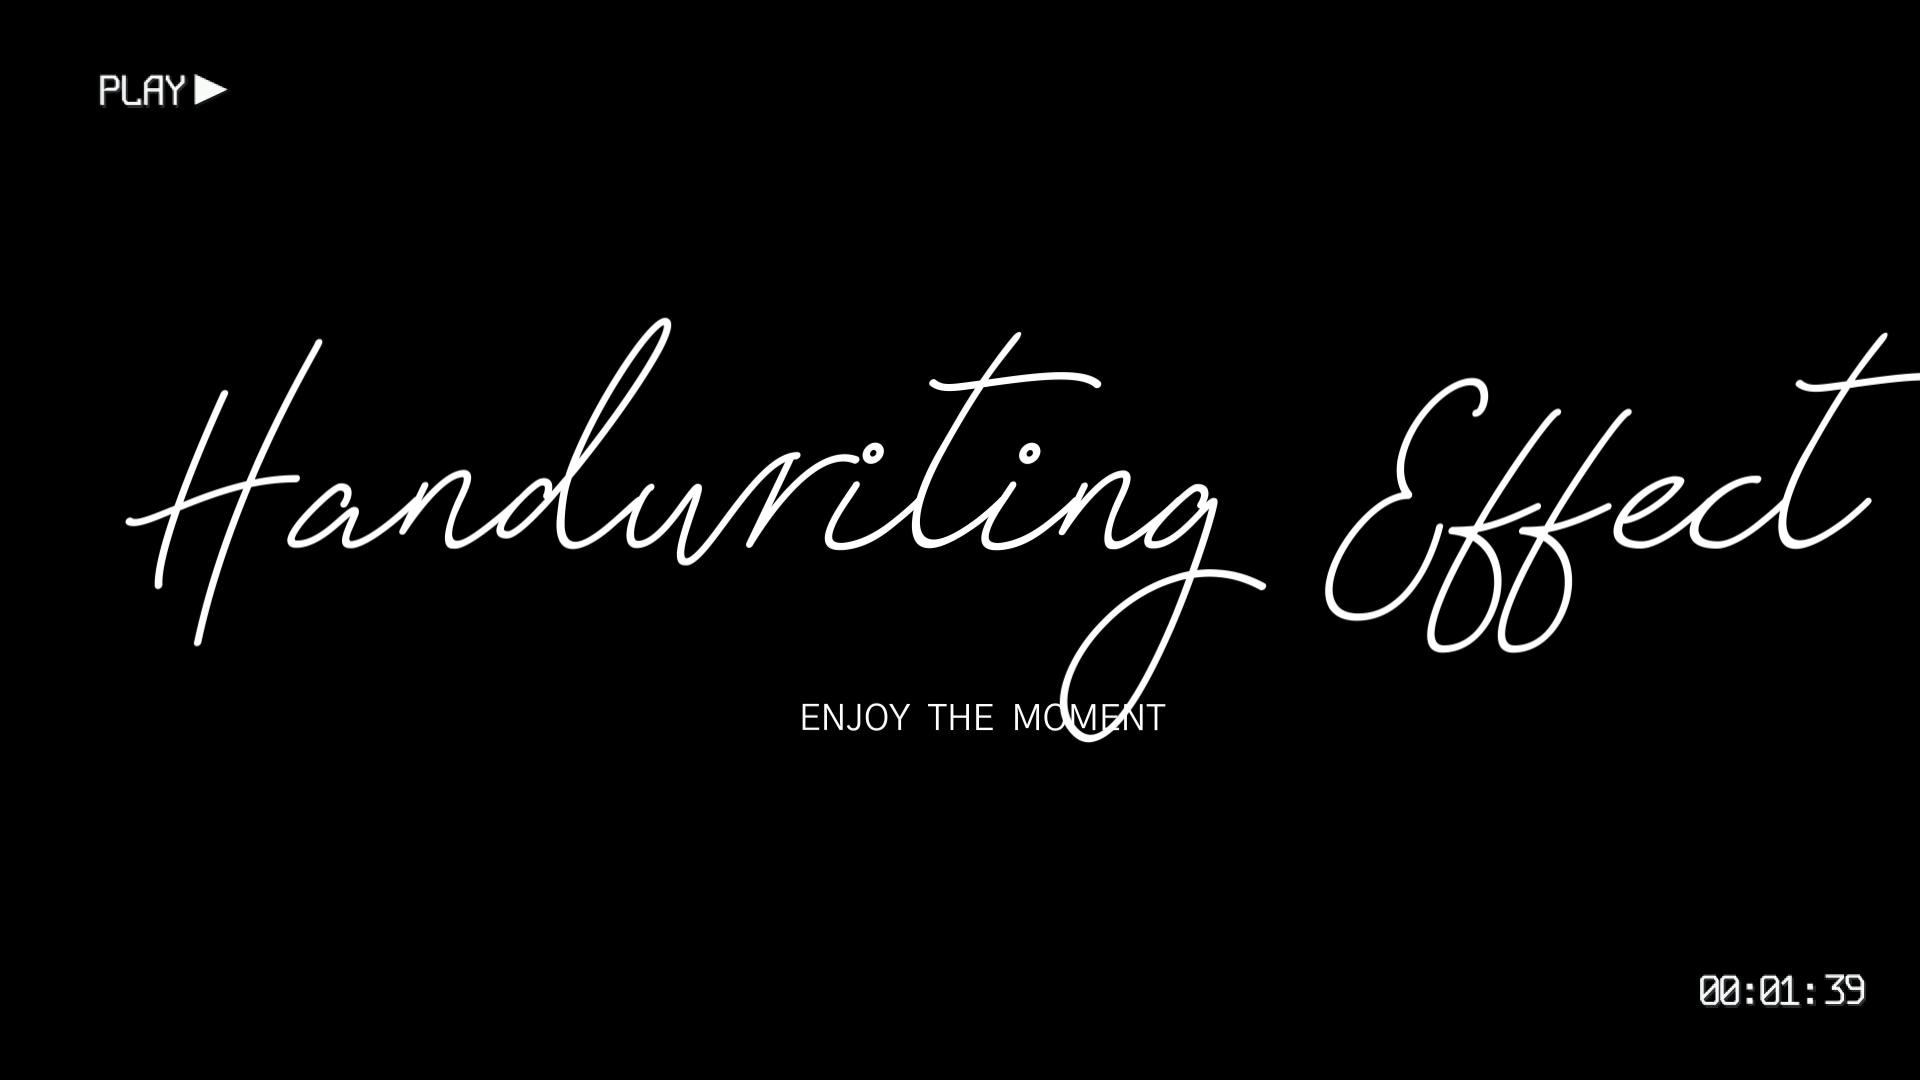
Premiere Pro is a powerhouse for creators, offering everything from cinematic transitions to motion graphics. One standout visual trick is the handwriting animation, which makes your text appear as if it's written in real time—adding warmth and personality to any project.
This effect is loved for its charm but can be tricky for beginners. In this guide, you'll learn simple ways to create it, discover useful workarounds, and explore easier alternatives for achieving the same handwritten magic.
Part 1. The Classic Write-On Effect in Premiere Pro
Premiere Pro once had a simple built-in tool called Write-On that made text appear as if it was being written by hand. But since the feature is now marked as Obsolete, it doesn't work well with the latest versions.
Before jumping into modern tools, it's interesting to look back at how creators used to achieve this effect. Check out [How To Make Handwriting Write-On Effect in Premiere Pro] to learn about the classic Write-On method.
Part 2. No "Write-On"? Here's How to Create the Handwriting Effect in Premiere Pro
So, Adobe has quietly moved the Write-On effect to the Obsolete category. But the problem is, some users say it doesn't even show up anymore, which can be frustrating if you're trying to recreate that smooth handwriting motion.
But the good news is, you're not out of luck. There are still two reliable ways to pull off the handwriting effect in Premiere Pro without relying on Write-On.
1. Using Online Templates (The Smart Way)
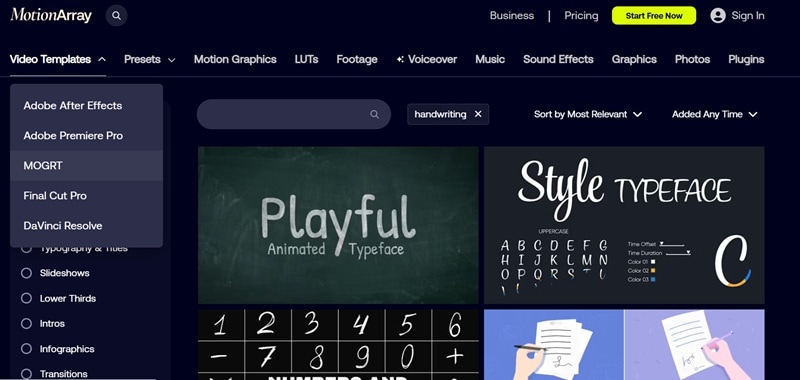
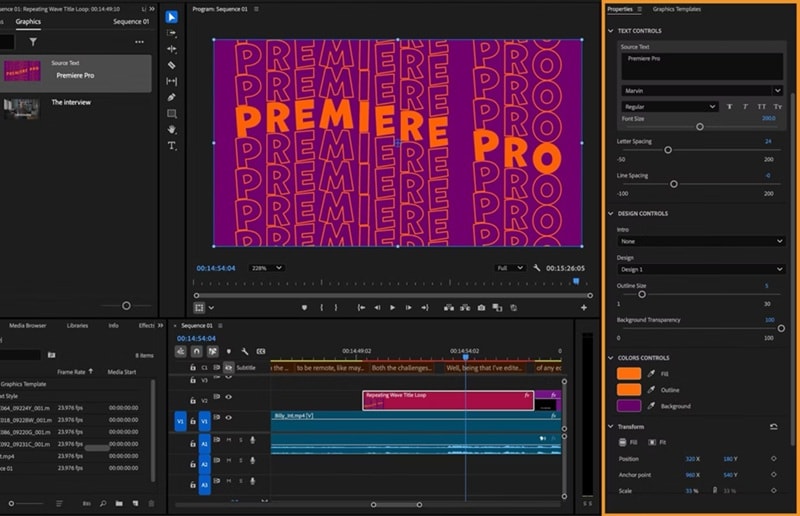
There are plenty of MOGRT templates (Motion Graphics Templates) that let you apply handwriting animation for Premiere Pro instantly. Many of these are built in After Effects and imported into Premiere as templates. To learn how to do that, check out the quick tutorial below:
- Download the MOGRT templates from Motion Array or Envato.
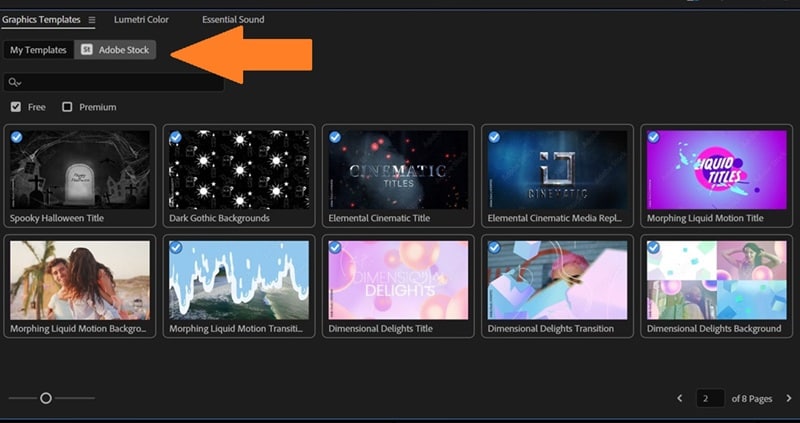
- Open Premiere Pro and head to "Graphics Templates". Under "My Templates", you'll find the one you just downloaded, or you can explore "Adobe Stock" for built-in options from Adobe.
- Drag and drop the template into the timeline. Then, go to the "Properties" to customize the handwriting effect.
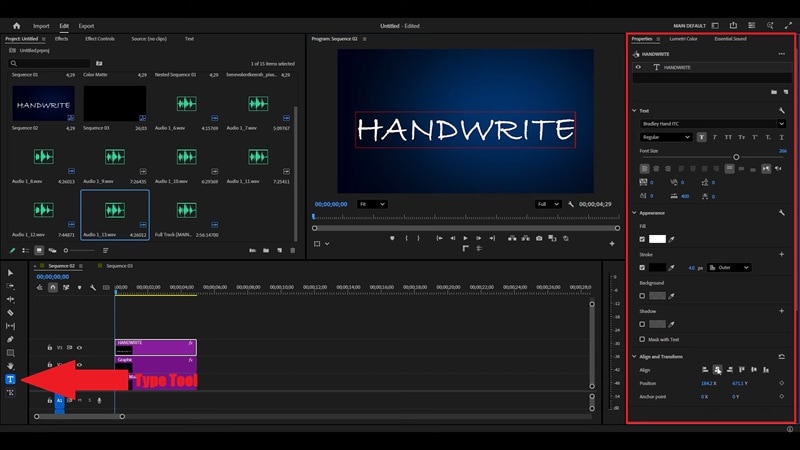
2. Doing It Manually (The Old-School Way)
If you like doing things by hand, you can still recreate the handwriting effect Premiere Pro using a few built-in effects. It takes a bit more time, but it gives you full control over how each stroke appears. If that sounds like your style, here's a quick step-by-step tutorial from Adobe Made Simple on YouTube to guide you through it:
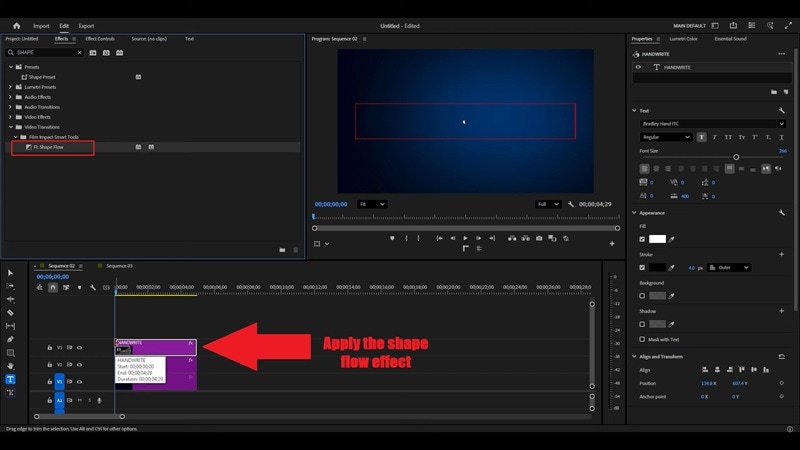
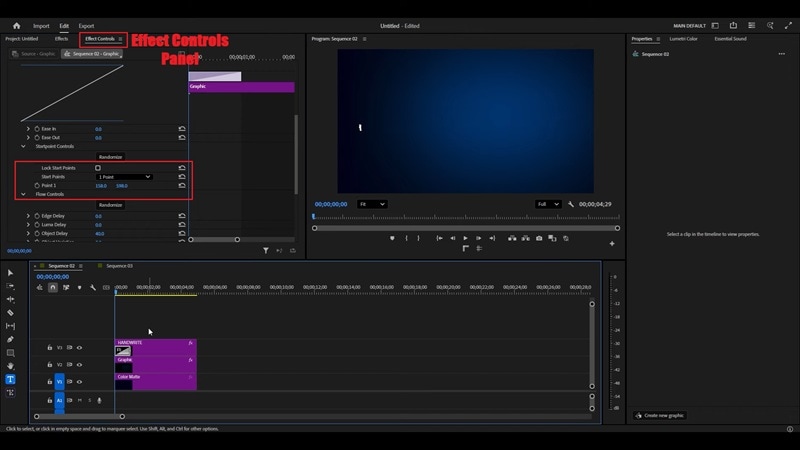
Note: The classic Shape Flow effect is no longer included as a built-in effect in the latest Premiere Pro versions. However, you can still use it via third-party plugins, such as Film Impact's Shape Flow. Alternatively, you can achieve a similar handwriting effect using Mask Paths or Pen Tool with keyframes.
Part 3. The Easier Route: Create Handwriting Animation Without the Hassle
After trying different ways to create handwriting effects in Premiere Pro, one thing is clear: the software can do it, but the process is not straightforward. The old Write-On effect is now in the Obsolete Effects folder, and using masks with keyframes takes several steps and some technical know-how.
Premiere Pro also lacks the smooth, brush-style controls you find in After Effects. This means creating natural, flowing handwriting animations requires manual keyframing and fine-tuning, which can quickly become tedious for more complex text effects.

In that case, this is where Wondershare Filmora truly shines. This all-in-one video editor comes packed with ready-to-use handwriting animation presets and templates, so you don't have to build effects from scratch. With its intuitive interface and extensive library of handwriting fonts and animated text effects, you can create professional-looking handwriting animations in just a few clicks—no complicated steps, no steep learning curve.


On top of that, the latest Pen Tool in Filmora make the whole process so much simpler:

- Simple workflow: Animate handwriting in just a few quick steps with easy controls.
- Built-in presets: Pick from ready-to-use handwriting styles and animations.
- Pro results made easy: Get that clean, professional look without stressing over settings.
- Focus on creativity: Spend your time perfecting your story instead of tweaking technical details.
Filmora takes the pressure off editing so you can bring your handwriting ideas to life quickly and beautifully. Let's break them down!
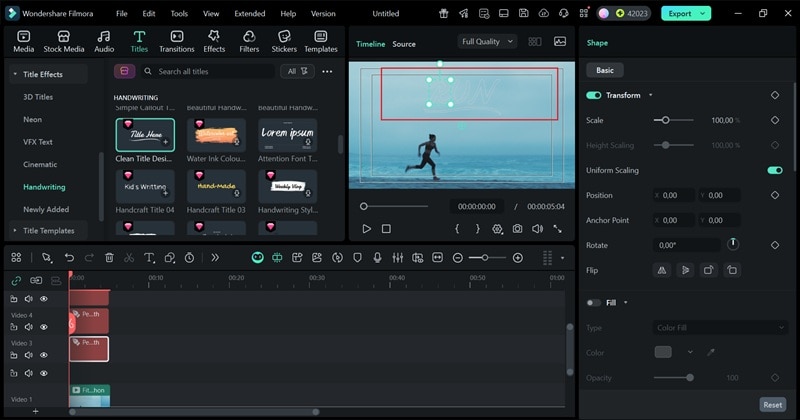
Option A: Get Instant Results with Filmora's Handwriting Presets

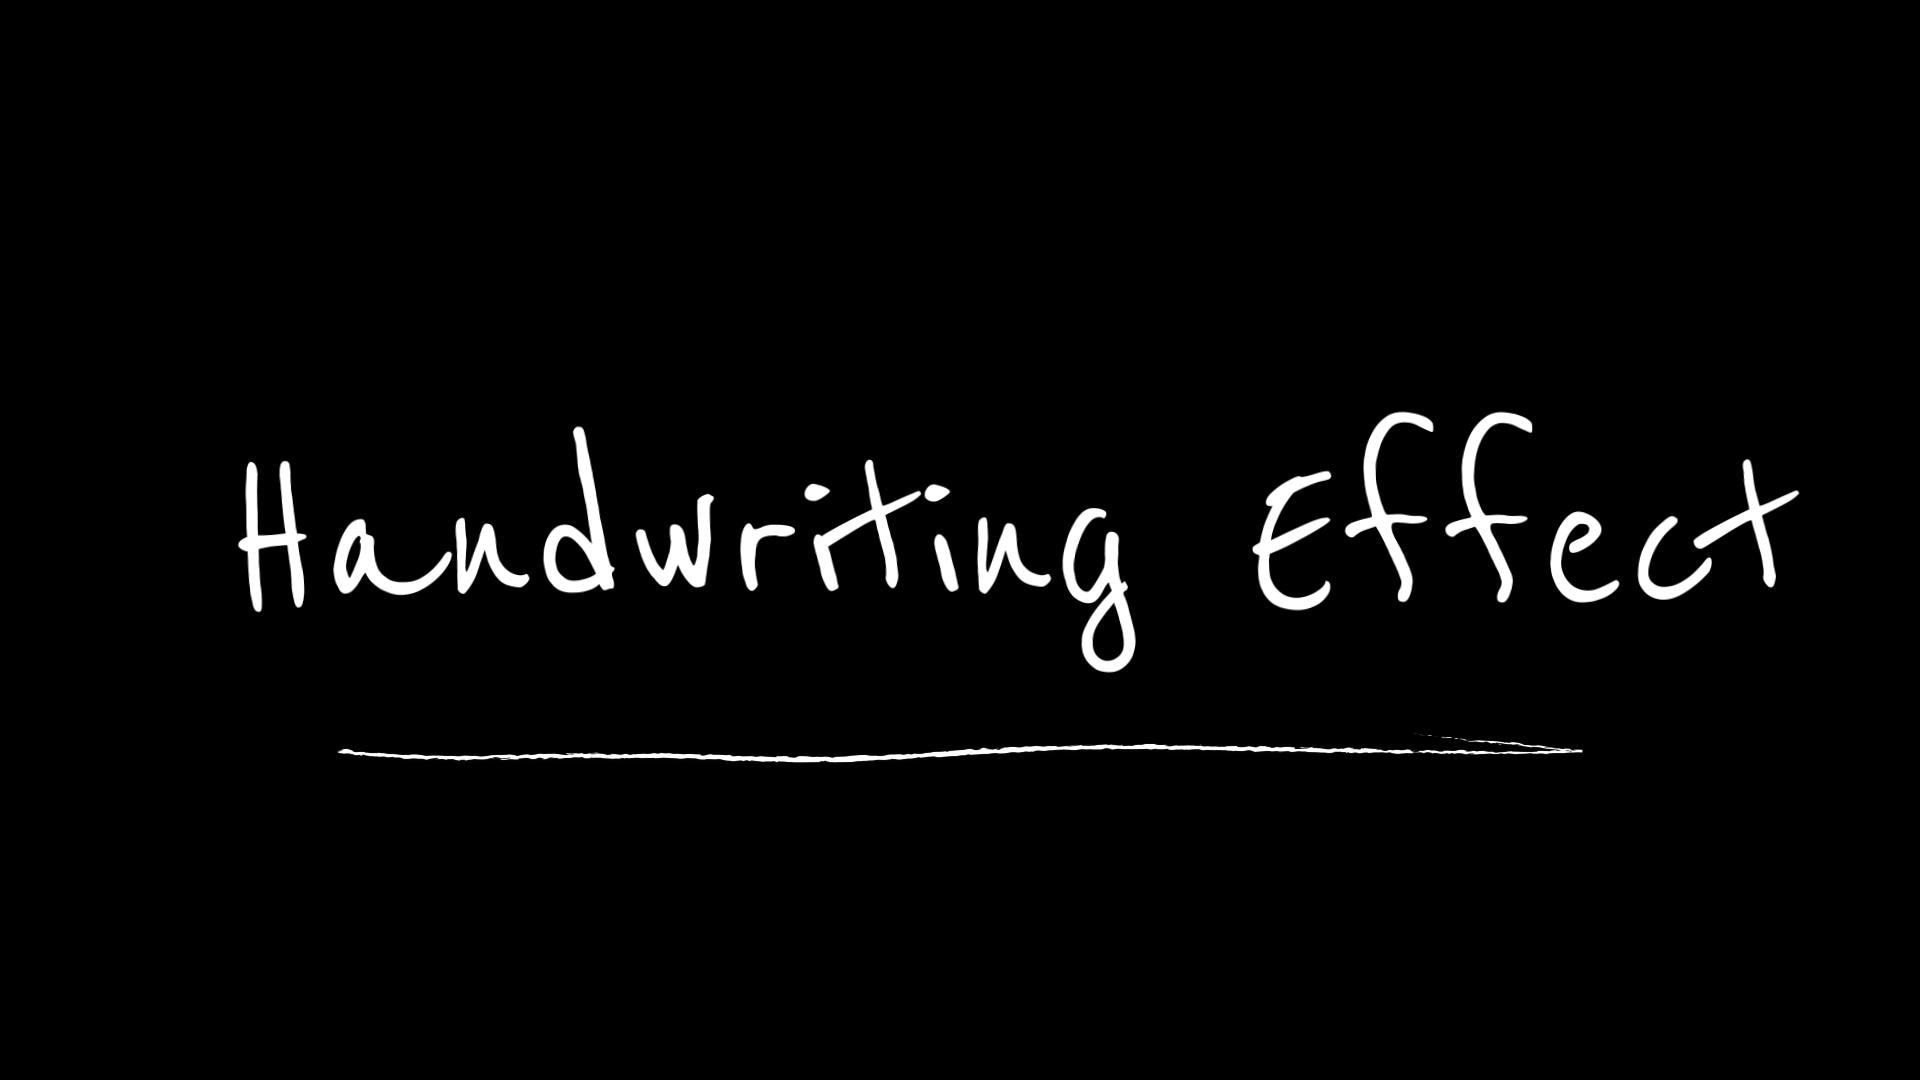
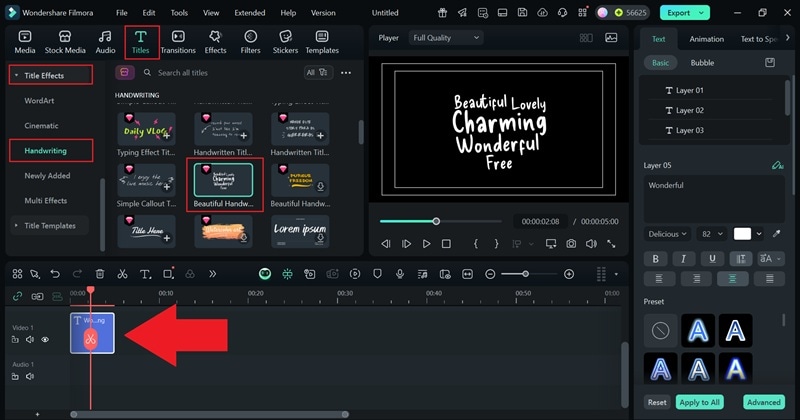
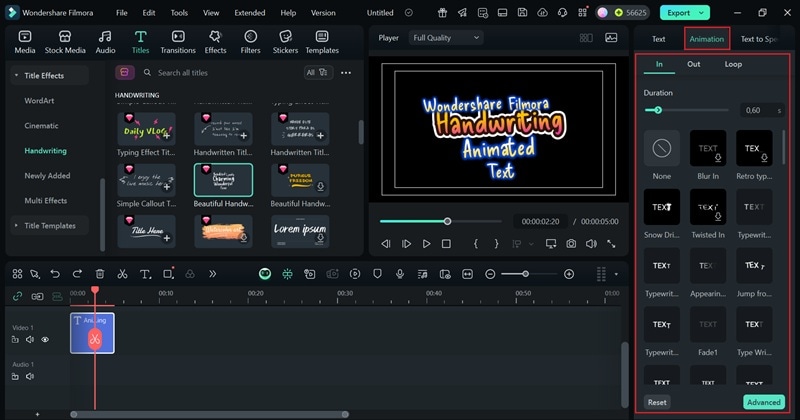
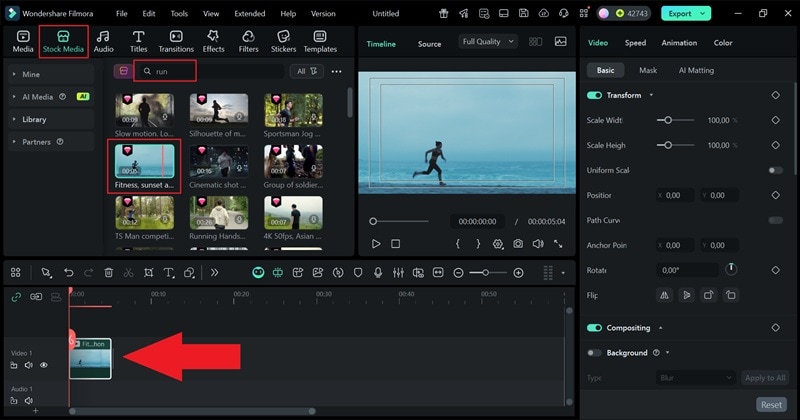
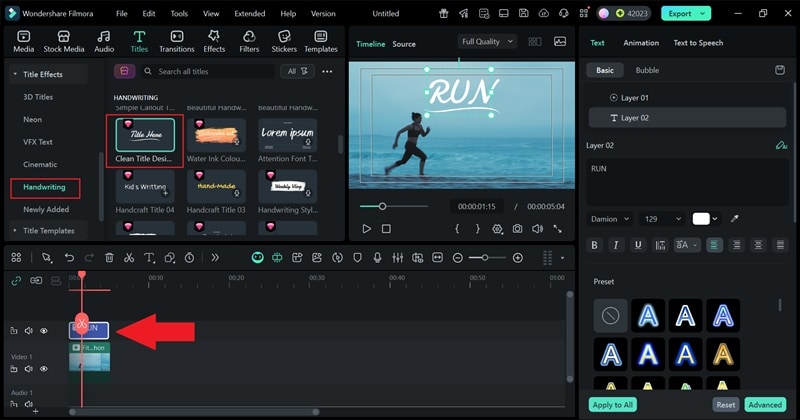
Why It's Great: Filmora makes adding a handwriting effect ridiculously simple. Inside its Titles tab, there's a dedicated Handwriting category filled with pre-made animations that look clean and natural. It's quick, clean, and gives your video that handwritten feel in seconds.
Best For: This method is perfect when you're short on time. It's made for creators who want smooth results without getting tangled in layers or keyframes. You can use it for intros, vlogs, or stylish quotes that need a personal touch.
Quick Steps:

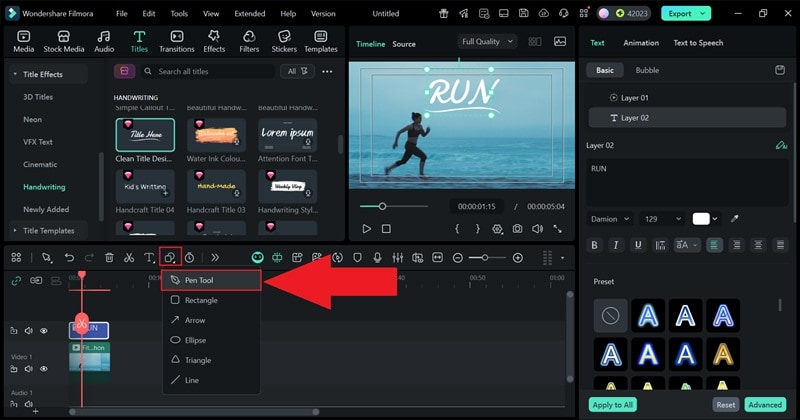
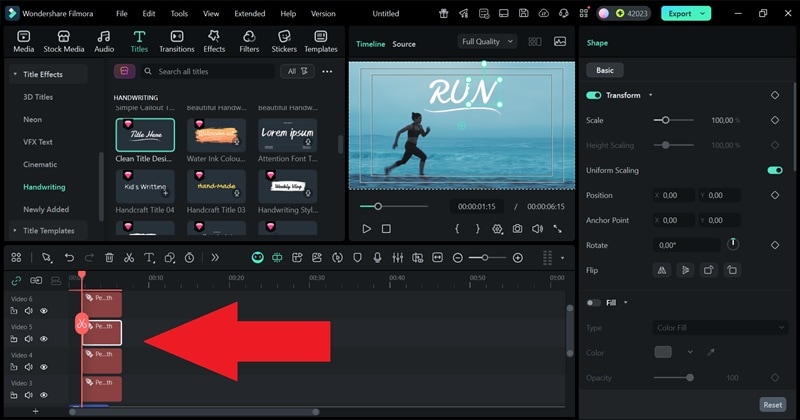
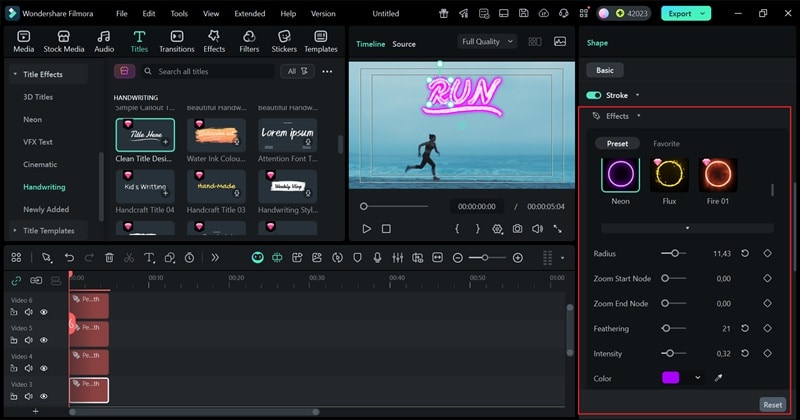
Option B: Design Your Own Motion with Filmora's Pen Tool

Why It's Great: Filmora's Pen Tool gives you total creative freedom. There are so many things you can do with it, including:
- Draw and animate your own motion paths.
- Create handwritten signatures.
- Trace logos.
- Make text follow any shape or curve you want.
With these capabilities, you've got another fun and creative way to pull off a handwriting effect with even more control and personality. It's an easy way to make your videos stand out while keeping them polished, natural, and full of character.
Best For: This option is great when you want your text or graphics to move in a specific direction and have that natural, hand-crafted touch. So, it works perfectly for brand intros, storytelling projects, or any video that needs a one-of-a-kind animation style.
Quick Steps:
Why Filmora Makes It Easier
Unlike creating a handwriting effect in Premiere Pro, Filmora keeps everything simple and beginner-friendly. Everything flows naturally, from adding your text to animating it. Take a look at this side-by-side comparison to see how much smoother and faster Filmora handles the whole process.
| Feature | Premiere Pro | Filmora |
| Plugin Requirement | Often needs third-party plugins for smooth handwriting effects | No plugins required; everything is built in |
| Keyframe Complexity | Heavy keyframing and layer management | Simple path-based animation with smooth control |
| Built-in Presets | Very limited; mostly need to create from scratch | Includes handwriting, signature, and logo animation presets |
| Path Control | Uses complex masking and shape layers | Draw custom paths directly on the canvas with the Pen Tool |
| Preview Workflow | Usually needs rendering to check results | Real-time preview while editing; immediate feedback |
| Creative Flexibility | Works well for basic handwriting only | Ideal for handwritten text, logo outlines, and creative motion paths |
| Workflow Speed | Slower, more technical process | Fast, intuitive, and ready for quick results |
| Learning Curve | Steep learning curve | Intuitive; faster to create polished results |
| Output Quality | Professional results but time-intensive | Professional-looking results in a fraction of the time |
|
Show more
Show less
|
||
Conclusion
Creating a handwriting effect in Premiere Pro with the old Write-On feature used to be pretty easy, but since that tool's been phased out, you'll need a few clever workarounds. So, this guide walked you through the basics of how to pull off a handwriting animation in Premiere Pro using motion graphic templates or the Shape Flow effect.
Still, the process can get a bit tiring, especially if you're doing everything manually. That's why it's worth trying something simpler like Wondershare Filmora. It already has a built-in handwriting category, so you can get that same creative look in just a few clicks. Plus, its new Pen Tool lets you draw smooth, natural paths that bring your text to life.
💬 FAQs About the Handwriting Effect in Premiere Pro
-
1. What's the best font for handwriting animation in Premiere Pro?
Fonts that look naturally written by hand always work best. Try using options like Pacifico, Great Vibes, or Dancing Script to get that handwritten feel. The smoother the font flow, the more realistic your handwriting animation in Premiere Pro will look.
-
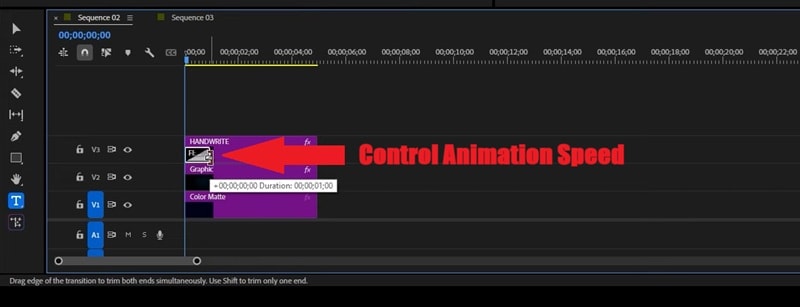
2. How do I make the handwriting animation faster or slower?
It's all about timing. Adjust your keyframes closer together if you want faster movement or spread them out to slow it down. In Filmora, you can simply drag the edges of the animation on the timeline to change its speed instantly.
-
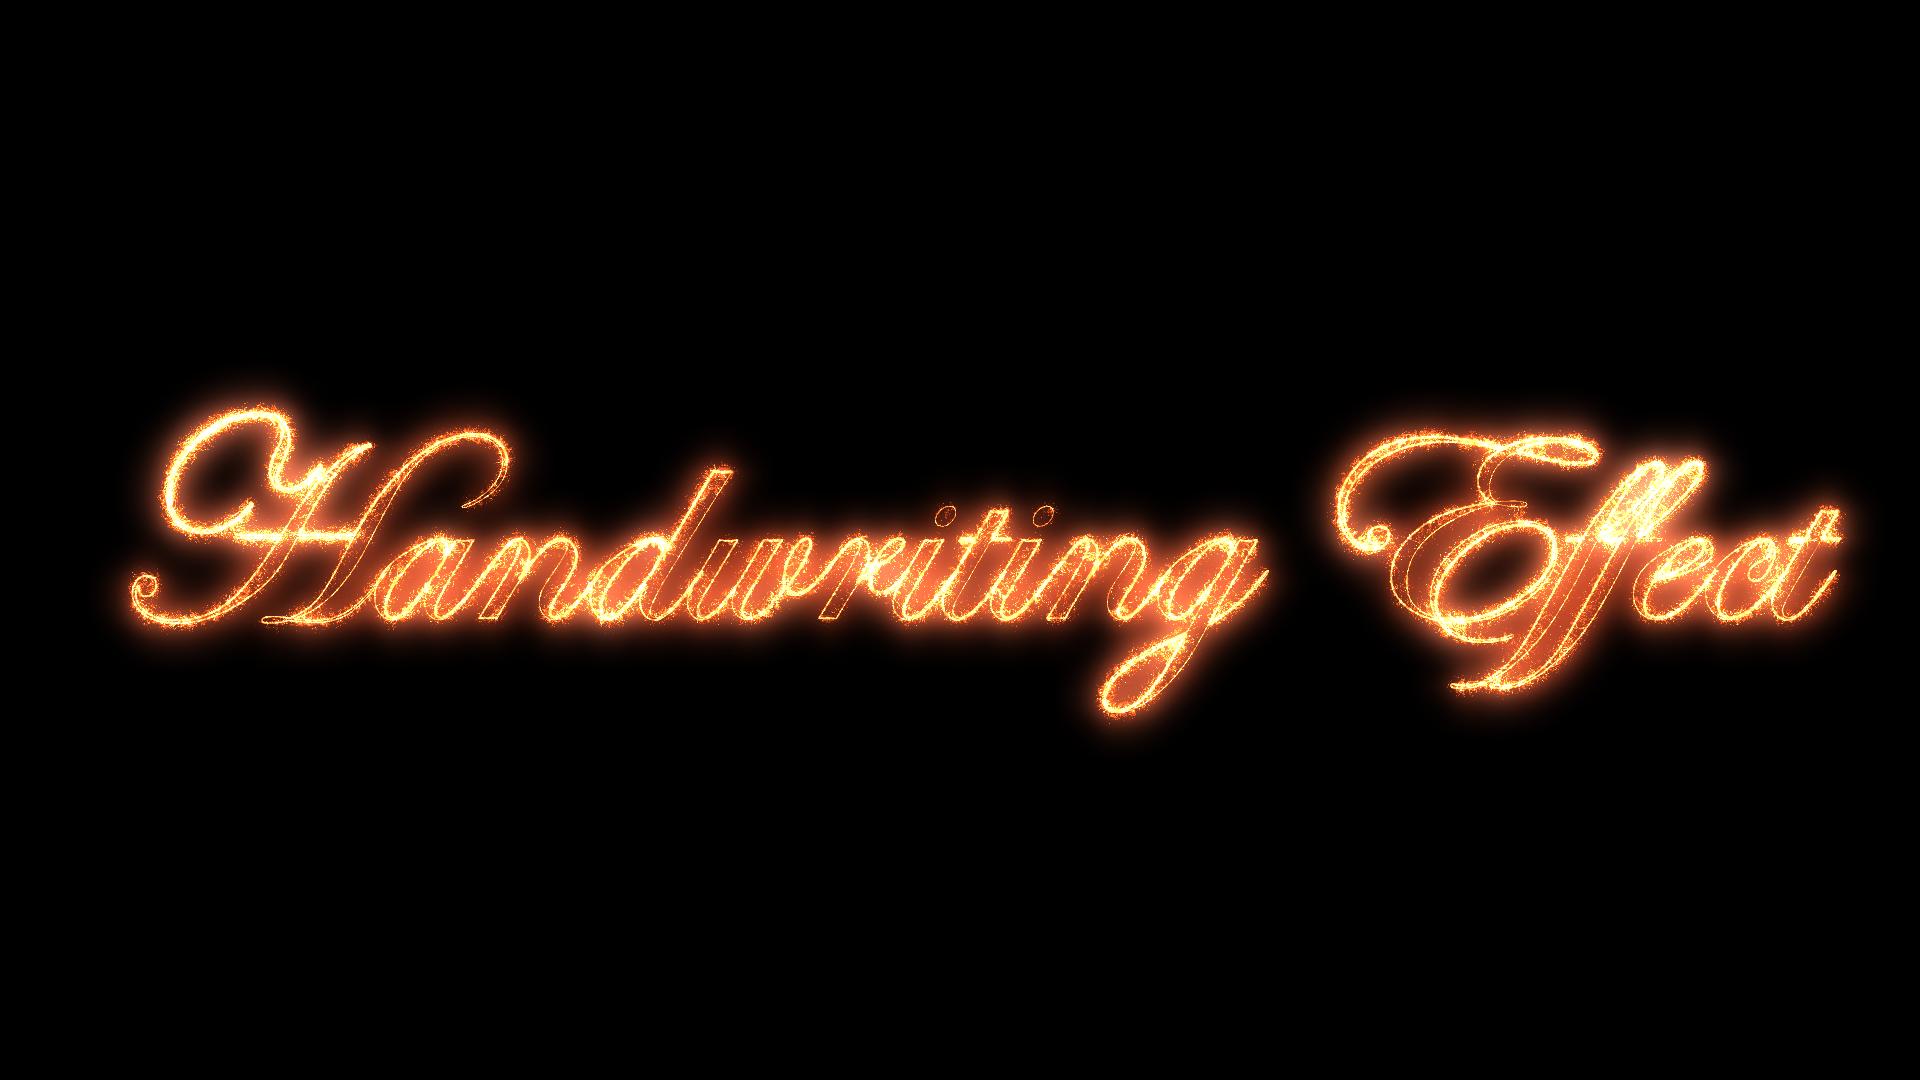
3. Can I mix handwriting effects with other animations?
Definitely. You can combine handwriting effects in Premiere Pro with fade-ins, zooms, glows, or even light leaks for a cinematic touch. Layering effects gives your text more character and helps it stand out.
-
4. Does the handwriting effect work on shapes or drawings too?
Yes, you can apply the same animation technique to lines or sketches. Whether it's an underline, doodle, or arrow, it can all be animated the same way to match your text reveal.
