

 ChatGPT
 Perplexity
 Gemini
 Claude
 Grok
Grok
Blurring faces in videos is an important skill, especially when trying to protect your or other people’s privacy in your footage. Whether you’re recording videos for social media content, creating tutorials, or documenting events, it is important to know how to blur faces in videos when necessary. Fortunately, there are easy ways to do this, but first, you need to pick a great platform to blur faces.
Filmora offers an effective solution to blur faces along with high-end features to achieve this, making it easy for both beginners and professionals. In this guide, you will learn how to blur faces in Filmora with its extensive tools and dynamic interface. Ready? Let’s get started!
In this article
Part 1. Different Ways to Blur Faces in Filmora
Wondershare Filmora is one of the best tools for blurring faces effectively. From its simplified interface to a dynamic drag-and-drop functionality that makes video editing seamless, this tool can help you blur faces within minutes, no matter your experience level.
Filmora offers various ways to blur faces, including the use of AI and normal video effects. Both methods are easy to use and give you control over how and when to blur faces in your video. Below, you will discover the different ways you canblur faces in Filmora, specifically the Auto Face Blur and Face-off features.
- Auto Face Blur: This effect is designed to automatically detect faces in your video and add a mosaic blur effect to them without necessarily requiring you to select the areas to blur. The Auto Face Blur, using the AI Face Mosaic feature, makes it easy to blur faces in Filmora. Since the face blurring occurs in real-time, the tool can track and blur the faces throughout your video, saving you effort as well. Plus, you can customize or edit the blur settings in the tool.
- Face-Off: This is also a Filmora face blur effect that can come in handy if you don’t want the mosaic blur effect but still want to hide the person’s face in the video. The Face-off feature automatically identifies faces in a video, applies the blur effect to them, and uses advanced tracking to ensure the face is blurred throughout the video. With Face-off, you don't have to manually adjust the blur effect in the video.
With these effects, you can easily use Filmora to blur faces in your videos, creating privacy for the subject. Plus, the blurring effect is very versatile and can be used to censor text, logos, or any part of your video that needs to be kept private.
Part 2. How to Blur Face in Filmora with Auto Face Blur

The Auto Face Blur effect allows you to blur out faces in your video with full control over the blur effect. This is particularly useful for adding a clean blur to faces, license plates, or even logos in any video. Below are some of its top features:
- Automatic face detection identifies faces in a video and blurs them accordingly, reducing the effort needed to run the feature.
- Multiple face blurring enables you to blur out more than one person’s face in a video. This can help when blurring people's faces when you shoot a video in a public setting.
- You can customize the blur by changing its shape, form, or even intensity to suit your requirements.
- Blur faces in videos with extensive tools and dynamic interface.
- Vast video/audio effects and creative assets.
- Powerful AI for effortless content creation.
- Intuitive, professional yet beginner-friendly.
- Works on Mac, Windows, iOS, and Android.


Ready to blur faces with this amazing feature? First, download and install Filmora from the official website before we get started. Now that’s done, here’s how to blur faces in Filmora using its AI Face Mosaic:
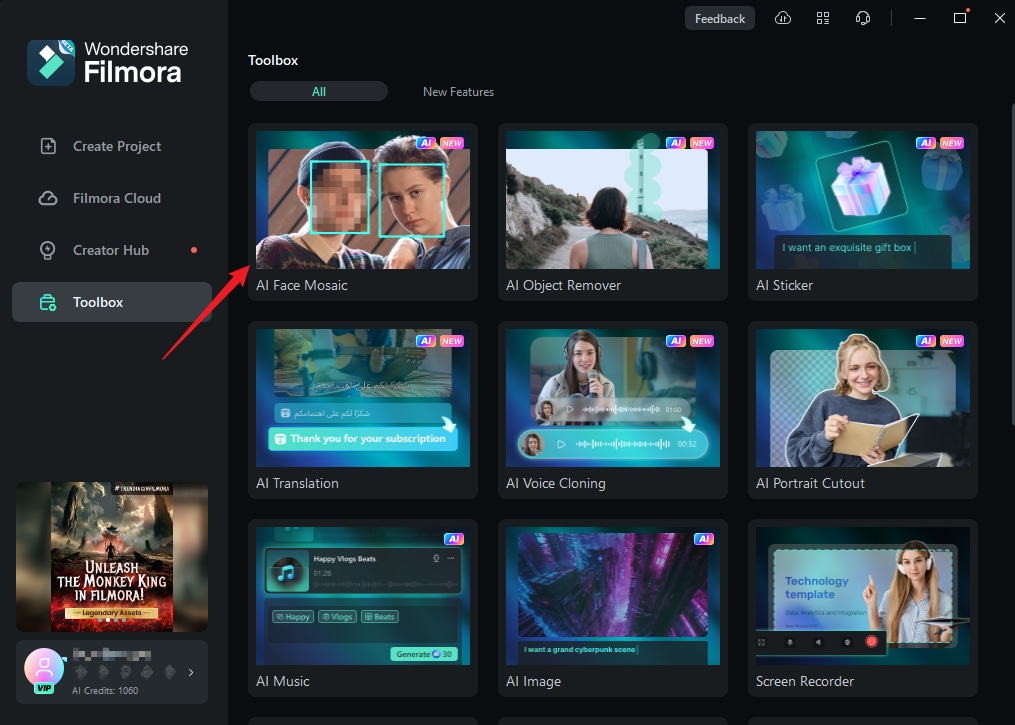
Step 1: Launch Filmora and go to More.
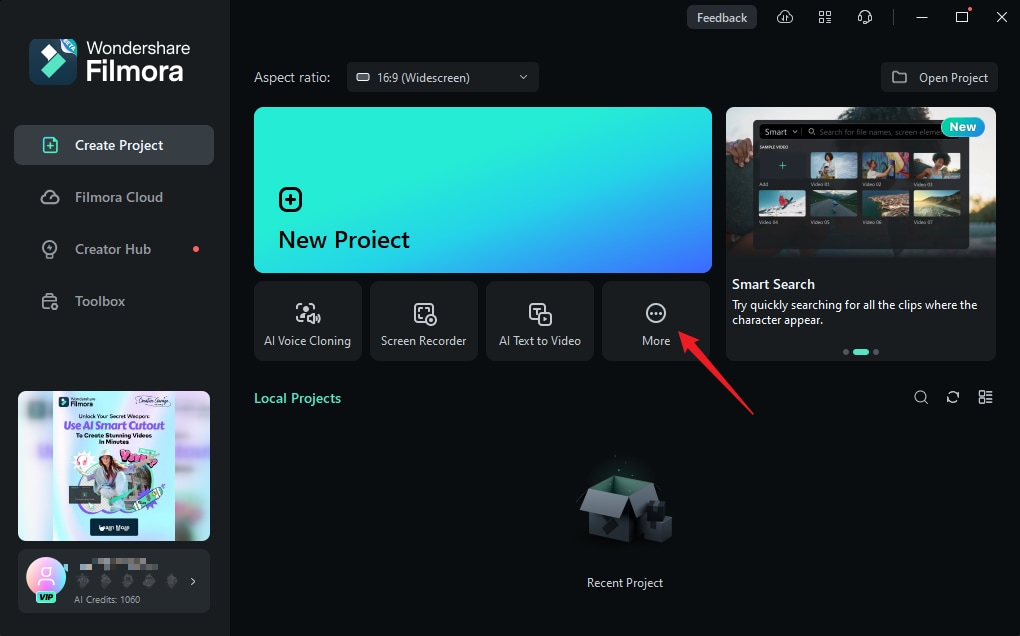
Step 2: Cpck on AI Face Mosaic and then import your media for editing.
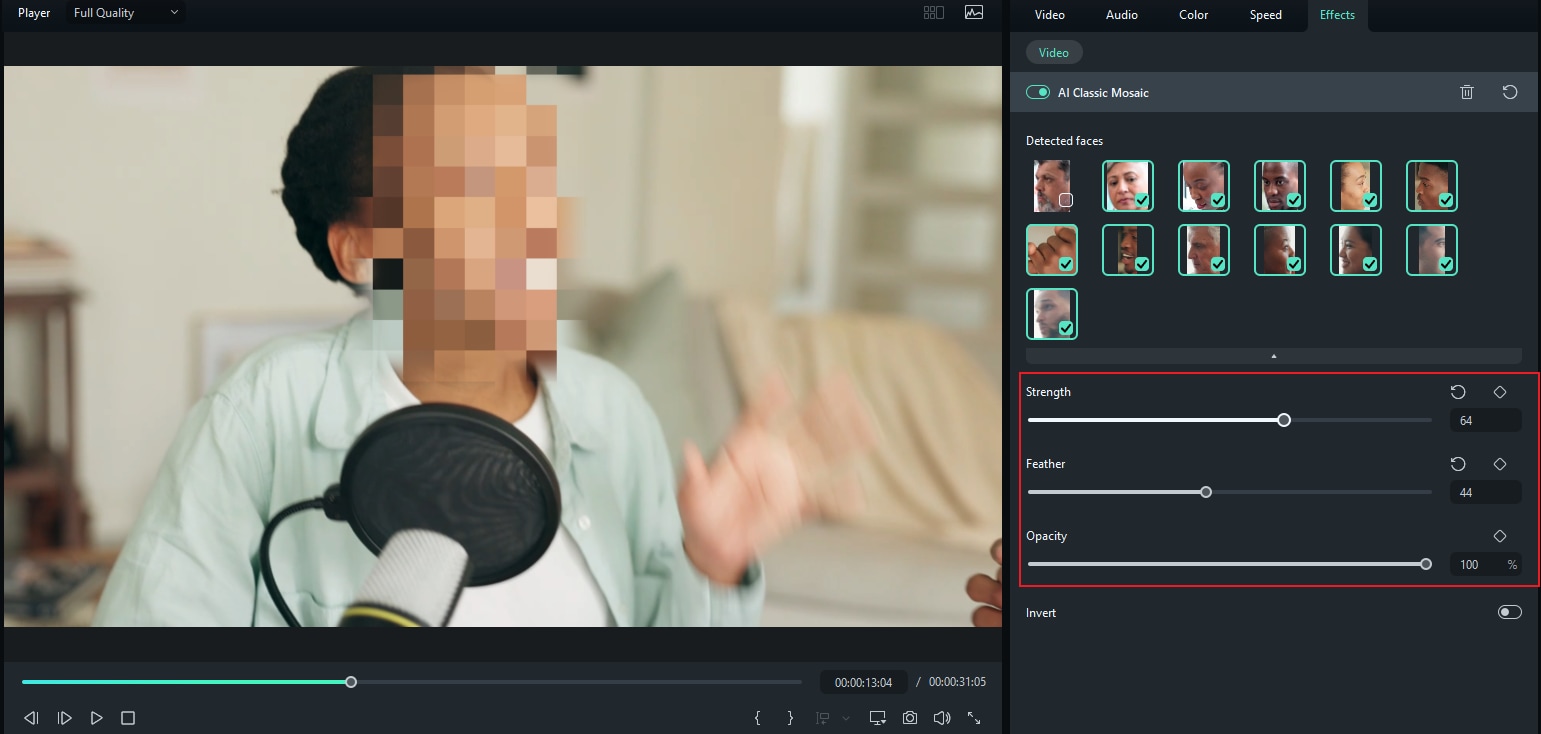
Step 3: At this stage, Filmora will perform an analysis of the video to apply the blurring effect to faces throughout the footage. Once the analysis is done, each face will automatically have the mosaic effect.
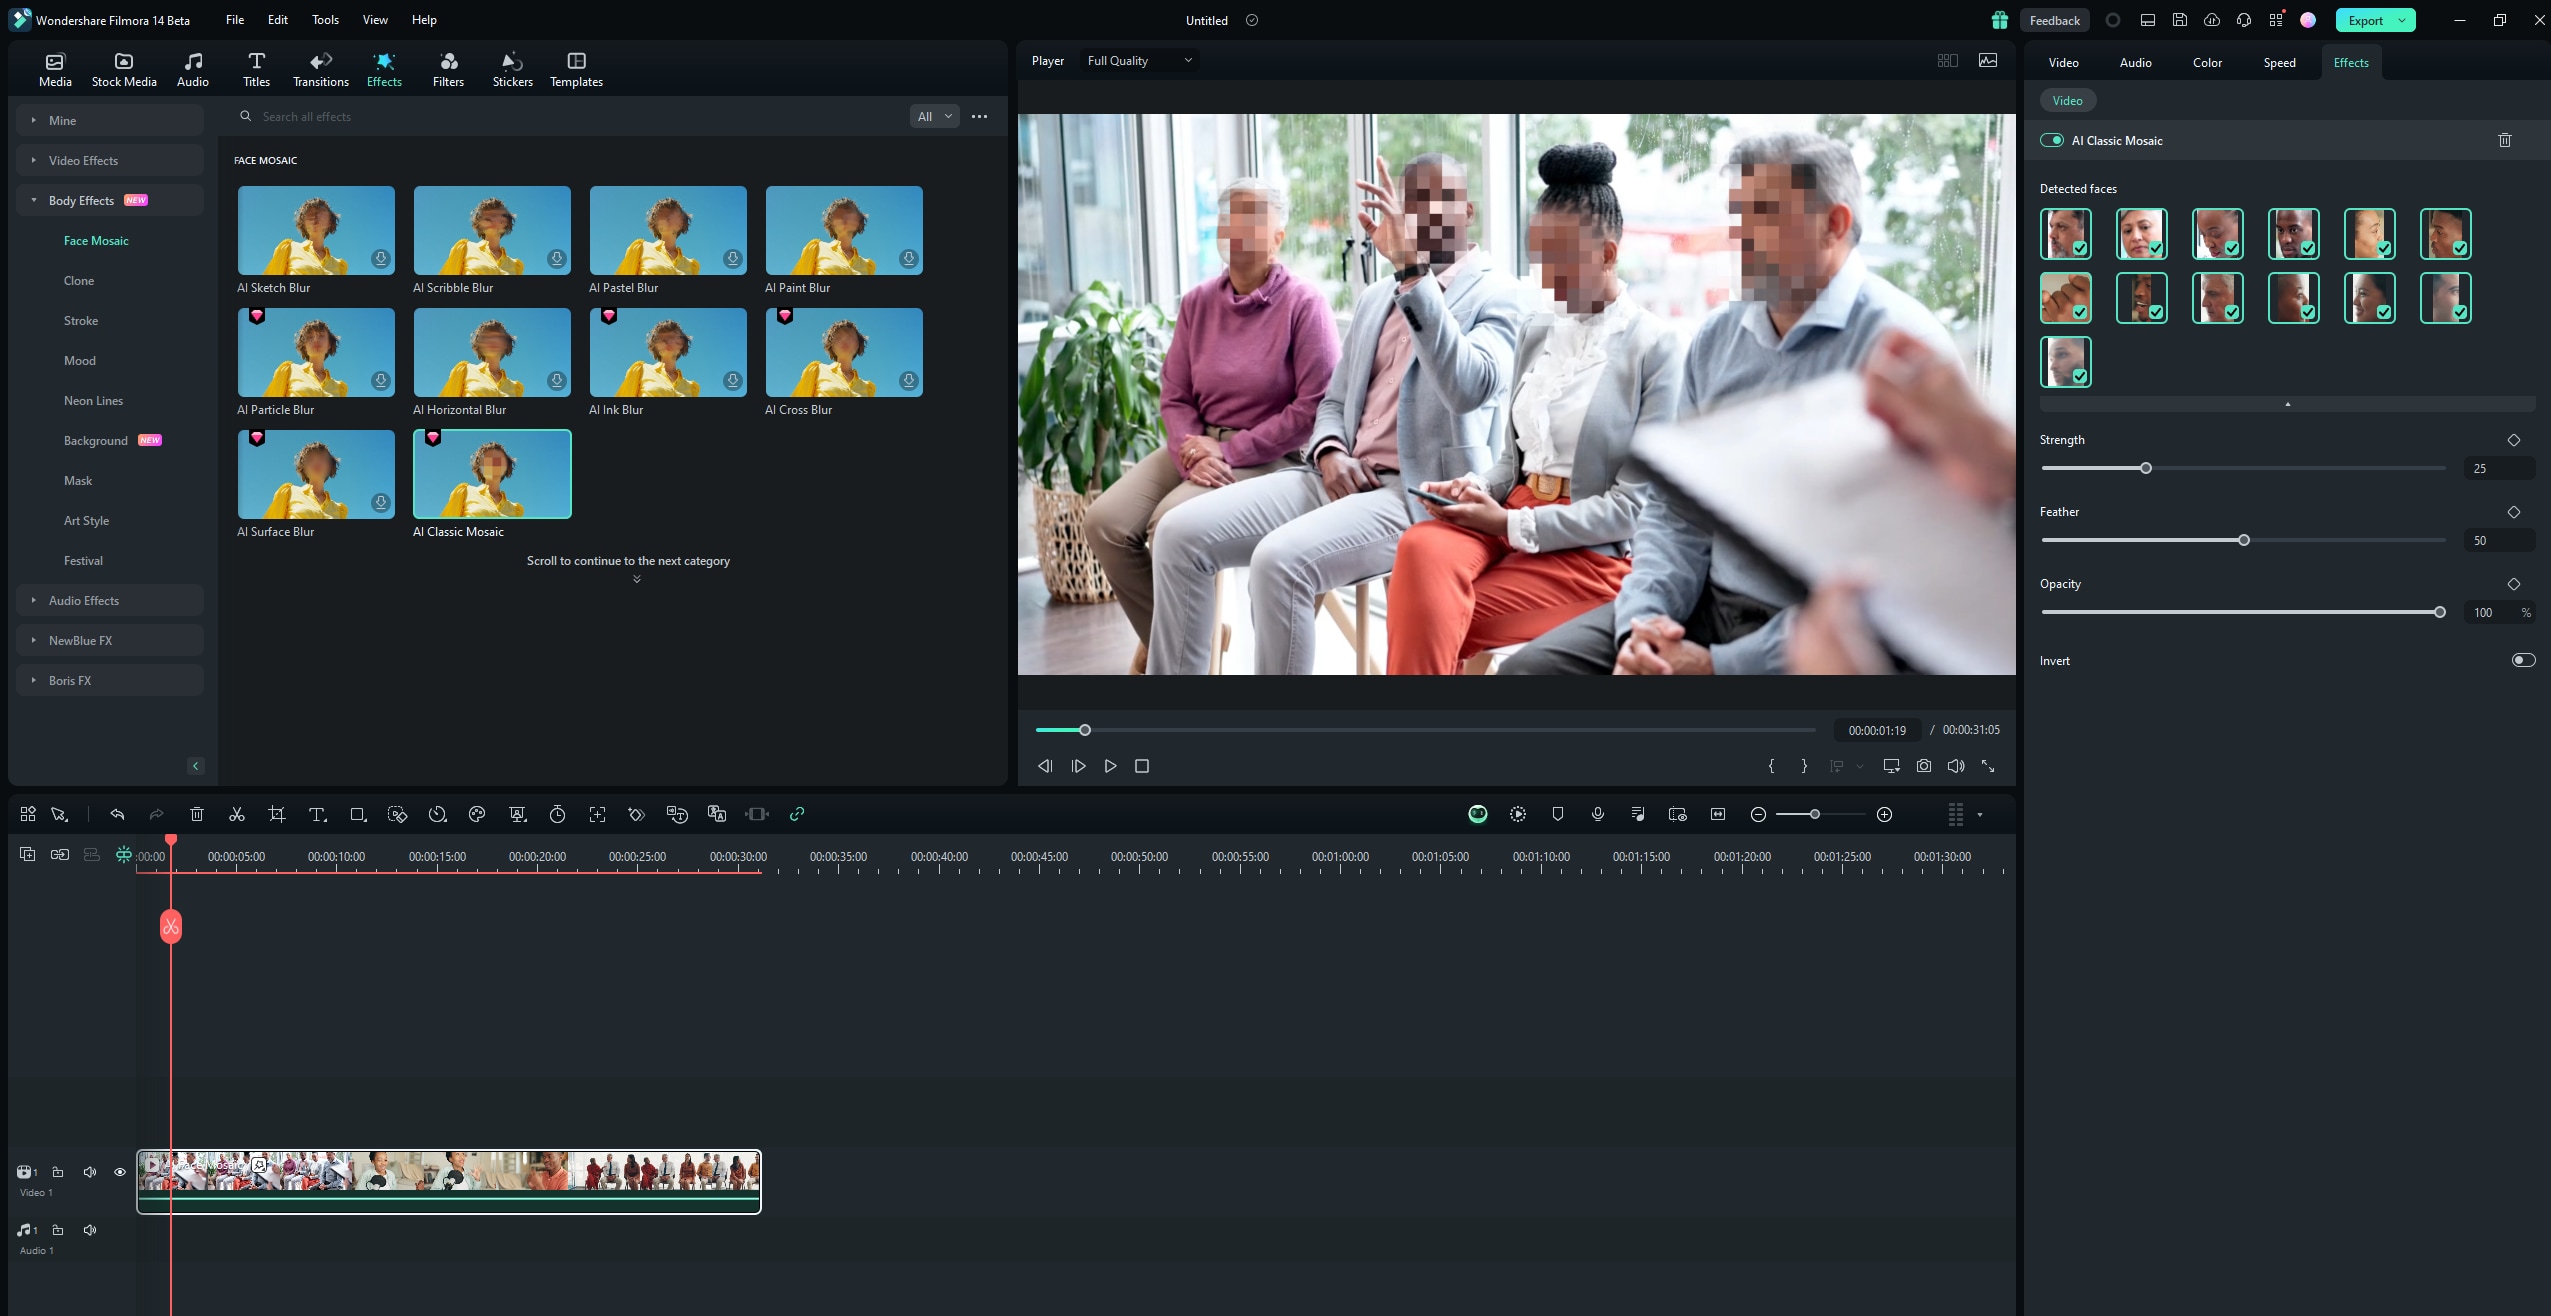
Step 4: To choose a face not to be mosaiced, deselect it from the right-hand panel.
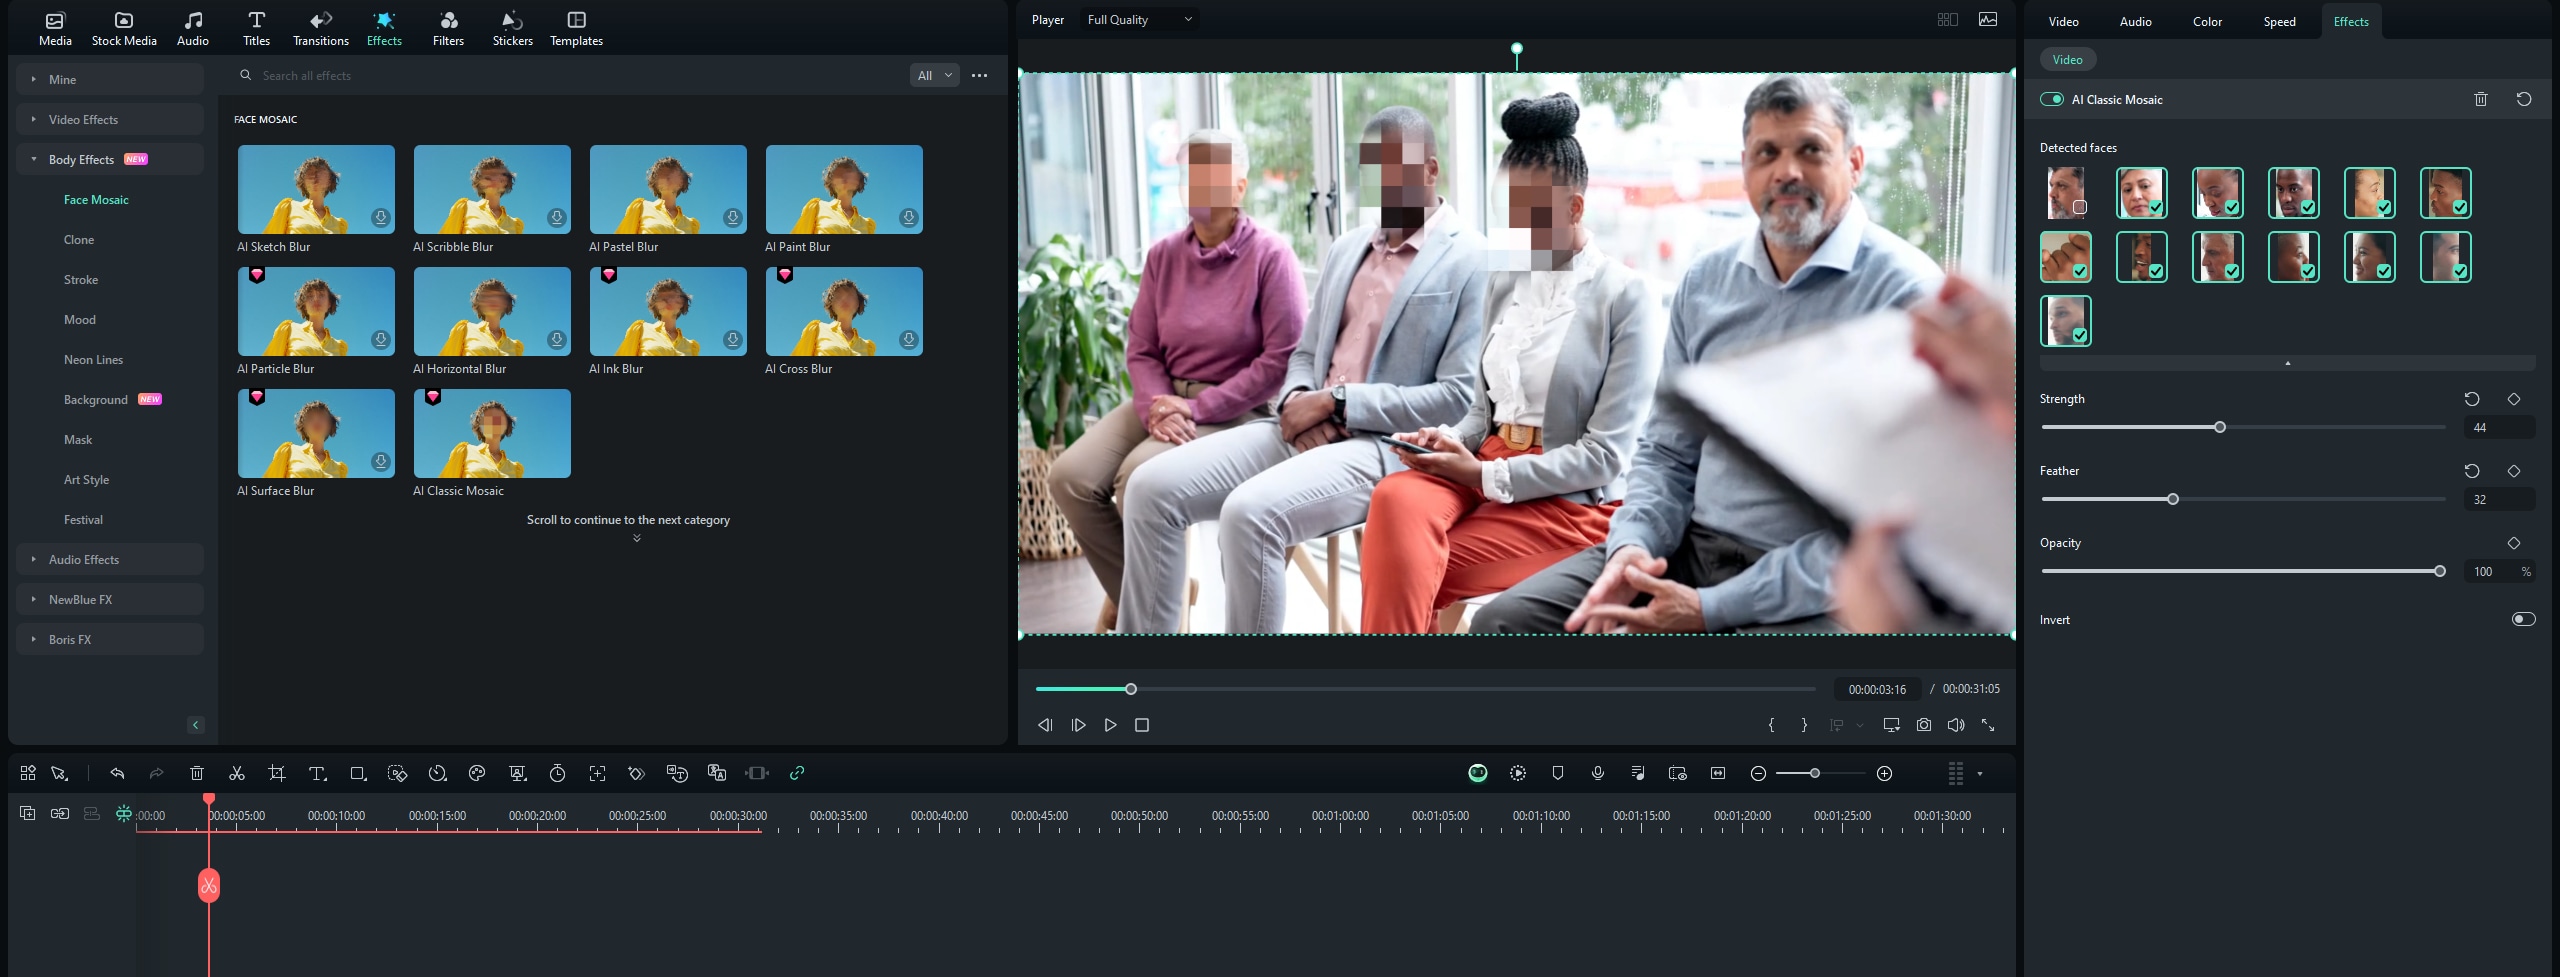
Step 5: You can also use the gpder to adjust the opacity and strength of the blur.
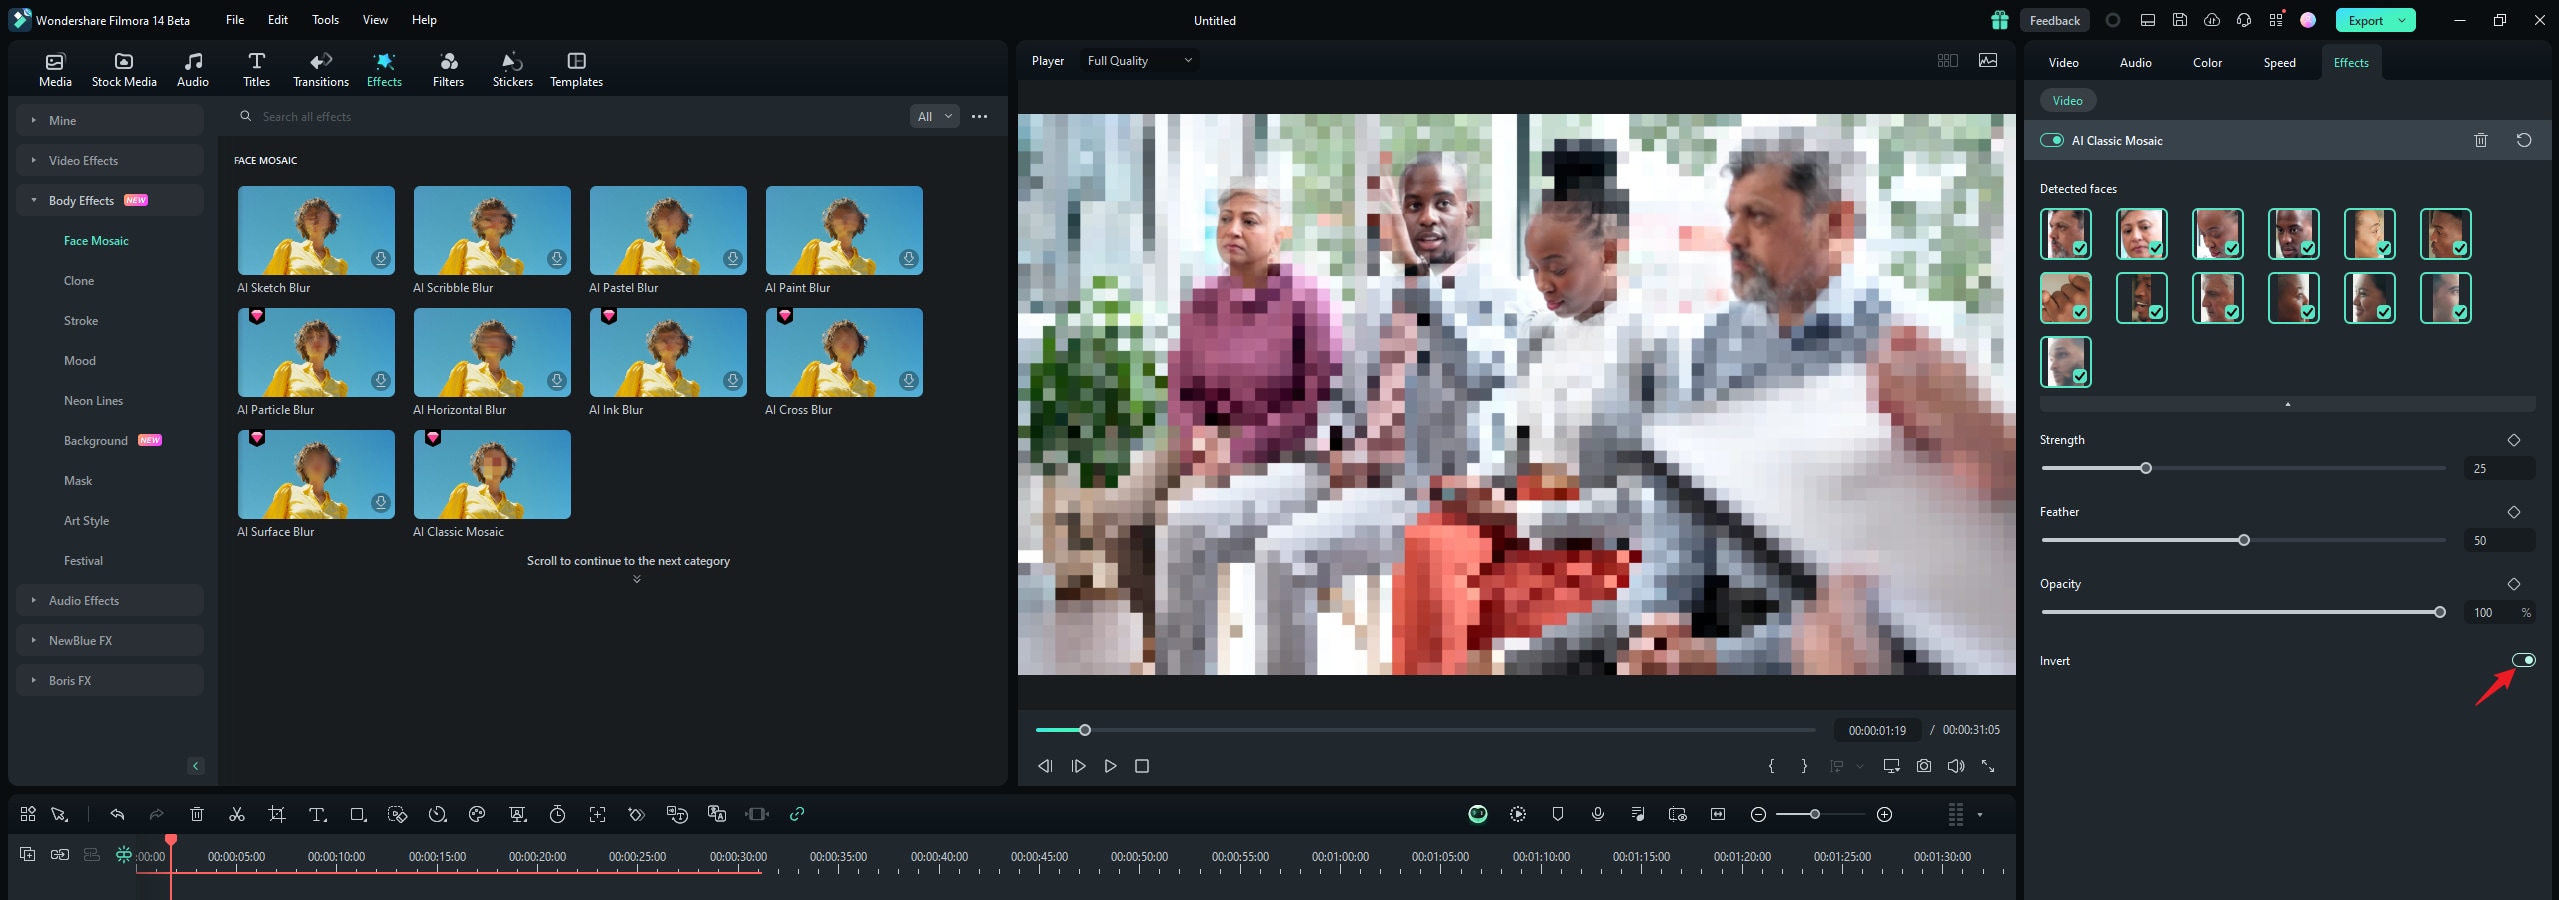
Step 6: You can also invert the mosaic by cpcking Invert. This makes everything else, except the faces, have the mosaic effect.
And that’s it! Once you’re done, preview your video and export it.
Part 3. Step-by-Step Guide to Blur Face in Filmora With Face-Off
While both have face-blurring effects, the Face-off feature works slightly differently from the Mosaic Effect. For Face-off, the effect doesn't come with options to adjust the blur effect or opacity since it comes with an automatic face detection function that does the work for you. As such, it is quicker and saves effort. Here’s how to use the Filmora face blur feature with the Face-off effect:
Step 1: Launch Filmora and cpck on New Project.
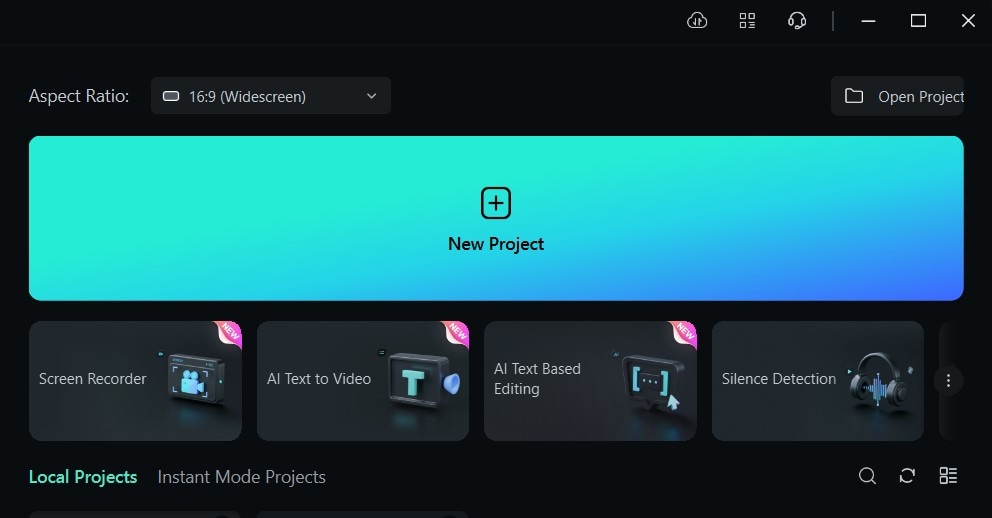
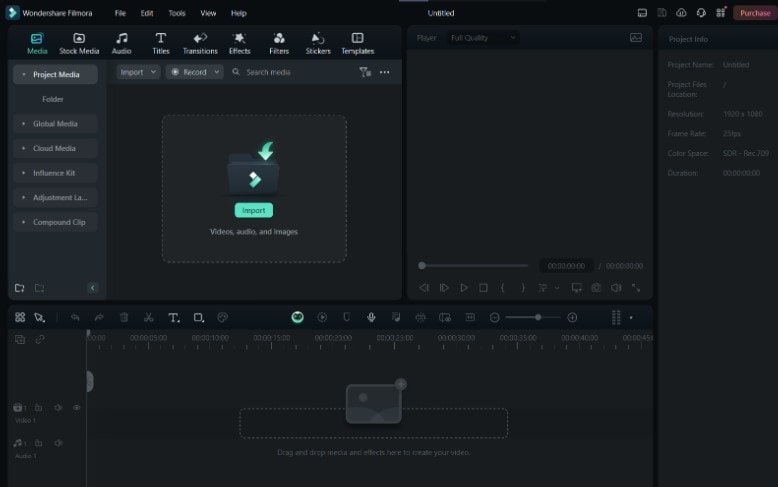
Step 2: To import your media, you can either drag and drop it into the editing suite or cpck Import.
Step 3: Go to Effects from the main menu at the top of the editing suite.
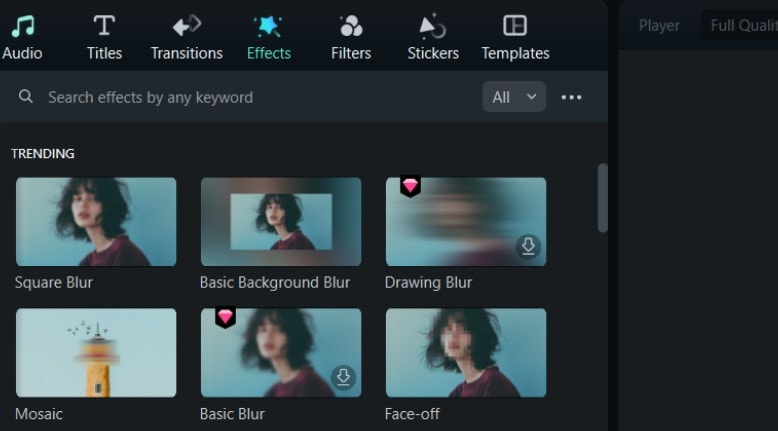
Step 4: If you don't see the Face-off effect on the first page, search Face-off in the effects search bar.
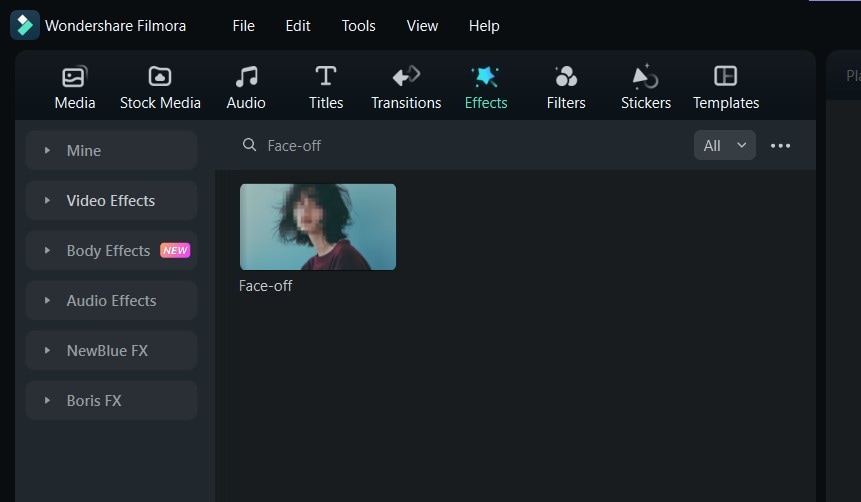
Step 5: Cpck on the effect to enable it download. Then, drag and drop it on your media in the timepne. You can preview the video to ensure the blur is on the right spot throughout the video. Then, export it.
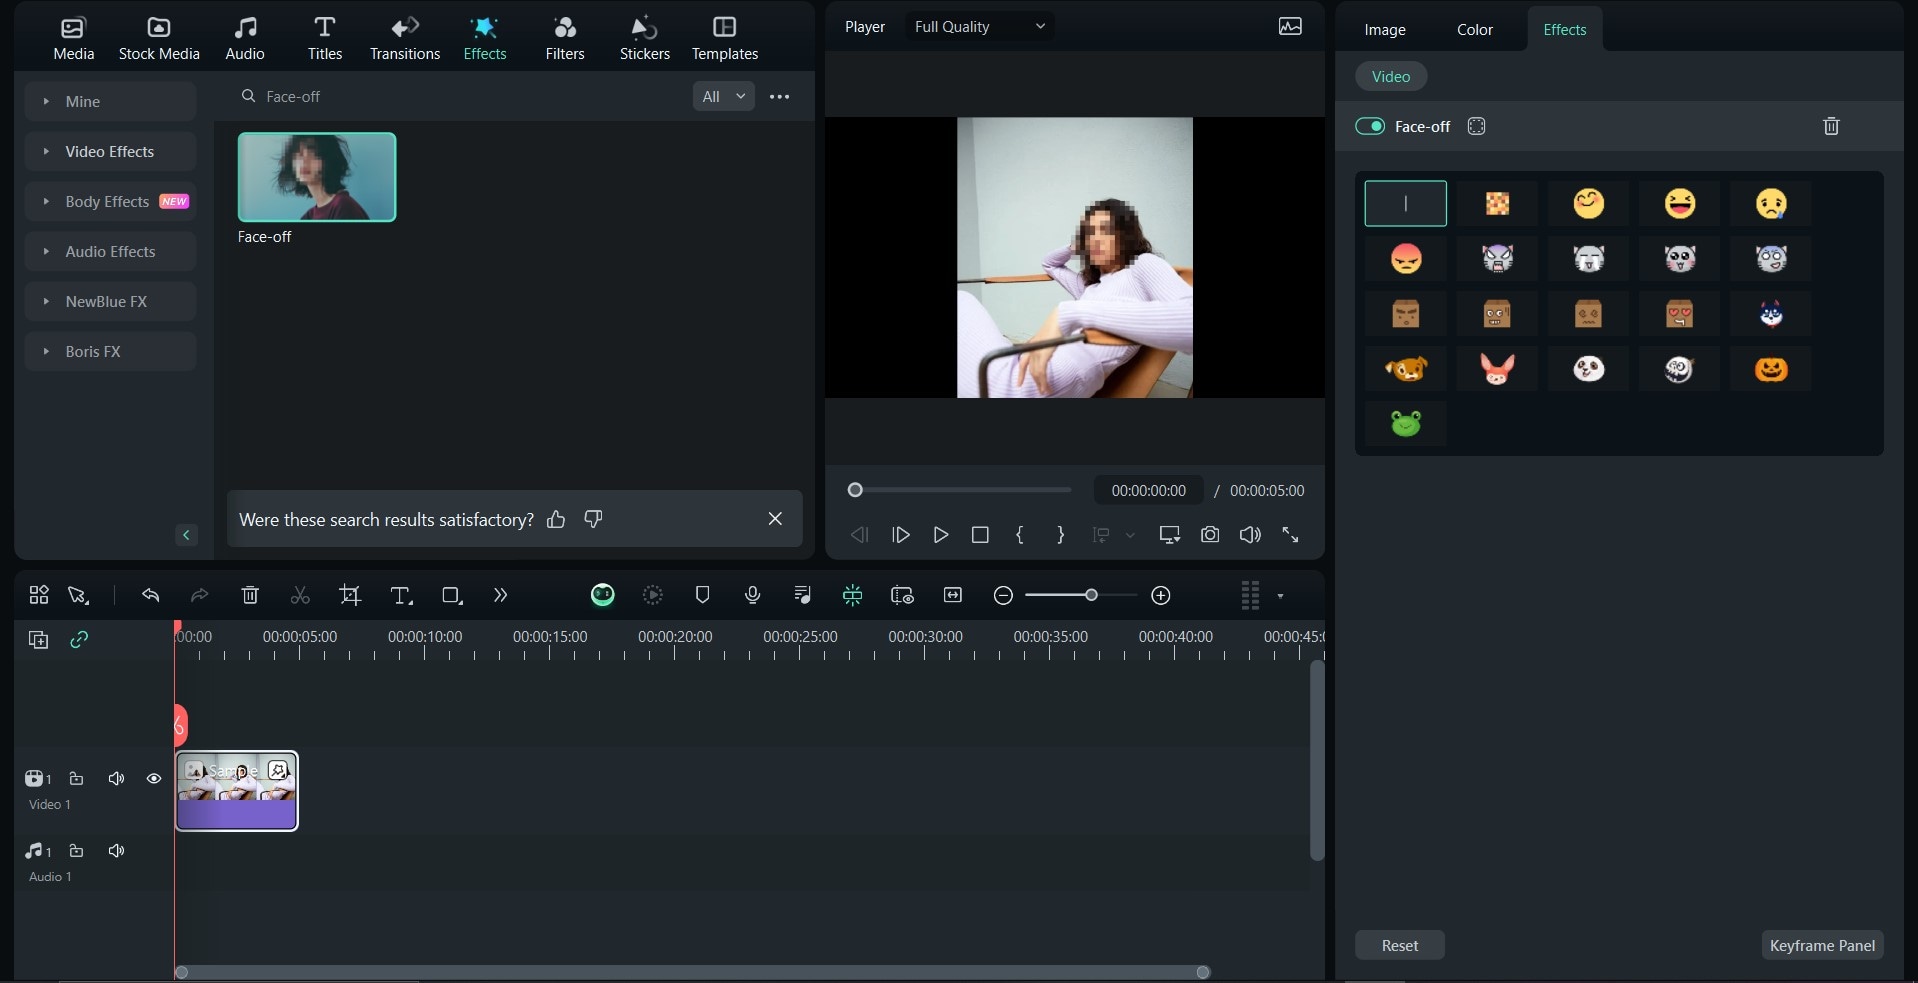
Pro tip: While you can directly edit the blur effect, Face-off allows you to change the blur to an emoji or even another image. Simply go to Effects on the right panel to access this function.
Conclusion
Blurring faces is a simple yet vital process that serves numerous purposes, including privacy protection, ensuring focus on one subject, and even for fun. Filmora makes this process even easier using two methods: the Auto Face blur and Face-off effects.
Considering its features and functions, using Filmora to blur faces in videos makes the process more straightforward. Not to mention, our platform offers numerous other effects and advanced features for blurring faces and editing videos in general. Accessing these features is quite easy. All you need to do is download the software from our official website and use Filmora’s how to blur faces guide to get started.
