

 TL;DR:
You can create a realistic shattered glass effect in Wondershare Filmora without VFX plugins by choosing built-in timeline effects for quick edits, AI tools for physical realism, or transitions for scene changes.
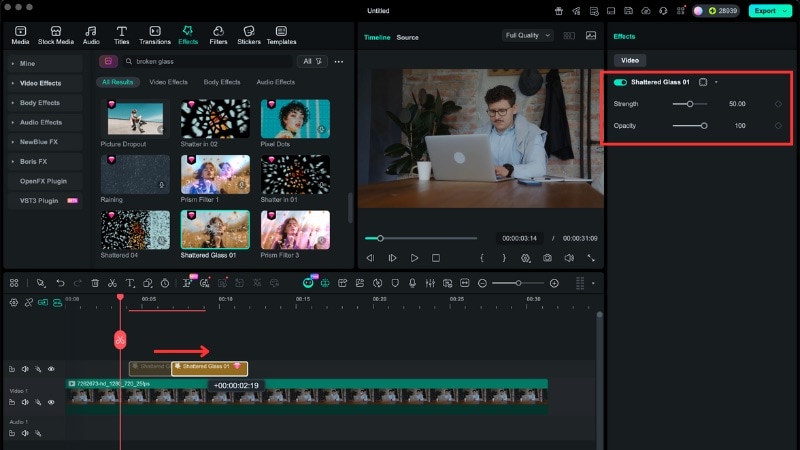
● The built-in "broken glass" effect is best for fast turnaround times on standalone impact shots, allowing direct timeline application with adjustable Strength and Opacity sliders.
● Achieving high-realism shards that react to gravity requires using the AI Image Generator paired with the Image to Video tool (such as Sora 2 or Veo 3.1), which takes longer to prompt and consumes generation credits.
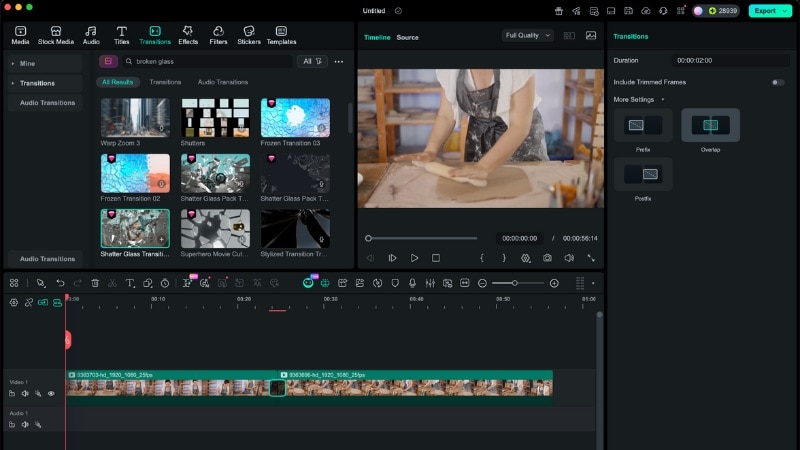
● Shatter-style transitions are specifically for scene reveals, functioning only when dropped between two touching clips to connect the fracture motion with the next video segment.
Ask AI for a summary
 ChatGPT
 Perplexity
 Gemini
 Claude
 Grok
Grok
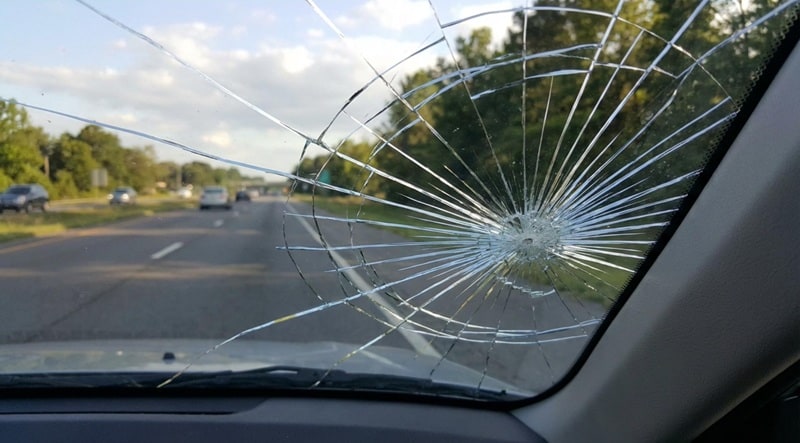
Want to create a realistic broken glass effect in your video? Broken glass and shattered glass effects look cool and dramatic, but they often end up feeling fake or repetitive. Breaking real glass also brings safety risks, so that option doesn't make sense.
If you want a shattered glass effect that looks convincing without spending hours, there's actually a simpler and more realistic way to do it. Here, you'll learn how to create a shatter glass effect using Wondershare Filmora's built-in effects, AI methods, and transitions.
Everything stays in one editor, with no plugins or VFX skills required. Let's get started!
Part 1. The Fastest Way to Create a Broken Glass Effect
Many creators would assume they need to rely on shattered glass After Effects techniques to get this look. What they often don't realize is that for most videos, especially short or quick edits, that level of complexity isn't always necessary.
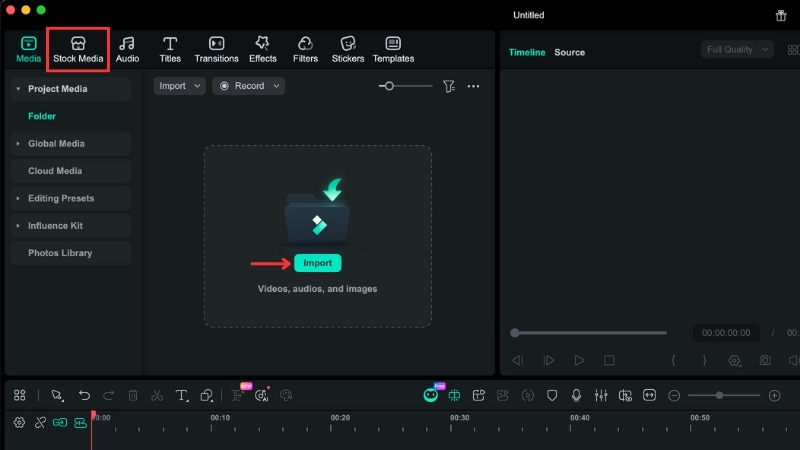
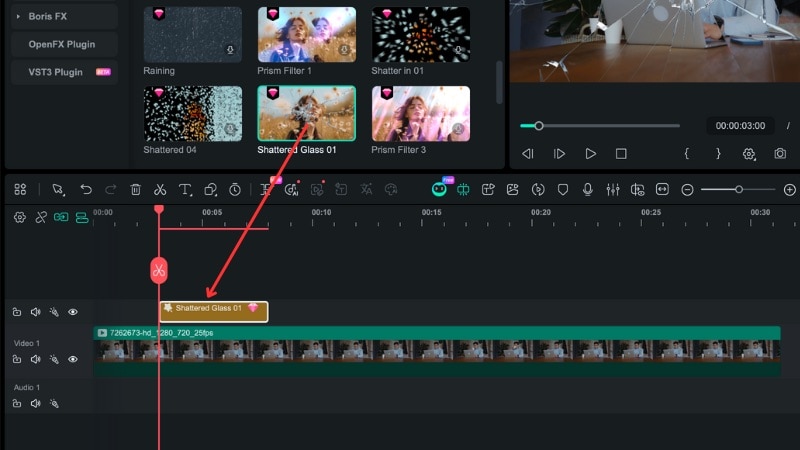
While advanced tools often require extra setup and plug-ins to create this effect, Filmora includes these effects directly inside the editor instead. You can find the broken glass effect, add it to the timeline, and keep control over timing and style without switching apps.
Why Use Filmora for a Shattered Glass Effect
- No plugins needed.
- No VFX background required.
- All effects are completed in a single timeline.
This approach works well for most videos, especially when fast results or short turnaround times matter.
How to Create a Broken Glass Effect in Filmora

Note: You can also use the same steps for images. If you do not need precise timing control, you can apply the shattered glass effect directly to the clip. You do not need to place it on a separate layer.
Part 2. Use AI to Create a More Realistic Broken Glass Effect
Built-in effects already cover many edits, but AI helps when you want a broken glass effect to react like real material. With Filmora's AI tools, you can prompt shards to react to gravity, follow a clear strike point, and change motion over time.
How to Create an AI Broken Glass Effect
Filmora supports this workflow through the AI Image Generator and Image to Video feature, all inside the same editor. Check out the tutorials for both of the features:
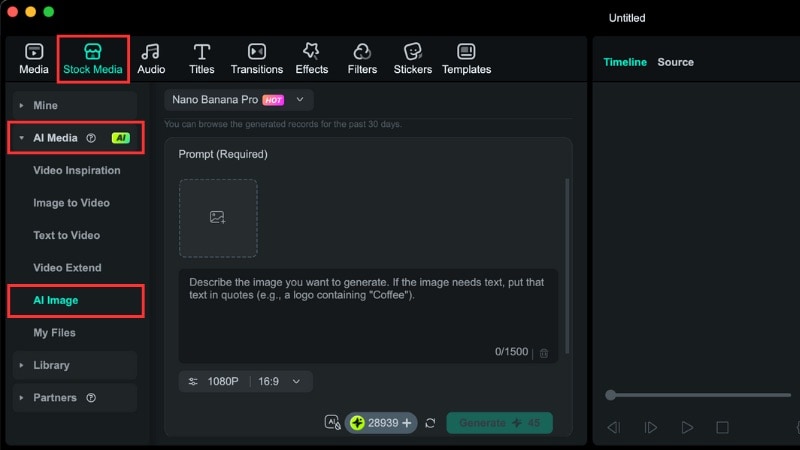
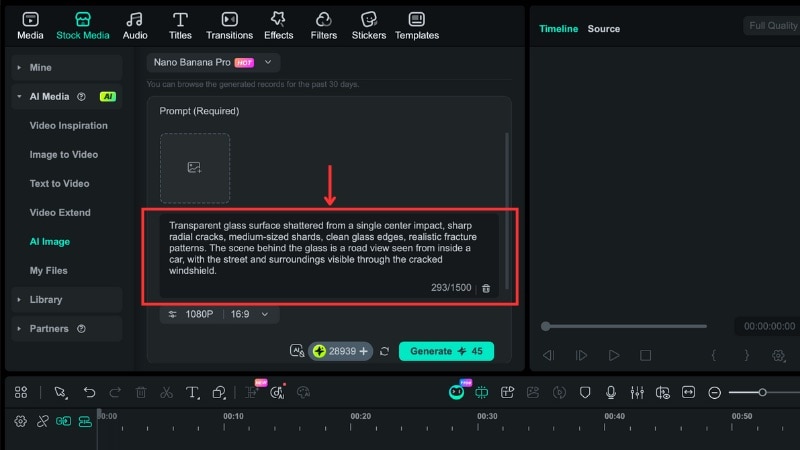
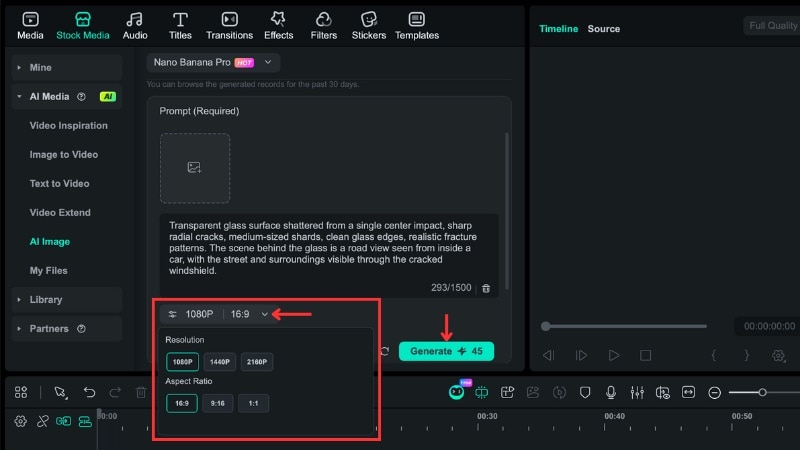
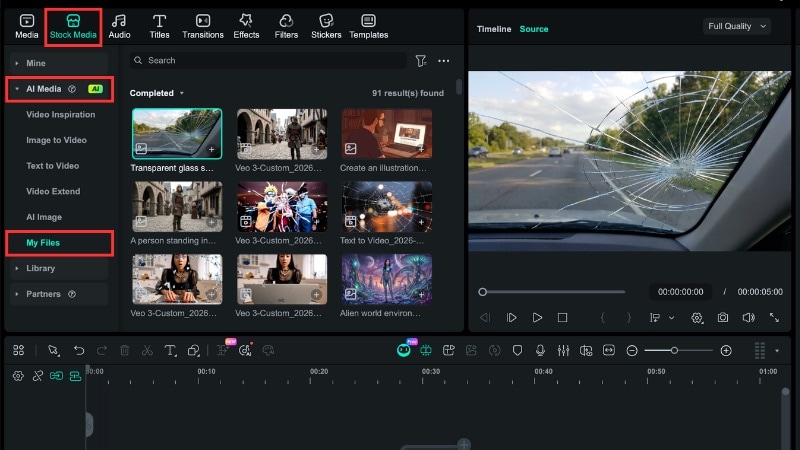
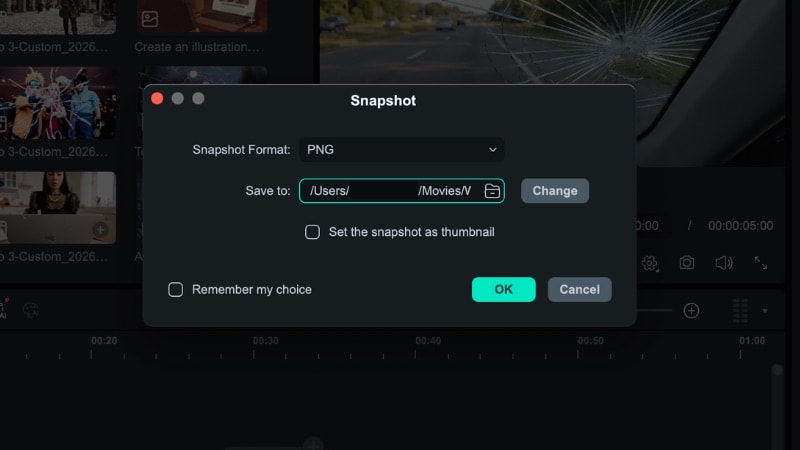
#1: Generate a High-Resolution Shattered Glass Image (AI Image)
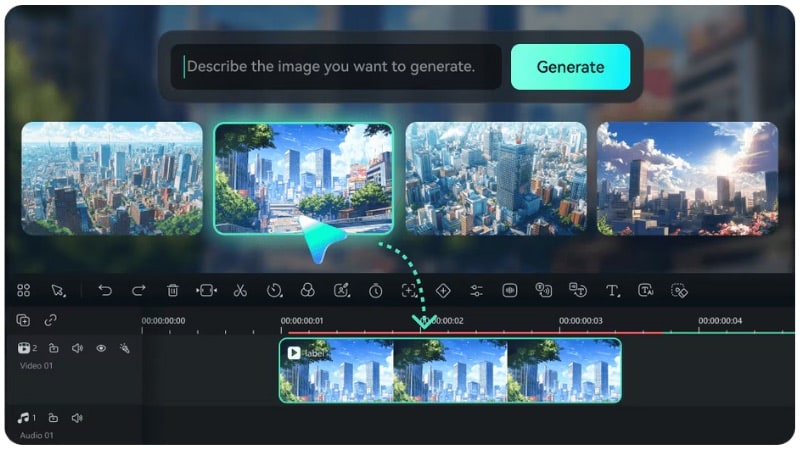
Filmora's AI Image tool lets you generate realistic shattered glass visuals from text prompts. This method gives you control over crack patterns, shard size, and surface detail. It helps the shatter glass effect look more natural when built-in effects feel limited.
Follow the instructions below to generate an image with a crack glass effect:
Note: You can also create realistic glass-breaking videos directly by using Filmora's AI-generated video templates. Simply select a glass-shattering template, customize the shards, cracks, and animation speed, and generate a dynamic video effect instantly.
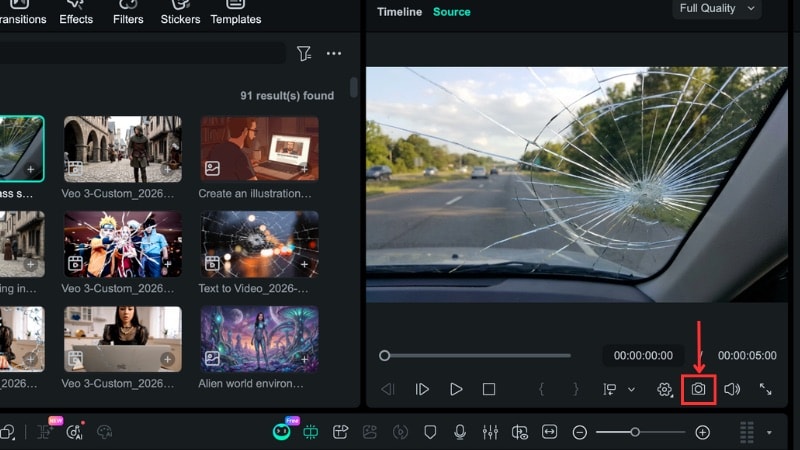
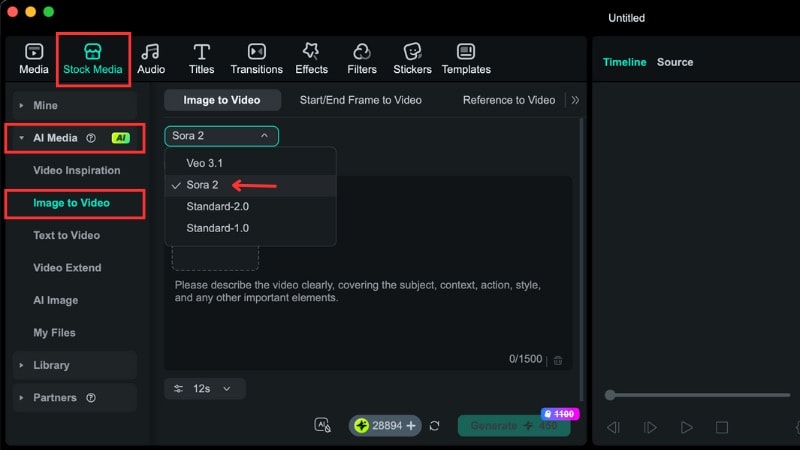
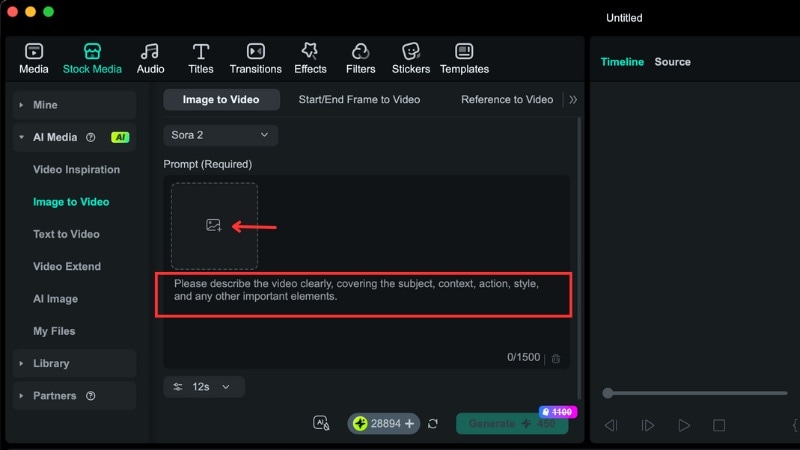
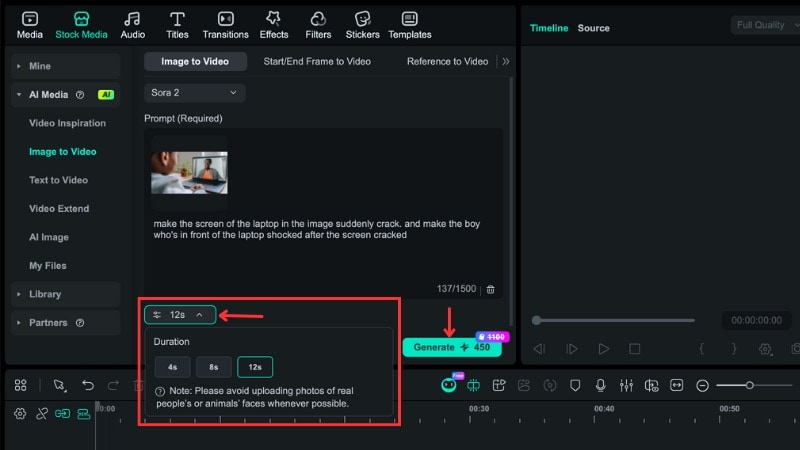
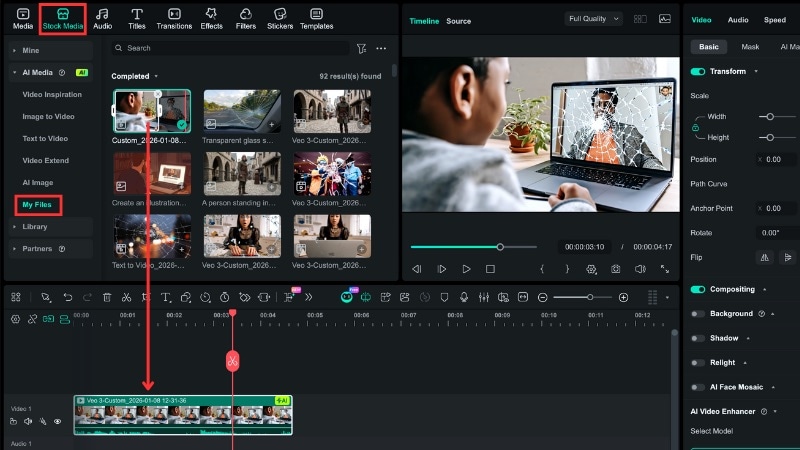
#2: Animate the Shattering with Image-to-Video
If you want the shattered glass image to move instead of staying static, you can animate it with Filmora's Image to Video feature. This method helps transform a still image into a breaking glass video with motion that matches impact and break direction.
Follow the steps below to generate a glass broken video from an image:
Part 3. How to Create a Broken Glass Transition Between Scenes
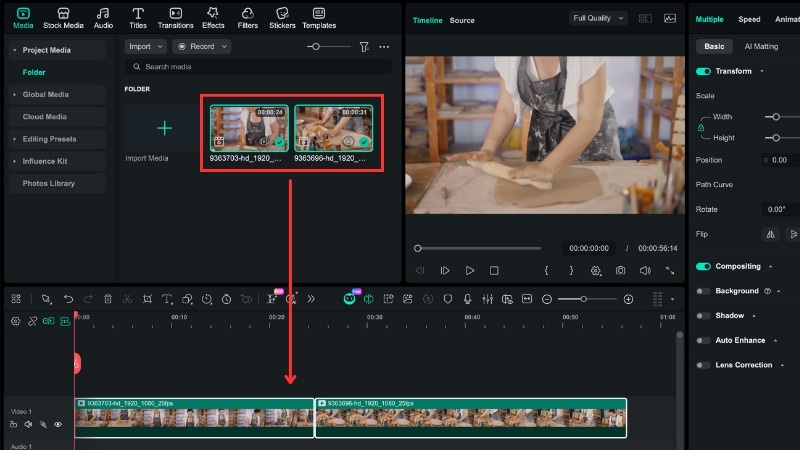
A broken glass effect does not always need to sit on top of a clip. You can also use it as a transition to break one scene and reveal the next. This approach works well when you want the effect to connect two clips instead of appearing as a standalone moment.

How to Create a Broken Glass Transition in Filmora
Which Method Should You Use for a Shattered Glass Effect?
Each approach creates a shatter glass effect, but they serve different editing goals. The right choice depends on how much realism you need and how the effect fits into your scene.
| Criteria | Built-In Shattered Glass Effects | AI-Generated Shattered Glass | Broken Glass Transition |
| Best used for | Quick impact shots and simple break moments. | Realistic break scenes with physical motion. | Scene changes and visual reveals. |
| Skill level | Beginner | Intermediate | Beginner |
| Setup time | Very short | Longer due to the prompt and generation steps. | Very short |
| Realism level | Medium | High | Medium |
| When to choose this | When speed matters and the effect plays for seconds. | When the glass must react to impact, gravity, and motion. | When you want the break to connect one scene to the next. |
|
Show More
Show Less
|
|||
Conclusion
A broken glass effect does not need complex tools or risky setups. With Filmora, you can choose between built-in effects for speed, AI methods for realism, or transitions to link scenes with impact. Each option fits a different edit style and timeline.
If you need speed, use the built-in break glass effect approach. When realism matters, AI tools can help add motion to react to the impact and use transitions to lead the break into the text scene.
Open Filmora right now, pick the method that matches your scene, and apply the shatter glass effect to your video right now!
FAQs
-
Does the broken glass effect slow down video performance or export time?
In most cases, built-in effects have little impact on export time. AI-generated shatter glass effects may take longer during generation. But, playback and export stay smooth once the clip is on the timeline. -
How do I keep the shattered glass effect from covering too much of the scene?
Reduce the strength and opacity so the glass does not overpower the footage. You can also shorten the effect duration or limit the break to a single impact moment to keep the scene visible. -
How important is sound when using a shattered glass effect?
Sound plays a big role in selling the effect. A sharp crack or impact sound helps the glass break feel solid instead of visual-only. Match the sound timing to the exact break moment and keep it short to avoid being distracted from the scene.
