


 100% Security Verified | No Subscription Required | No Malware

Most people who are interested in the audio recording software must not be strangers to Adobe Audition. As one of Adobe's flagship products, Audition offers a comprehensive suite of tools and features tailored for audio recording, editing, mixing, and mastering. However, for newcomers or those still finding their footing, getting started with Adobe Audition can feel overwhelming.
But no worries! We'll explore the ins and outs of Adobe music recording software, look at what it offers, how it works, and why it's loved by so many audio enthusiasts. Regardless of your skill level, we'll walk you through the basics of Adobe Audition so you can make the most of it for your recording projects.
In this article
Part 1. Features of Adobe Audition Audio Recording
To gain a deeper understanding of Adobe Audition as audio recording software, we need to take a step back and look at its history. Initially branded as Cool Edit Pro, Adobe acquired the software in 2003 and later rebranded it as Adobe Audition.
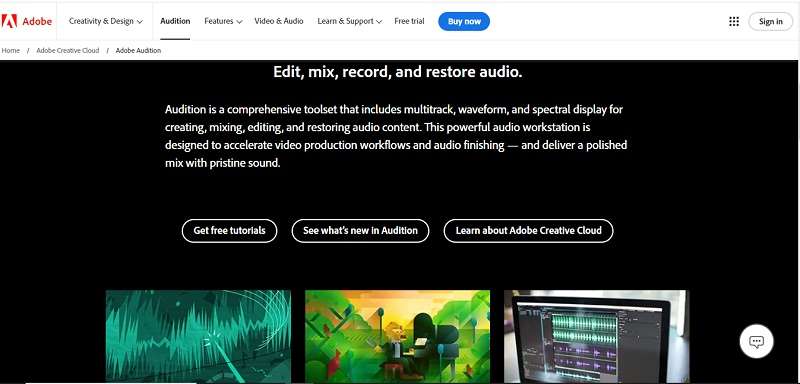
Today, Adobe Audition is renowned as a professional tool crafted by Adobe Inc. for precise audio editing, mixing, restoration, and mastering workflows.
Adobe Audition is priced at $22.99 per month and includes a 30-day free trial of Adobe Stock. The latest version, Adobe Audition 24.4, released in May 2024, features a powerful toolset encompassing multitrack, waveform, and spectral display functionalities.
Key Features:
- Visualize audio files in waveform and spectral displays for detailed editing and analysis
- Remove noise, clicks, pops, and other imperfections using advanced restoration features
- Record and mix multiple tracks simultaneously for complex audio projects
- Access a wide range of audio effects and plugins for creative sound design and processing
- Easily edit, repair, and enhance audio using intuitive tools, and convert text into speech
- Extensive tools tailored for podcast creation
Considering these key features, it's evident that Adobe Audition offers numerous benefits. Here are some of them:
- Essential Sound Panel: One of the main benefits of using Adobe Audition is you can easily simplify audio mixing and editing with presets and intuitive controls.
- Integration with Adobe Creative Cloud: Adobe Audition allows you to collaborate across Adobe applications, enhancing multimedia projects.
- Powerful Editing Tools: By using Adobe Audition audio recording, you will have access to advanced features like automatic speech alignment and spectral editing for precise audio manipulation.
- Cross-Platform Compatibility: Adobe Audition is available for both Windows and macOS platforms, ensuring flexibility in workflow.
Part 2. How to Use Adobe Audition Audio Recording
Considering the impressive key features and extensive list of benefits highlighted above, it's no wonder Adobe Audition audio recording frequently emerges as people's favorite audio recording software. Its powerful capabilities and intuitive interface make it a preferred tool for many users.
To help you make the most of this software, we will dive deeper into its functionalities and provide a simple step-by-step guide on how to use Adobe Audition to edit your audio:
Step 1. Open Adobe Audition on your computer
To access Adobe Audition, you need to install it on your computer. Download it by clicking here and selecting the "Buy Now" button. Please note that Adobe Audition costs $22.99 per month, so make sure it fits within your budget or you can try its Free Trial.
Once downloaded, follow the installation instructions to install Adobe Audition on your computer and open the tools.
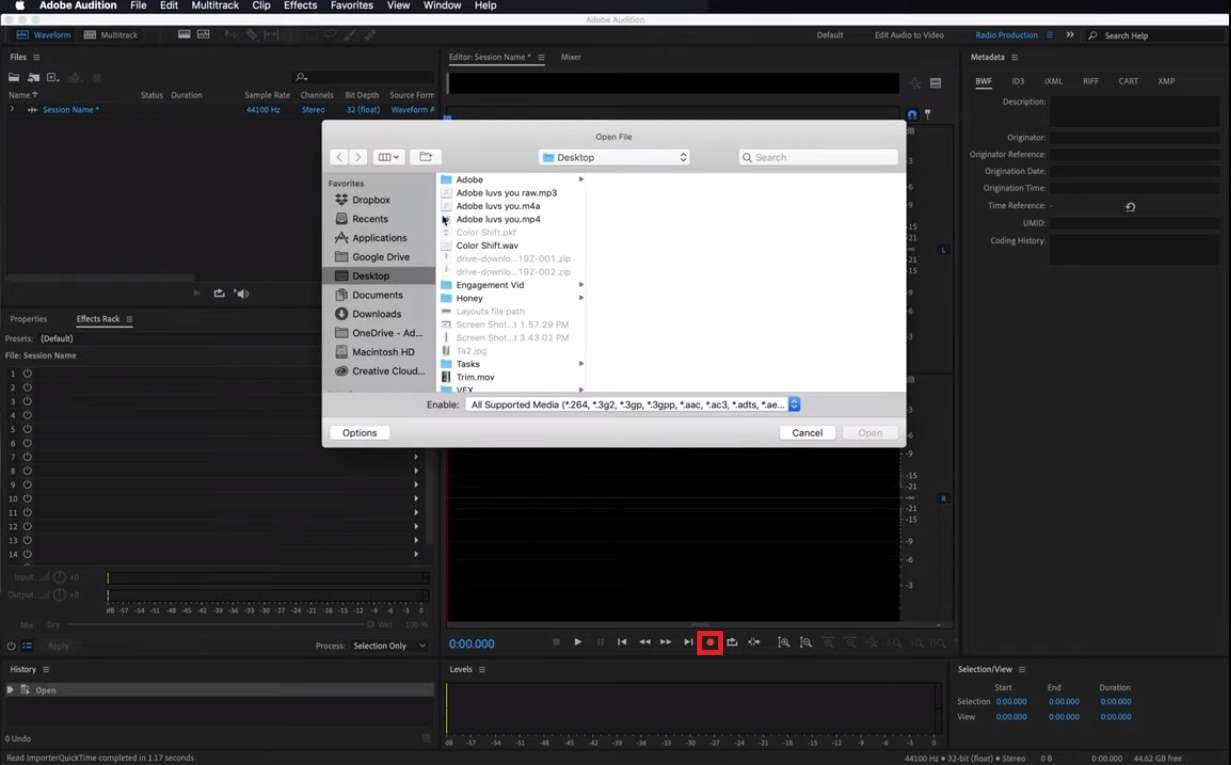
Step 2. Import your audio
The next step is to upload your audio so you can edit them. Audition has two modes, “Waveform” and “Multitrack”, to create a new session, choose “Waveform” and name your project.
If you have pre-recorded audio, import it by selecting "File" in the top menu and choosing "Open" to bring in the files you need. You can also record audio from a microphone or any device connected to the Line In port of your sound card.
To start and stop recording, click the red record button at the bottom of the Editor panel.
Step 3. Edit your audio
Now it’s time to edit your audio. Select the "Edit" option next to "File" in the top menu to access various editing tools. Use the "Razor" tool to trim and cut your audio, the "Amplitude and Compression" tools to adjust levels, and add transitions with fade-in and fade-out effects.
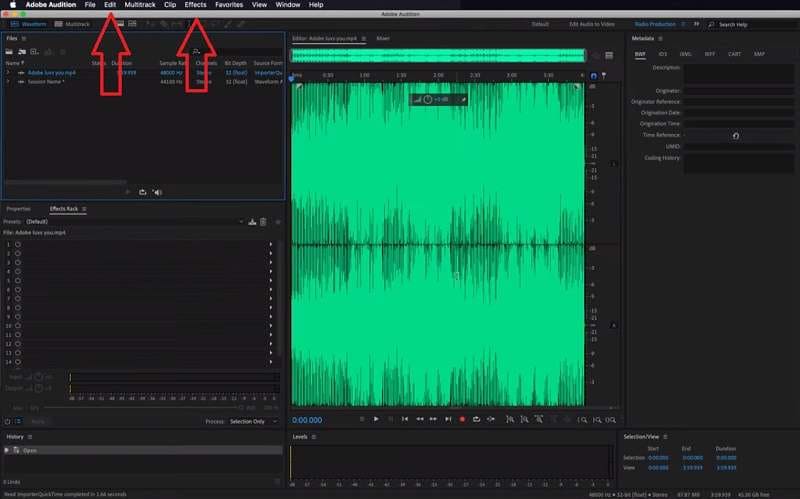
To apply effects to your audio, go to the "Effects" tab and choose the desired effects. For a more in-depth explanation of each feature, visit Adobe's website here, where detailed tutorials on using Adobe Audition effectively are provided.
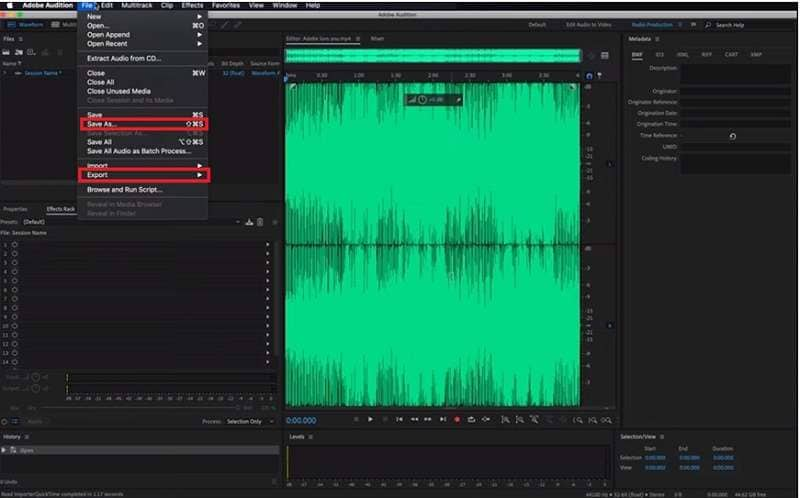
Step 4. Save and export your project
The final step is to export your project. Always save your project file before exporting by clicking on the "File" > "Save As" to save changes under a different filename.
To export your project, go to "File" > "Export" > "Export with Adobe Media Encoder." Choose your desired file format (e.g., WAV, MP3) and adjust the export settings as needed.
Bonus: Wondershare Filmora As Your Audio Recording Software
Having learned how to use Adobe Audition, you may notice some limitations that prevent it from being the top choice for Adobe audio recording software. For instance, its subscription fee can be costly for many users. Plus, if you're working on a larger project, you need to have a powerful computer to make sure it runs smoothly.
Fortunately, there are other excellent options to consider, such as Wondershare Filmora. Filmora has a simple interface that makes audio recording and editing easy for everyone. It also comes with advanced audio tools like Audio Visualizer and AI Audio Stretch, which enhance your editing experience.

So, if you're looking for an affordable and effective alternative to Adobe Audition, Filmora may be the answer as it has strong audio editing features and an easy-to-use design. For anyone who’s interested, here’s a step-by-step guide on how to use Wondershare Filmora to record and edit audio:
Step 1. Install Wondershare Filmora on your computer by downloading it
Click on the "Free Download" button below to download the software.
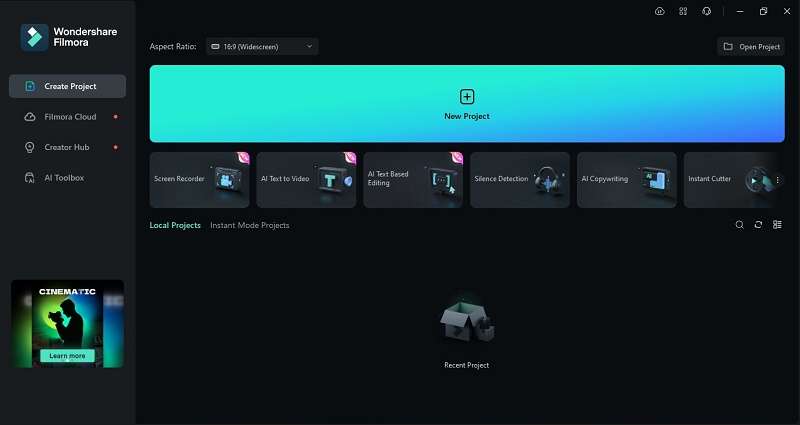
After downloading, open the file and follow the installation instructions to get Filmora set up on your computer. Once installed, look for the Filmora icon on your desktop or in your list of programs. Double-click to launch the app, and dive into its editing features by clicking the "New Project" button.
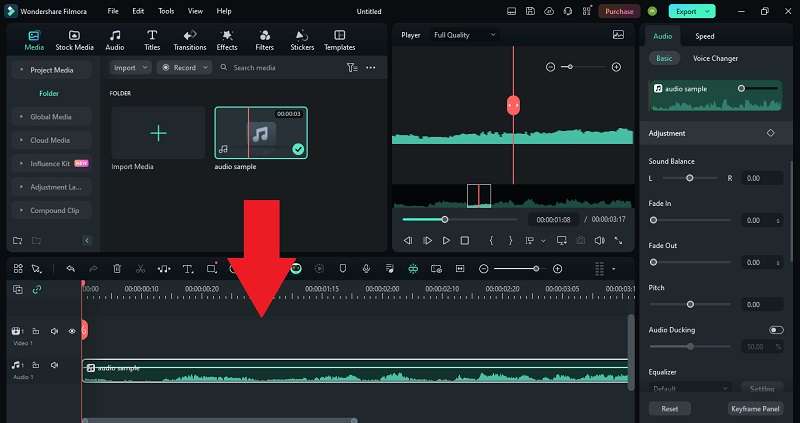
Step 2. Import your file and place it on the editing timeline
After starting a new project, click the "Import" button to upload your files for editing. You can upload a video with audio or audio only.

Alternatively, you can click the "Record Voiceover" button to capture audio.

Once your file is uploaded, simply drag and drop it onto the editing timeline using your mouse. This action allows you to precisely control where the file appears in your project.
Step 3. Edit your audio files by making adjustments to them
To explore audio editing on the timeline, click the track and go to the "Audio" section on the right panel where you can fine-tune your sound with precision. Adjust volume levels, denoise any background noise, and polish your audio to perfection, all within a few clicks.
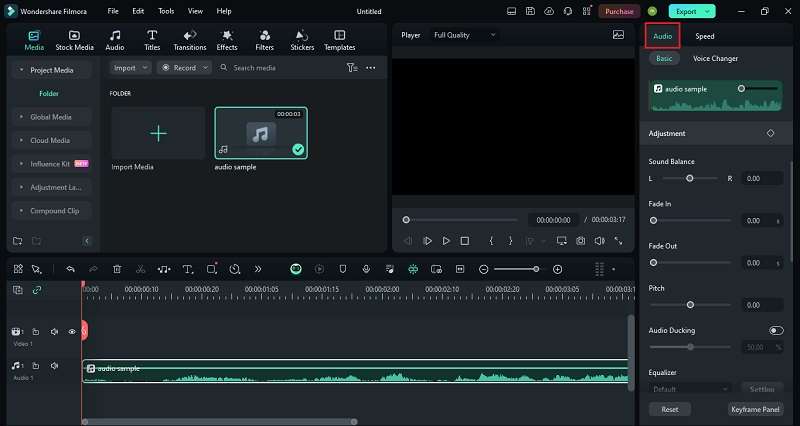
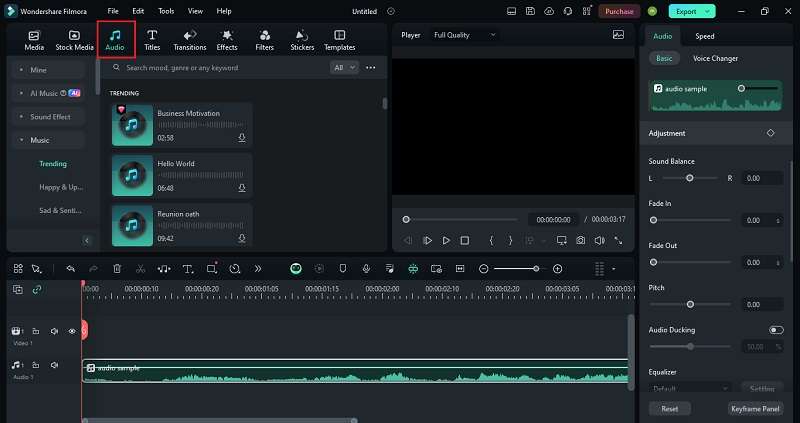
On a side note, you can enhance your project by adding music. Click on the “Audio” menu on the left panel to explore a diverse selection of tracks that will enrich your videos with the perfect soundtrack. Select from a variety of genres and moods to complement your project.
Step 4. Preview and save your files
Once you've finished editing your audio, take a moment to preview your work by clicking the "Play" button. This allows you to listen to your audio in real time and ensure everything sounds just right before finalizing your project.
If you're happy with the result, click on the "Export" button to save it. You can choose various formats or upload directly to YouTube or Vimeo. To save the audio to your computer, select "Local," click "Export" again, and your video will be saved automatically.

Conclusion
In conclusion, Adobe Audition audio recording stands out as a top choice for audio recording software, offering a comprehensive suite of tools tailored for professionals in editing, mixing, and mastering audio. Despite its strengths, navigating Adobe Audition can be daunting for newcomers due to its complexity and subscription cost of $22.99 per month, along with the requirement for a powerful computer for larger projects.
Fortunately, this article has highlighted Wondershare Filmora as a worthy alternative. With its user-friendly interface and advanced audio tools like denoise, voice changer, and AI Speech Enhancement, Filmora simplifies the audio recording and editing process for both beginners and experienced users alike.
