
 100% Security Verified | No Subscription Required | No Malware

What's the best way to compress video on a Mac without losing quality? At some point, you may need to compress a video file—whether to free up storage, send large files via email, or upload videos to platforms with file size limits. Other times, reducing the video size can make sharing quicker, improve playback on different devices, or simply save space on your hard drive, all without compromising the original quality.
Luckily, you don't have to worry. We've put together the best methods to help you compress videos on a Mac while keeping them sharp and clear. Follow this guide, and you'll be compressing video files with ease in no time.
In this article
Part 1. Understanding Video Compression
Video compression is the process of reducing the size of a video file by removing unnecessary data, making it more manageable without significantly affecting the visual quality. This is crucial for various reasons—compressed videos take up less storage, are easier to share, and can be streamed more efficiently on different devices and platforms. But to compress a video effectively, it's important to understand a few key concepts: resolution, bitrate, and file size.

- Resolutionrefers to the number of pixels in a video, usually represented by dimensions like 1920x1080 (Full HD). Higher resolution means better image quality but also larger file sizes. Lowering the resolution can reduce file size, but this often leads to a noticeable drop in visual clarity.
- Bitrateis the amount of data processed per second in a video. A higher bitrate improves video quality but increases file size. Reducing the bitrate can help shrink the video file, though setting it too low may cause noticeable blurring or pixelation.
- File Sizeis the end result of the video's resolution and bitrate, along with its length. Larger file sizes can slow down sharing or take up valuable storage space, making compression essential for better file management.
By balancing these factors, you can compress a video while still maintaining the quality needed for smooth playback and professional results.
Part 2: Best Video Compression Software for Mac: Wondershare Filmora
When it comes to compressing video on a Mac without compromising quality, Wondershare Filmora stands out as one of the top choices. Filmora isn't just a simple video editor—it offers advanced features, including an efficient Advanced Compressor tool that helps users compress videos with ease while maintaining sharp, high-quality visuals. Whether you're a beginner or a professional, Filmora's intuitive interface makes it a breeze to reduce file sizes quickly and effectively.
Why Choose Wondershare Filmora for Video Compression?
Filmora comes as one of the best video compression software for Mac since it provides a comprehensive set of video editing and compression tools tailored for users who want fast, high-quality results. With features such as speed control, video stabilization, and color grading presets, this program offers much more than just basic compression.
However, what truly makes it shine is its ability to compress videos by maintaining control over quality and file size. The software's Advanced Compressor lets you fine-tune resolution, bitrate, and format to shrink file sizes by up to 90% at 47x faster speed without losing clarity. This flexibility is key for anyone who needs to share large video files or save space on their hard drive without sacrificing video quality.
How to Compress Video with Filmora
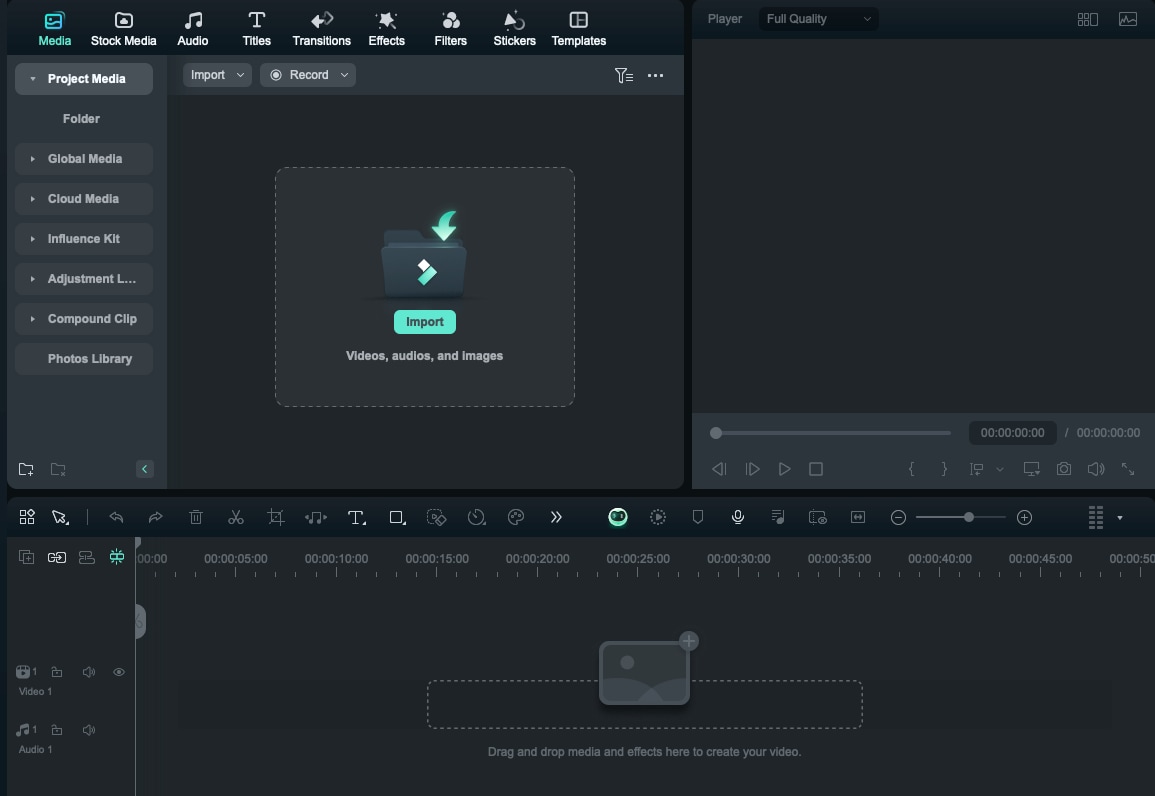
- Step 1. Launch Filmora and Start a New Project
Open Wondershare Filmora and click on the "New Project" tab to begin. Then, import the video you want to compress by selecting the "Import" button.


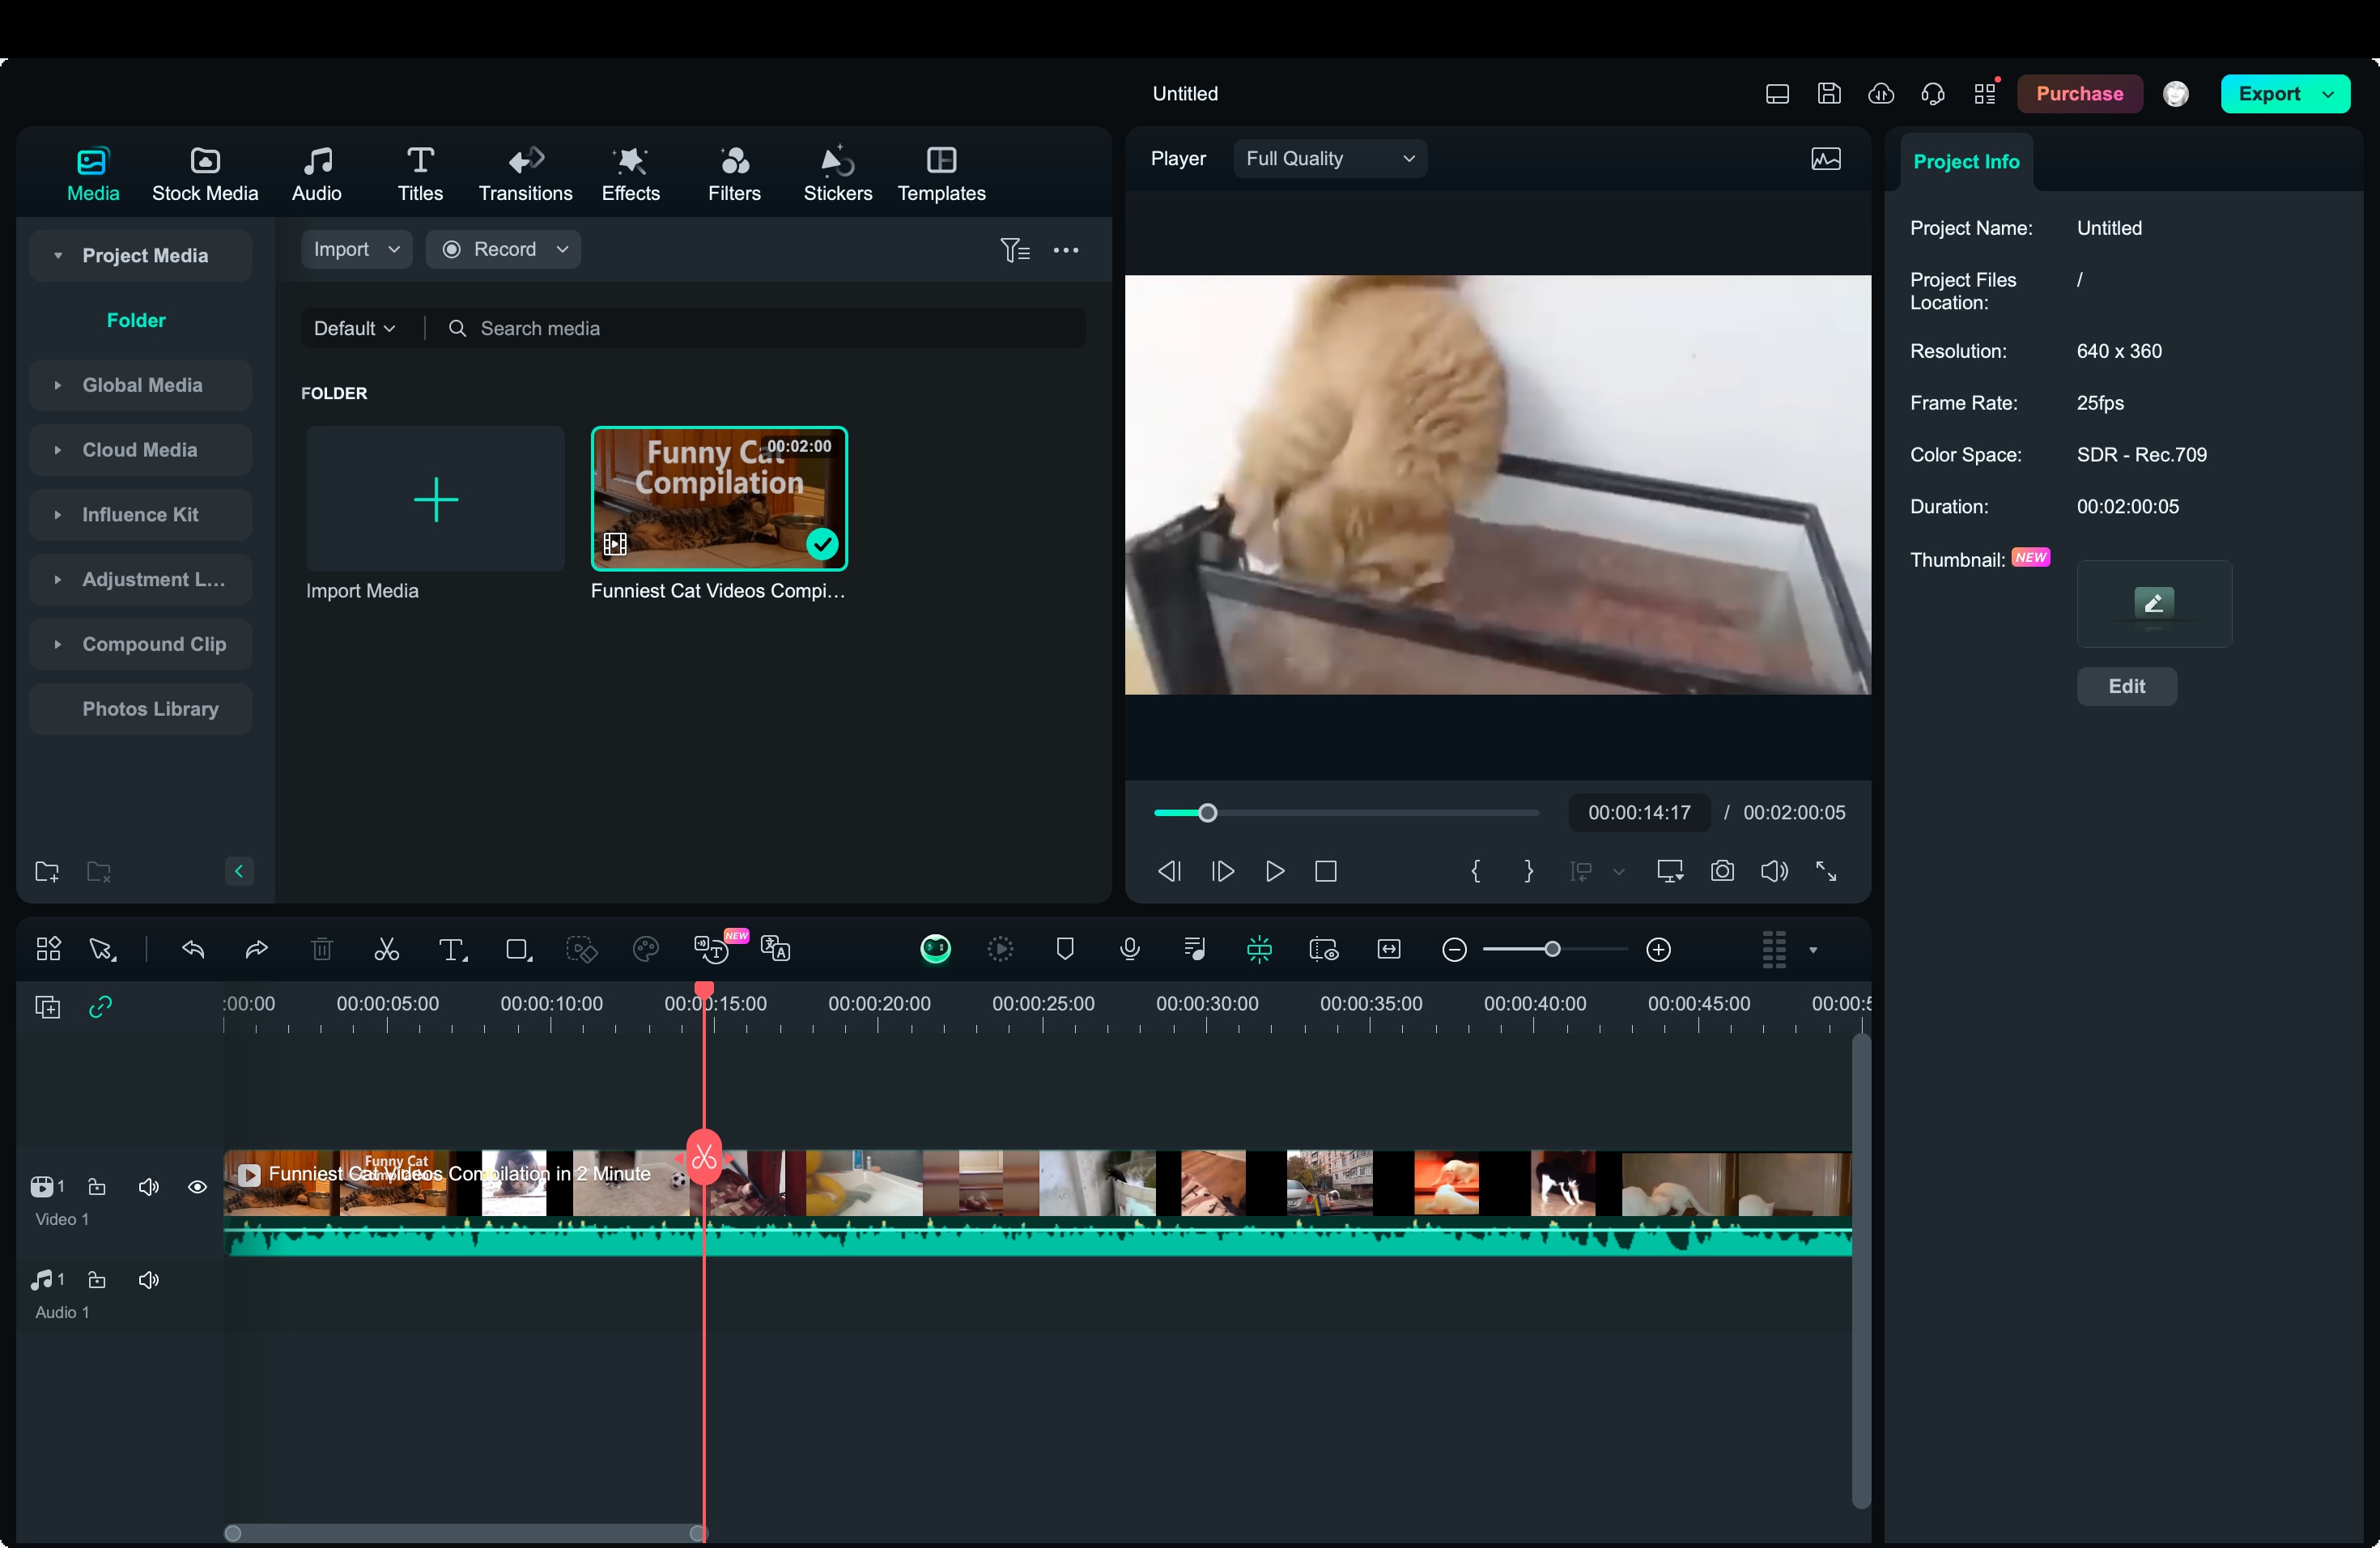
- Step 2. Edit the Video File
If your video has unnecessary parts, like extra footage at the beginning or end, you can trim it first. Use the Split tool (scissor icon) to split and delete unwanted sections of the video. Or, you can use the trimmer tool at the beginning and end of the clip.
- Step 3: Use Advanced Compression to compress video
After editing, click the "Export" tab and enable "Advanced Compression". Then, select the mode of video compression: "By Quality" or "YouTube Upload". Wait for the tool to automatically compress your video.

By selecting "By Quality," you can adjust the quality level to control the file size of the compressed video, with options ranging from 10% to 90%.
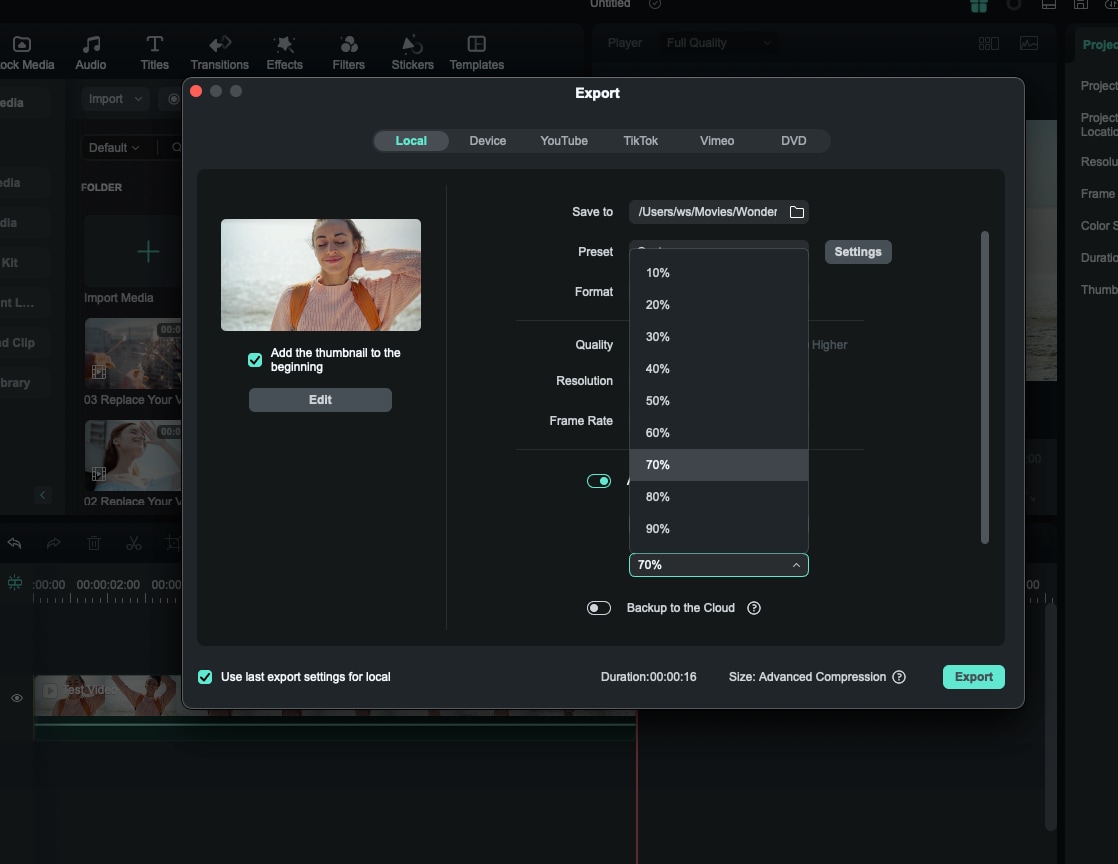
But when choosing "YouTube Upload," the video will be compressed at the optimal bitrate for YouTube, so you can prevent any loss of clarity due to additional compression when uploaded to the platform.
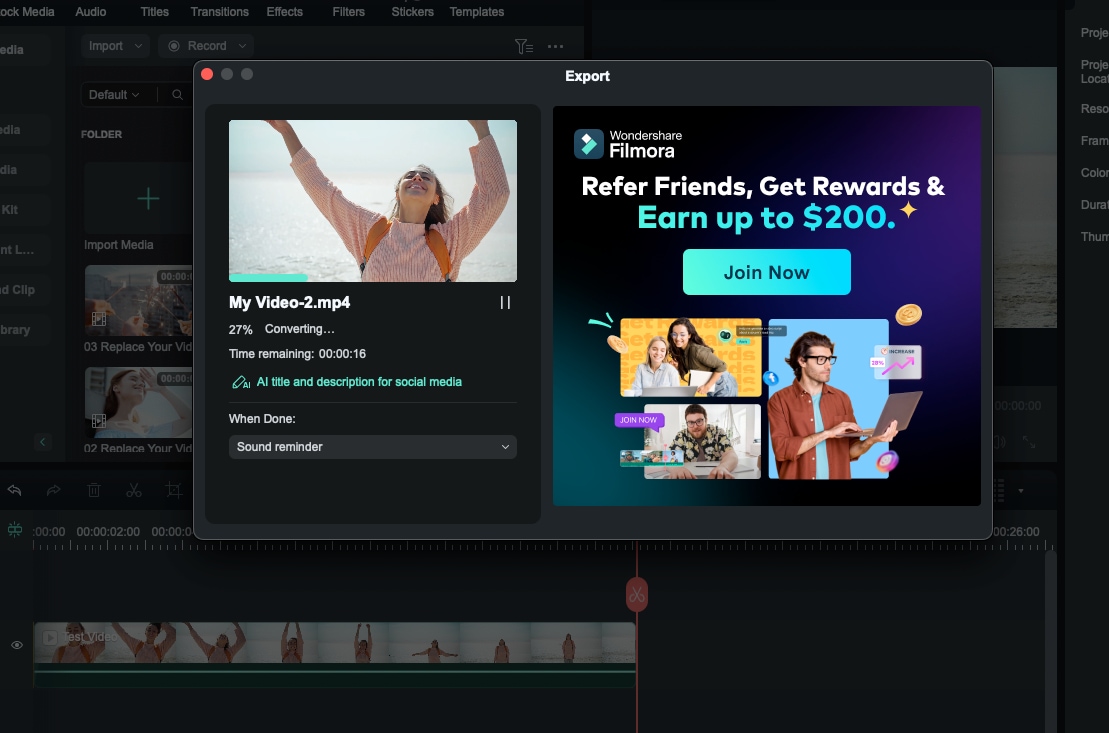
- Step 4: Set Video Format and Export
Next, choose your preferred video format, framerate, and other video settings. Filmora supports various video formats, including MP4, AVI, MOV, MKV, and more. Then, click Export to save the compressed video.
Part 3. How to Compress Videos with Built-In Apps on Mac
Compressing videos on your Mac can also be done without third-party software, but it may not offer as many customizations' options. If you prefer built-in apps like iMovie and QuickTime Player, you can also quickly reduce file sizes without compromising too much on quality. Let's dive into how you can use these apps to compress videos easily.
Method 1: Using iMovie
iMovie is a video editing tool that comes pre-installed on every Mac. While it's primarily used for video editing, you can also use it to compress video files. Here's how to compress a video on iMovie:
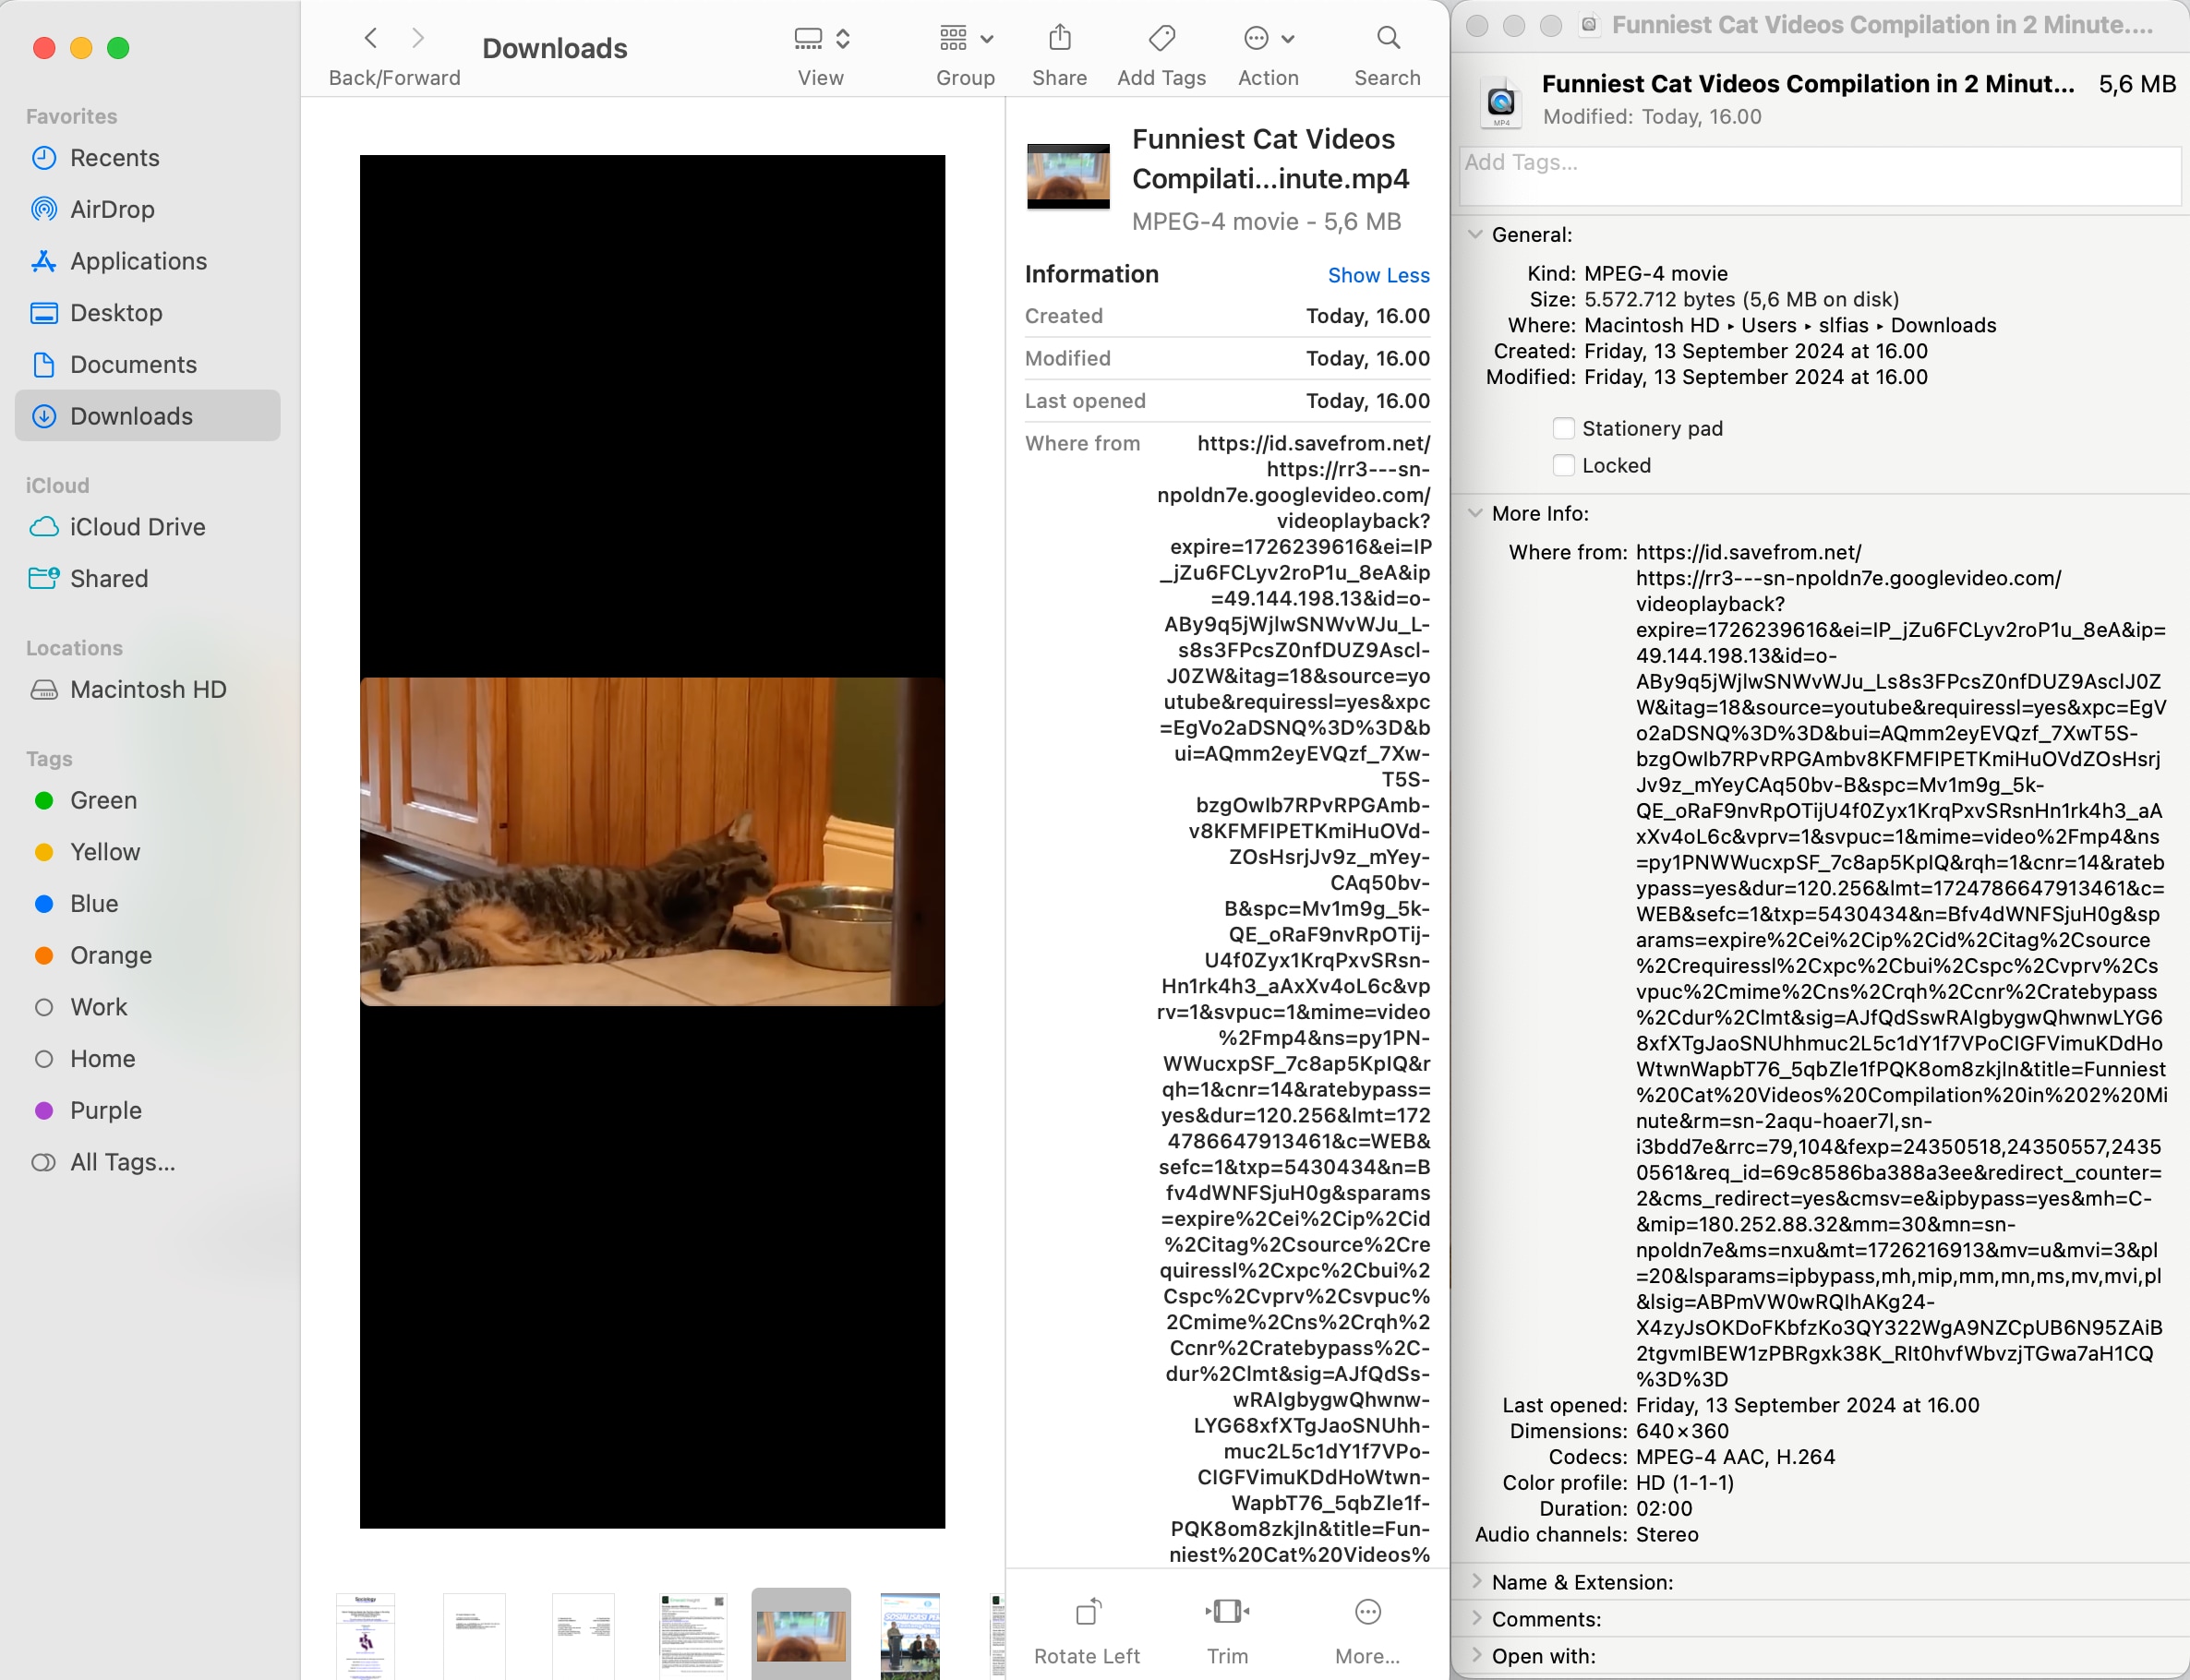
- Step 1. Check the Original File Size (Optional)
Before you start compressing video on iMovie, it's a good idea to check the size of your original video. Right-click the video file, select "Get Info", and note the size. This will help you see how much space you've saved after compression.
- Step 2. Import the Video into iMovie
Open iMovie and create a new project. Click the "Import Media" button and select the video file you want to compress. Once imported, drag the video into the timeline. A yellow box should appear around the video clip, indicating that it's ready for editing or compression.

- Step 3. Export the Compressed Video
After adding the video to the timeline, click the Export button at the top of the window. Then, select File from the export options.

In the export settings, choose a lower resolution or quality to reduce the file size. The more you lower the settings, the smaller the file will be. Click "Next", name your file, and select a location to save your compressed video.
Method 2: Using QuickTime Player
QuickTime Player is another built-in app on Mac that many people overlook for video compression. Although its primary function is to play media, it includes a simple method to reduce video file size.
- Step 1. Open Your Video in QuickTime Player
Open QuickTime Player, then click File > Open File to select the video you want to compress. If the video doesn't open automatically, use the "Open File" option to locate it manually.

- Step 2. Export the Video with Lower Resolution
Once the video is open, go to File > Export As… You'll see a list of resolution options like 1080p, 720p, and 480p. Choose a lower resolution than the original video to reduce its size. For example, if your video is 1080p, exporting it at 720p will shrink the file size significantly.
- Step 3. Save the Compressed File
After choosing the resolution, name the video and select a location to save it. Click "Save", and QuickTime will compress and export the video in the lower resolution.
Conclusion
Compressing video files on a Mac without losing quality is easy with the right tools. While built-in apps like iMovie and QuickTime Player offer simple solutions, Wondershare Filmora stands out as the best option for users seeking more control and higher-quality compression software for Mac.
Filmora's Advanced Compressor and intuitive interface make it ideal for anyone, from beginners to professionals. Whether you're freeing up space, sharing large files, or ensuring smoother playback, these methods will help you efficiently reduce video sizes while maintaining sharp visuals. Choose the right tool for video compression to make your life easier!
