For the Best Results, Use the Latest Version.
-
Preparations
-
Account
-
Get Started & Basic Settings
-
Compatibility & Tech Specs
-
Performance Settings
-
-
Creating Projects
-
Creating New Projects
-
-
Importing & Recording
-
Video Editing for Windows
-
Basic Video Editing
- Enable/Disable Clip in Windows
- Magnetic Timeline for Windows
- Dual Monitor Setup for Video Editing on Windows
- Select All Clips on Timeline for Windows
- Manage Timeline and Tracks on Windows
- Auto Ripple for Windows
- Split & trim video
- Crop & Pan & Zoom Video in Filmora for Windows
- Compositing
- Change Video Speed on Windows
- Playing videos in reverse
- Mark In and Mark Out for Windows
- Markers for Windows
- Group editing
- Customizable Backgrounds for Videos and Images in Windows
- Video snapshot
- Using Freeze Frame in Filmora for Windows
- Logo Reveal For Windows
- Auto Enhance in Filmora for Windows
- Applying drop shadow
- Adjustment layer for Windows
- Apply Transforming for Windows
- Video Editing Ruler – Windows
-
Advanced Video Editing
- Drawing Tools for Windows | Filmora Guide
- Create Multi-Camera Clip in Filmora for Windows
- Compound Clip for Windows
- Multi-Clip Editing for Windows
- Filmora Motion Blur | Windows
- Filmora Flicker Removal Guide | Windows
- Apply mask to video
- Creating a PIP Effect for Windows
- Keyframe Graph Editor for Windows
- Add animation keyframing for Windows
- Keyframe Path Curve for Windows
-
AI-Powered Video Editing
- Smart Scene Cut for Windows
- Smart Short Clips for Windows
- AI Face Mosaic for Windows
- Filmora AI Eye Contact- Windows
- AI Video Enhancer for Windows
- AI Text-to-Video for Windows
- Planar Tracking for Windows
- AI Idea to Video for Windows
- Filmora Image to Video for Windows
- Filmora Image to Prompt for Windows
- Instant Cutter Tool for Windows
- AI Extend
- Filmora AI Relight - Windows
- Filmora AI Image Enhancer Guide - Windows
- AI Script to Video Guide for Windows
- AI Text-Based Editing for Windows
- AI Mate Editing for Windows
- Instant Mode in Filmora
- ChatGPT Plugin - AI Copywriting
- AI Smart Cutout for Windows
- Lens correction on Windows
- Auto Reframe Video for Windows
- AI Portrait Cutout
- Scene detection feature
- AI Smart Masking for Windows
- Motion Tracking on Windows
- Video Stabilization for Windows
- AI Video/Photo Object Remover for Windows
- AI Smart Search for Windows
- AI Skin Tone Protection for Windows
- AI Image for Windows
- Chroma key (green screen)
- Super Slow Motion with Optical Flow for Windows
- Video Denoise for Windows
-
-
Audio Editing for Windows
-
Basic Audio Editing
-
Advanced Audio Editing
-
AI-Powered Audio Editing
- Auto synchronization
- AI Sound Effects in Filmora for Windows
- Smart BGM Generation on Windows
- AI Voice Enhancer in Filmora
- AI Voice Cloning in Wondershare Filmora
- AI Music Generator for Windows
- Audio To Video
- AI Vocal Remover for Windows
- AI Auto Beat Sync for Windows
- AI Audio Stretch for Windows
- AI Audio Denoise for Windows
- Silence Detection on Windows
-
-
Text Editing for Windows
-
Basic Text Editing
-
Advanced Text Editing
-
AI-Powered Text Editing
-
-
Video Customizations
-
Video Effects
-
Audio Effects
-
Transitions
-
Stickers
-
Filters
-
Color Editing
-
Animations
-
Templates
-
Asset Center
-
-
Exporting & Share & Cloud Backup
Video Compressor for Windows
Filmora for Windows includes a built-in Video Compressor that helps reduce video file size without noticeably affecting quality. This feature is useful for sharing videos through email, uploading to social media platforms, or saving storage space on your device. With flexible compression options and support for popular formats, users can quickly compress videos while maintaining smooth playback and visual quality.
Steps to Use Video Compressor in Filmora for Windows
Having learned about the Filmora video compression details, let us now have a look at the step-by-step guide on how to do it:
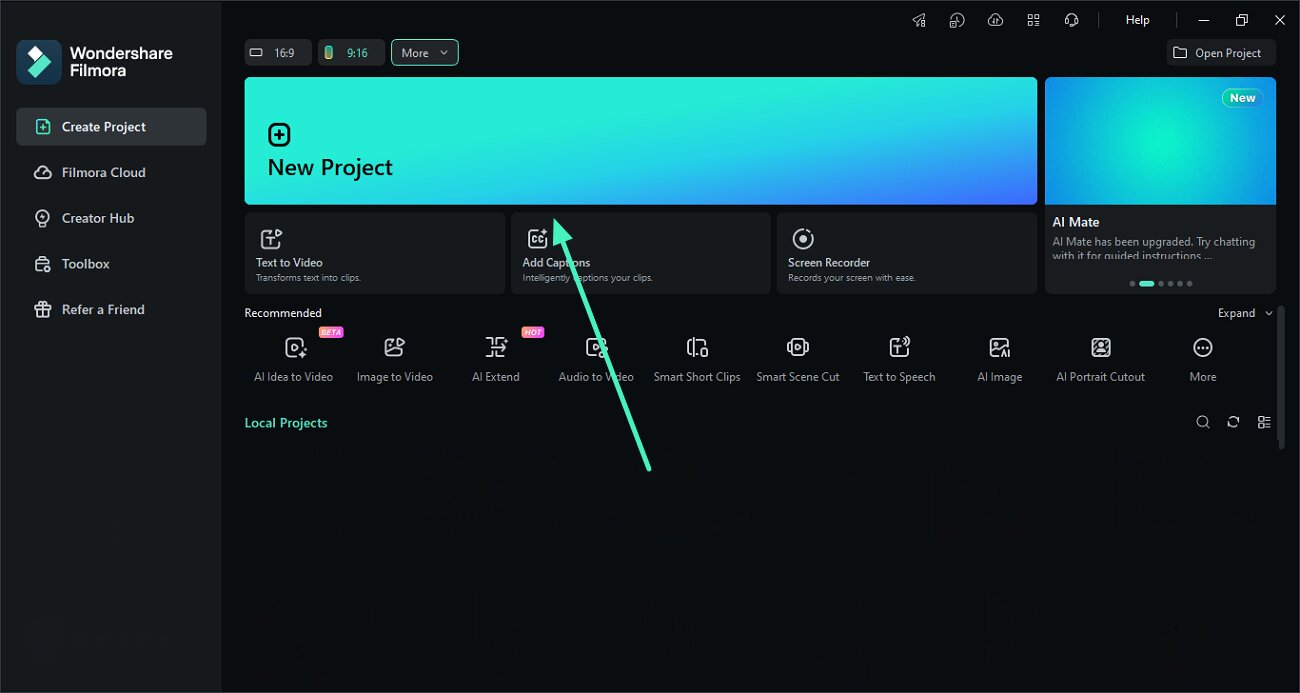
Step 1. Start with a New Project and Import Video
Launch Wondershare Filmora on your Windows computer and click the New Project option from the home screen. Once the editing workspace opens, import your video file from your device or drag and drop it into Filmora. Then add the imported video to the timeline to continue editing.
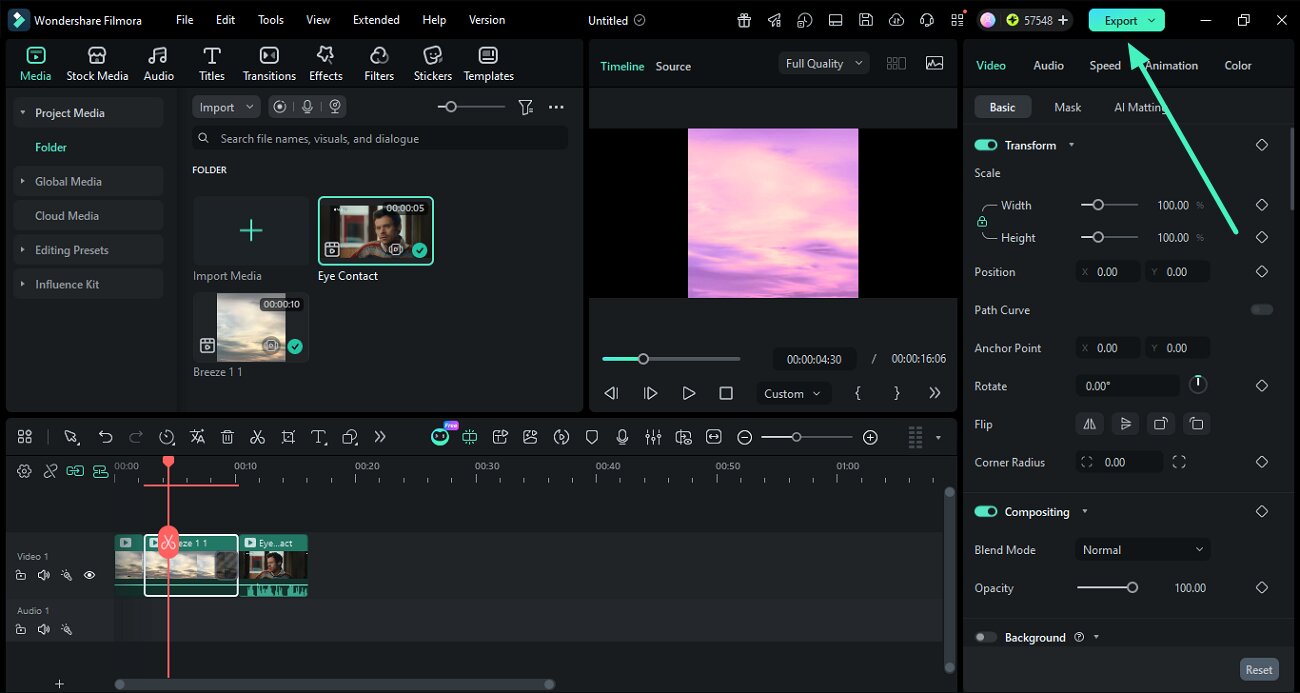
Step 2. Edit and Export Video
Edit the video using the options provided by the tool according to your preferences. Click the Export button located at the top-right corner of the interface.
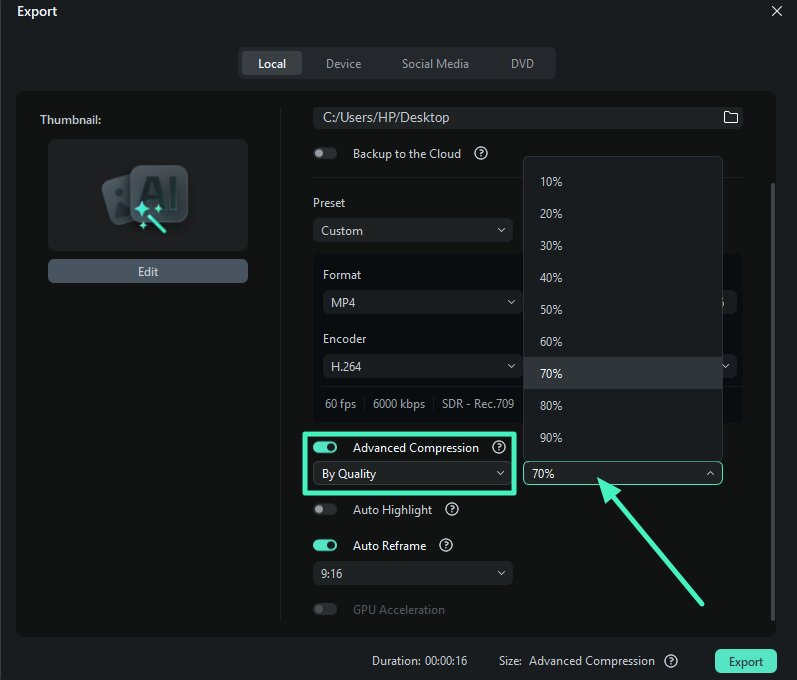
Step 3. Compress the Video
From the export window, choose your preferred advanced compression mode, including By Quality. Select the appropriate compression preset and allow Filmora to process the video automatically.
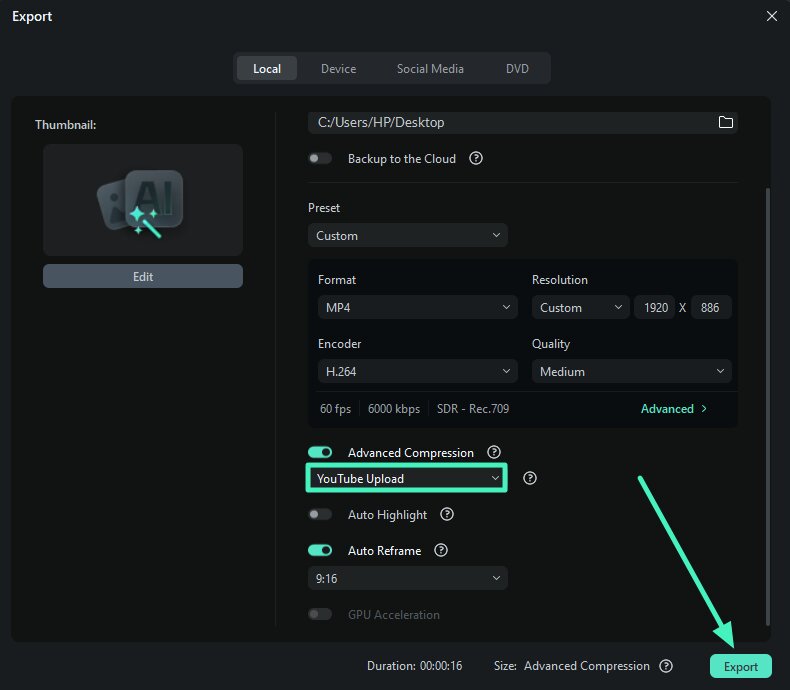
Step 4. Compress By YouTube Upload
Choosing YouTube Upload applies the recommended bitrate settings for YouTube to help maintain video clarity after uploading. Once the compression process is complete, preview the results and click the Export button to save the compressed video.
Related Posts
Featured Articles
How to Fix Audio Clipping: A Complete Workflow [Discussed]
Looking for ways to make your video/audio sound crisp and clear? Read this article to learn how to fix audio clipping issues without much hassle.
ScreenRec Review | Features, Free Download, Pros and Cons
Explore all sides of ScreenRec in our detailed review, including its features, benefits, and shortcomings, and discover an excellent alternative.
Old Windows, New Tricks – Top Screen Recorders for Windows 7
What is the best screen recorder for Windows 7? Keep reading and explore the top screen recorders in this article.
Recommended User Guide
Workflow of exporting
Workflow and Overview for Exporting filmora
Filmora - Export Settings [Win& Mac]
Export to Local
AI Thumbnail Creator
Filmora can generate attractive thumbnails for your videos with AI assistance.
