For the Best Results, Use the Latest Version.
-
Preparations
-
Account
-
Get Started & Basic Settings
-
Compatibility & Tech Specs
-
Performance Settings
-
-
Creating Projects
-
Creating New Projects
-
-
Importing & Recording
-
Video Editing for Windows
-
Basic Video Editing
- Enable/Disable Clip in Windows
- Magnetic Timeline for Windows
- Dual Monitor Setup for Video Editing on Windows
- Select All Clips on Timeline for Windows
- Manage Timeline and Tracks on Windows
- Auto Ripple for Windows
- Split & trim video
- Crop & Pan & Zoom Video
- Compositing
- Change Video Speed on Windows
- Playing videos in reverse
- Mark In and Mark Out for Windows
- Markers for Windows
- Group editing
- Customizable Backgrounds for Videos and Images in Windows
- Video snapshot
- Using freeze frame
- Logo Reveal For Windows
- Apply auto enhance
- Applying drop shadow
- Adjustment layer for Windows
- Transforming
- Video Editing Ruler – Windows
-
Advanced Video Editing
- Drawing Tools for Windows | Filmora Guide
- Create Multi-Camera Clip
- Compound Clip for Windows
- Multi-Clip Editing for Windows
- Filmora Motion Blur | Windows
- Filmora Flicker Removal Guide | Windows
- Apply mask to video
- Creating a PIP effect
- Keyframe Graph Editor for Windows
- Add animation keyframing for Windows
- Keyframe Path Curve for Windows
-
AI-Powered Video Editing
- Smart Scene Cut for Windows
- Smart Short Clips for Windows
- AI Face Mosaic for Windows
- Filmora AI Eye Contact- Windows
- AI Video Enhancer for Windows
- AI Text-to-Video for Windows
- Planar Tracking for Windows
- AI Idea to Video for Windows
- Filmora Image to Video for Windows
- Filmora Image to Prompt for Windows
- Instant Cutter Tool for Windows
- AI Extend
- Filmora AI Relight - Windows
- Filmora AI Image Enhancer Guide - Windows
- AI Script to Video Guide for Windows
- AI Text-Based Editing for Windows
- AI Mate Editing for Windows
- Create with instant mode
- ChatGPT Plugin - AI Copywriting
- AI Smart Cutout
- Lens correction on Windows
- Auto reframe video
- AI Portrait Cutout
- Scene detection feature
- AI Smart Masking for Windows
- Make motion tracking
- Video Stabilization for Windows
- AI Video/Photo Object Remover for Windows
- AI Smart Search for Windows
- AI Skin Tone Protection for Windows
- AI Image for Windows
- Chroma key (green screen)
- Super Slow Motion with Optical Flow for Windows
- Video Denoise for Windows
-
-
Audio Editing for Windows
-
Basic Audio Editing
-
Advanced Audio Editing
-
AI-Powered Audio Editing
-
-
Text Editing for Windows
-
Basic Text Editing
-
Advanced Text Editing
-
AI-Powered Text Editing
-
-
Video Customizations
-
Video Effects
-
Audio Effects
-
Transitions
-
Stickers
-
Filters
-
Color Editing
-
Animations
-
Templates
-
Asset Center
-
-
Exporting & Share & Cloud Backup
AI Sticker Generator
Wondershare Filmora is an AI-driven video editor that provides excessive features that make user personalization effective. The AI Sticker feature in Filmora brings new bounds to video editing, allowing users to create their own stickers and utilize them without any issues with copyright or monotony. Under a simple prompt, the AI Sticker feature provides effective results, which can then be used in video editing.
If you are looking to create a dedicated sticker for your video with AI, look ahead to the step-by-step guidelines:
Index
Launch Filmora and Create a New Project
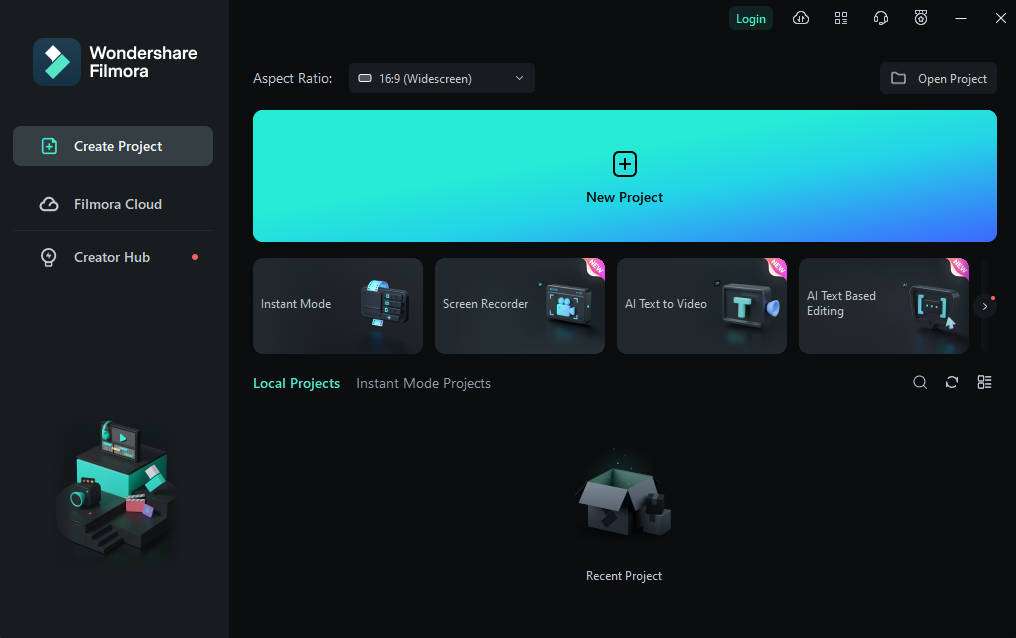
Upon successfully downloading Filmora, open it and log in or sign up from the main menu. Afterward, direct the cursor towards the control panel at the left and select "Create Project". From the numerous tabs appearing on the main menu, tap on the "New Project" tab.
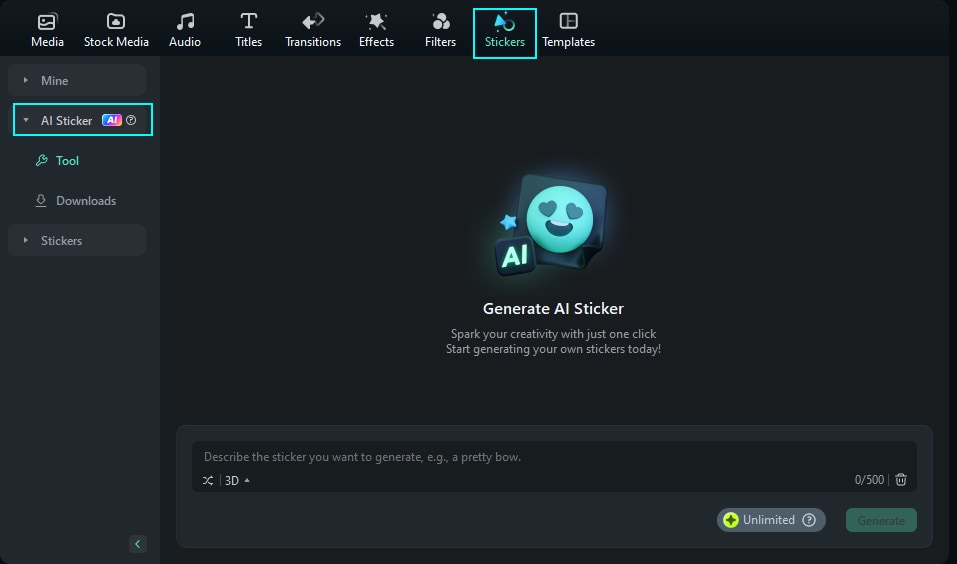
After accessing the interface, look into the "Stickers" tab from the top toolbar and lead into the "AI Sticker" tab to reach out to the feature.
Provide the prompt for the sticker you wish to generate and select the appropriate style of the sticker from the options available below.
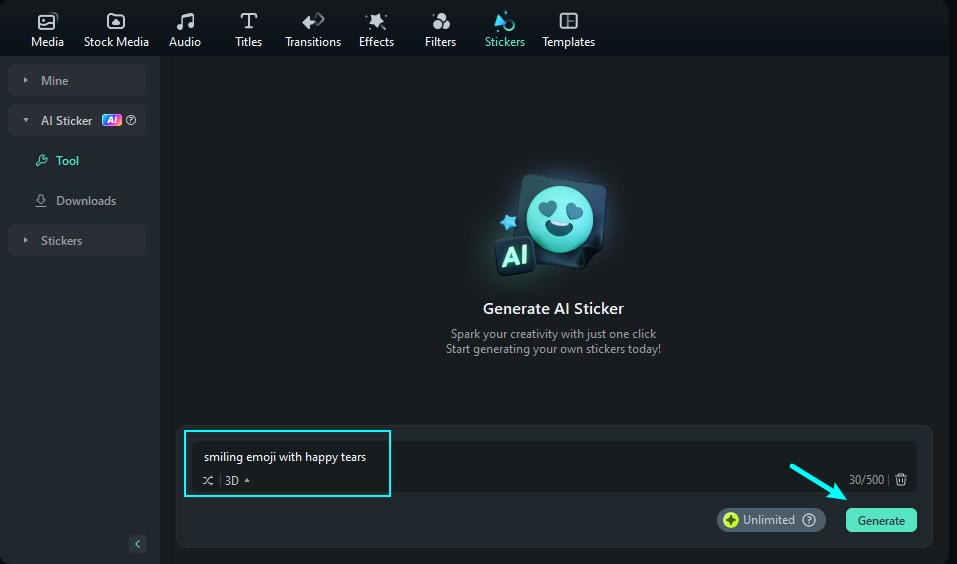
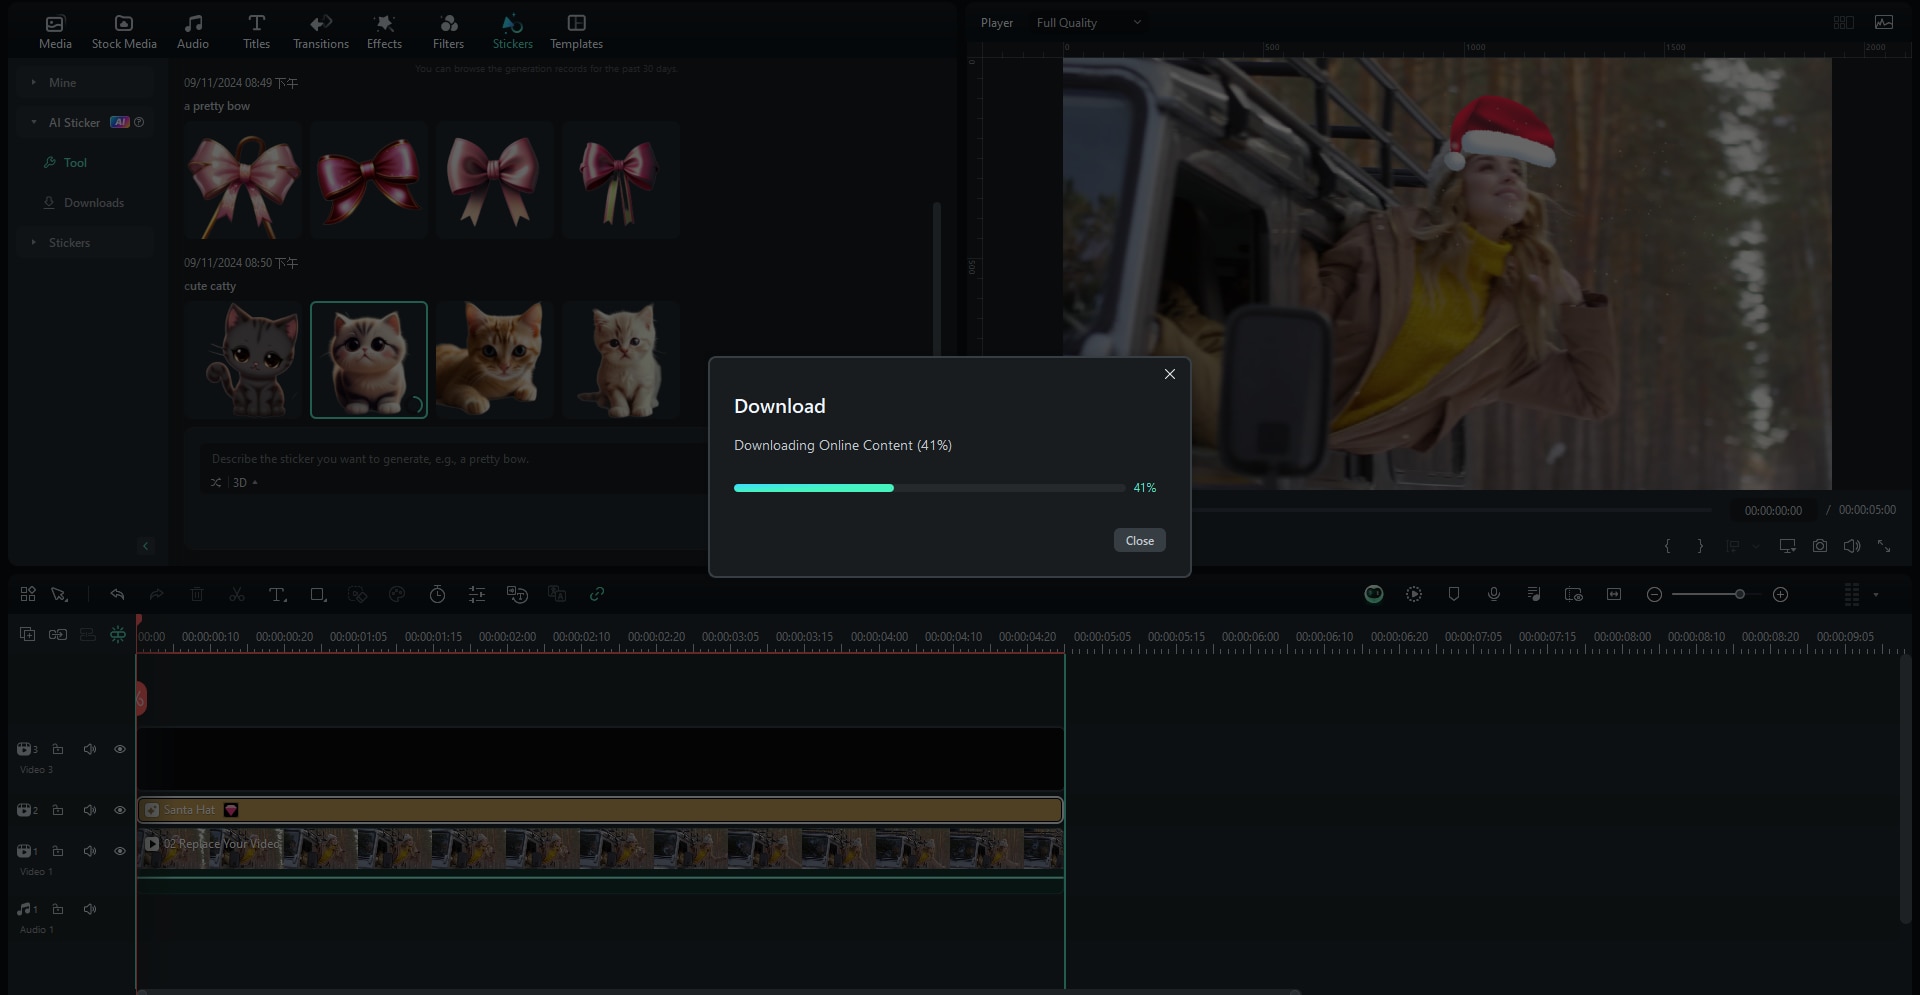
Once you've added a prompt within 500 characters, click "Generate" to create 4 different versions of the sticker.
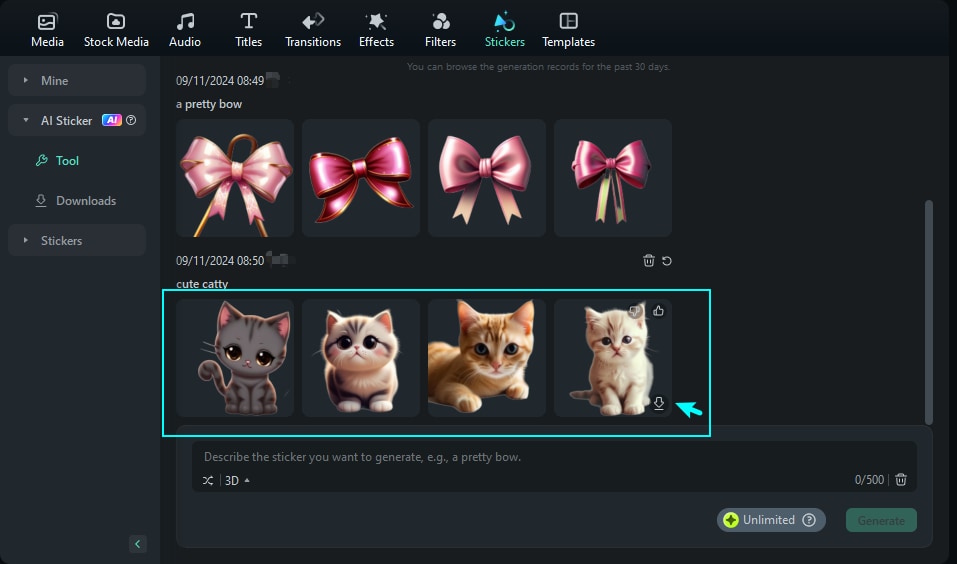
With the sticker generated, you can view it. Click the "Download" arrowhead to download the generated stickers.
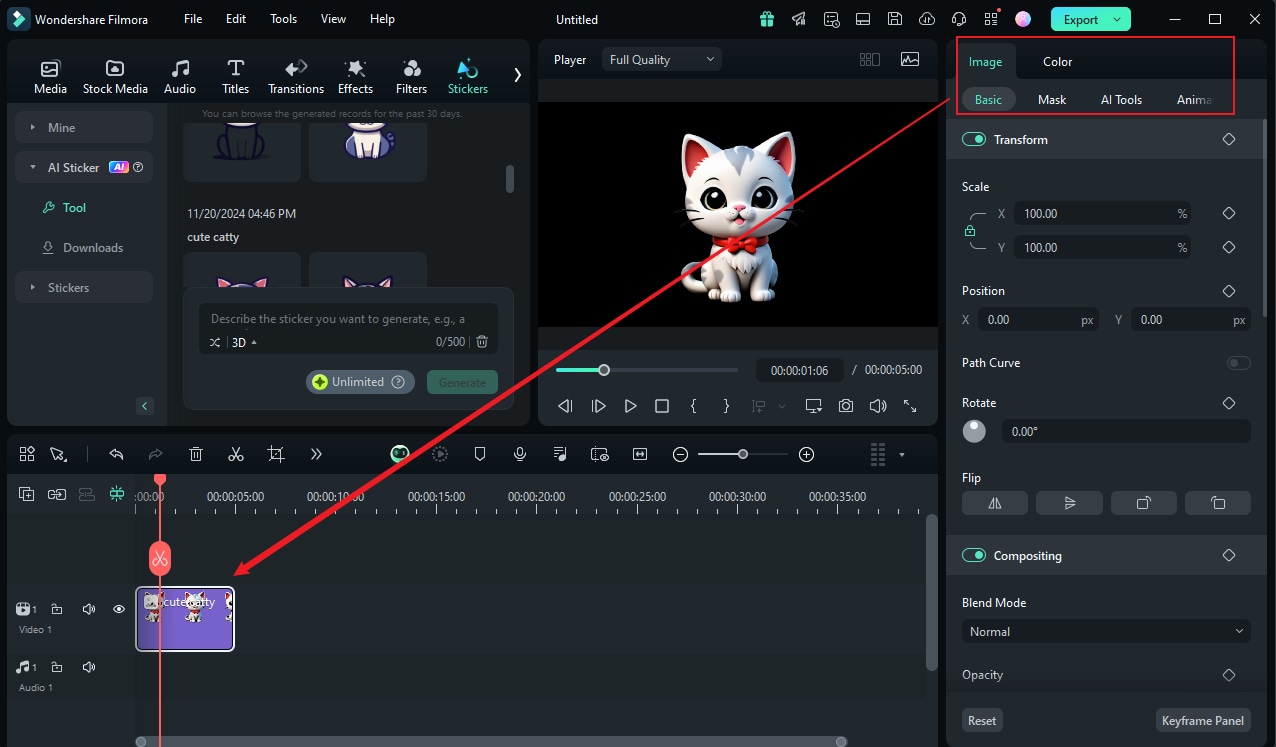
Double-click the sticker on the timeline, and you will see four options for adjustment: Basic, Mask, AI Matting, and AIGC. Choose the one you want to adjust, you can click OK to apply the video when you finish adjusting. For stickers on Filmora 9 and 10, please visit this guide page.
Related Posts
Featured Articles
Convert AIFF to MP3 for Free (2026): Best Tools for Windows, Mac & Online
Looking to convert AIFF to MP3 for free? Discover the best online and offline tools for Windows and Mac, plus tips for fast, high-quality audio conversions.
Drive Sales with Automotive Video Marketing Strategies That Work
Step up your automotive video marketing with these proven strategies and easy editing tools. In just minutes, you know how to create videos that grab attention, build trust, and drive sales.
A Step-by-Step Guide on How To Create Glitch Text Effect
Do you want to create audience-engaging glitch text effects? Learn how to do it using Filmora and online converters.
Recommended User Guide
Add and Customize Stickers for Windows
Learn how to add, adjust, remove, and favorite Filmora Stickers.
