For the Best Results, Use the Latest Version.
-
Preparations
-
Account
-
Get Started & Basic Settings
-
Compatibility & Tech Specs
-
Performance Settings
-
-
Creating Projects
-
Creating New Projects
-
-
Importing & Recording
-
Video Editing for Windows
-
Basic Video Editing
- Enable/Disable Clip in Windows
- Magnetic Timeline for Windows
- Dual Monitor Setup for Video Editing on Windows
- Select All Clips on Timeline for Windows
- Manage Timeline and Tracks on Windows
- Auto Ripple for Windows
- Split & trim video
- Crop & Pan & Zoom Video
- Compositing
- Change video playback speed
- Playing videos in reverse
- Mark In and Mark Out for Windows
- Markers for Windows
- Group editing
- Customizable Backgrounds for Videos and Images in Windows
- Video snapshot
- Using freeze frame
- Logo Reveal For Windows
- Apply auto enhance
- Applying drop shadow
- Adjustment layer for Windows
- Transforming
- Video Editing Ruler – Windows
-
Advanced Video Editing
- Drawing Tools for Windows | Filmora Guide
- Create Multi-Camera Clip
- Compound Clip for Windows
- Multi-Clip Editing for Windows
- Filmora Motion Blur | Windows
- Filmora Flicker Removal Guide | Windows
- Apply mask to video
- Creating a PIP effect
- Keyframe Graph Editor for Windows
- Add animation keyframing for Windows
- Keyframe Path Curve for Windows
-
AI-Powered Video Editing
- Smart Scene Cut for Windows
- Smart Short Clips for Windows
- AI Face Mosaic for Windows
- Filmora AI Eye Contact- Windows
- AI Video Enhancer for Windows
- AI Text-to-Video for Windows
- Planar Tracking for Windows
- AI Idea to Video for Windows
- Filmora Image to Video for Windows
- Filmora Image to Prompt for Windows
- Instant Cutter Tool for Windows
- AI Extend
- Filmora AI Relight - Windows
- Filmora AI Image Enhancer Guide - Windows
- AI Script to Video Guide for Windows
- AI Text-Based Editing for Windows
- AI Mate Editing for Windows
- Create with instant mode
- ChatGPT Plugin - AI Copywriting
- AI Smart Cutout
- Lens correction on Windows
- Auto reframe video
- AI Portrait Cutout
- Scene detection feature
- AI Smart Masking for Windows
- Make motion tracking
- Video Stabilization for Windows
- AI Video/Photo Object Remover for Windows
- AI Smart Search for Windows
- AI Skin Tone Protection for Windows
- AI Image for Windows
- Chroma key (green screen)
- Super Slow Motion with Optical Flow for Windows
- Video Denoise for Windows
-
-
Audio Editing for Windows
-
Basic Audio Editing
-
Advanced Audio Editing
-
AI-Powered Audio Editing
-
-
Text Editing for Windows
-
Basic Text Editing
-
Advanced Text Editing
-
AI-Powered Text Editing
-
-
Video Customizations
-
Video Effects
-
Audio Effects
-
Transitions
-
Stickers
-
Filters
-
Color Editing
-
Animations
-
Templates
-
Asset Center
-
-
Exporting & Share & Cloud Backup
Wondershare Drive Overview
Wondershare Drive is a cloud storage for work and content creators. You can safely store and share photos, videos, files and other contents without the device limitation.
If you want to learn more about Wondershare Drive and get more cloud storage, please visit Wondershare Drive to get more information.
Index
How to Get 1GB Cloud Storage for Free in Filmora
- Step 1: Download and open Filmora. (Download Filmora 9 or X here)
- Step 2: Click "Filmora Cloud" and then log into your account to activate the cloud.

- Step 3: Click "Authorize" to allow Wondershare Drive to quickly back up files.
- Now, you can get 1GB for free and start to use the drive.
Note:
You can get 1 GB for free after activating Filmora account.Launch Wondershare Cloud on Windows
The following are the steps for launching the Wondershare Cloud after logging in.
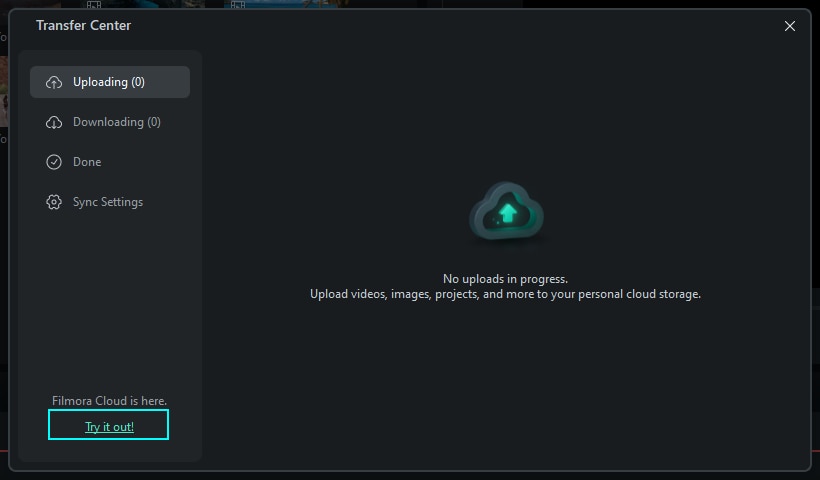
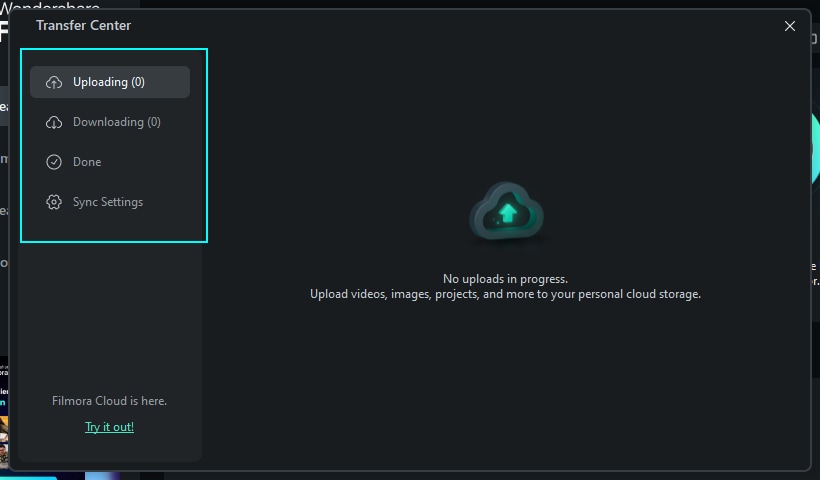
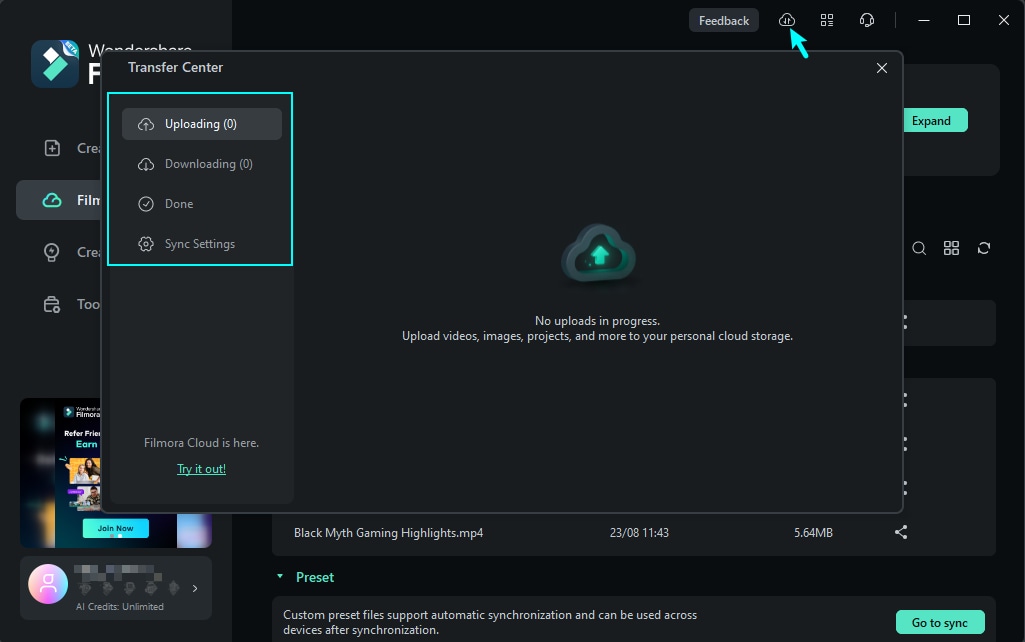
Step 1: Open the Transfer Center Panel
On the top toolbar, in the right corner, find the Transfer Center icon. Click it to launch the Transfer Center panel.

Step 2: Launch the workspace
On the bottom left of the pop-up Transfer Center panel, go to "Filmora Cloud is here", and click "Try it out!" to experience this feature.
Save Files in Wondershare Drive
There are 2 ways to save your files as cloud files.
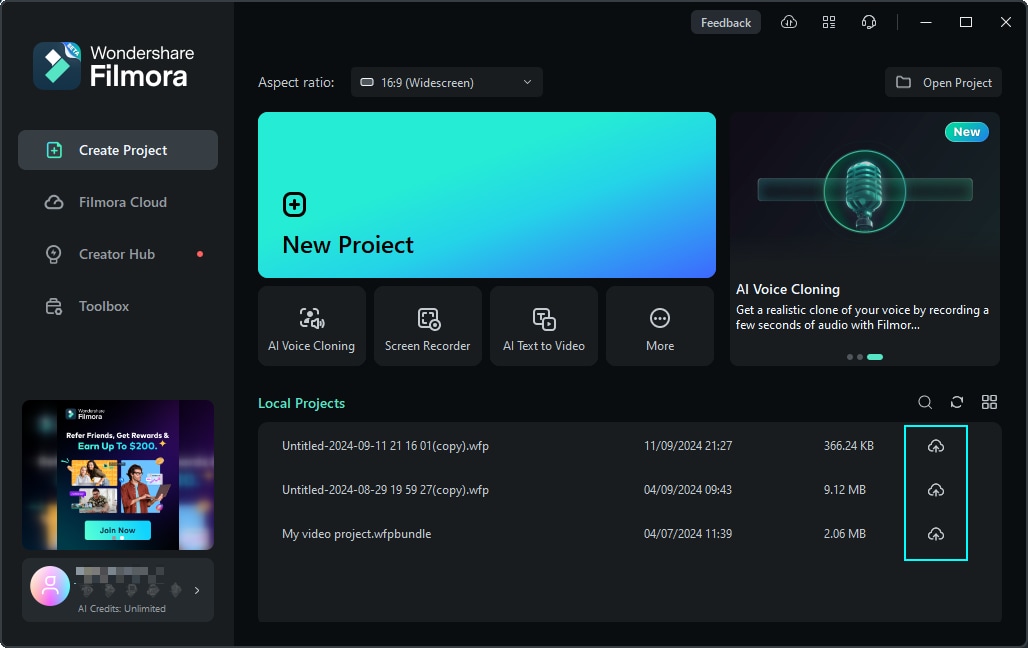
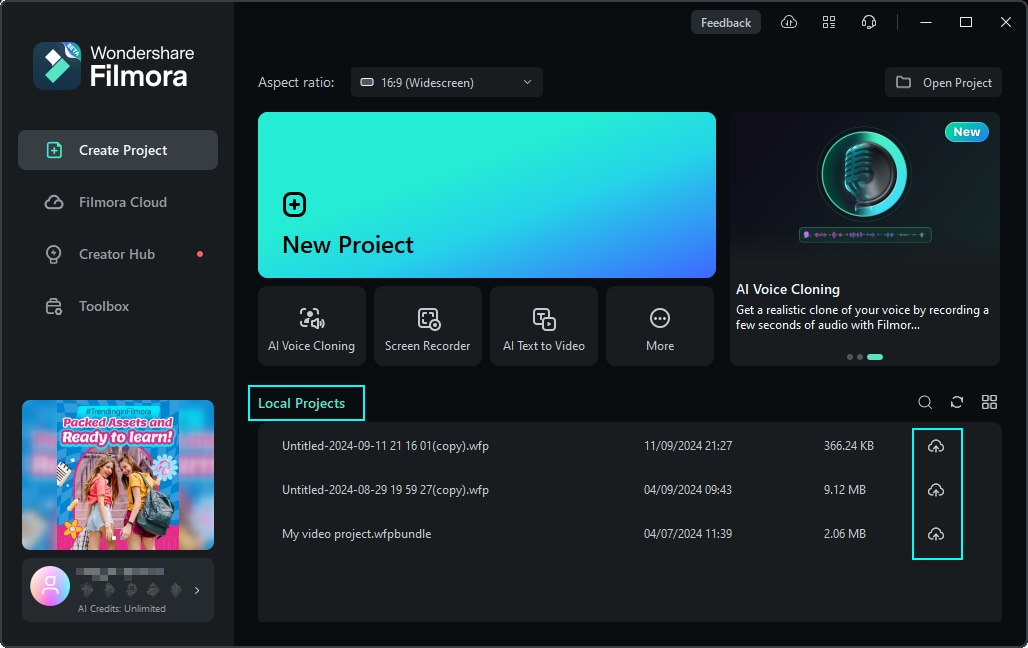
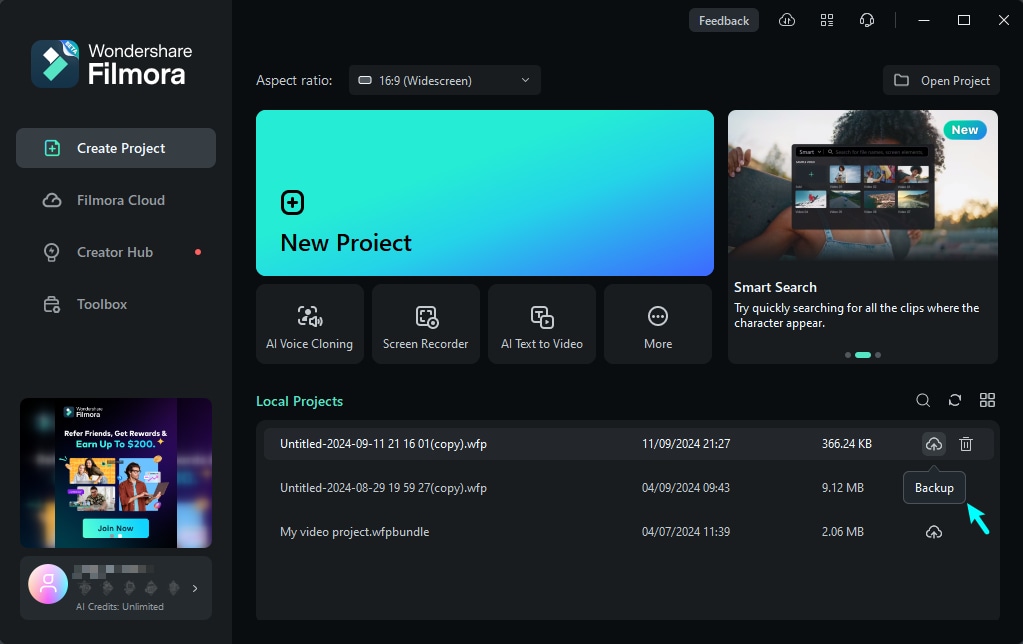
Method 1: Save as a project
- If you haven't finished editing your video, you can save the video as a project file. So that you can directly continue to edit your video next time.
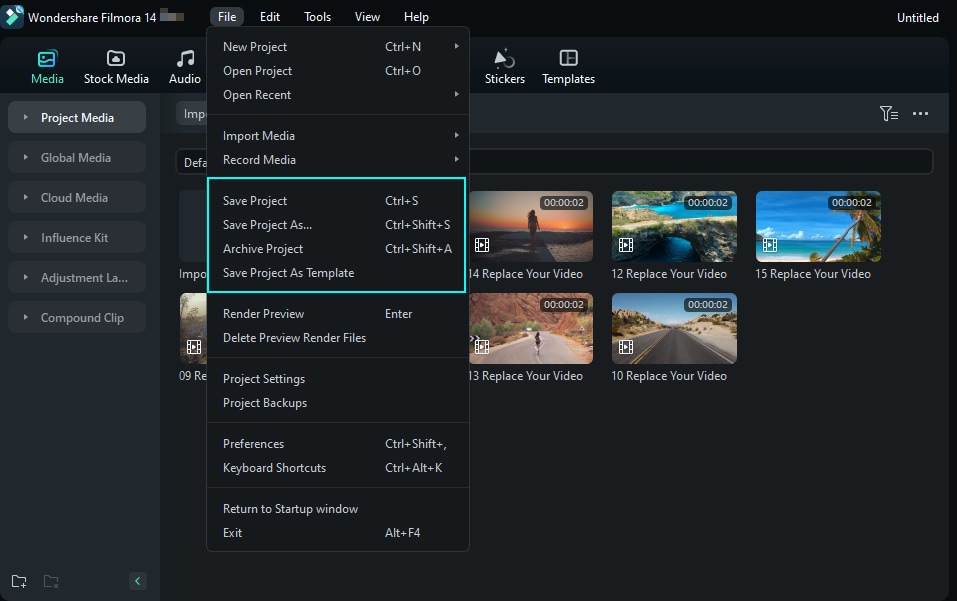
- You can also save your project files to Wondershare Drive so that you can continue to edit your video with another computer at any time.
- Just find the "Local Projects", and click the "cloud" icon to save your project files into Wondershare Drive.
Method 2: Save to drive while exporting
- Videos can be saved to Wondersahre Drive while exporting the video. Toggle the option on to upload your project to Cloud as you export.
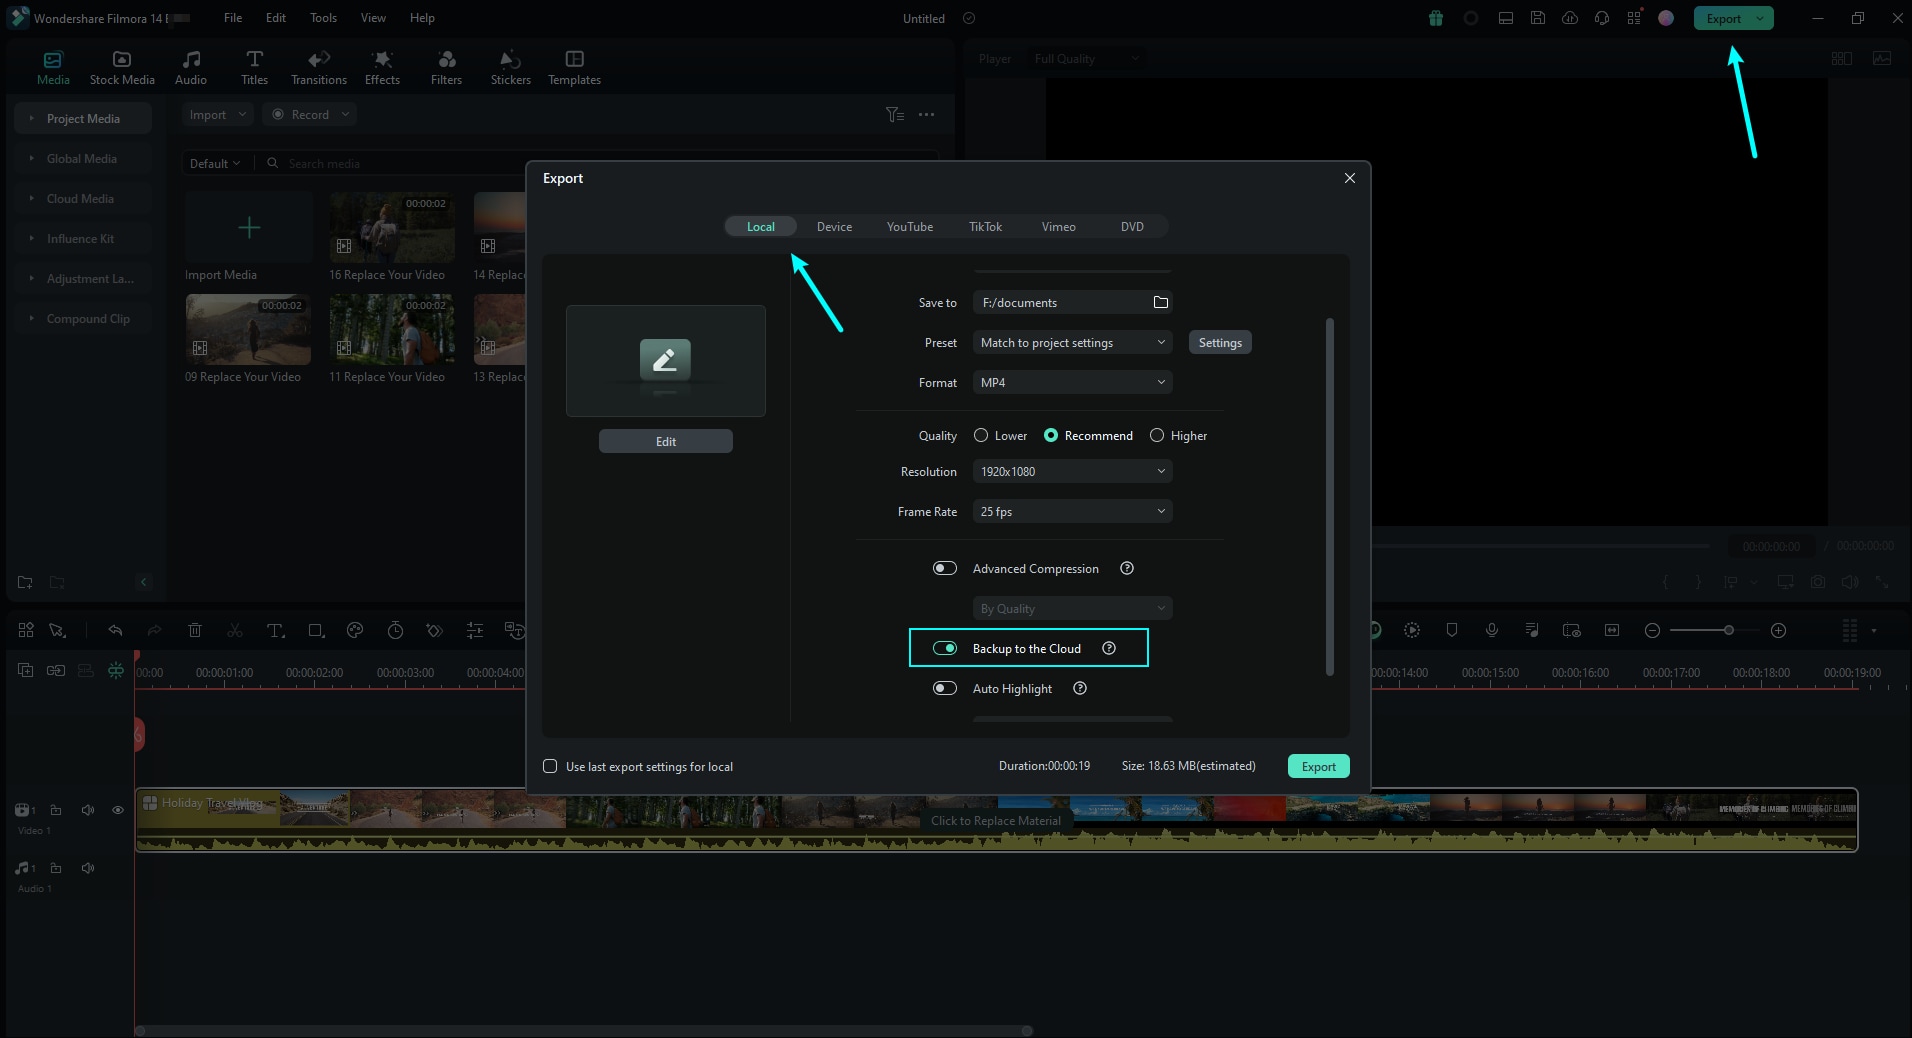
- Then, you can check the uploading status in the Transfer Center.
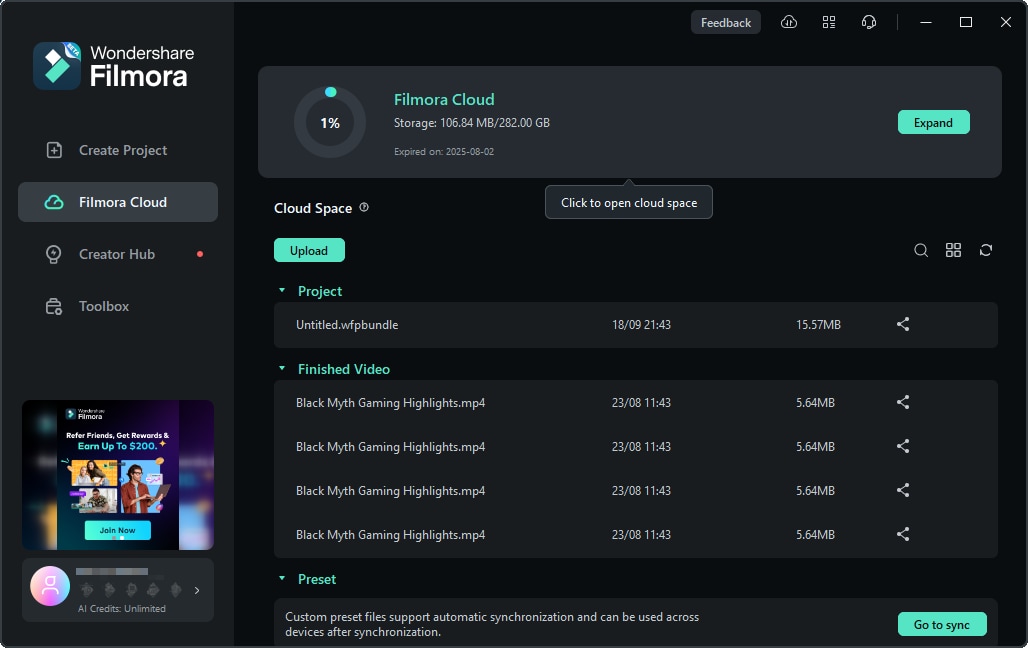
Find Files in Wondershare Drive
There are 2 ways to save your files as cloud files.
Method 1:Find cloud files in Filmora Cloud.
Method 2: Find cloud files in the Local Projects.
Method 3: Find your custom effects in Media>Cloud Media>My Cloud Media

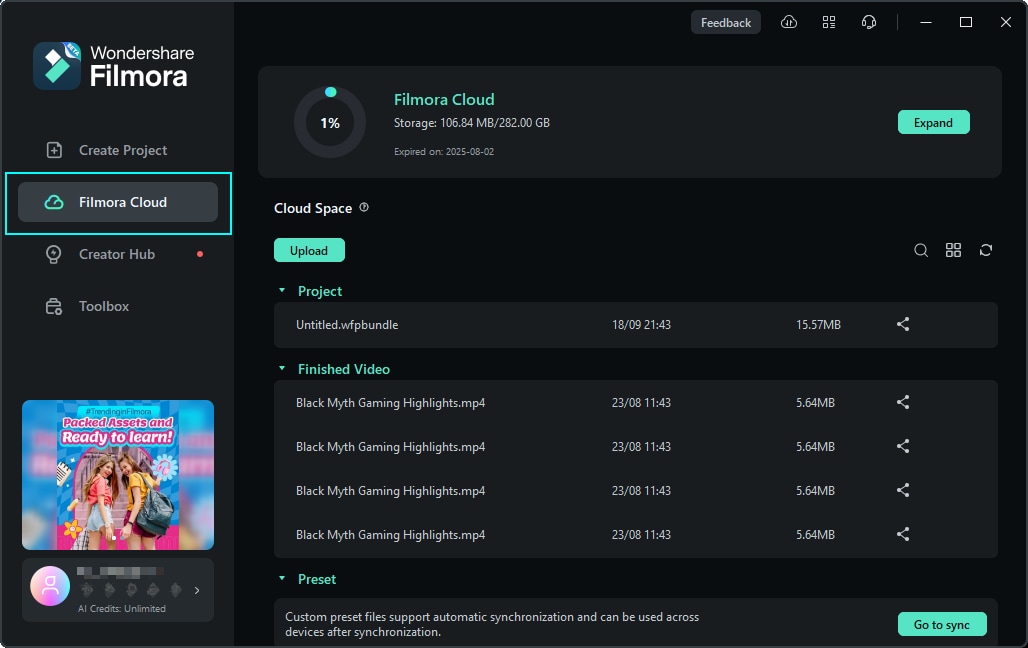
Manage Wondershare Drive in Filmora
- Click "Filmora Cloud", then you can check and manage your cloud project files in Filmora Cloud.
- You can also manage your cloud files in Transfer Center. Click the "cloud" icon to get in the Transfer Center.
Share files in Wondershare Drive
With Wondershare Drive, you can easily share your videos and project files with others. People can see your sharing videos and edit with your project files.
Note:
The sharing project files are only supported to edit in Filmora.Step1: Back up local files to the cloud
Click the "cloud" icon to back up any saved local projects to the cloud.
Step2: Share cloud files to others
When the upload is done, find your file in Cloud Project and click the "share" icon to share your fiels.
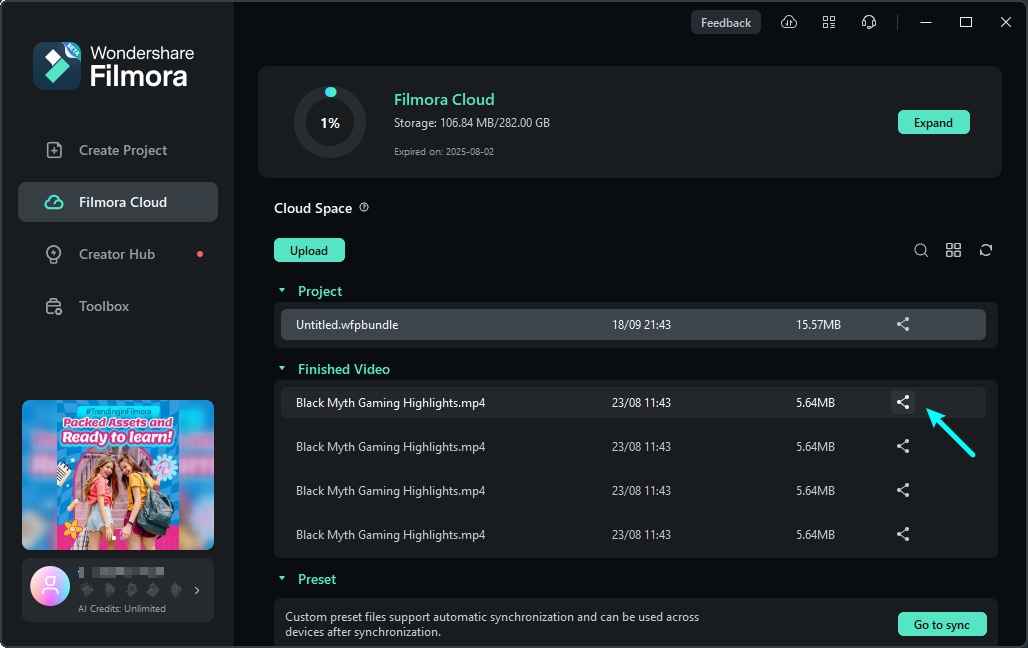
You can also find the "share" icon in Transfer Center.

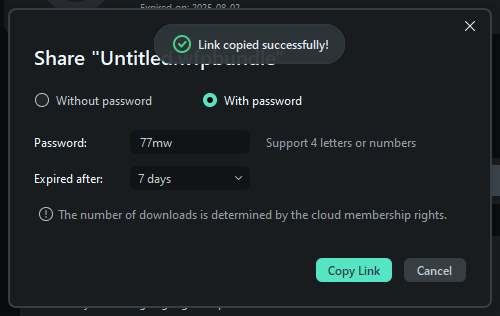
Step3: Edit your sharing option
You can share your files with or without passwords. The validity period is about 1,7 and 30 days.
- If share passwords, you can set the passwords you want. Filmora supports 4 letters or numbers as passwords.
- If share without passwords, all you need to do is choose the validity period.
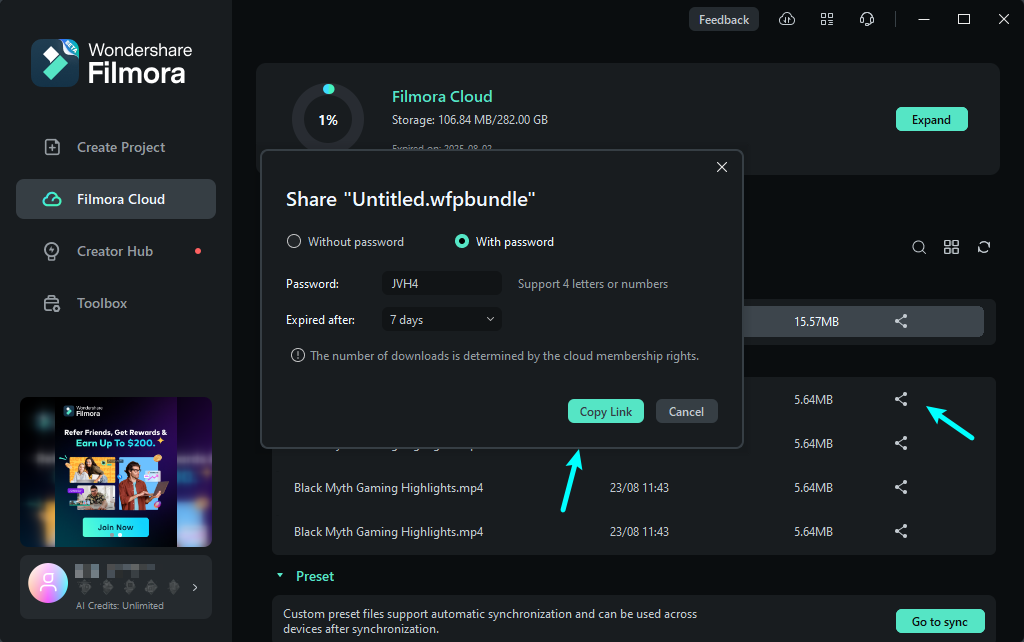
Step4: Create the sharing link
After setting the sharing options, you can create a link for sharing. When you see "Link copied successfully", you can copy the link to others.
Related Posts
Featured Articles
How to Make a Video Portfolio: Showcase Your Best Work
Learn how to make a portfolio video that showcases your best projects professionally. Get tips, steps, and ideas to impress clients and boost your career fast.
How to Easily Fix Green Screen YouTube Video Issues (Shorts & Regular Videos)
Frustrated by green screen YouTube video issues? Get easy fixes for blurry cutouts & verification errors. Learn how to use Filmora (best alternative) for pro chroma key effects!
The Top-Rated Online Mono to Stereo Converter
Stereo sound enhances the immersive quality of your content. Let's explore online mono to stereo converters with the best audio features.
Recommended User Guide
Wondershare Drive Basic information
This guide introduces how to share, comment, and modify a video with others in the Filmora online workspace.
