For the Best Results, Use the Latest Version.
-
Preparations
-
Account
-
Get Started & Basic Settings
-
Compatibility & Tech Specs
-
Performance Settings
-
-
Creating Projects
-
Creating New Projects
-
-
Importing & Recording
-
Video Editing for Windows
-
Basic Video Editing
- Enable/Disable Clip in Windows
- Magnetic Timeline for Windows
- Dual Monitor Setup for Video Editing on Windows
- Select All Clips on Timeline for Windows
- Manage Timeline and Tracks on Windows
- Auto Ripple for Windows
- Split & trim video
- Crop & Pan & Zoom Video
- Compositing
- Change Video Speed on Windows
- Playing videos in reverse
- Mark In and Mark Out for Windows
- Markers for Windows
- Group editing
- Customizable Backgrounds for Videos and Images in Windows
- Video snapshot
- Using freeze frame
- Logo Reveal For Windows
- Apply auto enhance
- Applying drop shadow
- Adjustment layer for Windows
- Transforming
- Video Editing Ruler – Windows
-
Advanced Video Editing
- Drawing Tools for Windows | Filmora Guide
- Create Multi-Camera Clip
- Compound Clip for Windows
- Multi-Clip Editing for Windows
- Filmora Motion Blur | Windows
- Filmora Flicker Removal Guide | Windows
- Apply mask to video
- Creating a PIP effect
- Keyframe Graph Editor for Windows
- Add animation keyframing for Windows
- Keyframe Path Curve for Windows
-
AI-Powered Video Editing
- Smart Scene Cut for Windows
- Smart Short Clips for Windows
- AI Face Mosaic for Windows
- Filmora AI Eye Contact- Windows
- AI Video Enhancer for Windows
- AI Text-to-Video for Windows
- Planar Tracking for Windows
- AI Idea to Video for Windows
- Filmora Image to Video for Windows
- Filmora Image to Prompt for Windows
- Instant Cutter Tool for Windows
- AI Extend
- Filmora AI Relight - Windows
- Filmora AI Image Enhancer Guide - Windows
- AI Script to Video Guide for Windows
- AI Text-Based Editing for Windows
- AI Mate Editing for Windows
- Create with instant mode
- ChatGPT Plugin - AI Copywriting
- AI Smart Cutout
- Lens correction on Windows
- Auto reframe video
- AI Portrait Cutout
- Scene detection feature
- AI Smart Masking for Windows
- Make motion tracking
- Video Stabilization for Windows
- AI Video/Photo Object Remover for Windows
- AI Smart Search for Windows
- AI Skin Tone Protection for Windows
- AI Image for Windows
- Chroma key (green screen)
- Super Slow Motion with Optical Flow for Windows
- Video Denoise for Windows
-
-
Audio Editing for Windows
-
Basic Audio Editing
-
Advanced Audio Editing
-
AI-Powered Audio Editing
-
-
Text Editing for Windows
-
Basic Text Editing
-
Advanced Text Editing
-
AI-Powered Text Editing
-
-
Video Customizations
-
Video Effects
-
Audio Effects
-
Transitions
-
Stickers
-
Filters
-
Color Editing
-
Animations
-
Templates
-
Asset Center
-
-
Exporting & Share & Cloud Backup
Filmora AI Eye Contact- Windows
AI Eye Contact is a smart video enhancement feature that automatically adjusts a subject’s gaze, so it appears they are looking directly into the camera. Instead of reshooting or manually editing frames, users can fix off-camera eye direction with a single click, improving viewer connection and on-screen confidence instantly.
The feature is available when a single video clip (up to three minutes long) is selected in the timeline. It works best for talking-head content such as vlogs, interviews, tutorials, training videos, and product presentations, especially when the speaker is reading from a screen or teleprompter.
When You Can Use This Feature
- YouTube Vlogs: Maintain direct eye contact even when reading notes or scripts.
- Online Courses: Help instructors appear more engaging and confident on camera.
- Interviews: Improve speaker connection when attention shifts off-camera.
- Corporate Training Videos: Deliver professional, focused communication for employees.
Steps to Use The AI Eye Contact Feature of Filmora
As discussed, the new Filmora feature allows users to automatically change the gaze of the subject to look towards the camera. Follow the steps mentioned below to learn how to use this feature:
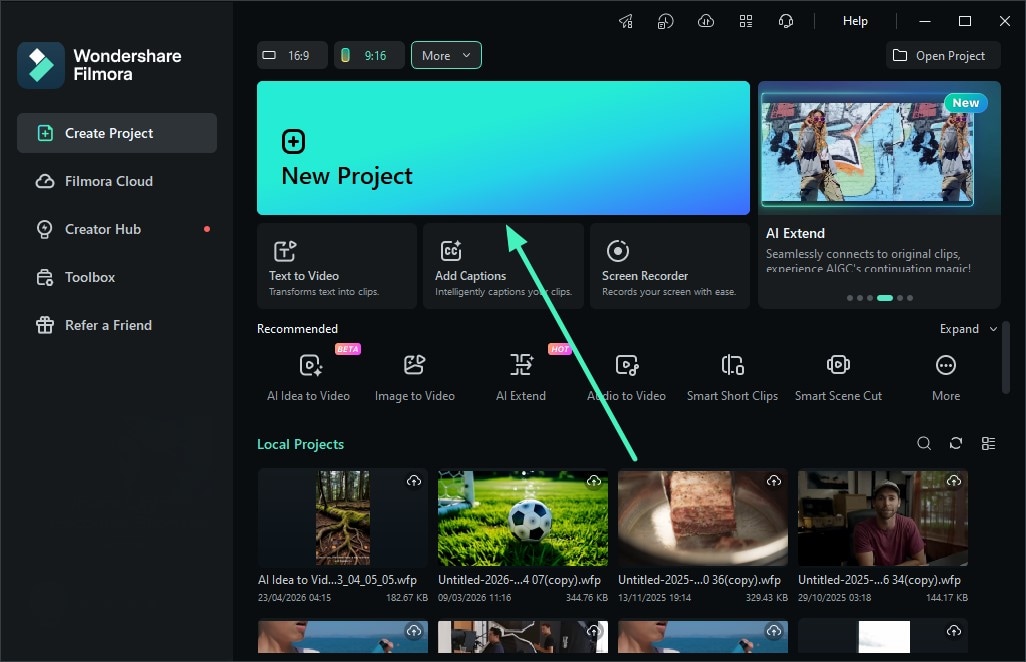
Step 1. Create A New Project
To start the process, launch a project by pressing the New Project option. Next, import the video for which you want to apply the Eye Contact feature.
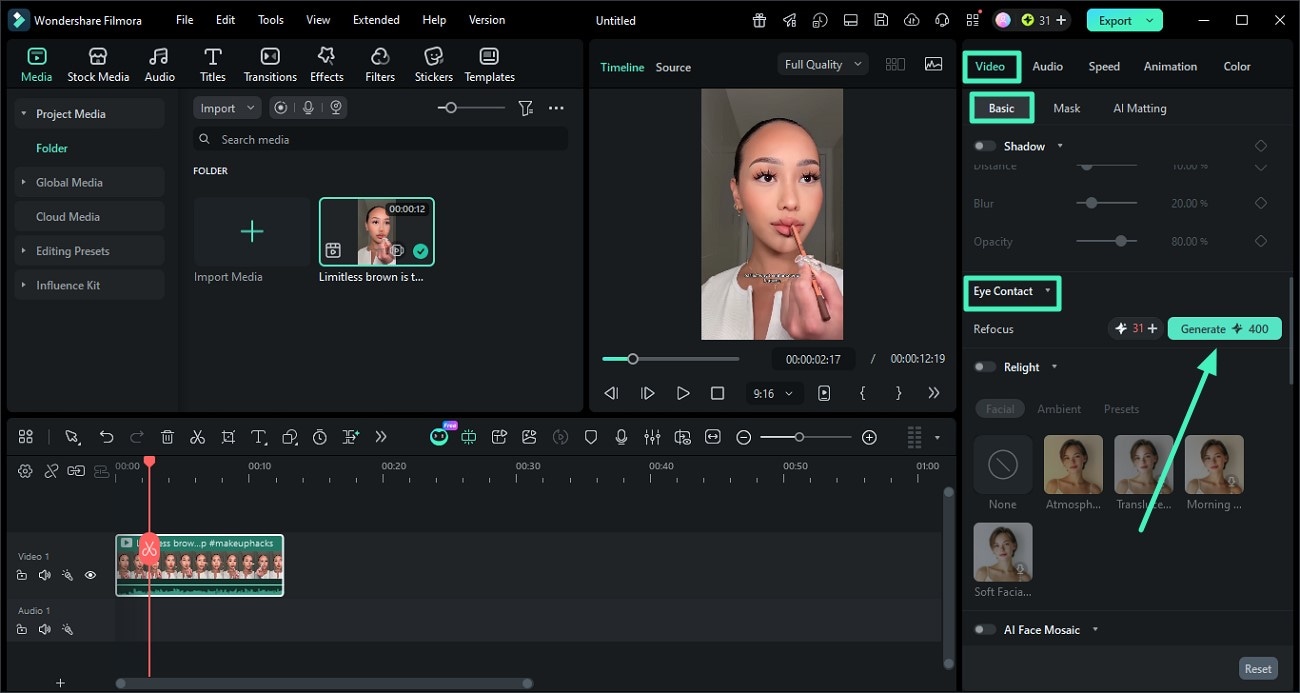
Step 2. Enable the Eye Contact Feature
Once the video is imported, head to the Properties panel on the right and open the Basic section. Now, locate the Eye Contact option and enable it. Press the Generate button to execute the process.
Step 3. Save the Final Results
When the process is completed, the gaze of the subject will be fixed. Preview the video within the preview window, and once you are satisfied with the results, press the Export button to save the final video.

Related Posts
Featured Articles
Top 3 Most Popular Wedding Slideshows Creators for Newlyweds in 2026
If you want to make a wedding slideshow with music, this article will introduce you to three awesome tools that can get the job done. Read on to learn more.
Things You Should Know About the Stabilizer Tool in CapCut
Should you try CapCut to stabilize video content? Of course. Click here and read the guide to learn about the best techniques to make the most of its benefits.
How To Add Text to Video Online Free [Tutorial 2026]
Easily add text to videos online with top tools. Enhance your videos with creative text elements using user-friendly platforms and a powerful offline editor.
Recommended User Guide
AI Text-to-Video for Windows
Wondershare Filmora is an AI-supported desktop tool designed to assist in video editing to its core. Its new V13 upgrade includes many video editing features, and one of them is AI Text-to-Video.
Video Denoise for Windows
Don't know how to remove grain from videos in Filmora? Check the video denoise guide here.
Planar Tracking for Windows
This guide explains how to use Planar Tracking in your videos on Windows
