For the Best Results, Use the Latest Version.
-
Preparations
-
Account
-
Get Started & Basic Settings
-
Compatibility & Tech Specs
-
Performance Settings
-
-
Creating Projects
-
Creating New Projects
-
-
Importing & Recording
-
Video Editing for Windows
-
Basic Video Editing
- Enable/Disable Clip in Windows
- Magnetic Timeline for Windows
- Dual Monitor Setup for Video Editing on Windows
- Select All Clips on Timeline for Windows
- Manage Timeline and Tracks on Windows
- Auto Ripple for Windows
- Split & trim video
- Crop & Pan & Zoom Video
- Compositing
- Change video playback speed
- Playing videos in reverse
- Mark In and Mark Out for Windows
- Markers for Windows
- Group editing
- Customizable Backgrounds for Videos and Images in Windows
- Video snapshot
- Using freeze frame
- Logo Reveal For Windows
- Apply auto enhance
- Applying drop shadow
- Adjustment layer for Windows
- Transforming
- Video Editing Ruler – Windows
-
Advanced Video Editing
- Drawing Tools for Windows | Filmora Guide
- Create Multi-Camera Clip
- Compound Clip for Windows
- Multi-Clip Editing for Windows
- Filmora Motion Blur | Windows
- Filmora Flicker Removal Guide | Windows
- Apply mask to video
- Creating a PIP effect
- Keyframe Graph Editor for Windows
- Add animation keyframing for Windows
- Keyframe Path Curve for Windows
-
AI-Powered Video Editing
- Smart Scene Cut for Windows
- Smart Short Clips for Windows
- AI Face Mosaic for Windows
- Filmora AI Eye Contact- Windows
- AI Video Enhancer for Windows
- AI Text-to-Video for Windows
- Planar Tracking for Windows
- AI Idea to Video for Windows
- Filmora Image to Video for Windows
- Filmora Image to Prompt for Windows
- Instant Cutter Tool for Windows
- AI Extend
- Filmora AI Relight - Windows
- Filmora AI Image Enhancer Guide - Windows
- AI Script to Video Guide for Windows
- AI Text-Based Editing for Windows
- AI Mate Editing for Windows
- Create with instant mode
- ChatGPT Plugin - AI Copywriting
- AI Smart Cutout
- Lens correction on Windows
- Auto reframe video
- AI Portrait Cutout
- Scene detection feature
- AI Smart Masking for Windows
- Make motion tracking
- Video Stabilization for Windows
- AI Video/Photo Object Remover for Windows
- AI Smart Search for Windows
- AI Skin Tone Protection for Windows
- AI Image for Windows
- Chroma key (green screen)
- Super Slow Motion with Optical Flow for Windows
- Video Denoise for Windows
-
-
Audio Editing for Windows
-
Basic Audio Editing
-
Advanced Audio Editing
-
AI-Powered Audio Editing
-
-
Text Editing for Windows
-
Basic Text Editing
-
Advanced Text Editing
-
AI-Powered Text Editing
-
-
Video Customizations
-
Video Effects
-
Audio Effects
-
Transitions
-
Stickers
-
Filters
-
Color Editing
-
Animations
-
Templates
-
Asset Center
-
-
Exporting & Share & Cloud Backup
Audio Visualizer Effects
The function of the Audio Visualizer solves the problem that single audio cannot be distributed as a video on the video platform and can improve the video quality at the same time.
This section includes an in-depth overview of Audio Visualizer in Filmora:
Target Users
For Podcast Users
- You can use this function to play your insights and stories. In addition, you can add pictures, text, and vibration waveforms to the speech.
For Music Video Lovers
- Make one or more songs into a video and post it on YouTube, FB, Ins, Twitter, and other platforms to get attention and share your mood.
How to Use Audio Visualizer
Start Filmora and Click Open Project
Upon successfully downloading Filmora, open it and log in or sign up from the main menu. Afterward, direct the cursor towards the control panel at the left and select "Create Project". From the numerous tabs appearing on the main menu, tap on the "New Project" tab.
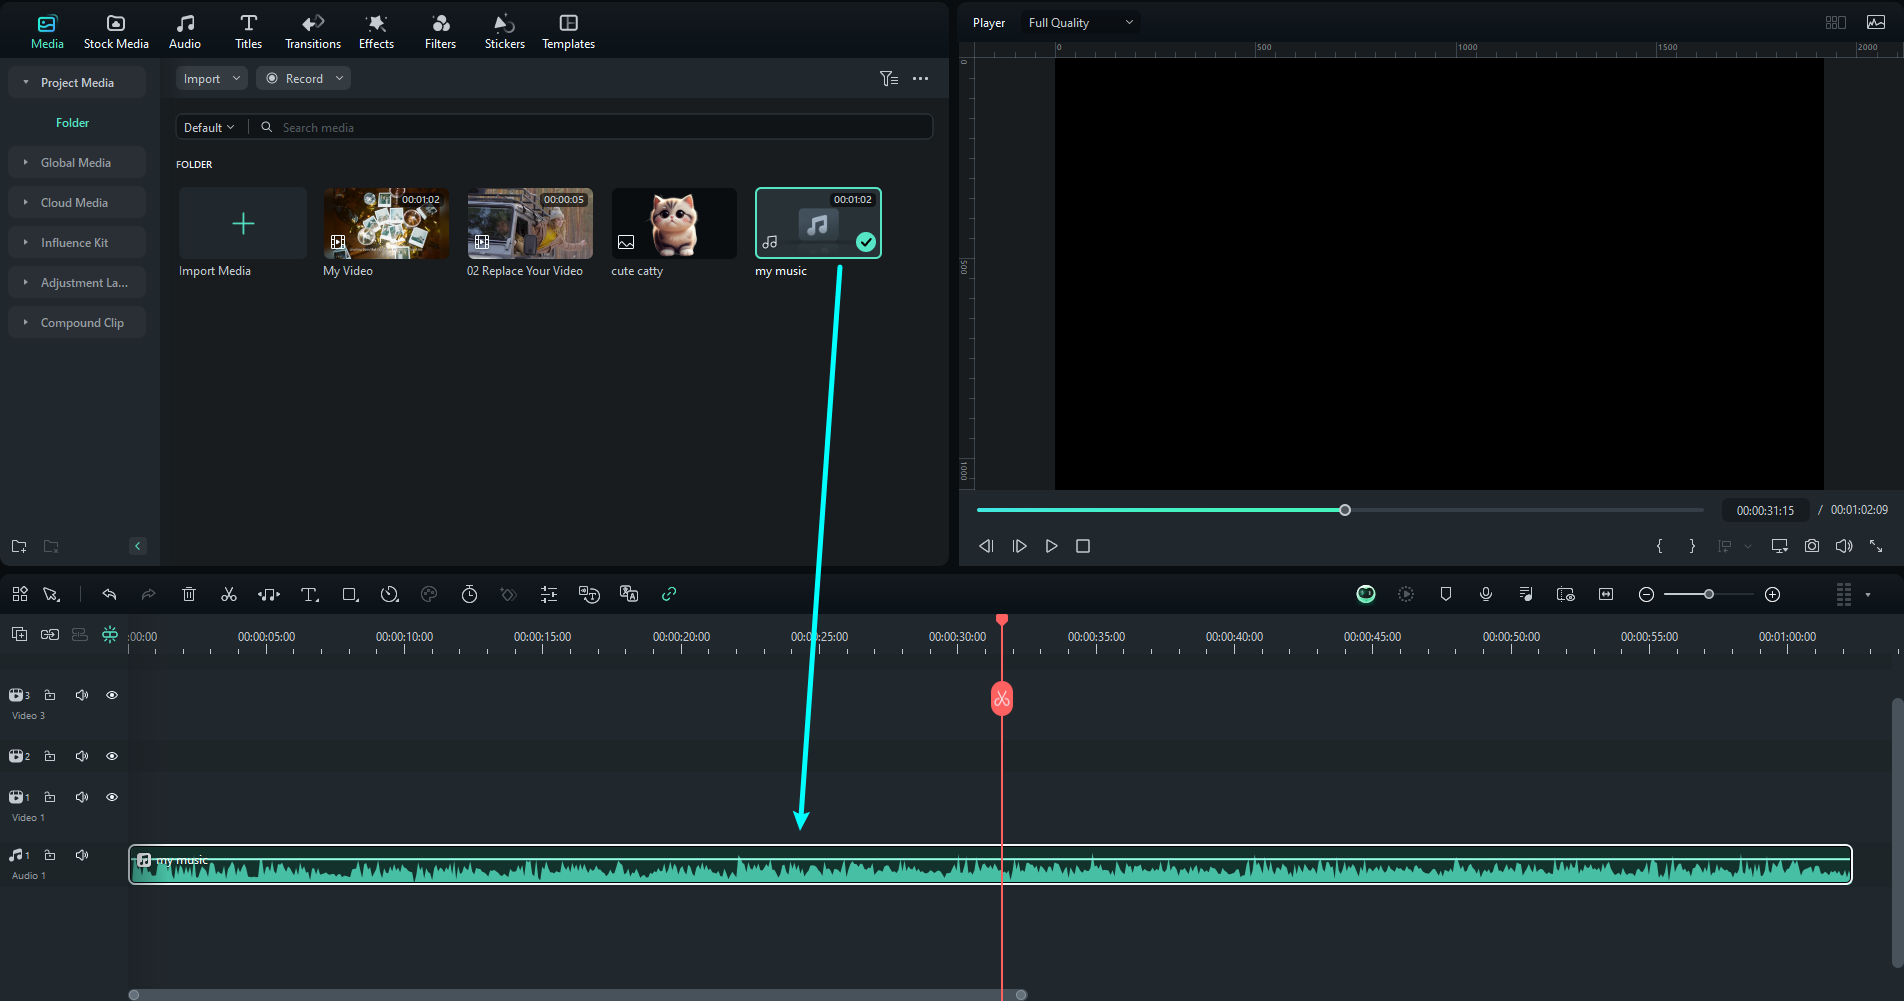
Import your audio assets and add it the timeline.
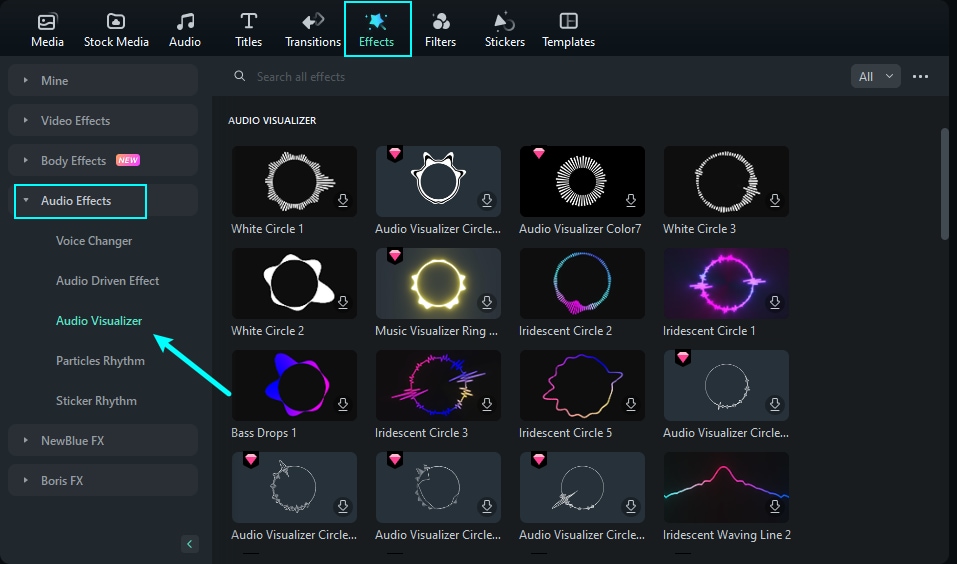
Locate Audio Visualizer
Afterward, navigate towards the "Effects" tab, and from the left side panel, expand the "Audio Effects". Further, under the "Audio Visualizer", you'll find a collection of audio visualizer effects.
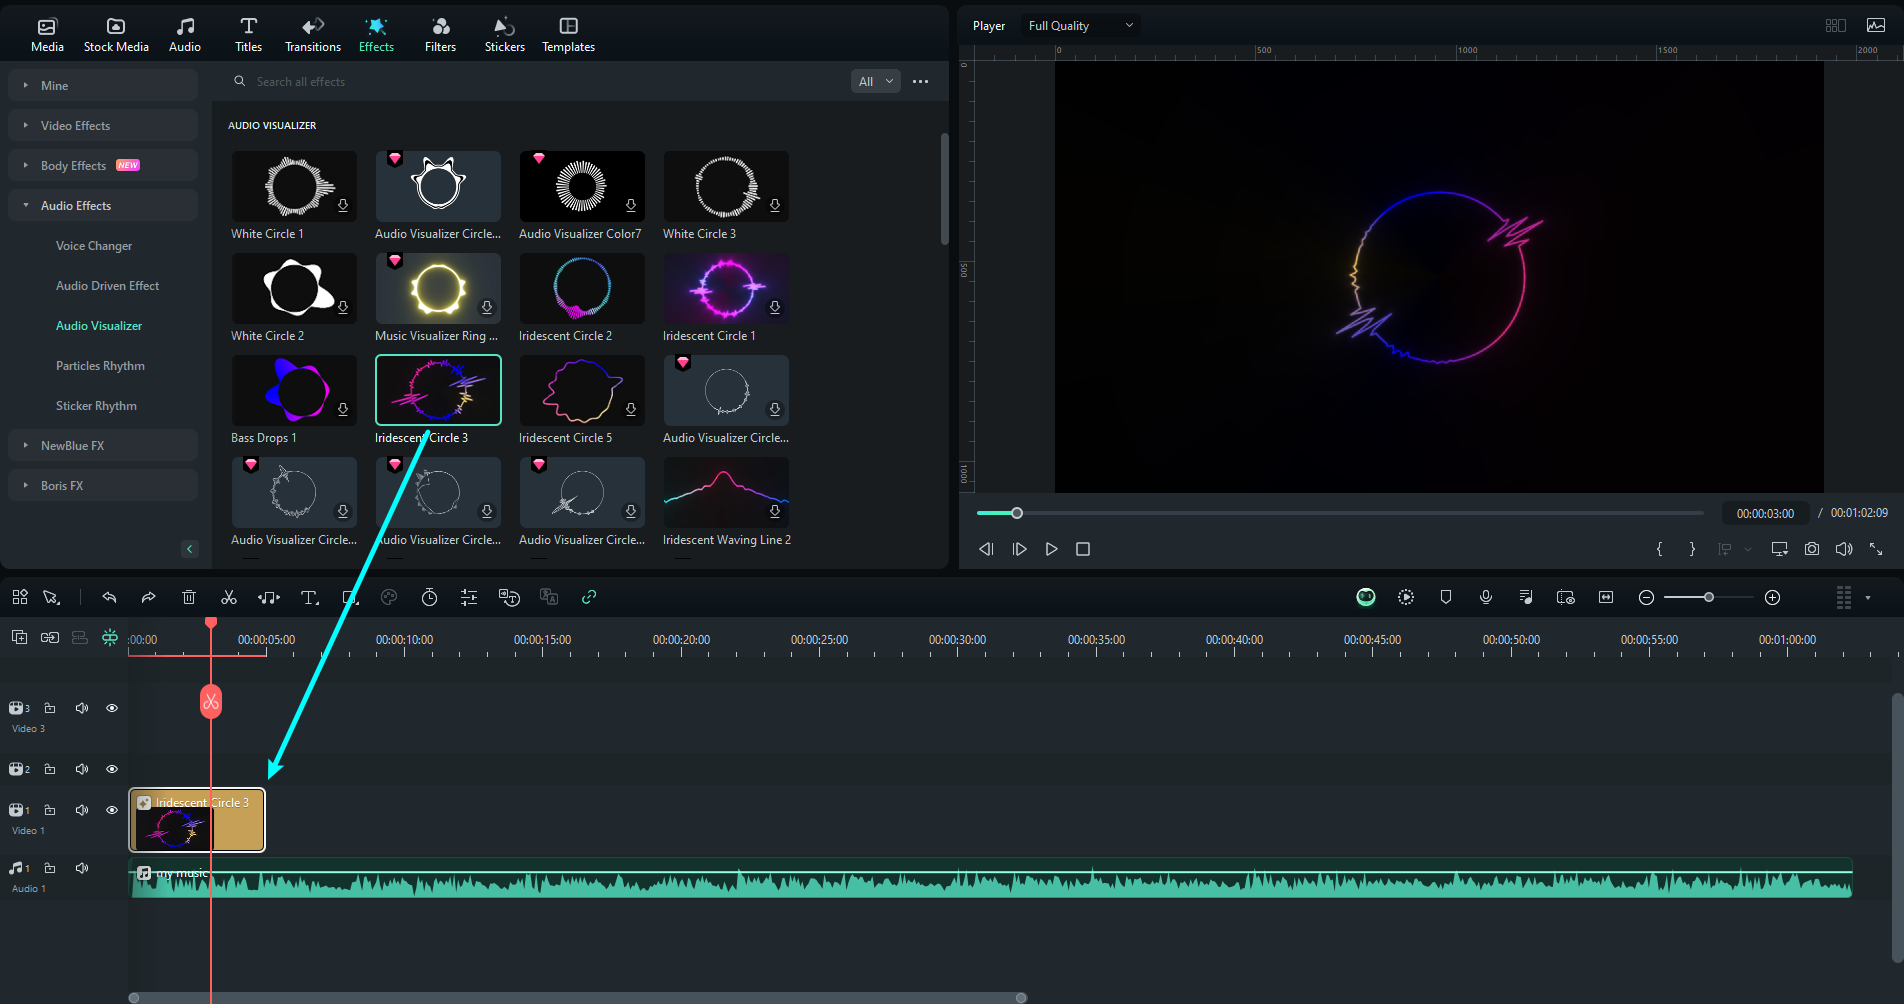
Add Audio Visualizer
Select the audio visualizer particle you like, drag it to the timeline, and place it on the track above audio.
Note:
You can also select the particle, right-click and select Apply, and then place it on the track above audio.Adjust Audio Visualizer
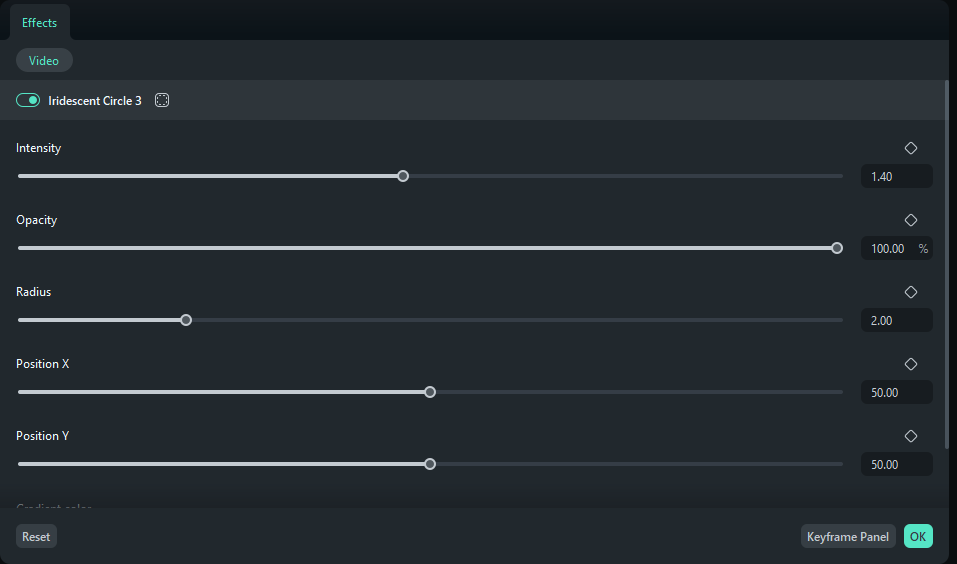
After dragging the audio effect to the timeline, you can double-click the effect to adjust the properties. Pull the left and right scroll bars of Intensity, Opacity, Radius, Position X and Position Y to adjust the corresponding values.
Preview the results
Click Play from the Preview Window in the upper right corner to view the effect.

Remove Audio Visualizer
If you want to remove all applied effects from the clip, right-click it in the timeline, and select Delete. The applied audio effects and other video effects such as filters or overlays will be removed altogether.

Tips to Use More Efficiently
- Audio visualization particles only support dragging to the track and temporarily do not support dragging and dropping to other clips to become their Effect properties.
- Audio visualization particles temporarily do not support player visualization editing.
- The 5 audio visualization particles combined with keying may have the same problems as the AI Portrait function: The display effect of the screen without characters is not perfect enough.
- Audio visualization particles may freeze without pre-rendering, but it does not affect the presentation effect.
Related Posts
Featured Articles
5 Best Video Overlay Apps to Add Overlay Effects
If you are looking for the best video overlay apps, check this article and explore the best apps to overlay photos and videos.
How to Remove Background in Canva: A Complete Guide
Find out how to remove background in Canva and explore an incredible platform to seamlessly delete the video's background on the mobile app and computer.
Full Guide | How to Use Motion Tracking in Shotcut Video Editor
Discover how to add magic to your videos with the motion-tracking filters in Shotcut
Recommended User Guide
Audio-Driven Effects
In Filmora, users can employ different audio-driven effects to add a touch of music and dramatic effects to their videos.
Voice Changer Effects
If you wish to make changes to the sound of the video or the character's sound, find the effective options in the Voice Changer feature of Filmora.
