For the Best Results, Use the Latest Version.
-
Preparations
-
Account
-
Get Started & Basic Settings
-
Compatibility & Tech Specs
-
Performance Settings
-
-
Creating Projects
-
Creating New Projects
-
-
Importing & Recording
-
Video Editing for Windows
-
Basic Video Editing
- Enable/Disable Clip in Windows
- Magnetic Timeline for Windows
- Dual Monitor Setup for Video Editing on Windows
- Select All Clips on Timeline for Windows
- Manage Timeline and Tracks on Windows
- Auto Ripple for Windows
- Split & trim video
- Crop & Pan & Zoom Video
- Compositing
- Change video playback speed
- Playing videos in reverse
- Mark In and Mark Out for Windows
- Markers for Windows
- Group editing
- Customizable Backgrounds for Videos and Images in Windows
- Video snapshot
- Using freeze frame
- Logo Reveal For Windows
- Apply auto enhance
- Applying drop shadow
- Adjustment layer for Windows
- Transforming
- Video Editing Ruler – Windows
-
Advanced Video Editing
-
AI-Powered Video Editing
- Smart Scene Cut for Windows
- Smart Short Clips for Windows
- AI Face Mosaic for Windows
- AI Video Enhancer for Windows
- AI Text-to-Video for Windows
- Planar Tracking
- AI Idea to Video for Windows
- Image to Video for Windows
- Instant Cutter Tool for Windows
- AI Extend
- AI Script to Video Guide for Windows
- AI Text-Based Editing for Windows
- AI Mate Editing for Windows
- Create with instant mode
- ChatGPT Plugin - AI Copywriting
- AI Smart Cutout
- Lens correction
- Auto reframe video
- AI Portrait Cutout
- Scene detection feature
- AI Smart Masking for Windows
- Make motion tracking
- Video Stabilization for Windows
- AI Video/Photo Object Remover for Windows
- AI Smart Search for Windows
- AI Skin Tone Protection for Windows
- AI Image for Windows
- Chroma key (green screen)
- Super Slow Motion with Optical Flow for Windows
- Video Denoise for Windows
-
-
Audio Editing for Windows
-
Basic Audio Editing
-
Advanced Audio Editing
-
AI-Powered Audio Editing
-
-
Text Editing for Windows
-
Basic Text Editing
-
Advanced Text Editing
-
AI-Powered Text Editing
-
-
Video Customizations
-
Video Effects
-
Audio Effects
-
Transitions
-
Stickers
-
Filters
-
Color Editing
-
Animations
-
Templates
-
Asset Center
-
-
Exporting & Share & Cloud Backup
Creating A PIP Effect
PIP, also known as Picture in Picture, is an effect often used to place some smaller videos on a background clip, showing two or more video clips on the same screen.
It is extremely useful to create online tutorials, product demonstrations or game videos, etc., when you need to narrate the action happening in the main clip.
Create A PIP Effect Video
- Import both the background video and the picture-in-picture video to the media library
- Drag and drop the background video to video track 1 in the timeline.
- Drag and drop the PIP video above the background video in the timeline.
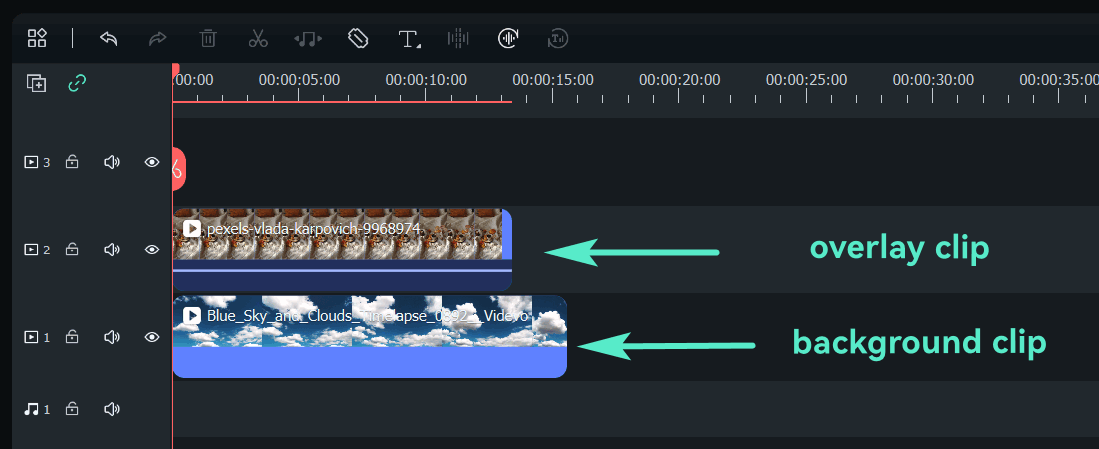
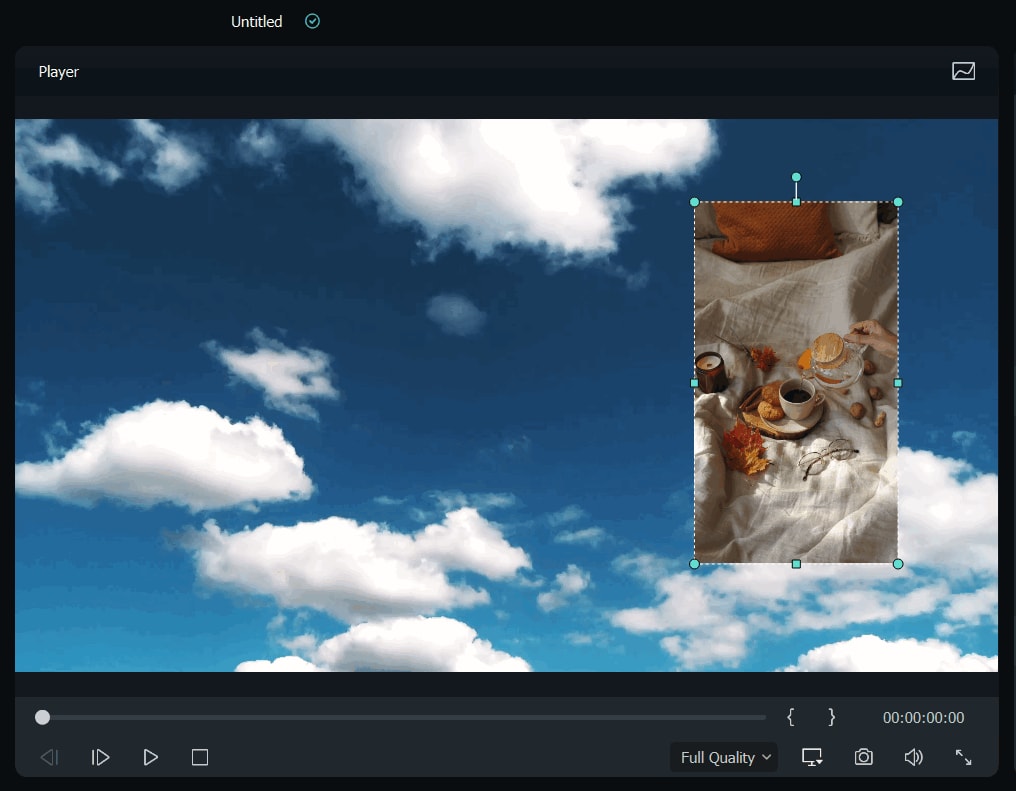
- Select the PIP video in the timeline and drag its handles in the Preview window to quickly adjust its position and size.
Adjust PIP Video
You can position a picture-in-picture clip anywhere you want in the Preview window, resize it to any size, adjust its blending mode and shape, add borders.
Change PIP Blending Modes
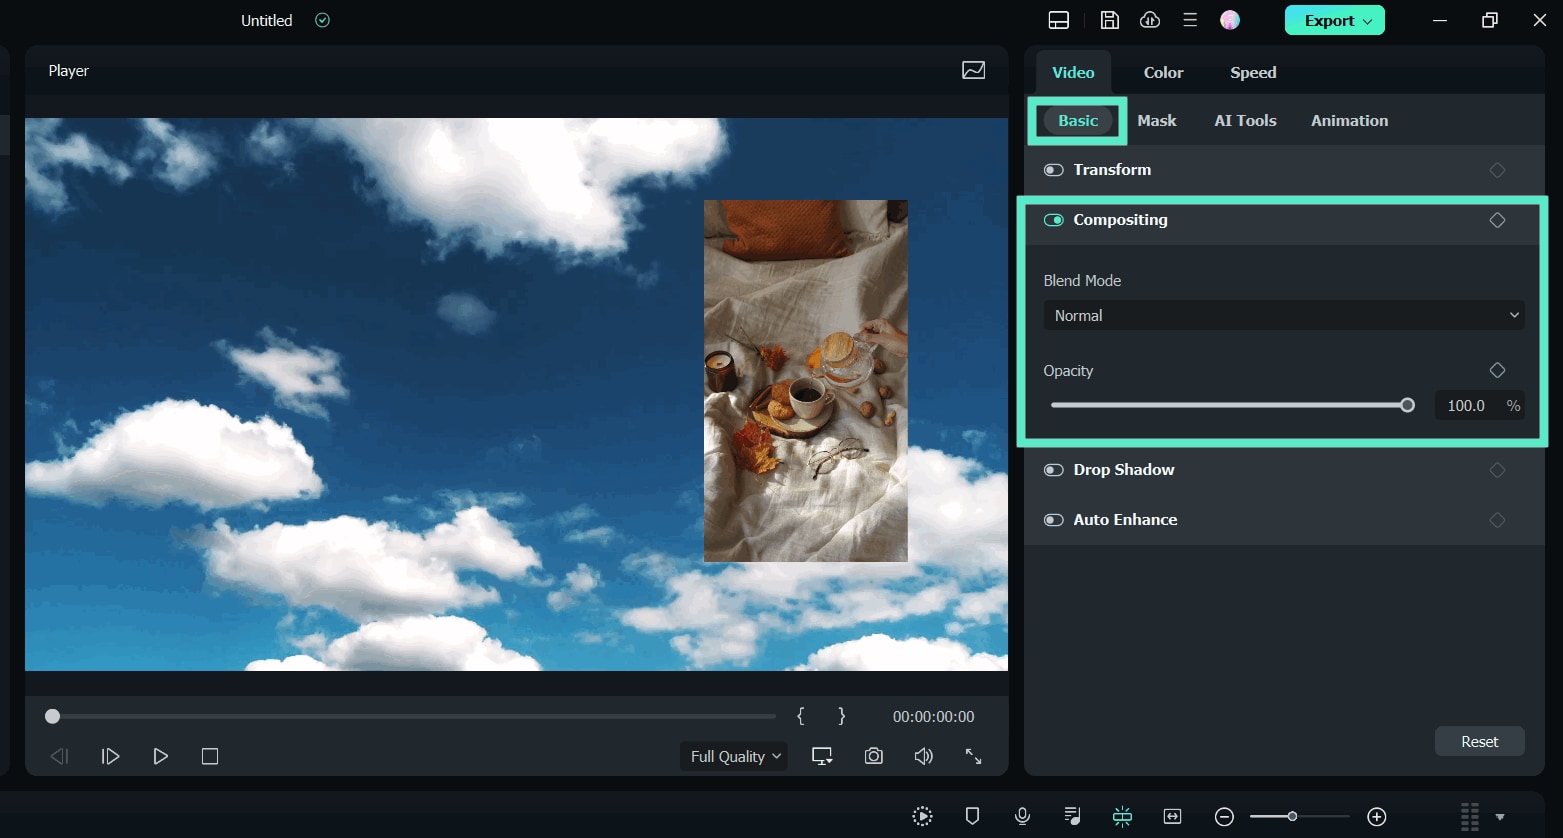
● Click the PIP video in the timeline to enter the Video edit panel, go to the Basic tab.
● Scroll down to the Compositing field and select a Blend Mode (i.e., multiply, darken, screen, or color burn).
● You can fine-tune the opacity until you have the look you want in the preview window.
Change PIP Video Shape with Mask
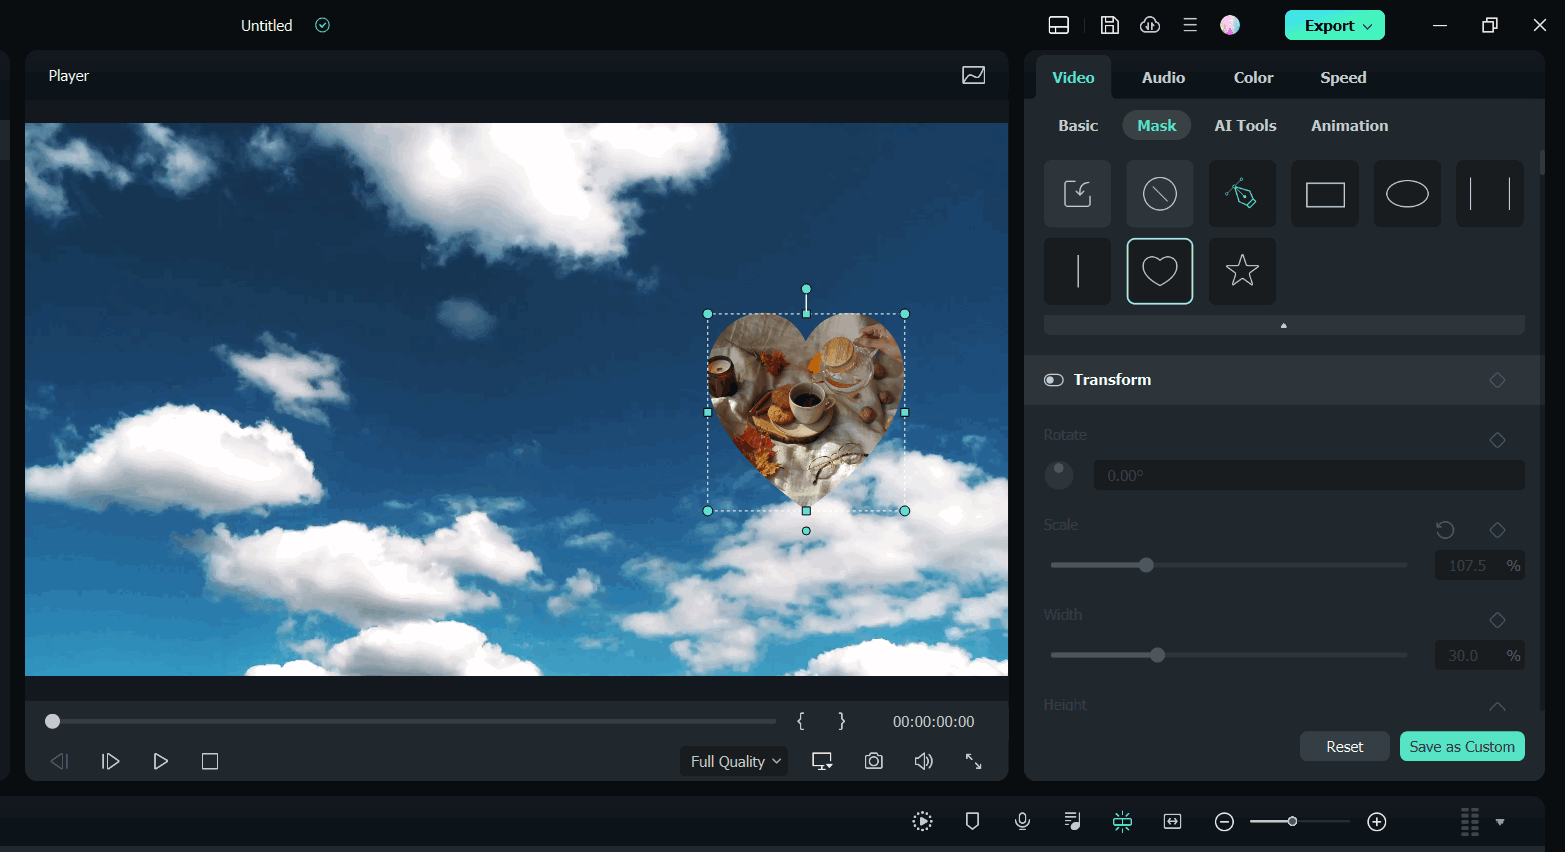
● Switch to the Mask tab in the Video edit panel.
● Please select one of the mask presets and place it in the PIP video in the timeline.
Note:
You can import your mask from your computer and add keyframing to the mask.Add Animation and Motion to PIP Video
Filmora provides dozens of motion effects and several animations for you to choose from.
● Double click the PIP video in the timeline switch from the Video panel to the Animation panel.
● Double click one animation preset or motion preset, or right-click on it, and then click Apply to view the result in the Preview window.
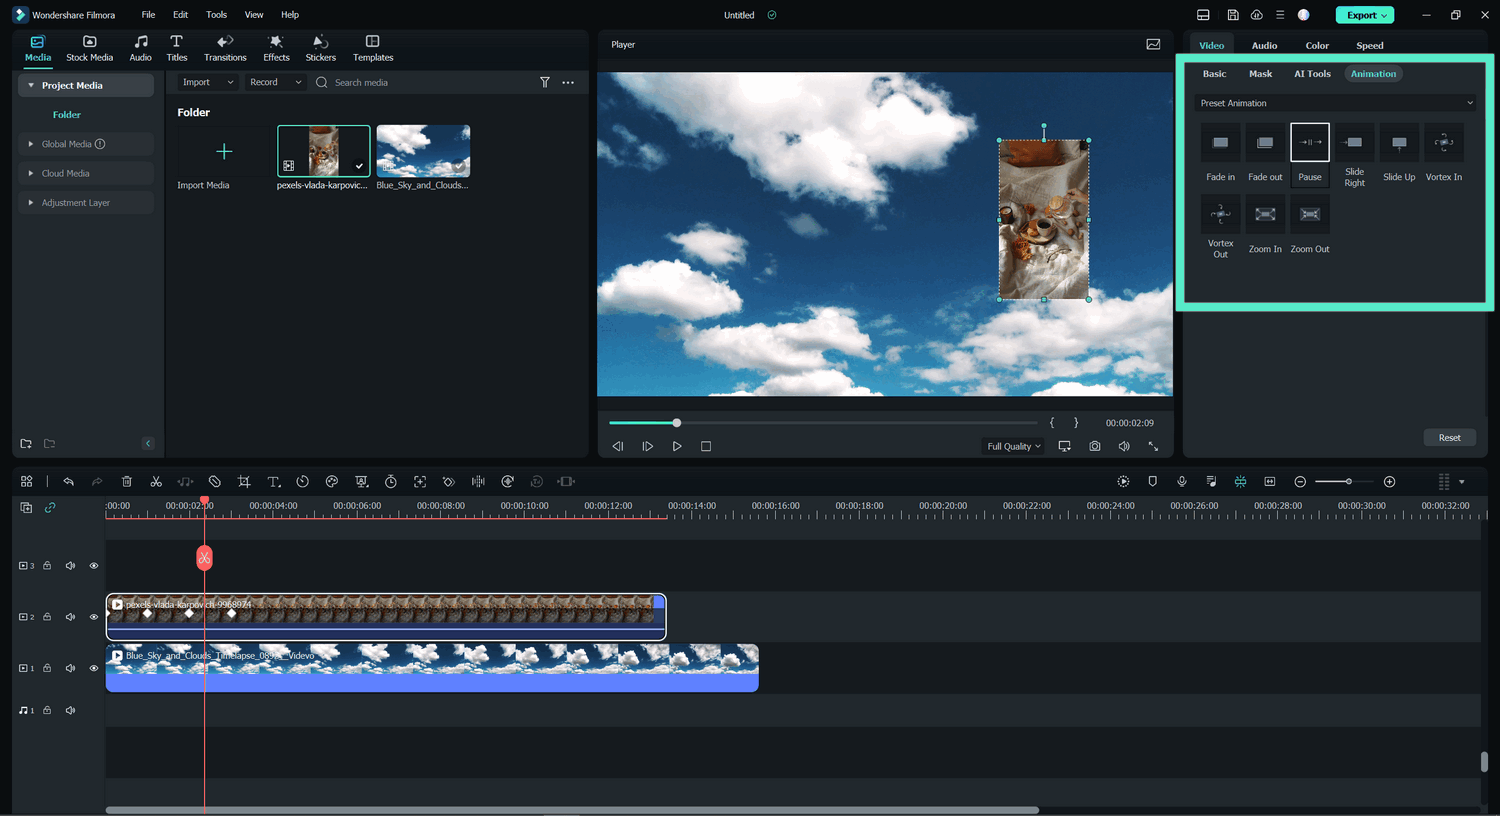
Note:
You can also add and customize the animation to the PiP video.Add Effects to PIP Video
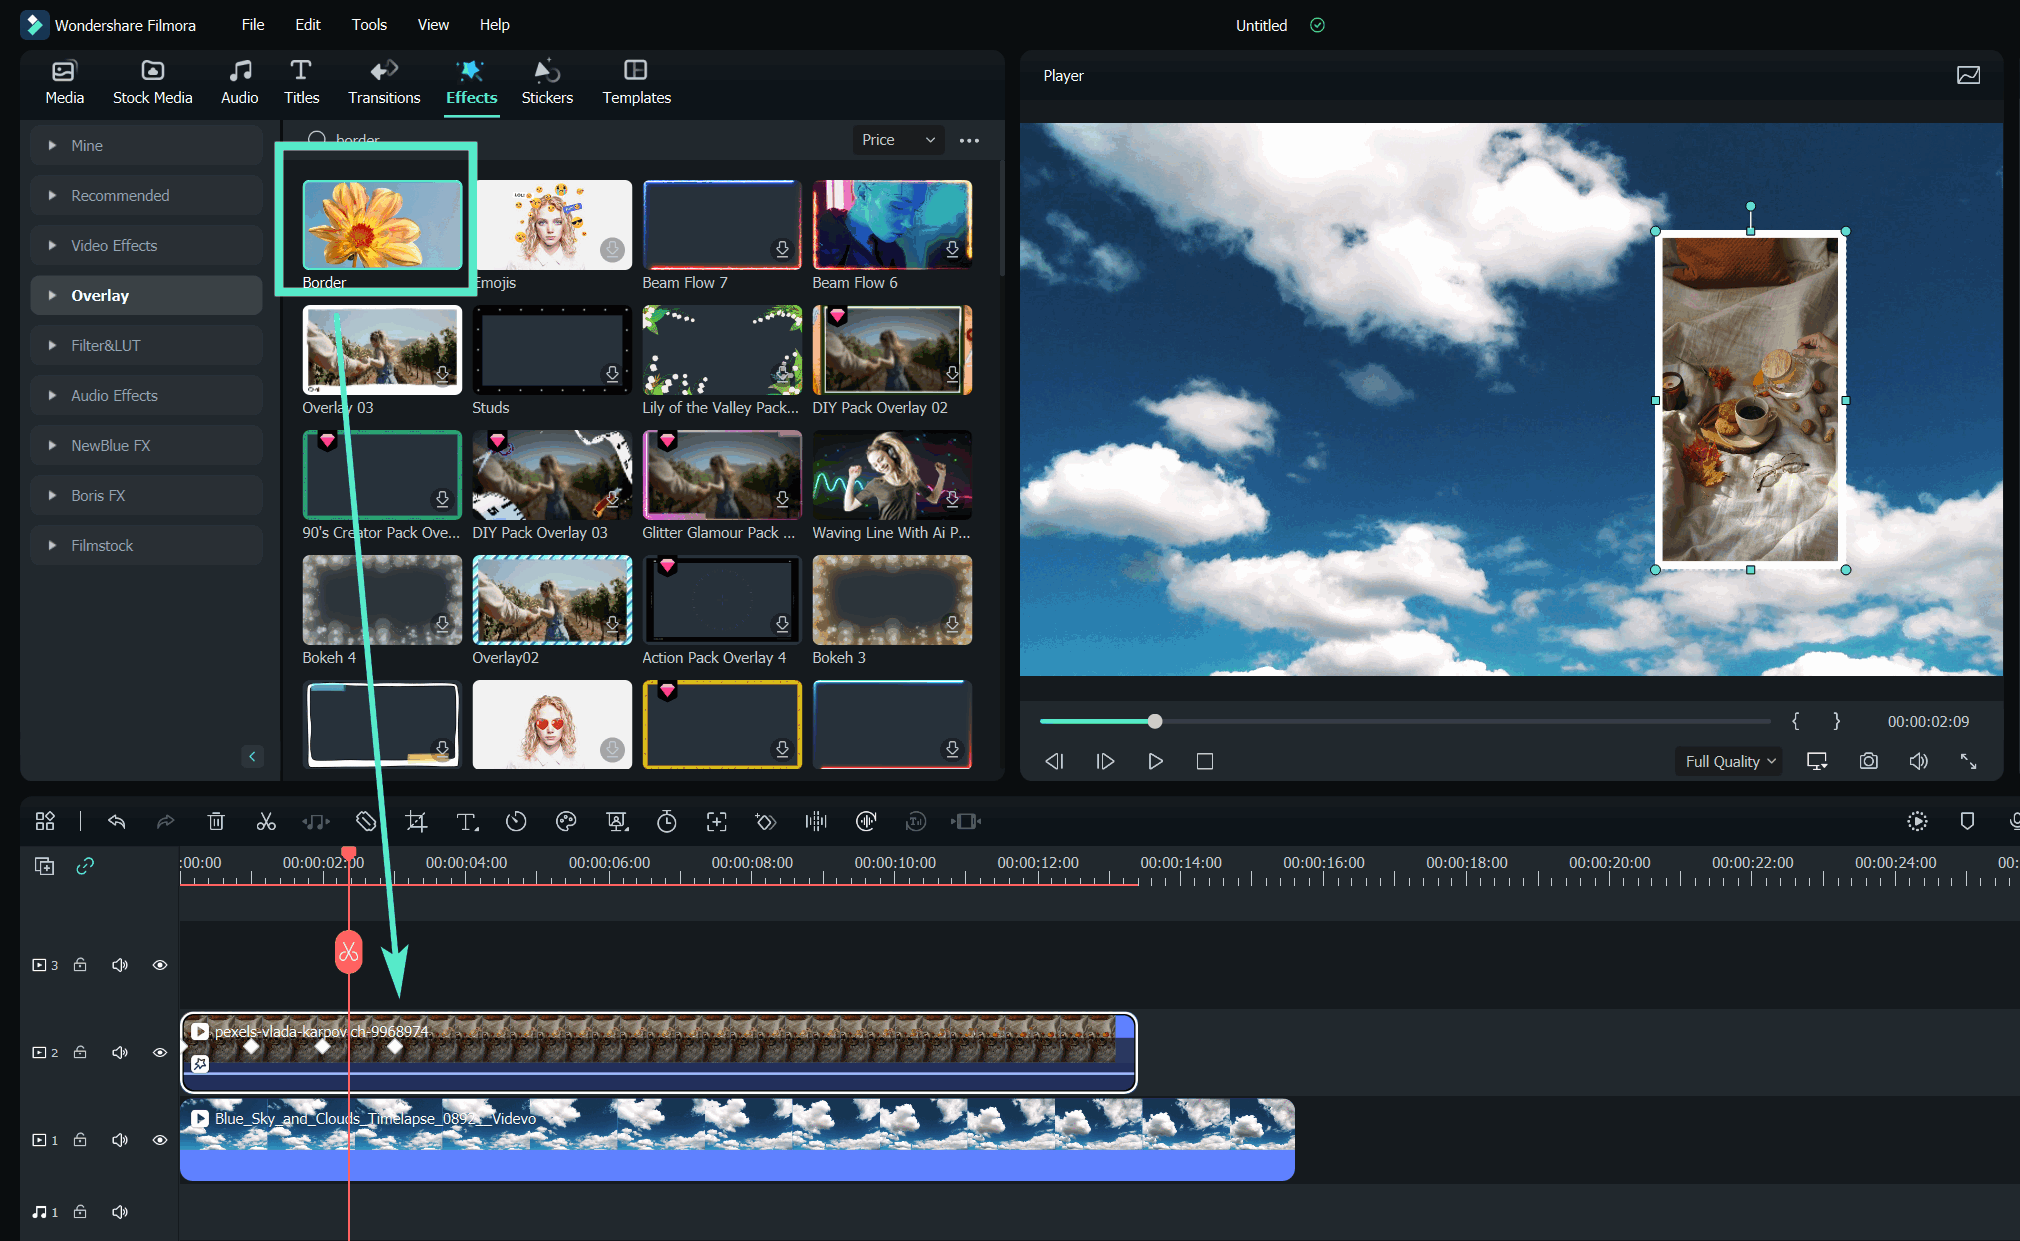
● Go to the Effect tab and then search the border in the search bar.
● Drag the border effect to the PIP video in the timeline, and go to the Effect tab under the Video panel.
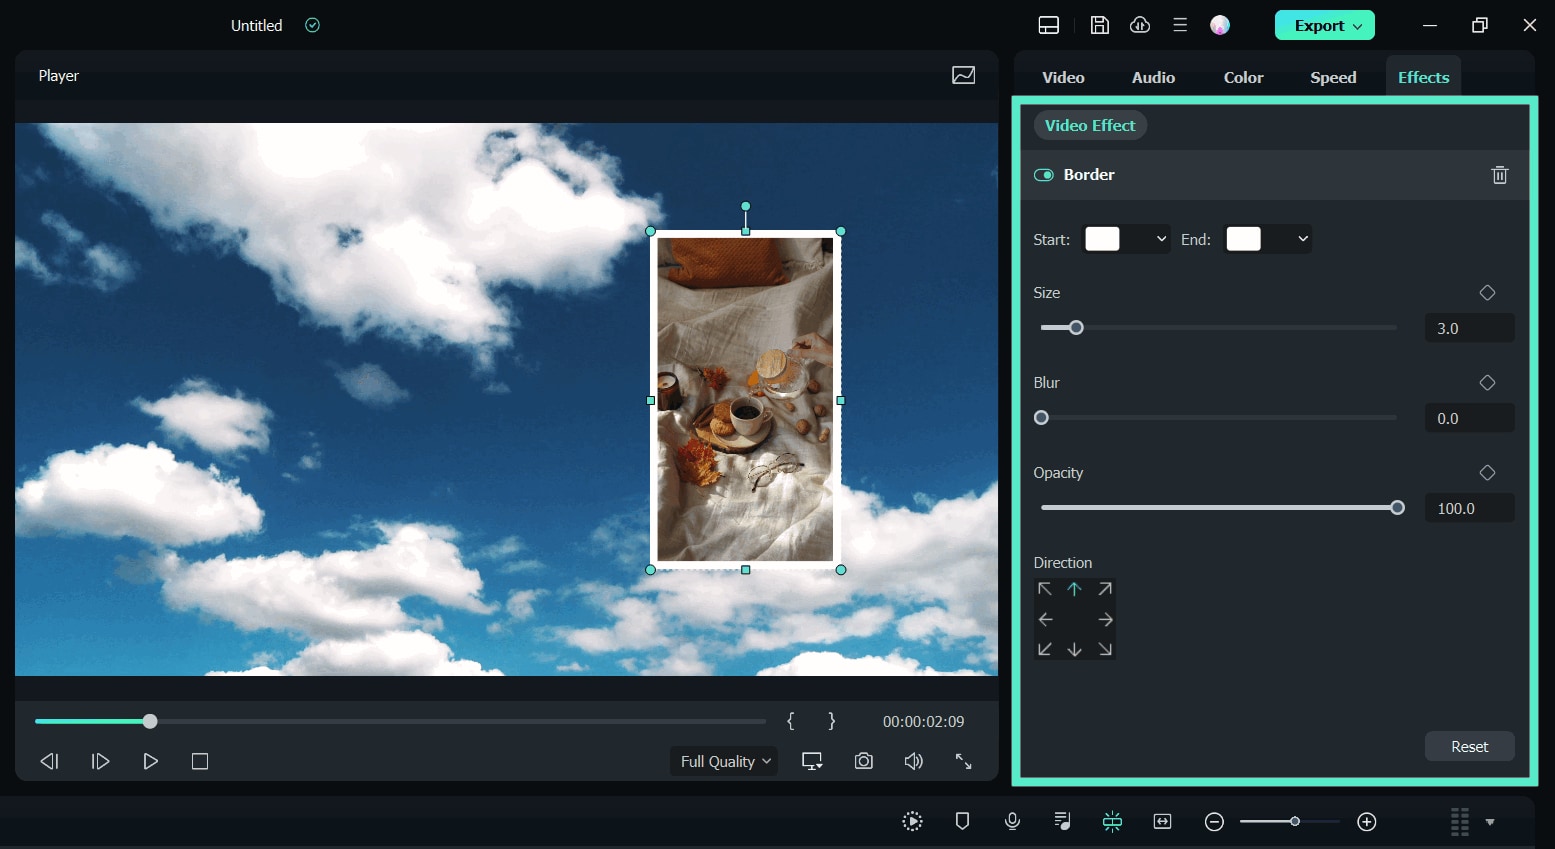
● Click the PIP video in the timeline to enter the Video panel.
● Switch to the Effect field to adjust the color, size, blur, opacity, and director of the border.
Related Posts
Featured Articles
Top 7 Podcasts To Text Converters
Absorbing a podcast's content can be time-consuming. Thus, using tools like podcast-to-text converters can be a quick way to save time.
How To Schedule Facebook Reels [ Best 3 Methods ]
Can you schedule reels on Facebook and gain several views and comments? This article provides the best 3 methods on how to schedule a reel with easy steps.
Boost Cyber Monday Sales: Filmora Guide for Video Promotion
Discover how to create professional Cyber Monday video ads effectively with Filmora. Explore customizable templates and Filmora's AI-powered tools to captivate your audience and drive sales.
Recommended User Guide
Apply mask to video
Learn how to use Masks in Filmora.
Multi-Clip Editing for Windows
Wondershare Filmora already has a timeline feature in which users can drag and drop many videos and effects for professional editing.
Create Multi-Camera Clip
Create Multi-Camera Clip allows you to combine and edit footage from multiple cameras into a single cohesive video.
