For the Best Results, Use the Latest Version.
-
Preparations
-
Account
-
Get Started & Basic Settings
-
Compatibility & Tech Specs
-
Performance Settings
-
-
Creating Projects
-
Creating New Projects
-
-
Importing & Recording
-
Video Editing for Windows
-
Basic Video Editing
- Enable/Disable Clip in Windows
- Magnetic Timeline for Windows
- Drawing Tools fo Windows
- Dual Monitor Setup for Video Editing on Windows
- Select All Clips on Timeline for Windows
- Dual Monitor Setup for Video Editing on Mac
- Manage Timeline and Tracks
- Auto Ripple for Windows
- Split & trim video
- Crop & Pan & Zoom Video
- Compositing
- Change video playback speed
- Playing videos in reverse
- Mark In and Mark Out for Windows
- Markers for Windows
- Group editing
- Customizable Backgrounds for Videos and Images in Windows
- Video snapshot
- Using freeze frame
- Logo Reveal For Windows
- Apply auto enhance
- Applying drop shadow
- Adjustment layer for Windows
- Transforming
- Video Editing Ruler – Windows
-
Advanced Video Editing
-
AI-Powered Video Editing
- Smart Scene Cut for Windows
- Smart Short Clips for Windows
- AI Face Mosaic for Windows
- AI Video Enhancer
- AI Text-to-Video for Windows
- Planar Tracking
- AI Idea to Video for Windows
- Image to Video for Windows
- Instant Cutter Tool for Windows
- AI Extend
- AI Script to Video Guide for Windows
- AI Text-Based Editing for Windows
- AI Mate Editing for Windows
- Create with instant mode
- ChatGPT Plugin - AI Copywriting
- AI Smart Cutout
- Lens correction
- Auto reframe video
- AI Portrait Cutout
- Scene detection feature
- AI Smart Masking for Windows
- Make motion tracking
- Stabilization
- AI Video/Photo Object Remover for Windows
- AI Smart Search for Windows
- AI Skin Tone Protection for Windows
- AI Image for Windows
- Chroma key (green screen)
- Super Slow Motion with Optical Flow for Windows
- Video Denoise for Windows
-
-
Audio Editing for Windows
-
Basic Audio Editing
-
Advanced Audio Editing
-
AI-Powered Audio Editing
-
-
Text Editing for Windows
-
Basic Text Editing
-
Advanced Text Editing
-
AI-Powered Text Editing
-
-
Video Customizations
-
Video Effects
-
Audio Effects
-
Transitions
-
Stickers
-
Filters
-
Color Editing
-
Animations
-
Templates
-
Asset Center
-
-
Exporting & Share & Cloud Backup
Import from Third-Party Cloud Drives
With the new release of Filmora V13, users can import video files from third-party cloud drives – Dropbox. The following are the detailed steps to use this new feature.
Index
Open the Editing Panel
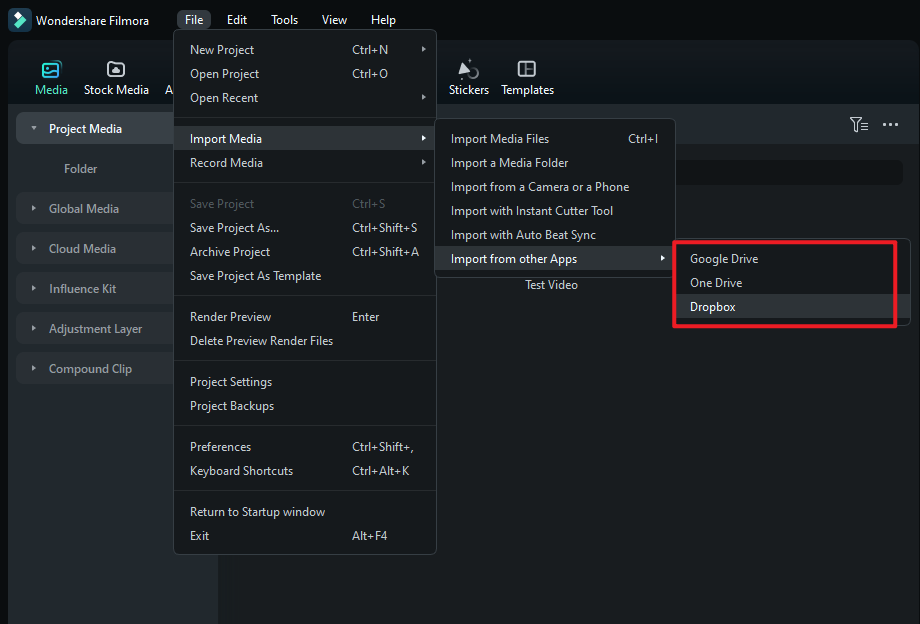
Run Filmora and click "New Project" to open the editing panel. Now go to "File" and then move your mouse to "Import Media".
Import From Other Apps
Then you'll see 6 options here, choose "Import from other Apps" and then click "Dropbox".
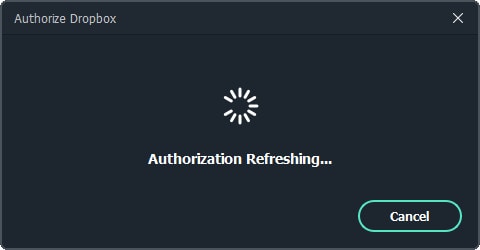
Authorization Refreshing
A new "Authorization Refreshing" window will appear, and your browser will open the dropbox.com.
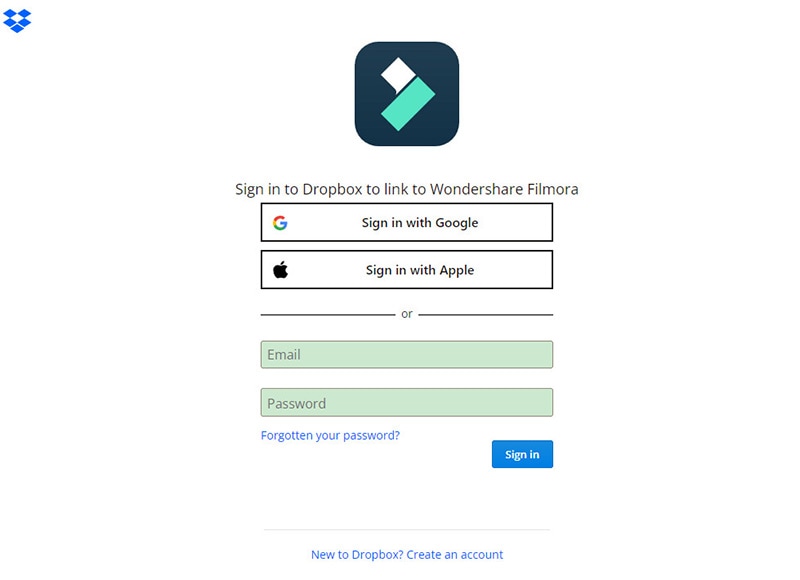
Go the browser and now you'll be asked to sign in with your account, Type your account and password to move forward.
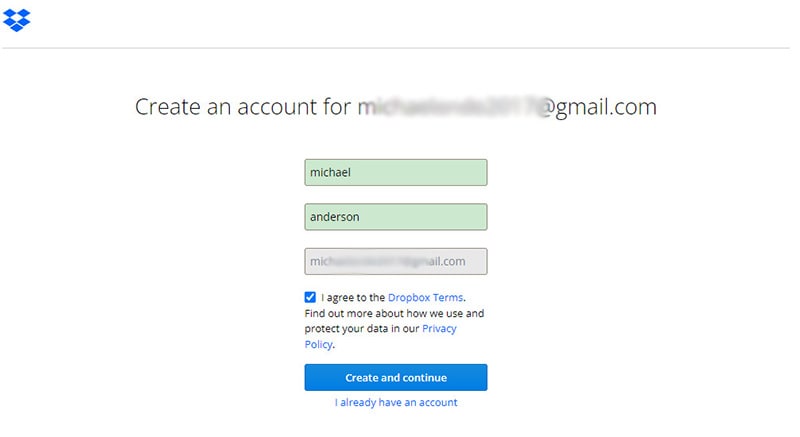
If you don't have an account, you'll need to create an account with your Google or Apple account.
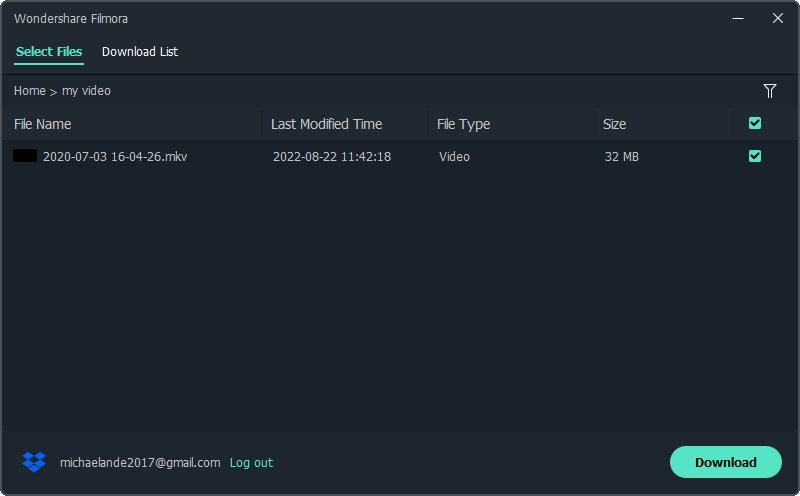
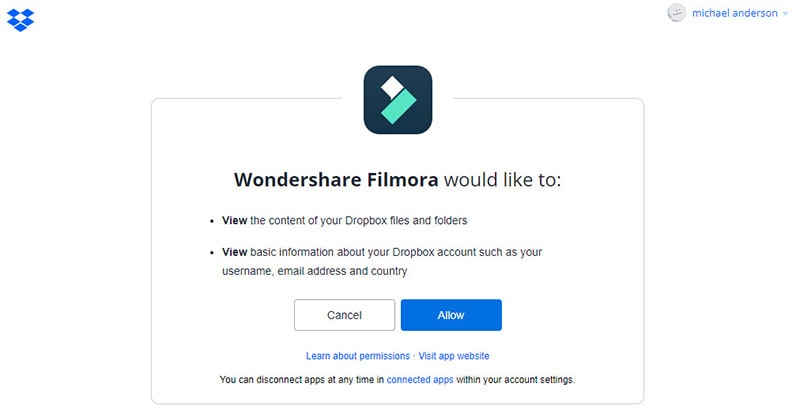
Click the "Allow" option to let Wondershare Filmora to view the video files in your Dropbox storage.
Related Posts
Featured Articles
10 Must-Try Free and Paid Online Voice Recorders
Discover the ten best online voice recorders for every budget. Find your perfect tool to effortlessly capture high-quality sound.
10 of the Best Happy New Year GIF Video Websites
Do you want to create a Happy New Year GIF video for your loved ones? Here are 10 of the best Happy New Year GIF video websites to help you out.
How To Create Animated Captions for Instagram Story in 6 Steps
Learn how to create catchy animated captions for Instagram stories. Walk through our easy guide and discover tips, tools, and creative ideas to make your stories stand out.
Recommended User Guide
Importing media clips
Learn how to import Media including standard, HD, and 4K videos into Filmora.
Import Subprojects on Windows
Learn how to efficiently manage multiple projects in Filmora for Mac. Import subprojects to reuse media, timelines, and templates, streamlining your editing workflow and enhancing collaboration.
