For the Best Results, Use the Latest Version.
-
Preparations
-
Account
-
Get Started & Basic Settings
-
Compatibility & Tech Specs
-
Performance Settings
-
-
Creating Projects
-
Creating New Projects
-
-
Importing & Recording
-
Video Editing for Windows
-
Basic Video Editing
- Enable/Disable Clip in Windows
- Magnetic Timeline for Windows
- Dual Monitor Setup for Video Editing on Windows
- Select All Clips on Timeline for Windows
- Manage Timeline and Tracks on Windows
- Auto Ripple for Windows
- Split & trim video
- Crop & Pan & Zoom Video
- Compositing
- Change Video Speed on Windows
- Playing videos in reverse
- Mark In and Mark Out for Windows
- Markers for Windows
- Group editing
- Customizable Backgrounds for Videos and Images in Windows
- Video snapshot
- Using freeze frame
- Logo Reveal For Windows
- Apply auto enhance
- Applying drop shadow
- Adjustment layer for Windows
- Transforming
- Video Editing Ruler – Windows
-
Advanced Video Editing
- Drawing Tools for Windows | Filmora Guide
- Create Multi-Camera Clip
- Compound Clip for Windows
- Multi-Clip Editing for Windows
- Filmora Motion Blur | Windows
- Filmora Flicker Removal Guide | Windows
- Apply mask to video
- Creating a PIP effect
- Keyframe Graph Editor for Windows
- Add animation keyframing for Windows
- Keyframe Path Curve for Windows
-
AI-Powered Video Editing
- Smart Scene Cut for Windows
- Smart Short Clips for Windows
- AI Face Mosaic for Windows
- Filmora AI Eye Contact- Windows
- AI Video Enhancer for Windows
- AI Text-to-Video for Windows
- Planar Tracking for Windows
- AI Idea to Video for Windows
- Filmora Image to Video for Windows
- Filmora Image to Prompt for Windows
- Instant Cutter Tool for Windows
- AI Extend
- Filmora AI Relight - Windows
- Filmora AI Image Enhancer Guide - Windows
- AI Script to Video Guide for Windows
- AI Text-Based Editing for Windows
- AI Mate Editing for Windows
- Create with instant mode
- ChatGPT Plugin - AI Copywriting
- AI Smart Cutout
- Lens correction on Windows
- Auto reframe video
- AI Portrait Cutout
- Scene detection feature
- AI Smart Masking for Windows
- Make motion tracking
- Video Stabilization for Windows
- AI Video/Photo Object Remover for Windows
- AI Smart Search for Windows
- AI Skin Tone Protection for Windows
- AI Image for Windows
- Chroma key (green screen)
- Super Slow Motion with Optical Flow for Windows
- Video Denoise for Windows
-
-
Audio Editing for Windows
-
Basic Audio Editing
-
Advanced Audio Editing
-
AI-Powered Audio Editing
-
-
Text Editing for Windows
-
Basic Text Editing
-
Advanced Text Editing
-
AI-Powered Text Editing
-
-
Video Customizations
-
Video Effects
-
Audio Effects
-
Transitions
-
Stickers
-
Filters
-
Color Editing
-
Animations
-
Templates
-
Asset Center
-
-
Exporting & Share & Cloud Backup
Keyframe Graph Editor for Windows
Keyframe editing has always been a core component of this video editor, and now it has been introduced as an independent function. With the new "Keyframe Graph Editor" in Filmora, adjust your animations within videos to make them smooth and lifelike. While it utilizes Bezier curves for enhancing the animations, it helps cater to many issues involving the previous iterations of keyframing editing. This guide below is going to discuss the new "Keyframe Panel" option of Filmora and how to access it on your Windows:
Access the Keyframe Graph Editor
The keyframe graph editor or keyframe panel of Filmora is all about keyframing in a precise manner. To experiment with this amazing feature, here is a step-by-step guide to access it:
Step 1: Install Filmora and Initiate a Project
After commencing the successful installation of Filmora, log in to it. Then, from the options appearing on the main screen, select the "New Project" button. This will take you to the editing interface of Filmora.
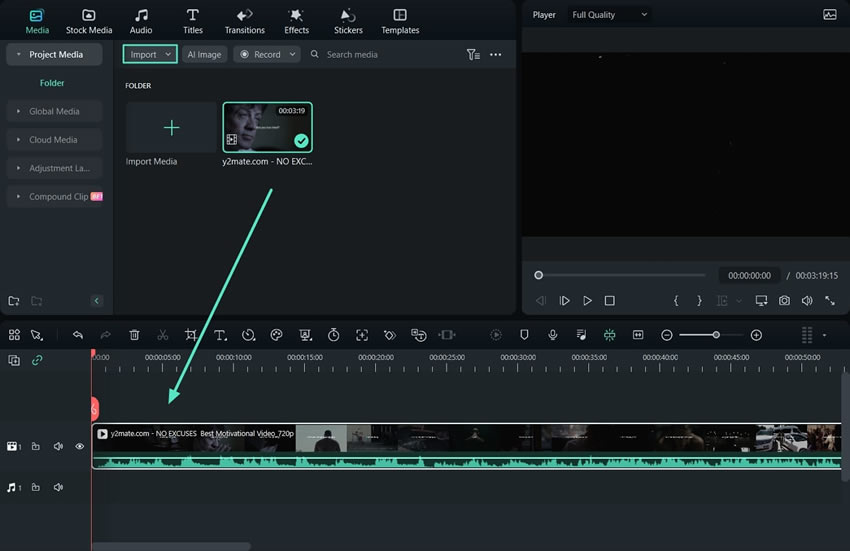
Step 2: Import Media and Move it to the Timeline
From the editing window, go to the "Media" tab in the custom toolbar and then select the "Click here to import media" option on the media screen to import media. Once your file is imported, move it to the timeline with your cursor and place it on the timeline track.
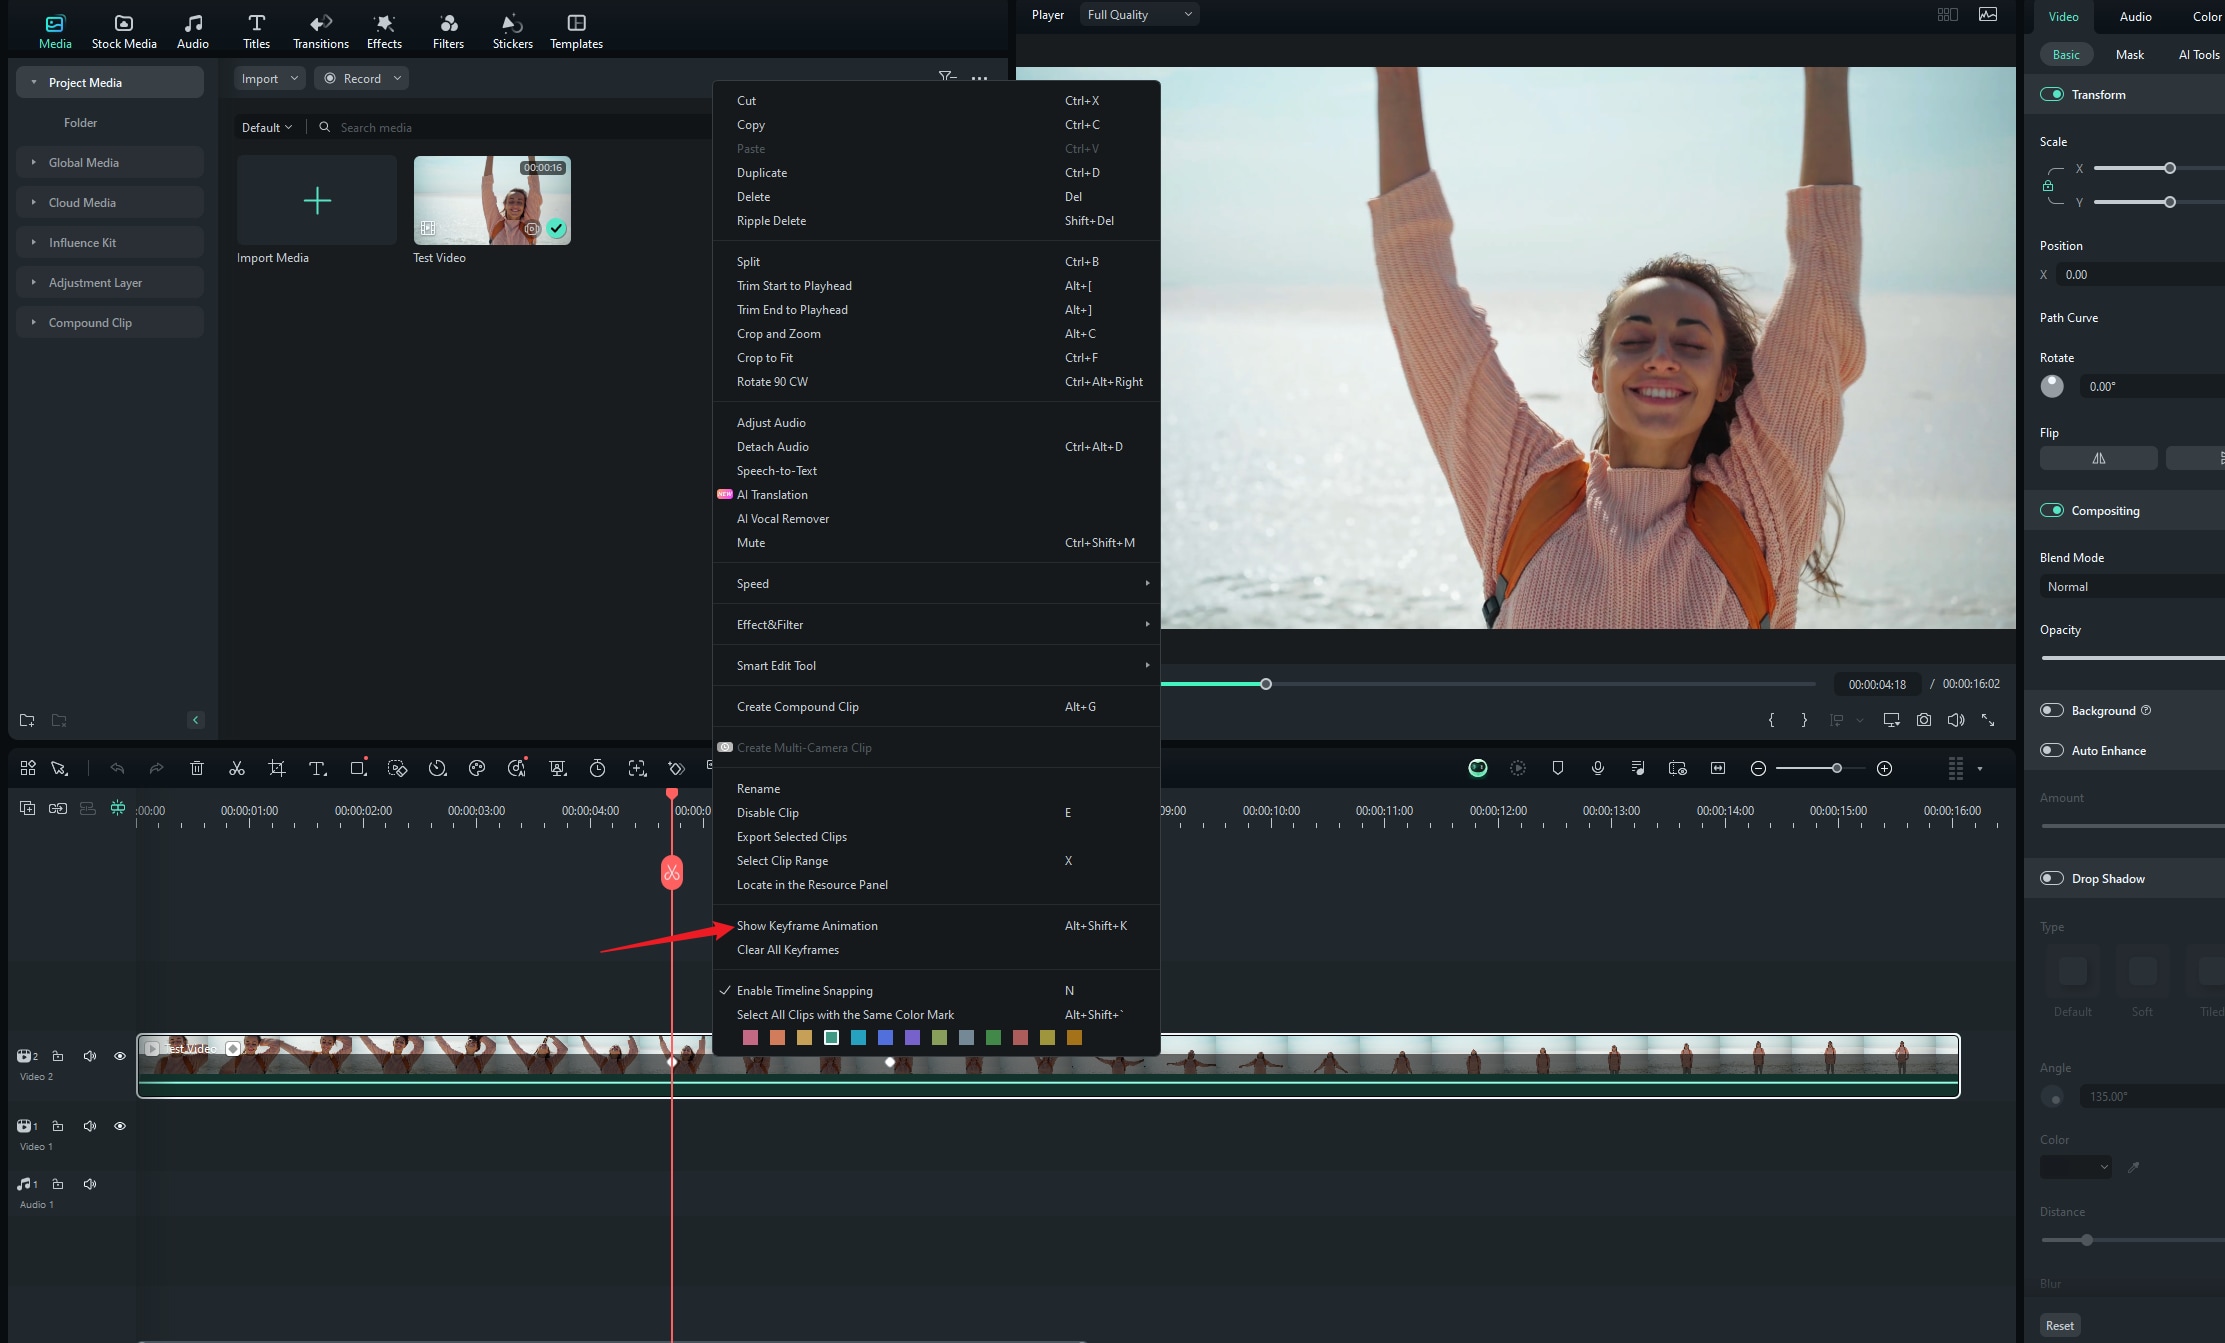
Step 3: Enable the Keyframe Panel
Now, right click on this clip in the timeline. From there, click the "Show KeyframeAnimation".
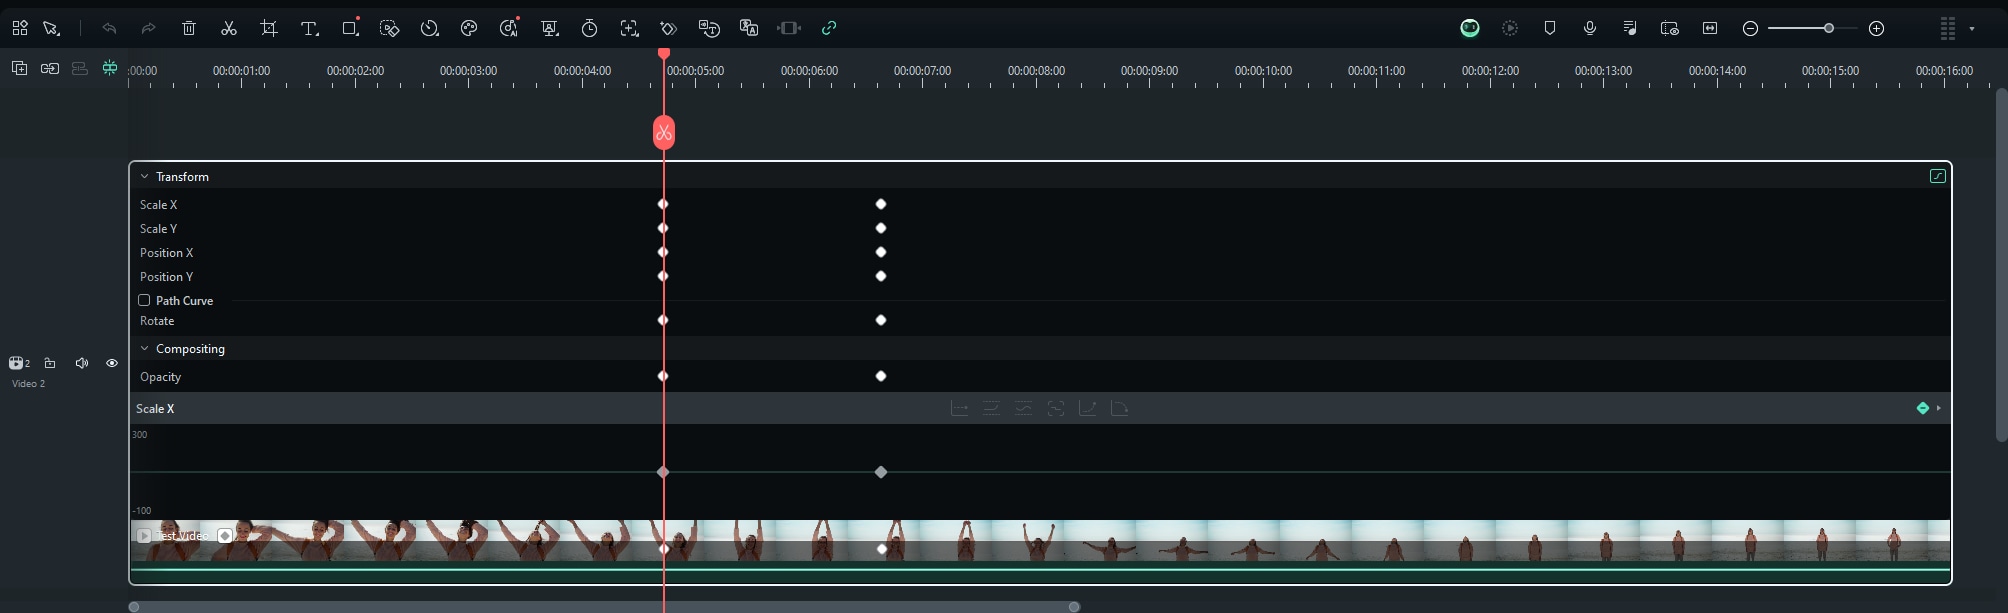
The keyframe graph will be shown at the timeline. Now, add different keyframes in your videos, seamlessly edit them, and keep track through this graph editor.
Related Posts
Featured Articles
10 Most Iconic Car Scenes in Film, from Car Chases to Emotional Road Trips
Car scenes in movies can be fast, funny, or full of feelings. Come see our top picks of the most iconic ones in movie history and learn how filmmakers bring them to life.
The 10 Best Video Editing Software to Edit Videos Like a Pro
This guide will help you learn more about the 10 best editing software tools for top-grade videography. Find out more about their features, compatibility, user ratings, strengths, weaknesses, and pricing plans.
Top 6 Best Free Online Audio Editor to Use (100% Free)
Do you know which are the 6 free online audio editor? In this article, you will know the best online audio editor for editing music. Check this out!
Recommended User Guide
Add animation keyframing for Windows
This is a guide teaching you to add animation keyframing in Filmora.
Filmora Flicker Removal Guide | Windows
Learn how to use Filmora Flicker Remover on Windows to remove video flicker and fix lighting issues quickly and easily.
Filmora Motion Blur | Windows
Here is the guide on how to use the Motion Blur feature in Filmora.
