For the Best Results, Use the Latest Version.
-
Preparations
-
Account
-
Get Started & Basic Settings
-
Compatibility & Tech Specs
-
Performance Settings
-
-
Creating Projects
-
Creating New Projects
-
-
Importing & Recording
-
Video Editing for Windows
-
Basic Video Editing
- Enable/Disable Clip in Windows
- Magnetic Timeline for Windows
- Dual Monitor Setup for Video Editing on Windows
- Select All Clips on Timeline for Windows
- Manage Timeline and Tracks on Windows
- Auto Ripple for Windows
- Split & trim video
- Crop & Pan & Zoom Video in Filmora for Windows
- Compositing
- Change Video Speed on Windows
- Playing videos in reverse
- Mark In and Mark Out for Windows
- Markers for Windows
- Group editing
- Customizable Backgrounds for Videos and Images in Windows
- Video snapshot
- Using Freeze Frame in Filmora for Windows
- Logo Reveal For Windows
- Auto Enhance in Filmora for Windows
- Applying drop shadow
- Adjustment layer for Windows
- Apply Transforming for Windows
- Video Editing Ruler – Windows
-
Advanced Video Editing
- Drawing Tools for Windows | Filmora Guide
- Create Multi-Camera Clip in Filmora for Windows
- Compound Clip for Windows
- Multi-Clip Editing for Windows
- Filmora Motion Blur | Windows
- Video Chapters in Filmora on Windows
- Filmora Flicker Removal Guide | Windows
- Apply mask to video
- Creating a PIP Effect for Windows
- Keyframe Graph Editor for Windows
- Add animation keyframing for Windows
- Keyframe Path Curve for Windows
-
AI-Powered Video Editing
- Smart Scene Cut for Windows
- Smart Short Clips for Windows
- AI Face Mosaic for Windows
- Filmora AI Eye Contact- Windows
- AI Video Enhancer for Windows
- AI Text-to-Video for Windows
- Planar Tracking for Windows
- AI Idea to Video for Windows
- Filmora Image to Video for Windows
- Filmora Image to Prompt for Windows
- Instant Cutter Tool for Windows
- AI Extend
- Filmora AI Relight - Windows
- Filmora AI Image Enhancer Guide - Windows
- AI Script to Video Guide for Windows
- AI Text-Based Editing for Windows
- AI Mate Editing for Windows
- Instant Mode in Filmora
- ChatGPT Plugin - AI Copywriting
- AI Smart Cutout for Windows
- Lens correction on Windows
- Auto Reframe Video for Windows
- AI Portrait Cutout
- Scene detection feature
- AI Smart Masking for Windows
- Motion Tracking on Windows
- Video Stabilization for Windows
- AI Video/Photo Object Remover for Windows
- AI Smart Search for Windows
- AI Skin Tone Protection for Windows
- AI Image for Windows
- Chroma key (green screen)
- Super Slow Motion with Optical Flow for Windows
- Video Denoise for Windows
-
-
Audio Editing for Windows
-
Basic Audio Editing
-
Advanced Audio Editing
-
AI-Powered Audio Editing
- Auto synchronization
- AI Sound Effects in Filmora for Windows
- Smart BGM Generation on Windows
- AI Voice Enhancer in Filmora
- AI Voice Cloning in Wondershare Filmora
- AI Music Generator for Windows
- Audio To Video
- AI Vocal Remover for Windows
- AI Auto Beat Sync for Windows
- AI Audio Stretch for Windows
- AI Audio Denoise for Windows
- Silence Detection on Windows
-
-
Text Editing for Windows
-
Basic Text Editing
-
Advanced Text Editing
-
AI-Powered Text Editing
-
-
Video Customizations
-
Video Effects
-
Audio Effects
-
Transitions
-
Stickers
-
Filters
-
Color Editing
-
Animations
-
Templates
-
Asset Center
-
-
Exporting & Share & Cloud Backup
Filmora AI Video Enhancer Windows
Filmora's AI Video Enhancer is designed to upgrade video quality automatically, making low-resolution or slightly blurred footage look sharper and more refined. Instead of relying on manual adjustments, this feature uses advanced AI models to analyze every frame and improve clarity, texture, and visual detail. It is especially useful for restoring older clips, improving smartphone recordings, or enhancing videos captured in less-than-ideal conditions.
With the newly added Topaz model available under the Select Model option, Filmora brings professional-grade enhancement technology directly into its editing workflow. The process is simple, efficient, and delivers consistent results without altering the original timing or motion of the video.
Key Highlights of AI Video Enhancer
- Powered by Topaz Starlight Model: Filmora integrates the advanced Topaz Starlight AI model to intelligently enhance sharpness, reduce visual noise, and improve overall image quality with professional-level precision.
- Consistent Output Settings: The enhanced video maintains the same duration and frame rate as the original clip, ensuring smooth playback and seamless integration with existing edits.
- Smart Resolution Handling: Videos with resolutions up to 1080p are enhanced and exported at 1080p, while higher-resolution footage retains its original quality, supporting outputs up to 4K without unnecessary upscaling.
Index
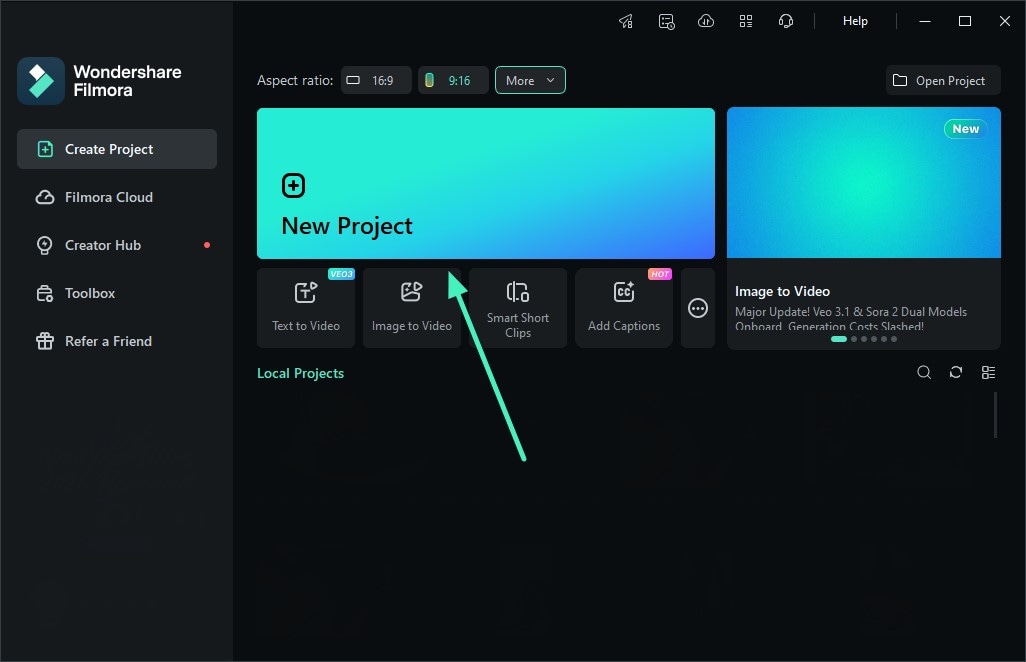
Step 1. Import and Add Media Files to the Timeline
After launching Filmora, press the New Project option to create a new project. Import your video clips into Wondershare Filmora and add them to the timeline.
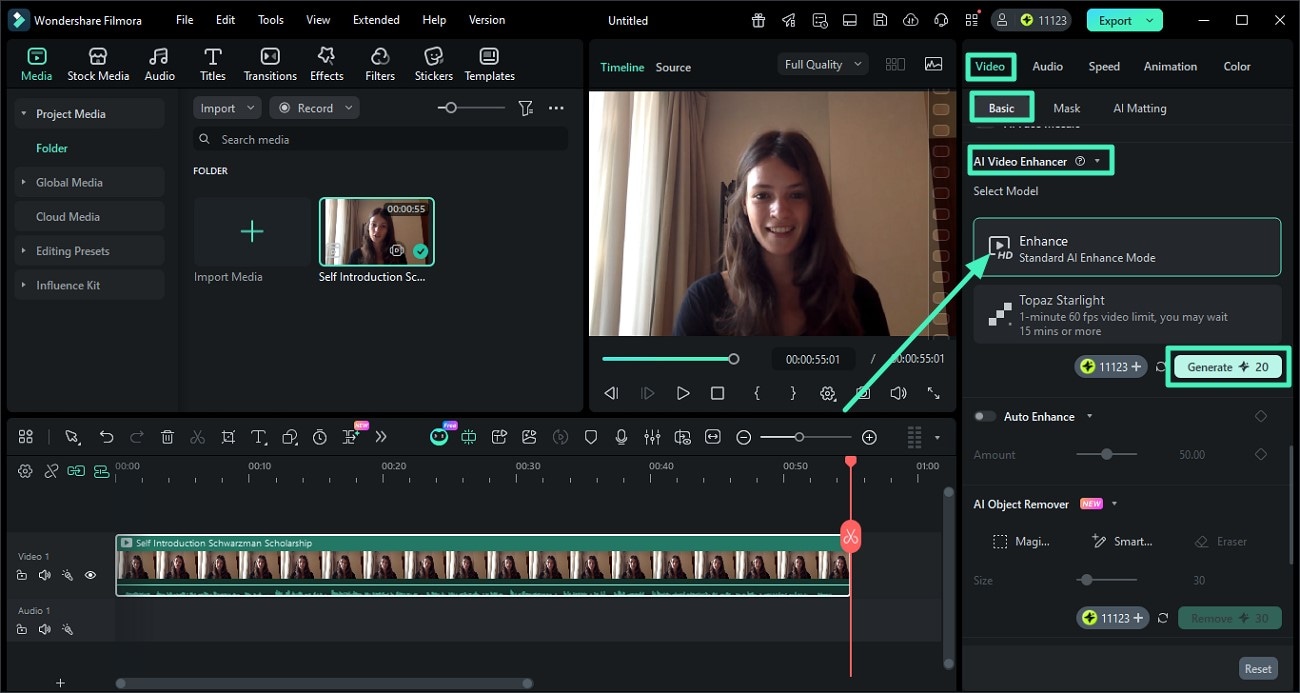
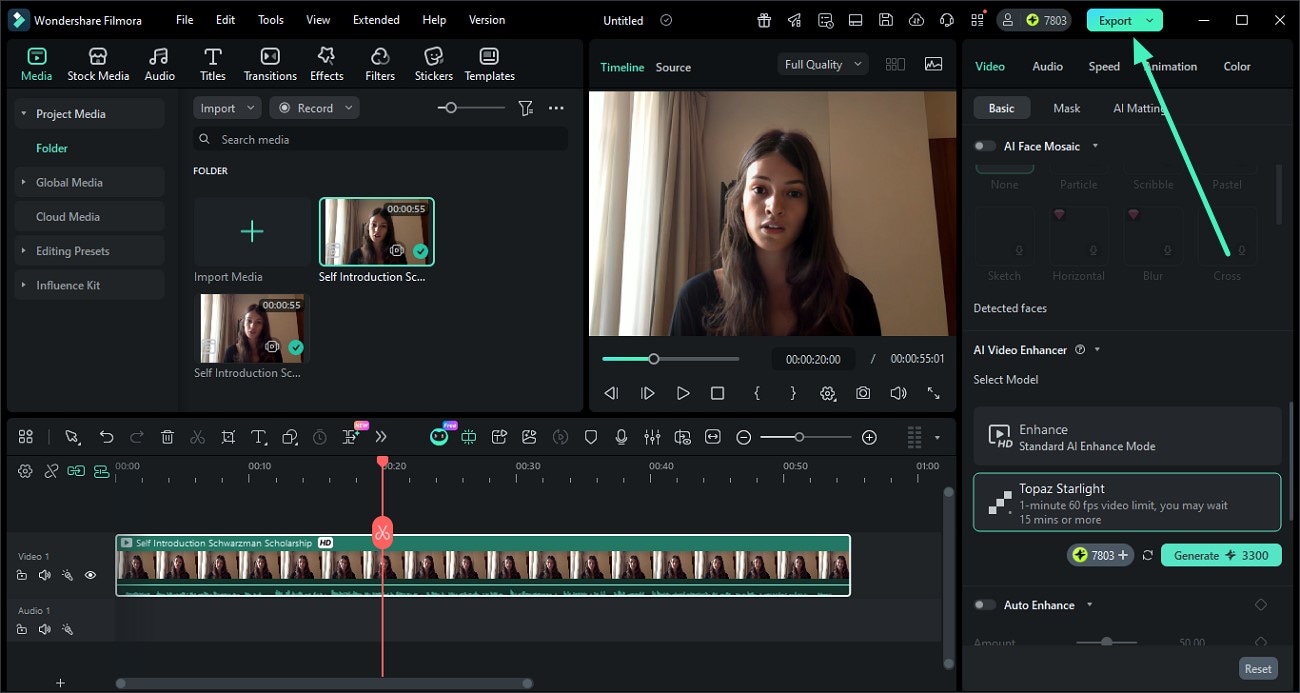
Step 2. Access the AI Video Enhancer
In the editing interface, head to the properties panel on the right and access the Video section. Now, enable the Basic option and scroll through the options to locate AI Video Enhancer. Select the standard model and press the Generate button to begin enhancement.
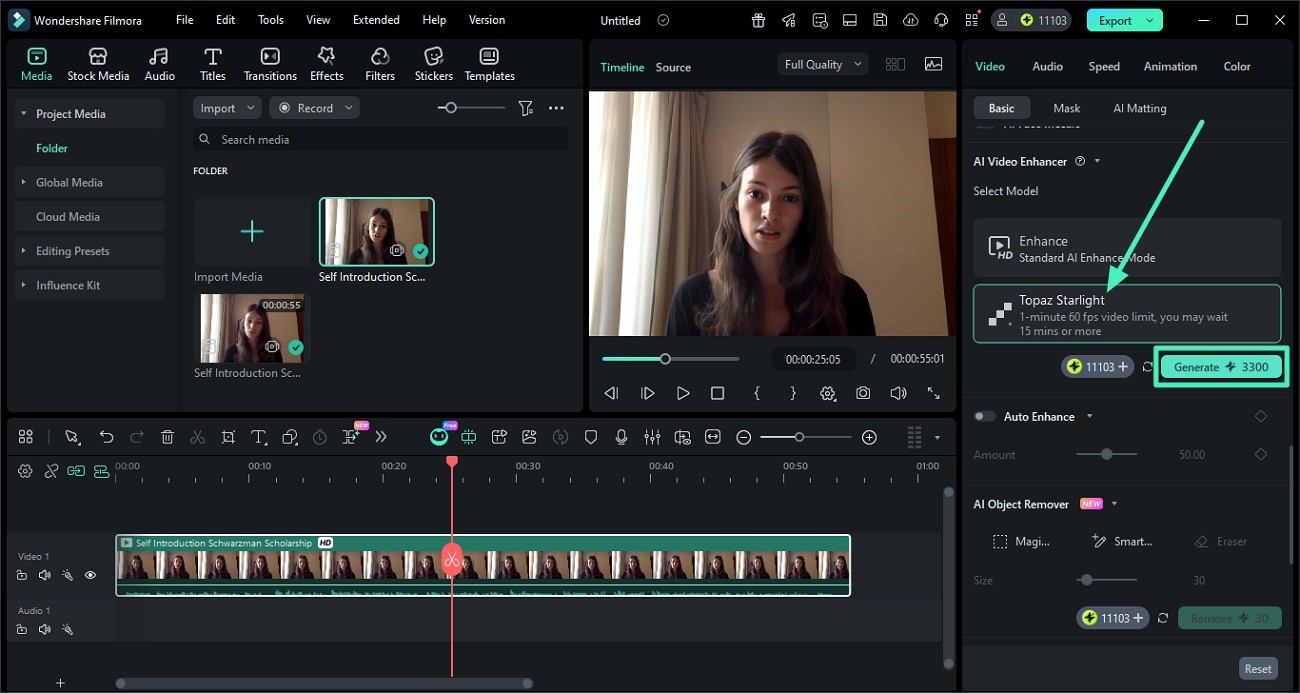
Step 3. Choose Topaz Starlight Model
To apply high-quality enhancement, choose the Topaz Starlight model below the standard model and hit the Generate button.
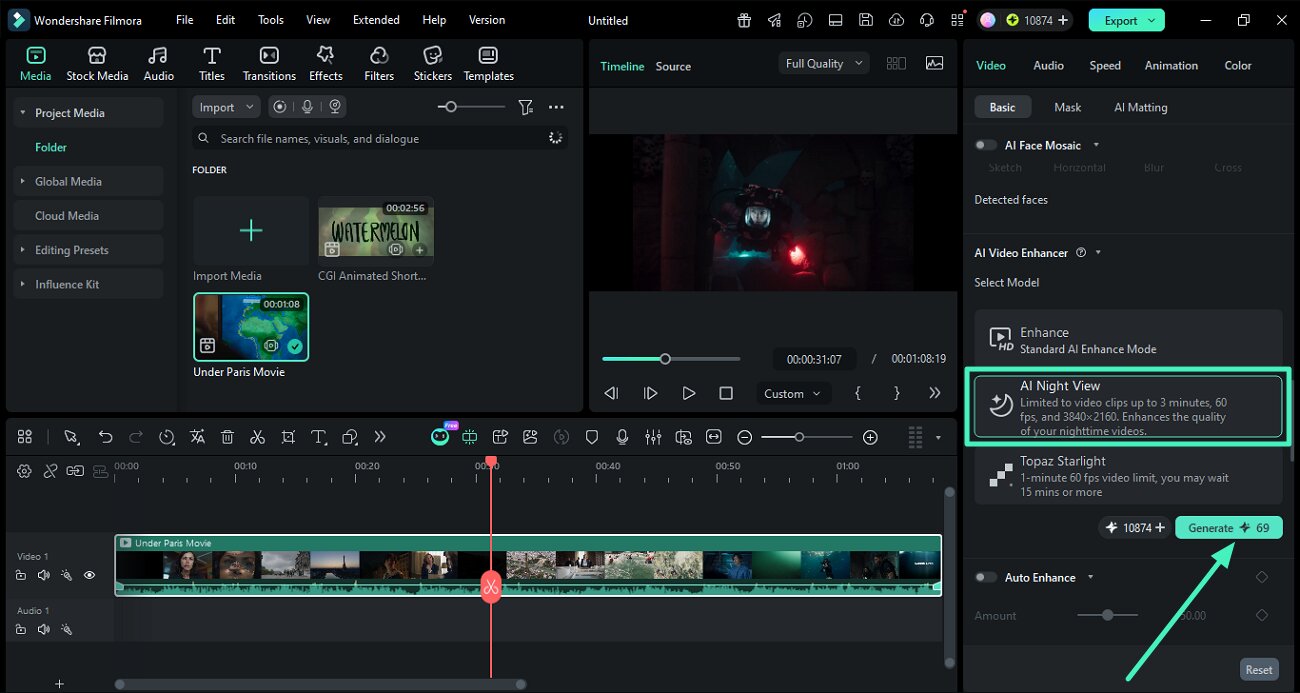
Step 4. Enable AI Night ViewNEW
To enhance the visual quality pof dark video or videos that are shot at night, click the "AI Night View" option. Hit the "Generate" button to enhance the nighttime video quality.
Step 5. Review Final Results and Export Video
Once the video is successfully enhanced, press the Export button located at the top-right corner to save the video to your device.
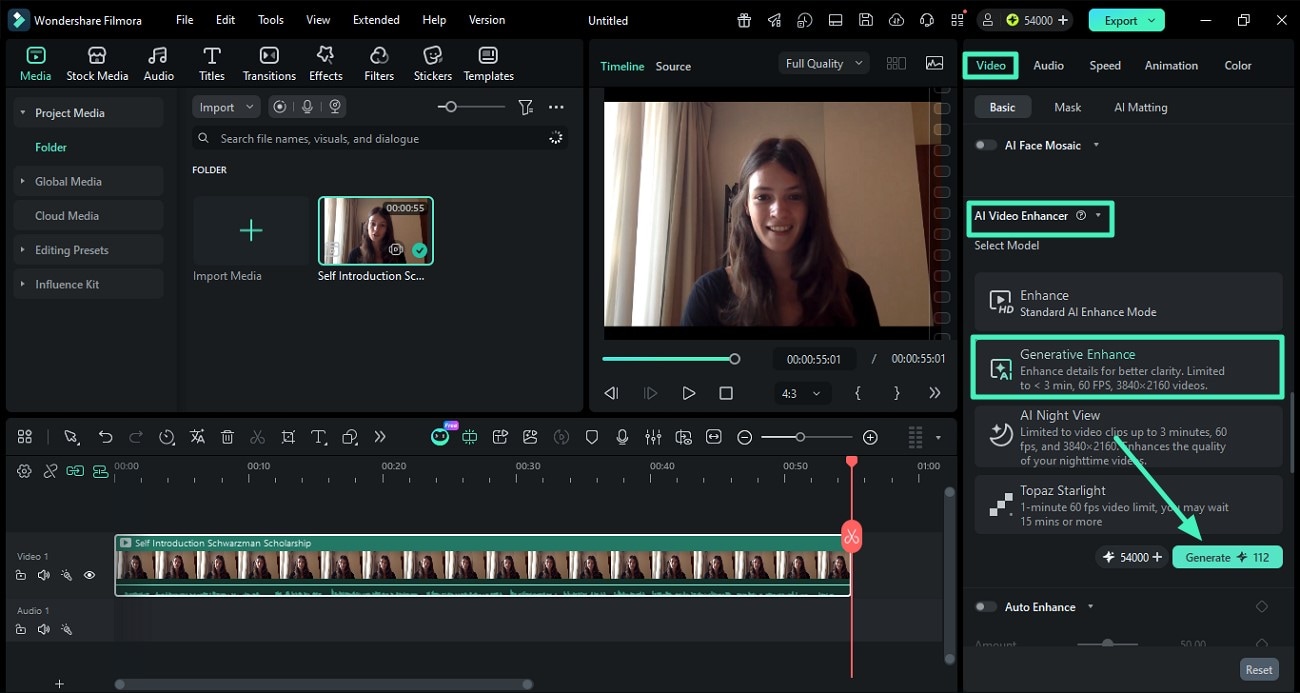
Generative Enhance in Filmora uses an advanced AI model to intelligently reconstruct fine details and improve overall video quality without creating unnatural textures. Unlike conventional enhancement tools, it generates realistic details that make videos appear clearer and more natural.
The feature is designed for videos up to 3 minutes in length, supports footage with a maximum 60 FPS frame rate, and processes videos with resolutions up to 3840 × 2160 (4K UHD). This makes it ideal for improving visual quality without leaving the Filmora editing workflow.
Step 1. Import Video Access Feature
After importing the video to Filmora’s interface, access the Video section from the panel on the right. Next, scroll through the options and choose the AI Video Enhancer option. Select the Generative Enhance mode and press the Generate button located at the bottom.
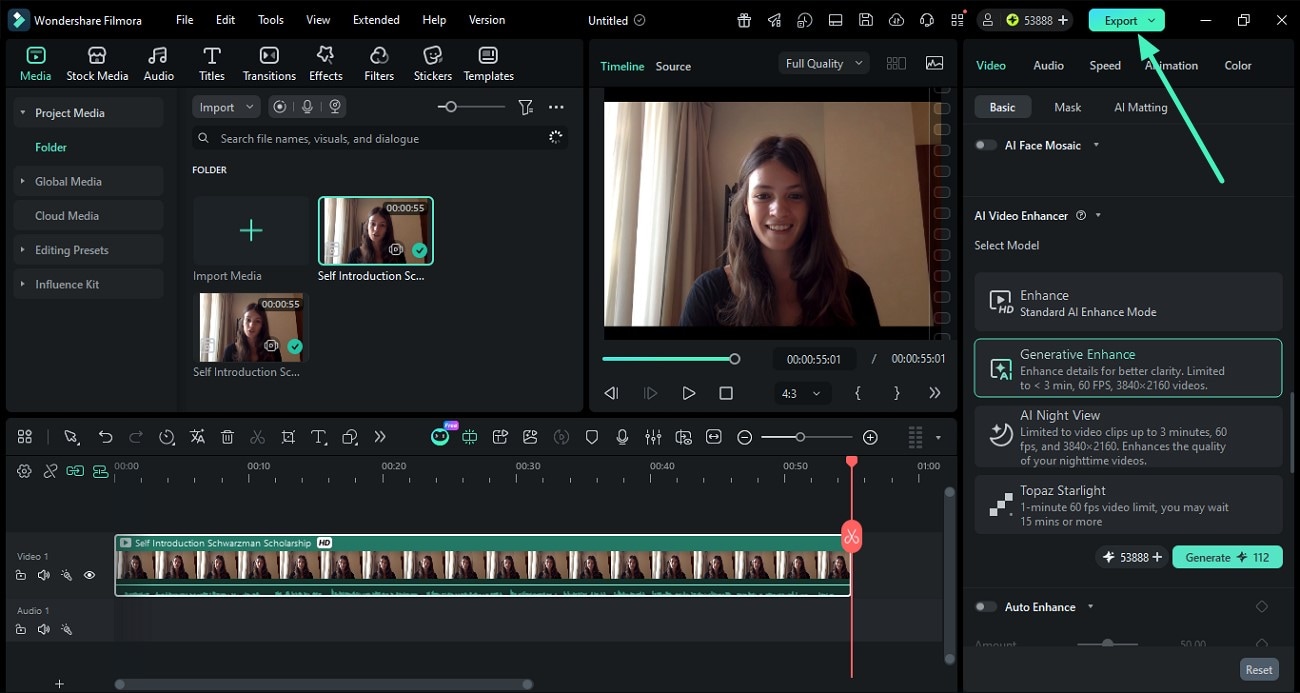
Step 2. Preview Results and Export
Once the video is enhanced, preview the results within the preview window and press the Export button once you are satisfied with the results.
Related Posts
Featured Articles
Unforgettable BFF Video Ideas to Go Viral in 2026
Lack of bff video ideas? Create unforgettable memories with these 45+ amazing BFF video ideas! From laugh-out-loud challenges to adorable friendship moments - discover viral content ideas that celebrate your bestie bond. Start creating today!
Drive Sales with Automotive Video Marketing Strategies That Work
Step up your automotive video marketing with these proven strategies and easy editing tools. In just minutes, you know how to create videos that grab attention, build trust, and drive sales.
[Guide] How To Make YouTube Shorts ( iPad & iPhone )
Want to increase your channel's viewership? Read this guide to learn how to make YouTube Shorts on mobile to engage your audience with creative content.
Recommended User Guide
Video Stabilization for Windows
Discover the ease of editing clips in Filmora: this feature of Filmora will allow you to smooth out shaky footage.
AI Smart Cutout for Windows
This guide helps you remove the background of an image or a video. The AI Smart Cutout is good at cutting an image out and performs well in identifying needed sections in a continuous clip.
AI Smart Masking for Windows
Editing video elements independently is an important part of video creation, and Filmora's masking provides multiple options.
